Onboarding Your AI Art Stack: A Practical Guide to Choosing and Combining Tools for Questas Visuals

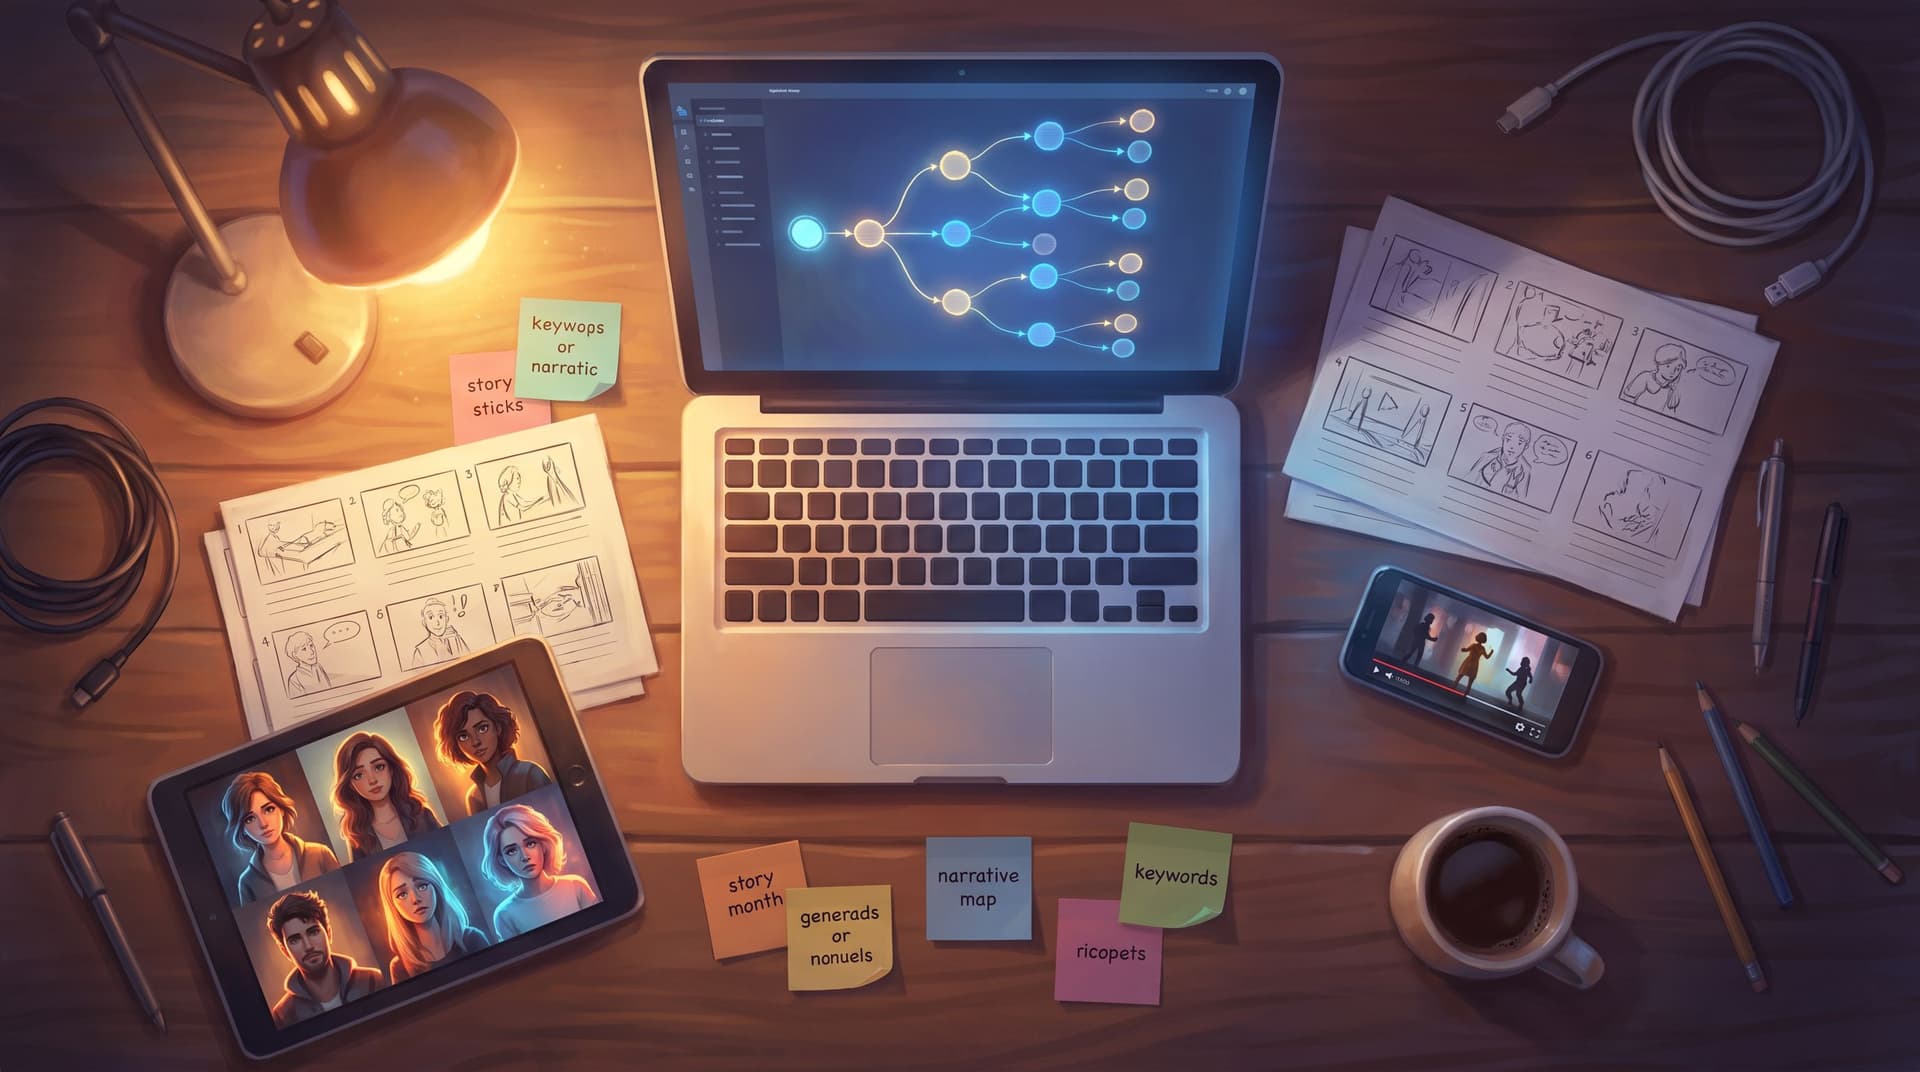
Interactive stories live or die on how they feel to play.
Words carry your plot. But visuals carry your world—the mood of a haunted monastery, the micro‑expressions in a coaching scenario, the tiny UI details in a product prototype. If your images and video are random, inconsistent, or hard to reproduce, your quests will feel like a slideshow instead of a story.
That’s why it’s worth treating your AI art setup like a real stack, not a grab‑bag of tools. When you’re building in Questas, the right stack makes it dramatically easier to:
- Keep characters and locations visually consistent across branches
- Move quickly from idea to playable prototype
- Scale from a small pilot to a full series without redoing all your art
- Stay on the right side of licensing and copyright risk
This guide walks through how to onboard your AI art stack for Questas: what categories of tools you actually need, how to pick them, and how to make them play nicely together.
Start With Your Story, Not Your Tools
Before you choose tools, decide what kind of visual work your quests need to do.
Ask yourself:
-
What kind of stories am I telling?
- Leadership coaching scenarios?
- News explainers or opinion pieces?
- Fantasy adventures or lore‑driven side quests?
- Product or UX prototypes?
-
What level of visual fidelity do I actually need?
- Sketchy, concept‑art vibes for early prototypes
- Polished, brand‑aligned visuals for external learners or customers
- Comic‑style panels, realistic photos, or stylized illustration?
-
How important is consistency?
- Do players meet the same character across 20+ scenes?
- Do you need the same office, spaceship bridge, or newsroom desk from multiple angles?
- Are you okay if things are a little different each time, as long as the mood matches?
Your answers here should drive your stack. For example:
- If you’re designing coaching scenarios for managers, like the ones we explore in “Teaching Soft Skills with Hard Choices”, you’ll likely prioritize expressive characters and realistic environments over flashy effects. Read that deep dive here.
- If you’re prototyping interactive explainers for a newsroom, you may care more about clear diagrams, data visuals, and consistent brand styling, as we discuss in “Interactive Newsroom Labs”. Explore that workflow here.
Once you’re clear on the job visuals need to do, you can pick tools with intention instead of chasing hype.
The Four Layers of an AI Art Stack for Questas
For most creators, a practical stack for Questas has four layers:
- Core image generator – your main workhorse for scenes and characters
- Style & consistency helpers – tools that keep your world coherent
- Video & motion – optional, but powerful for key moments
- Editing & post‑production – to clean up, brand, and resize assets
Think of Questas itself as the orchestrator on top: it doesn’t replace these tools; it’s where your branching story and visuals come together.
Let’s walk through each layer and how to choose.
Layer 1: Choosing Your Core Image Generator
Your core generator is where most of your still images come from. The decision here shapes:
- Your default look (painterly vs. photorealistic vs. comic)
- How easy it is to keep characters and locations consistent
- How much control you have vs. how much the AI “freestyles”
When you evaluate tools like Midjourney, Stable Diffusion (via UIs like Automatic1111 or ComfyUI), Flux/SDXL‑based web apps, or DALL·E / GPT‑based image tools, look at them through three lenses:
1. Visual quality and fit
- Does the default style match what you want for your quests?
- Rich, cinematic stills (great for fantasy or sci‑fi)
- Clean, editorial visuals (great for nonfiction quests and explainers)
- Flat, graphic illustration (great for training and UX scenarios)
- Can it handle faces and hands reliably enough for close‑ups?
Many 2026 round‑ups rank tools like Midjourney, Flux Pro, and GPT‑based image models among the top for quality, but the gap has narrowed; workflow fit often matters more than raw fidelity.
2. Consistency features
For branching stories, this matters more than almost anything else.
Look for:
- Character reference / face reference features (e.g., Midjourney’s
--crefand style reference, or character‑training workflows in Stable Diffusion) - Support for seeds or other reproducibility controls
- The ability to upload your own reference images and keep the look stable across scenes
If your quests depend on recurring characters—like a manager players coach over multiple episodes, or a recurring protagonist in a fantasy saga—prioritize tools that:
- Let you define a character once (via a reference image or small training set)
- Reuse that character reliably in new prompts and scenes
3. Licensing and usage rights
You’re not just playing with images; you’re publishing interactive experiences.
Before you commit to a core generator, check:
- Terms of use: Do you have commercial rights to the outputs on your plan?
- Attribution requirements: Do you need to credit the tool in your quest or elsewhere?
- Content restrictions: Are there limitations on sensitive topics that matter for your domain (e.g., medical, political, or news scenarios)?
Also keep an eye on guidance from bodies like the U.S. Copyright Office and the EU about AI‑generated works and training data. They’re still evolving, but the direction is clear: treat AI art as a tool in your workflow, and make sure your contribution (prompting, editing, composition) is meaningful.
Practical tip: Pick one primary generator for each quest or series. You can experiment widely while prototyping, but once you commit, stick with a single tool for that project to avoid visual whiplash.
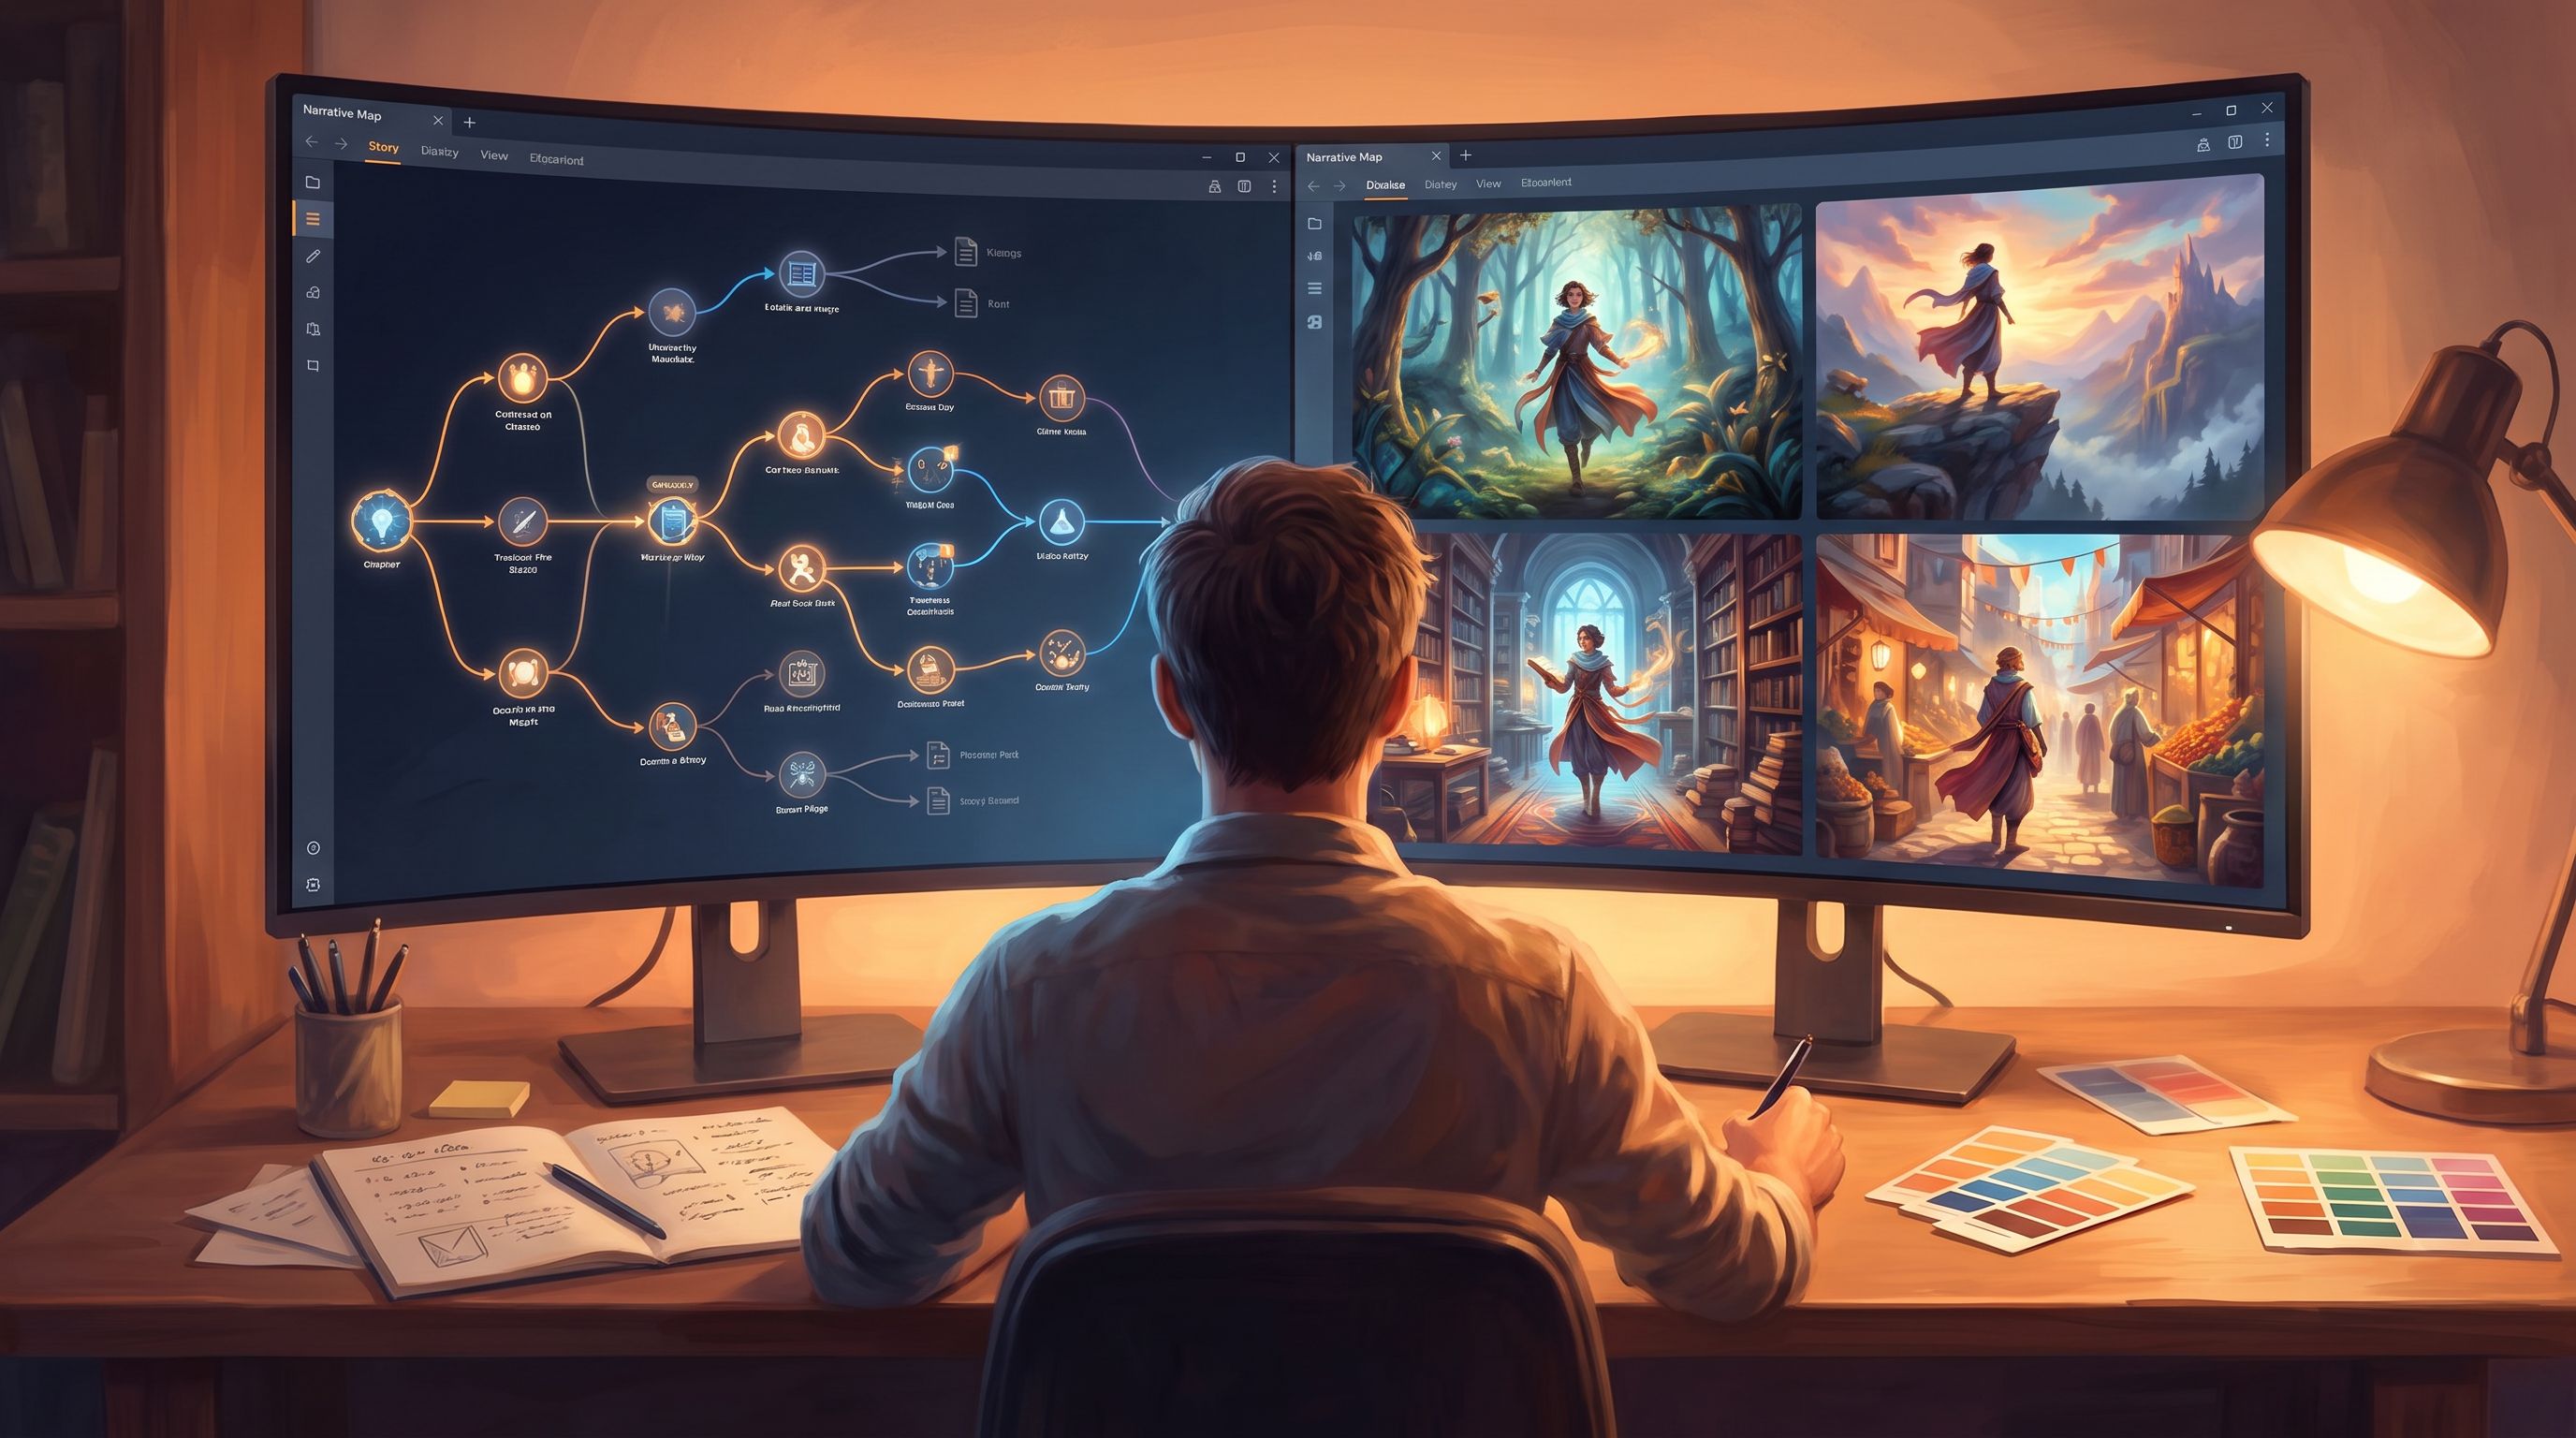
Layer 2: Tools for Style and World Consistency
Your core generator gives you raw material. Layer 2 is about turning that into a cohesive world.
This is where the ideas in “AI as Mood Mixer: Blending Multiple Image Styles into One Cohesive Questas World” come to life. If you haven’t read it yet, it’s a great companion to this section. Dive into that framework here.
Here are the main building blocks.
A. Style guides and prompt templates
Create a simple visual style guide for each quest:
- A short style sentence you reuse in prompts
"soft cinematic lighting, muted teal‑orange palette, shallow depth of field, subtle film grain"
- A list of banned styles you never want (e.g. “no neon cyberpunk, no fisheye lens, no glitch effects”)
- Reference images for:
- Main characters
- Key locations (office, village square, control room)
- UI elements or diagrams if you’re doing product or news work
Then turn that into prompt templates you keep in a doc or note:
-
Character close‑up template
portrait of [character name], [emotion], [location], [style sentence], [camera angle] -
Environment establishing shot template
wide shot of [location], [time of day], [key props], [style sentence]
Using templates means your visuals stay coherent even if you generate them over weeks.
B. Character and location systems
To keep recurring elements consistent:
- Use your generator’s character reference or LoRA / model features to “lock in” key characters.
- Name your characters and locations exactly the same way in prompts and in Questas node titles.
- Maintain a small asset library:
- A folder for each character with reference portraits and full‑body shots
- A folder for each main location with wide shots and close‑ups
When you add a new scene in Questas, pull from those folders first. Generate new images only when you truly need a new angle or moment.
C. Palette and lighting control
Even if your characters drift a little, consistent color and light will make your quests feel unified.
Decide for each quest:
- Primary palette: e.g., cool blues and greens for calm, hot oranges and reds for tension
- Lighting baseline: e.g., always soft diffused daylight, or always moody, high‑contrast interiors
- Texture: clean and flat vs. grainy and tactile
Bake this into your style sentence and templates. Over time, you’ll build a visual “signature” players recognize across your quests.
Layer 3: Adding Video and Motion (When It Actually Helps)
You don’t need video for every quest. But well‑placed motion can:
- Sell the stakes of a key decision (a reactor countdown, a public speech, a live negotiation)
- Bring expert voices or fictional characters on‑screen
- Turn a static explainer into a more embodied experience
Modern AI video generators—from avatar‑style tools like HeyGen and Synthesia to creative text‑to‑video tools like Runway or Pika—have matured enough to be real production tools for small teams.
When you choose a video layer for Questas, consider:
1. What kind of motion do you need?
- Talking‑head avatars for training, leadership, or thought‑leadership quests
- Great for onboarding players into complex worlds (see also “The First Five Screens” for how to structure that)
- Short cinematic clips to punctuate chapters in narrative quests
- UI or data animations for product and newsroom scenarios
2. How it will sit inside Questas
Keep clips:
- Short (10–30 seconds) so they don’t stall pacing
- Contextual: each video should support a decision or reflection, not just decorate a node
- Visually aligned with your stills: same palette, similar framing, consistent character design
3. Workflow fit and cost
Ask:
- Do I need collaboration features (for teams) or is a solo creator workflow enough?
- Does the tool integrate easily with your storage (Google Drive, Dropbox, local folders) so you can drag‑and‑drop into Questas?
- Is the pricing sustainable for the volume of quests you plan to ship this quarter?
If you’re just starting, pick one video tool and use it sparingly for milestone moments—introductions, chapter breaks, climactic decisions—rather than every node.
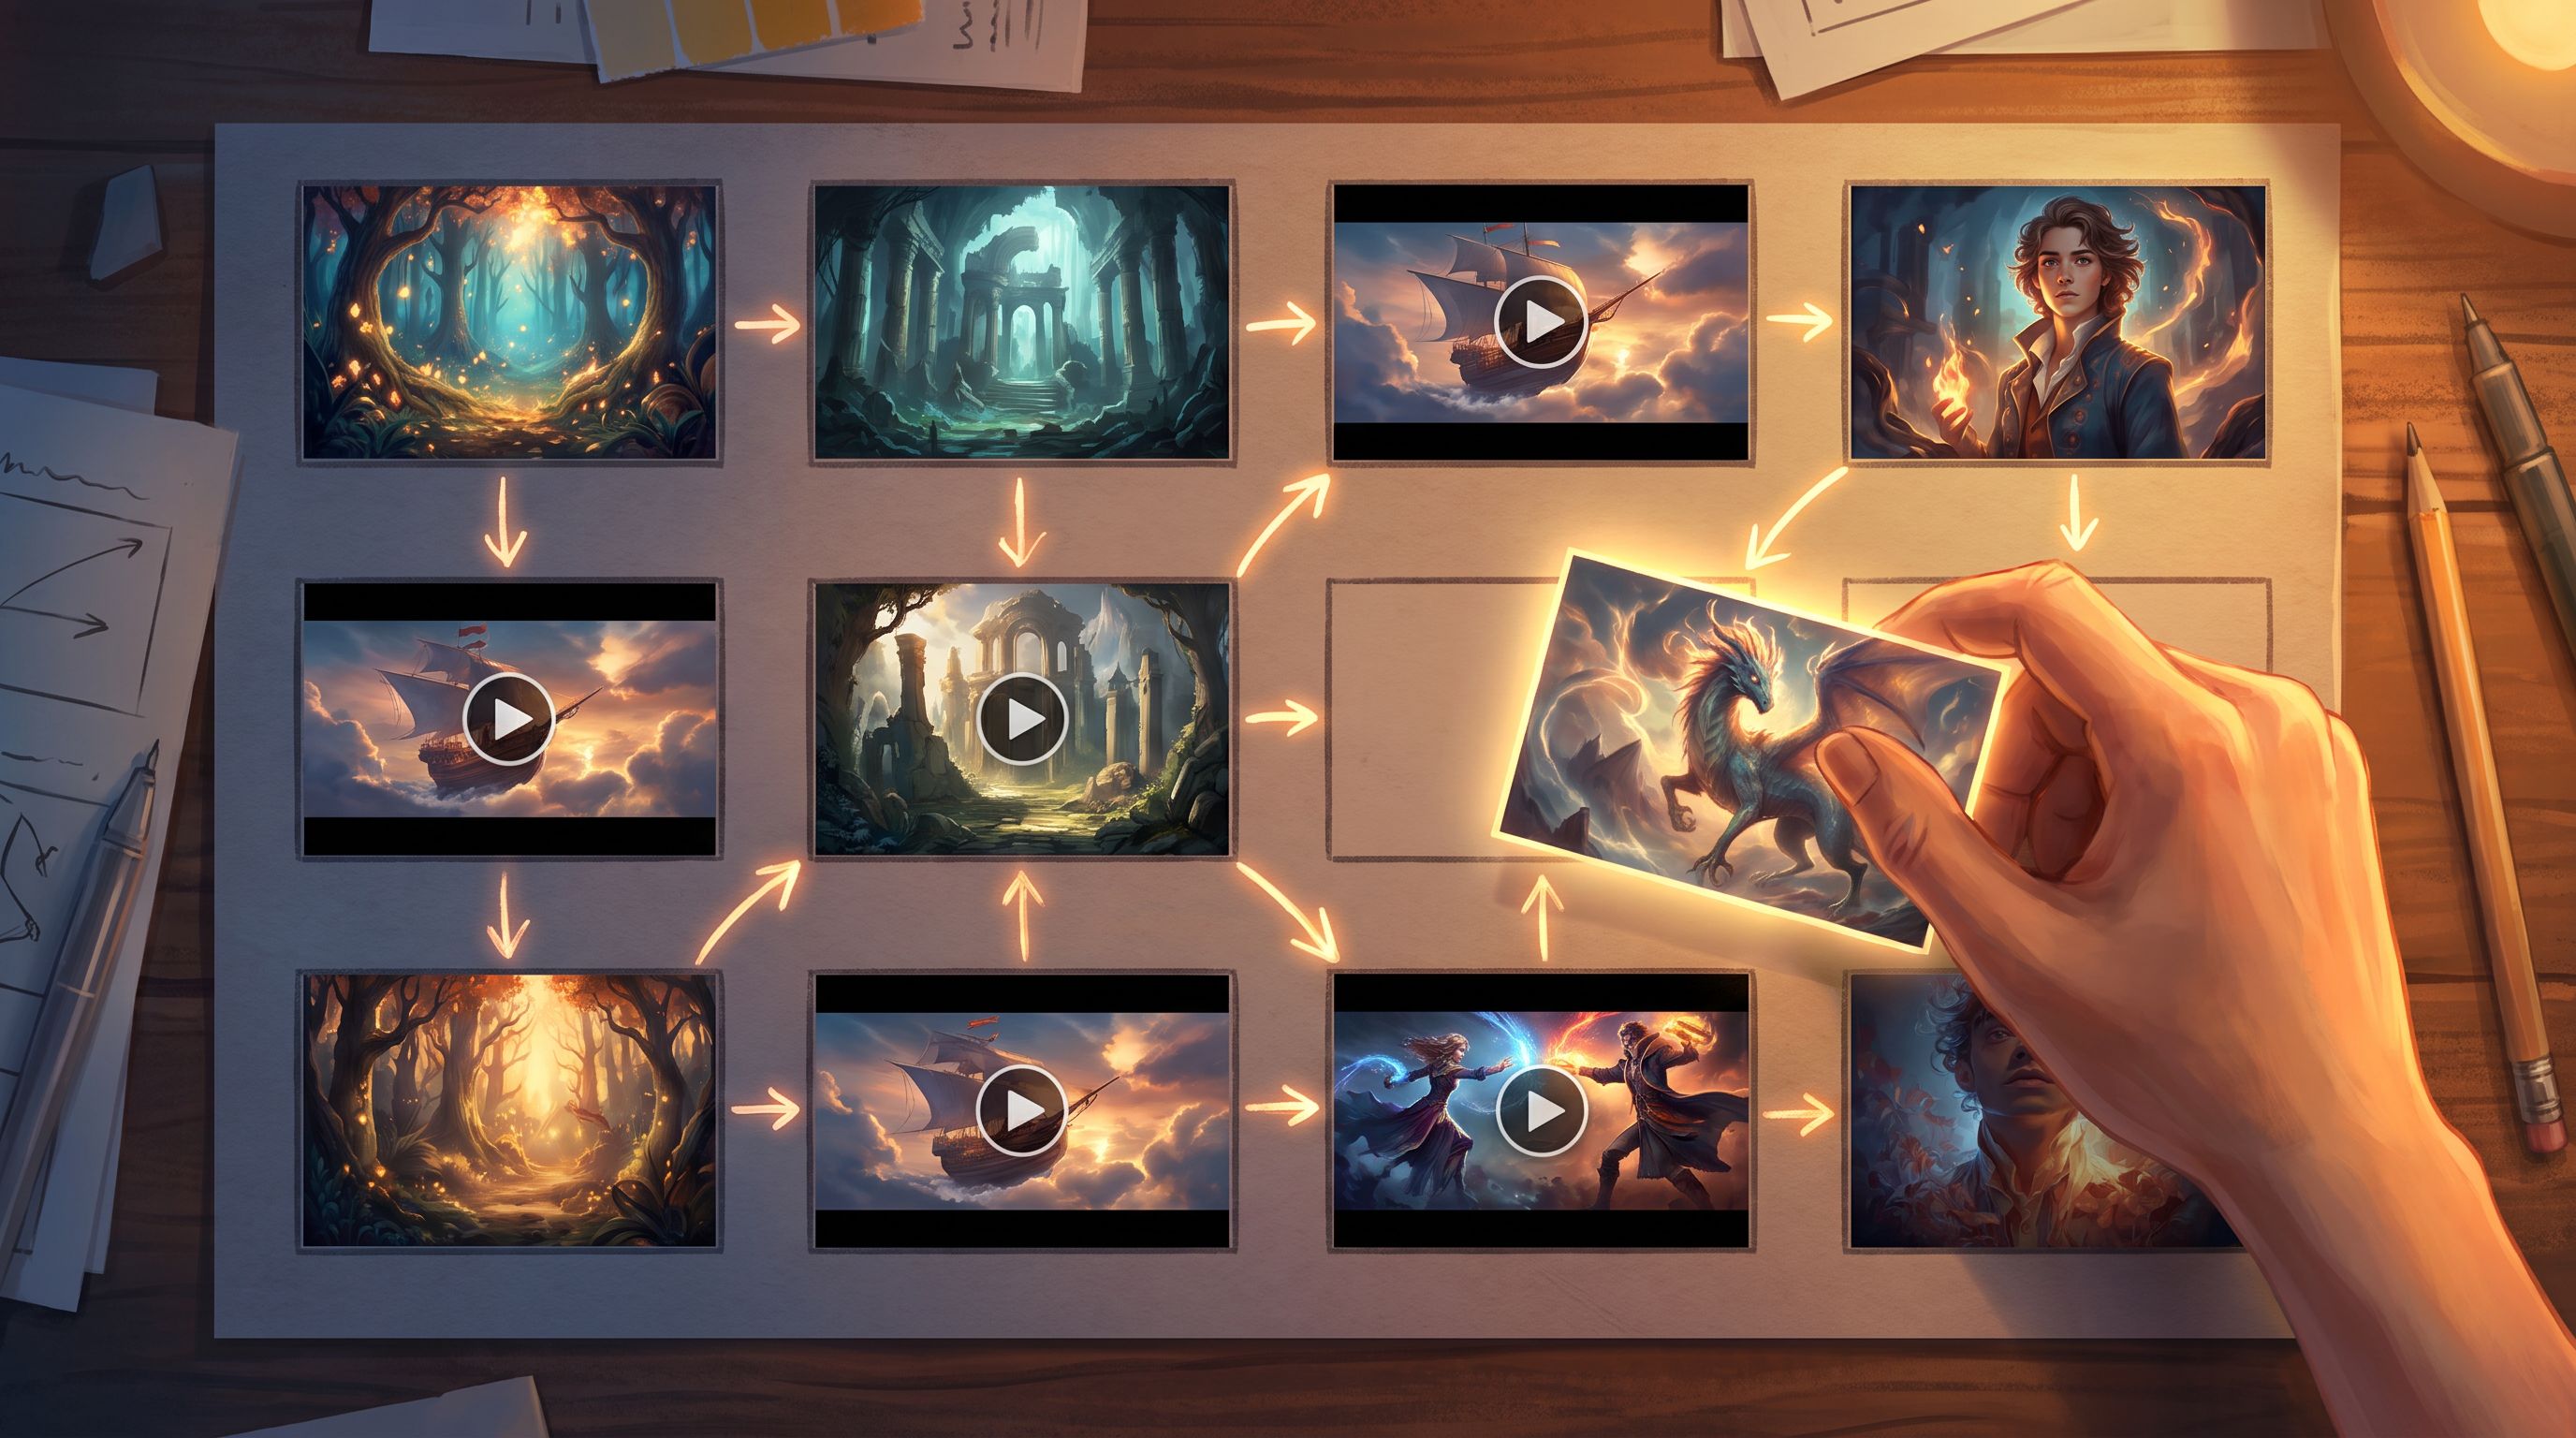
Layer 4: Editing, Branding, and Post‑Production
Raw AI outputs rarely drop perfectly into a polished quest. A light editing layer lets you:
- Add logos, captions, and UI overlays
- Crop and resize assets for Questas layouts
- Fix small glitches (extra fingers, weird artifacts, awkward text)
You don’t need full‑blown VFX software. A simple stack might include:
- Image editors: Photopea (browser‑based), Affinity Photo, or Photoshop
- Video editors: CapCut, DaVinci Resolve, or browser‑based tools like Kapwing
Create a few reusable overlays:
- A subtle frame or vignette that appears on all visuals for a given quest
- A title card template for chapter breaks
- A lower‑third bar for character names in video
Then, when you drop assets into Questas, everything already feels like it belongs to the same production.
A Practical Onboarding Plan for Your AI Art Stack
Let’s turn this into a concrete, repeatable process you can run in a weekend.
Step 1: Define one flagship quest
Pick a quest you actually care about shipping in the next 30 days. It might be:
- A leadership scenario series for new managers
- A lore‑rich side quest for your existing storyworld
- A decision‑driven explainer based on a recent report or article
Clarify:
- Target audience
- Tone (serious, playful, eerie, etc.)
- Expected length (number of screens / scenes)
Step 2: Draft a tiny visual brief
Write a one‑page brief that covers:
- Visual tone: 3–5 adjectives (e.g., “intimate, grounded, slightly stylized”)
- Reference works: 2–3 films, games, or comics whose look you admire
- Constraints: e.g., “must feel realistic enough for corporate training,” or “must avoid gore and heavy horror imagery”
This brief is your north star when tools tempt you off course.
Step 3: Test two core generators against the same scenes
Pick two candidate generators and run the same mini‑test in each:
Generate:
- One main character portrait (neutral expression)
- The same character in three different emotional states
- One key location (wide shot)
- The same location in two different lighting conditions (day/night, tense/calm)
Compare:
- Which tool gives you the most consistent character across emotions?
- Which one makes it easier to get the location lighting you want?
- Which outputs feel closest to your visual brief without endless prompt tweaking?
Pick a winner as your primary generator for this quest.
Step 4: Build your style kit
Using your chosen generator, create:
- A style sentence and 2–3 prompt templates
- Finalized reference images for:
- Main characters (portrait + full body)
- Main locations (wide shot + close‑up)
Save these in a dedicated folder named after your quest. You’ll refer to them constantly while building in Questas.
Step 5: Wire visuals into a small playable slice
Open Questas and:
- Build a small slice of your quest—5–10 scenes, not the whole thing.
- Attach your reference visuals to the relevant nodes.
- Add one short video clip if it truly enhances a key moment.
Then play it end‑to‑end and ask:
- Does the world feel cohesive?
- Do character emotions read clearly enough for the decisions you’re asking players to make?
- Are any images so off‑style that they pull you out of the experience?
Fix only the worst offenders. This is where “good enough” beats perfectionism.
Step 6: Document your stack
Finally, capture your decisions so future‑you (or teammates) don’t have to rediscover them:
- Core tools: which generator, which video tool, which editor
- Key settings: aspect ratios, quality levels, seeds or reference features you rely on
- Style kit: link to your style guide, templates, and asset folders
Treat this as a living doc. As you learn from player behavior—things like which scenes get screenshots or replays, a topic we explore in “The Quiet Metrics of Play”—you can refine your visuals alongside your branching structure. See how to read those signals here.
Common Pitfalls (and How to Dodge Them)
Even with a thoughtful stack, a few traps show up over and over.
1. Tool‑hopping mid‑quest
You start with one generator, see a cool thread about another, and suddenly half your scenes look like they’re from a different universe.
- Fix: Commit to one core generator per quest. If you really must switch, do it at a chapter boundary and explain the shift in‑world (e.g., dream sequence, flashback, different narrator).
2. Over‑investing in art before testing the story
You polish 40 images for a branch that players rarely see.
- Fix: Follow the pattern from “From Premise to Playable Pilot” and build a small, playable pilot first. Generate rougher art for early tests, then upgrade visuals on the most‑traveled paths.(/from-premise-to-playable-pilot-rapidly-testing-new-story-worlds)
3. Ignoring accessibility and clarity
High‑style visuals that make it hard to read what’s going on.
- Fix: Favor clear composition over fancy effects. Check contrast, legibility of any text in images, and whether the emotion of the scene is obvious at a glance.
4. Forgetting about rights and reuse
You generate a perfect character, then realize your plan requires putting them on marketing materials your license doesn’t cover.
- Fix: Before you ship, double‑check your generator’s commercial use terms and your organization’s policies. When in doubt, keep AI art inside the quest experience and avoid using it as standalone brand assets.
Bringing It All Together
Onboarding your AI art stack isn’t about chasing the “best” tool. It’s about:
- Matching tools to the kind of stories you’re telling
- Designing for consistency instead of one‑off wow moments
- Building a repeatable workflow that turns ideas into playable, visual quests without burning you out
When your stack is dialed in, Questas becomes more than a canvas. It becomes a story system where visuals, choices, and pacing all reinforce each other.
Where to Go From Here
You don’t need to rebuild your entire process overnight. Start small:
- Pick one quest idea you’re excited about.
- Choose a single core image generator to commit to for that project.
- Build a tiny visual style kit and wire it into a 5–10 scene slice in Questas.
Once you’ve played that slice—and maybe shared it with a trusted friend or colleague—you’ll have real data about what’s working and what needs tuning.
Your next step: open Questas, sketch your branch map, and choose the first scene that deserves a visual. Then, one by one, start onboarding the tools that will make that world feel real.
Adventure awaits in every image. It’s time to build the stack that will bring yours to life.