AI as Mood Mixer: Blending Multiple Image Styles into One Cohesive Questas World

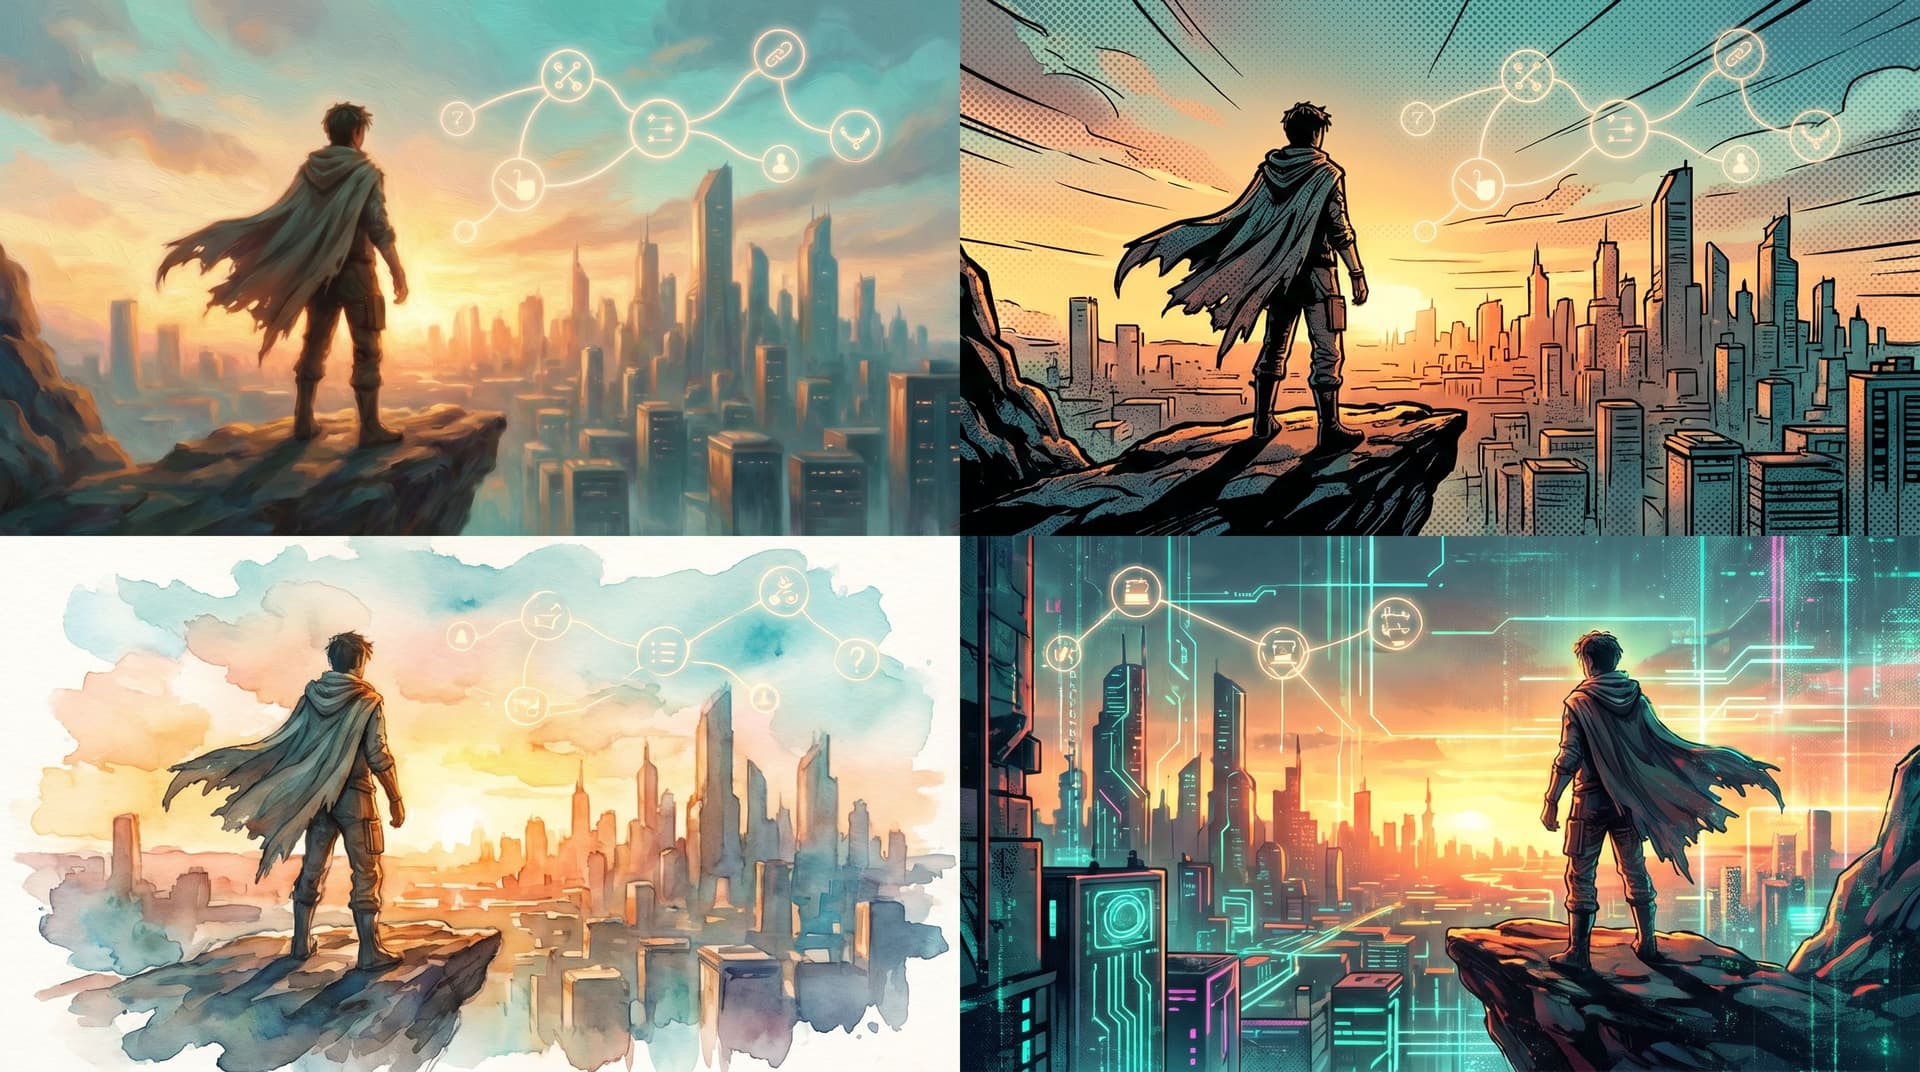
Interactive stories don’t just live in text. They live in color palettes, lighting, character silhouettes, and the tiny visual echoes that tell a player, “You’re still in the same universe—keep going.”
When you’re building with Questas, AI-generated images and video make it incredibly easy to experiment. The flip side: it’s just as easy to end up with a quest where every scene looks like it belongs to a different project.
This is where thinking of AI as a mood mixer becomes your superpower.
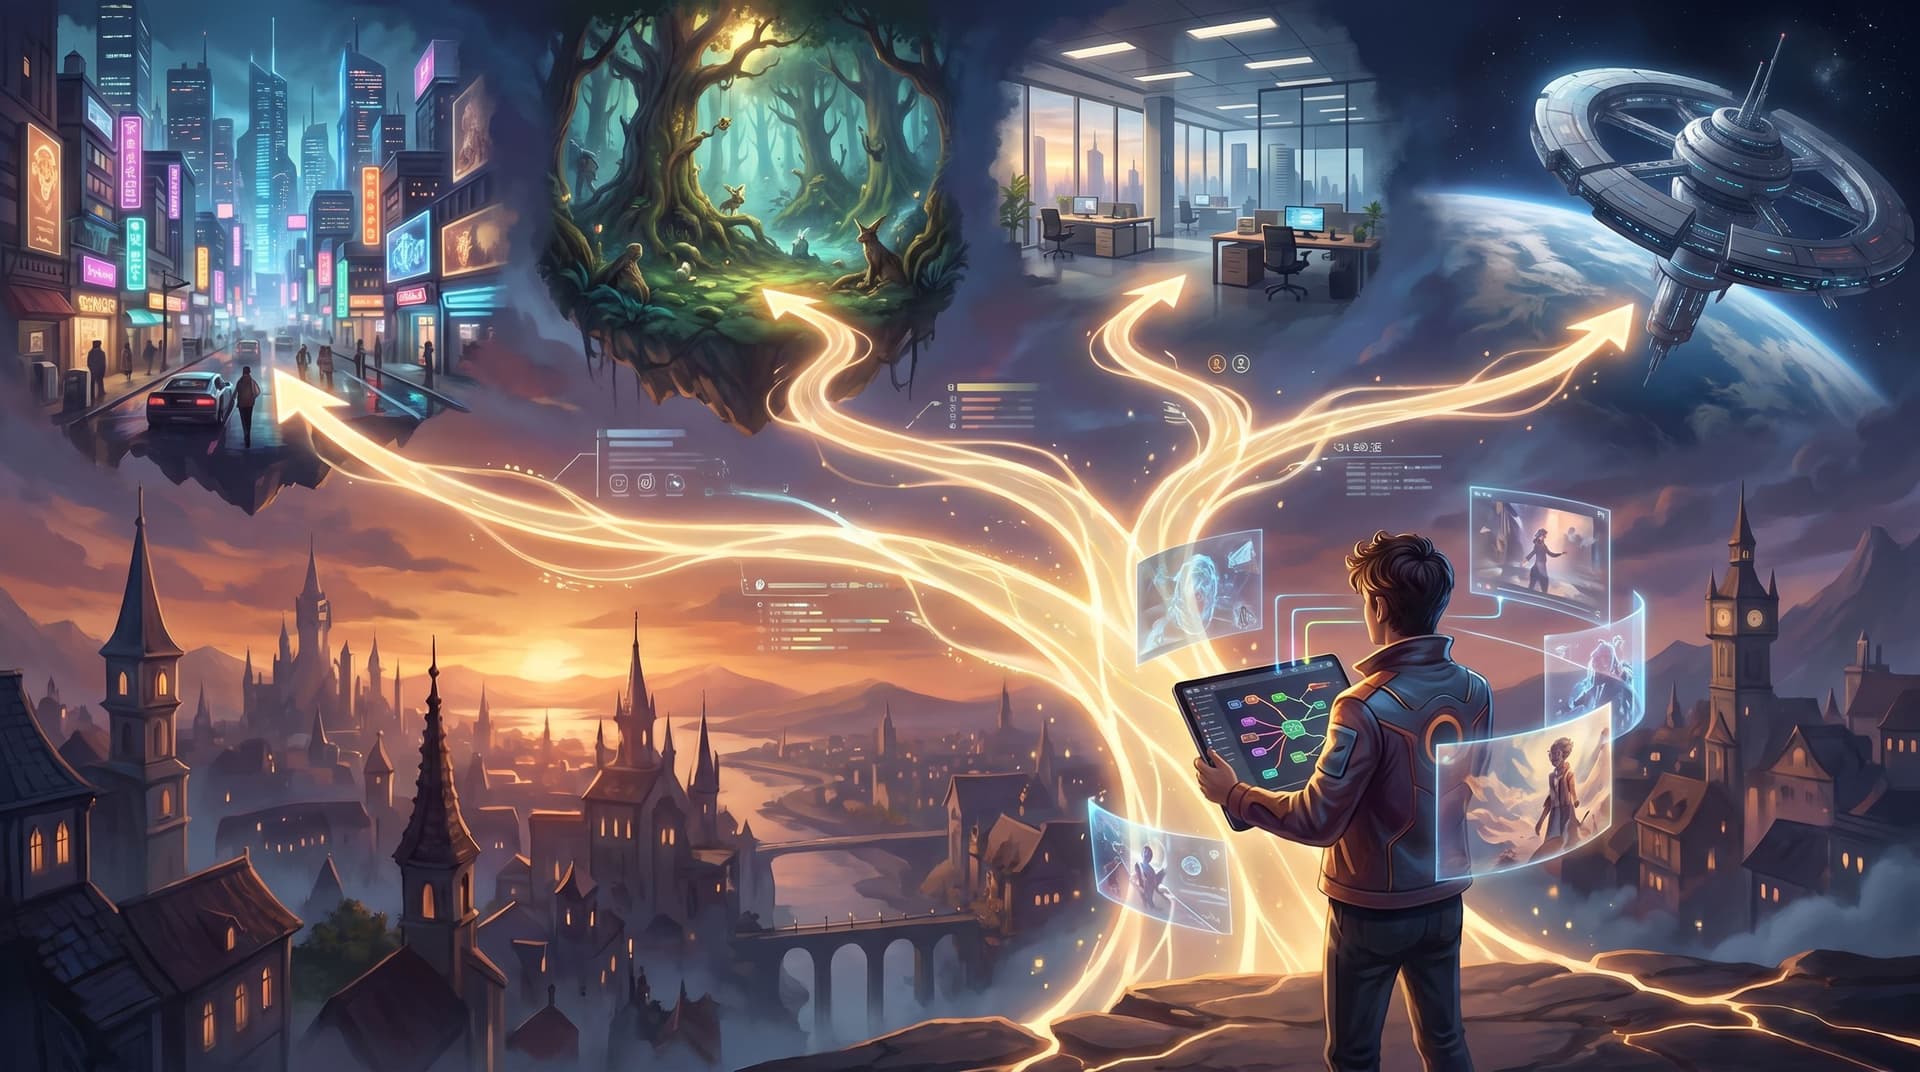
Instead of chasing one rigid style, you learn how to blend multiple styles into a single, coherent world—so your noir detective branch, your surreal dream branch, and your training-simulation branch all feel like facets of the same universe, not random Pinterest boards stitched together.
In this guide, we’ll walk through practical ways to do that inside Questas, from defining your “house mood” to creating reusable prompt recipes and visual guardrails.
Why Visual Mood Matters More Than Matching Every Pixel
Perfect stylistic consistency is overrated.
What players actually need is emotional and narrative consistency:
- They should always know what kind of story they’re in.
- Shifts in style should feel intentional, not accidental.
- Visuals should reinforce choices, not distract from them.
When you treat AI as a mood mixer instead of a random art slot machine, you unlock benefits like:
- Stronger immersion. A consistent emotional tone across branches helps players feel like they’re exploring one continuous world, even when they jump timelines, perspectives, or genres.
- Clearer signaling. Style shifts become tools. A harsher contrast or glitchy overlay can signal danger or unreality; soft lighting can signal safety or reflection.
- Faster production. Once you lock in your “house mood,” you can mix and match styles confidently without redoing everything from scratch.
- Replay value. Different branches can lean into different sub-styles (e.g., painterly vs. comic-book) while still feeling like one series, making replays visually fresh without breaking cohesion.
If you’re designing rich, branching experiences, this is just as important as onboarding flows or branch structure. (If you haven’t yet, pair this article with From Premise to Playable Pilot: Rapidly Testing New Story Worlds in Questas Before You Commit to see how visual style fits into early prototyping.)
Step 1: Define Your “House Mood,” Not Just a Style Label
Most creators start with labels:
“I want it to look like Studio Ghibli.”
“Let’s do comic-book style.”
That’s a starting point—but labels alone aren’t enough. AI models will happily give you ten different interpretations of “comic-book style,” and they won’t all play nicely together.
Instead, define a house mood using a few specific axes. For each quest or series in Questas, write down:
- Emotion band (which feelings dominate?)
- Examples: hopeful tension, cozy curiosity, grim determination, playful mischief.
- Lighting & contrast
- Examples: soft backlighting and warm highlights; stark, high-contrast chiaroscuro; cool, diffuse daylight.
- Color palette
- Examples: muted earth tones with one accent color; neon primaries on dark backgrounds; pastel blues and pinks.
- Level of realism
- Examples: painterly semi-realism; flat graphic shapes; stylized 3D renders.
- Texture & finish
- Examples: grainy film look; clean vector; watercolor bleed; subtle glitch/noise overlay.
Turn these into a short “style bible” paragraph you can reuse in prompts, like:
A semi-realistic, painterly look with soft backlighting, muted earth tones plus one vivid accent color (usually teal or orange), subtle film grain, and an overall mood of hopeful tension.
This becomes your base mix. You can layer other styles on top (noir, cyberpunk, children’s book) as needed, but this base keeps everything in the same family.
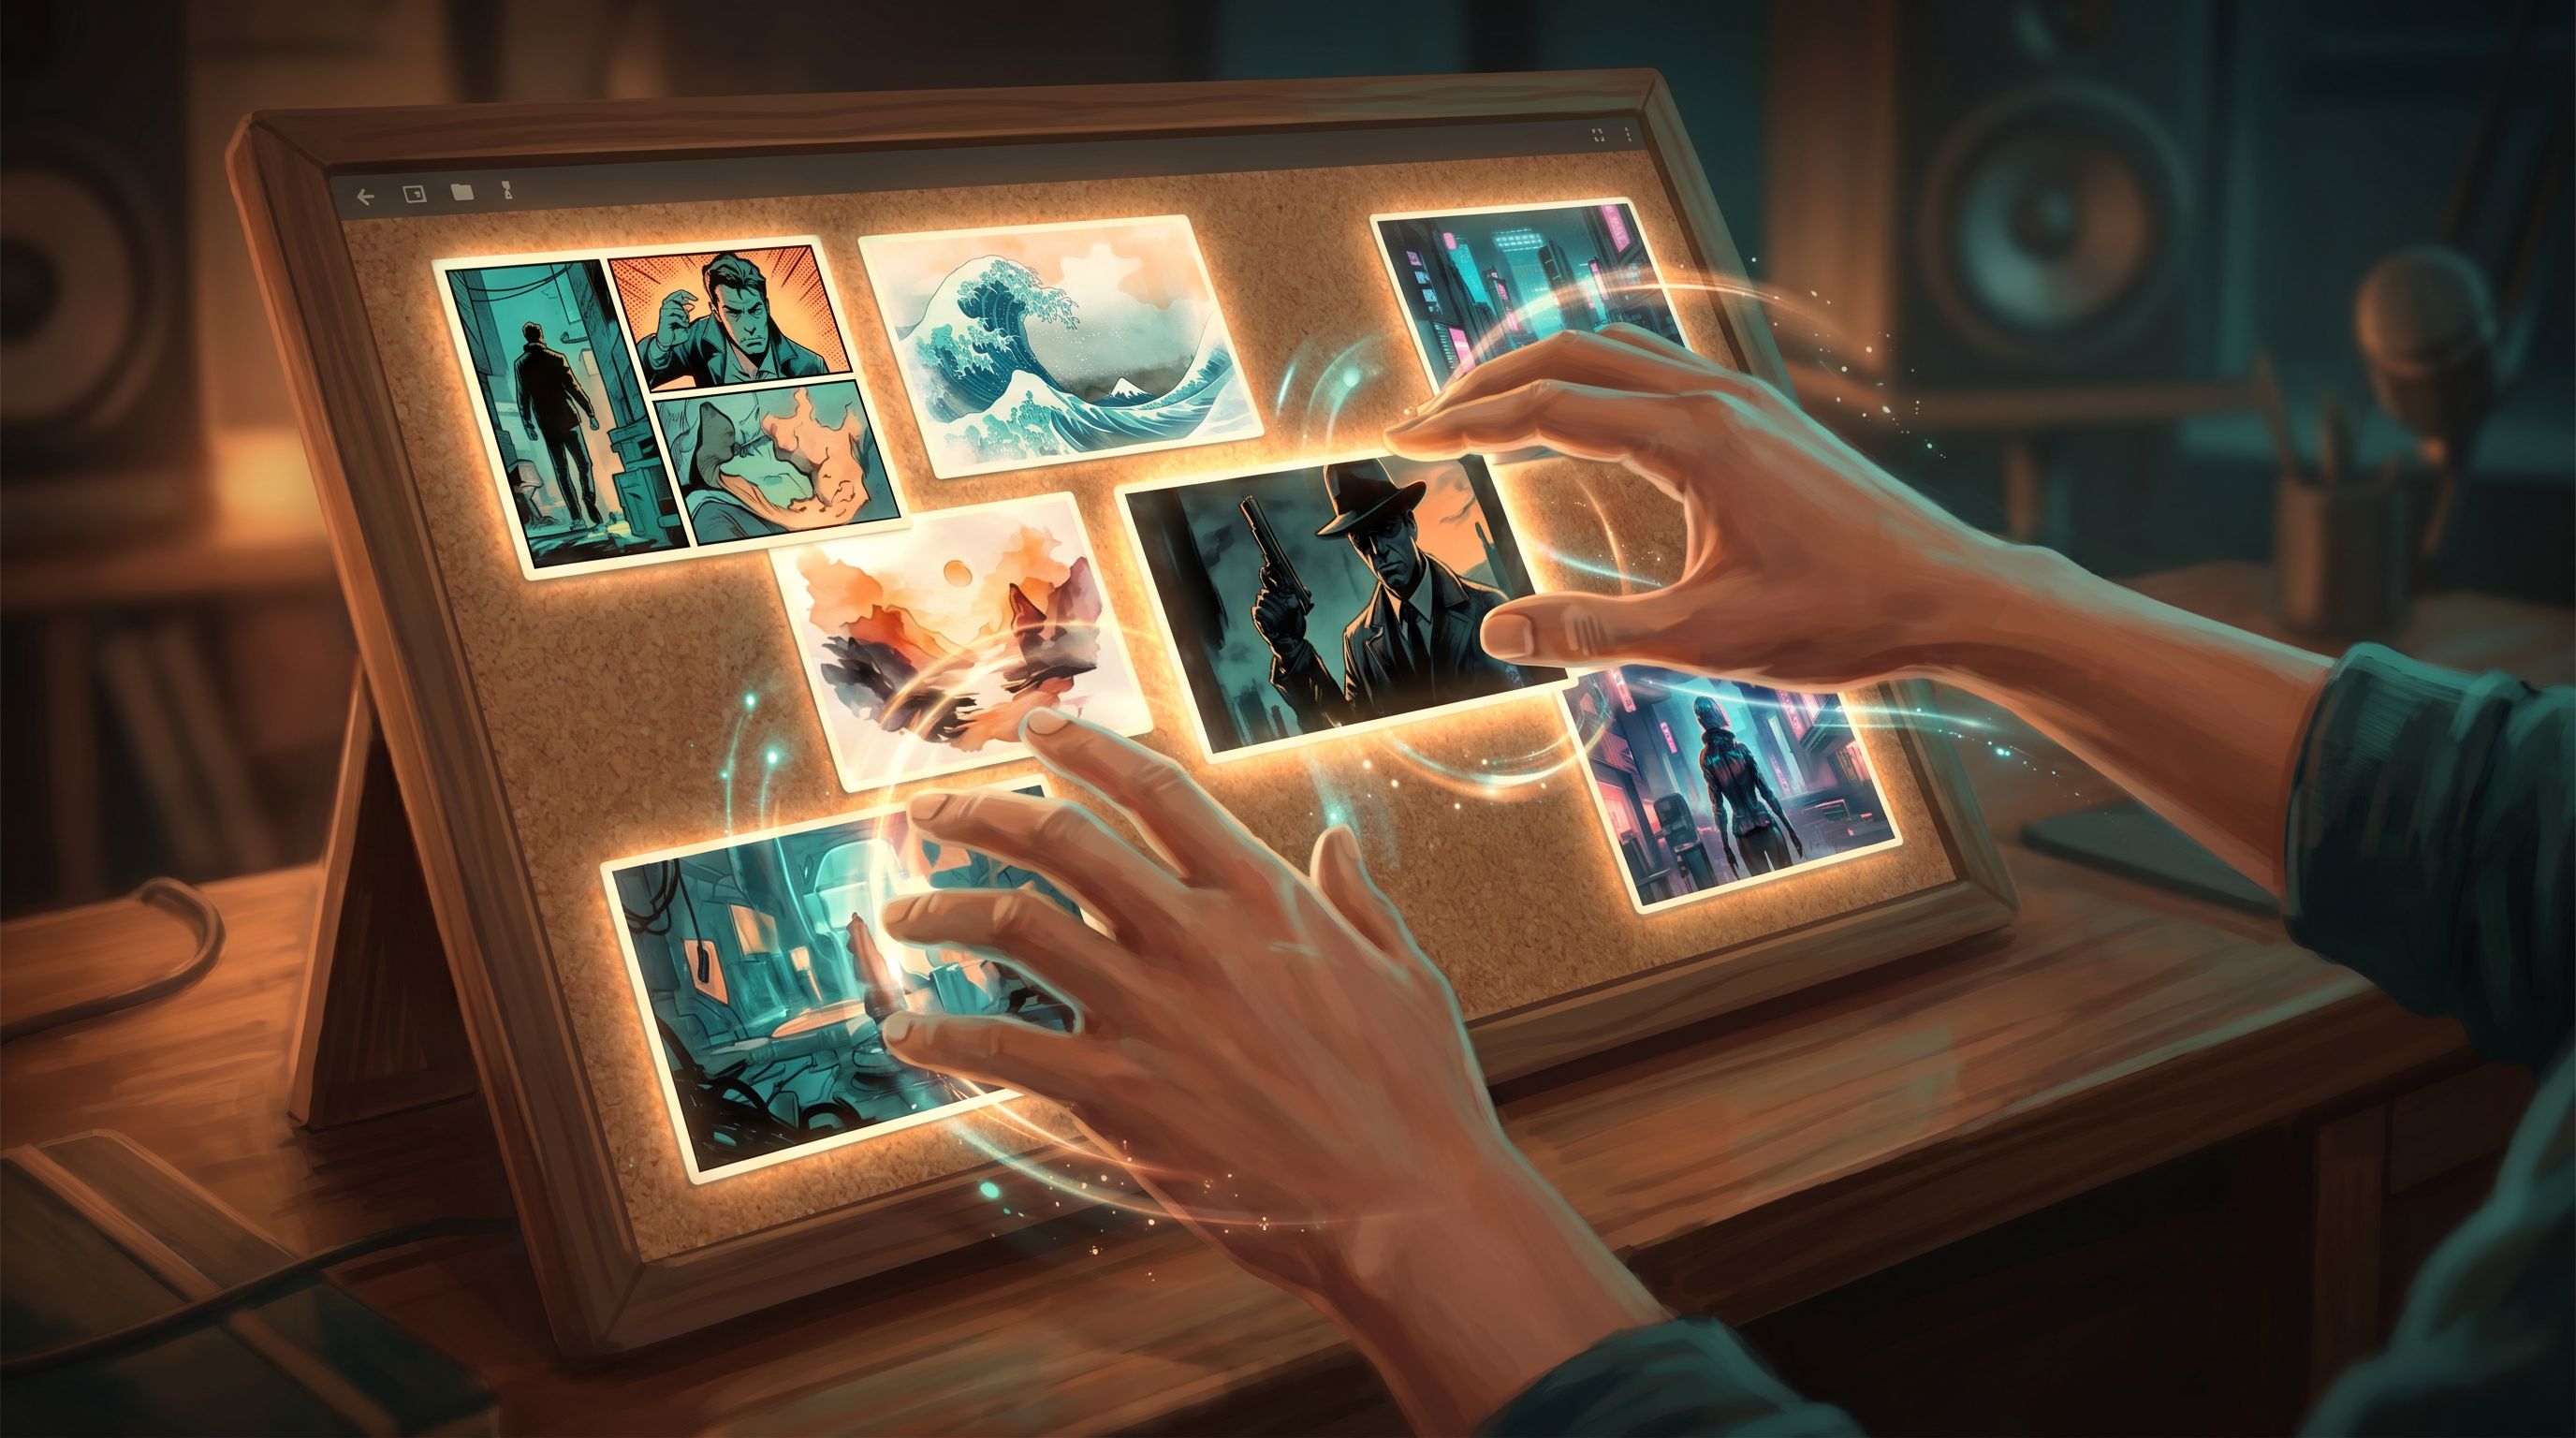
Step 2: Create Prompt “Chords” Instead of Solo Keywords
If you only ever type “anime style” or “oil painting” into your image prompts, your results will swing wildly.
Think in prompt chords—small, reusable clusters of descriptors that define your house mood and then invite a specific style flavor.
Build Your Base Chord
Start with 1–2 sentences you’ll reuse across scenes:
- “Semi-realistic, painterly illustration with soft backlighting, muted earth tones, one teal accent, subtle film grain, and a mood of hopeful tension.”
In Questas, you can keep this in:
- A project-level note or style guide node.
- A template scene that you duplicate whenever you add new branches.
Layer Style Variants on Top
Now create variant chords for different moods or branches, always stacking them on top of your base chord.
Examples:
- Investigation branch:
Base chord + “noir-inspired composition, dramatic shadows, slightly desaturated colors, camera at eye level.” - Dream sequence branch:
Base chord + “surreal, slightly blurred edges, floating elements, pastel overlays, camera slightly above characters.” - Training simulation branch:
Base chord + “UI overlays, subtle holographic HUD elements, clean lines, camera slightly behind the protagonist’s shoulder.”
By always including your base chord, you ensure that lighting, palette, and texture stay consistent, even while the stylistic “genre” shifts.
Save and Reuse
Don’t reinvent the wheel:
- Store your chords in a shared document or Questas project notes.
- For long-running series, create a “Visual Language” node at the top of your story map and link to it from major branches.
- When you find a chord that works, reuse it ruthlessly.
For a deeper dive into building a consistent visual language across a whole series, you might also enjoy AI as Art Director: Building Cohesive, On-Brand Visual Languages for Your Questas Series.
Step 3: Use Characters as Your Visual Anchors
Players forgive a lot of stylistic variation as long as the characters feel like the same people.
When you’re mixing styles, treat your main cast as anchors:
-
Lock in definitive reference images.
For each key character, generate 2–4 “hero shots” that nail:- Face shape and key features
- Hair style and color
- Typical outfit and silhouette
- Signature props (e.g., a glowing tablet, a chipped mug, a distinctive badge)
-
Describe characters in prompts, not just scenes.
Instead of:- “A person in a control room.” Try:
- “The same protagonist as earlier: a Black woman in her 30s with short, tightly coiled hair, round glasses, and a navy jumpsuit with a teal patch on the sleeve, standing in a control room…”
-
Use positional cues.
Keep recurring characters in similar framing:- Mentor often appears in medium close-ups, slightly above eye level.
- Protagonist often appears in over-the-shoulder shots when making decisions.
-
Reintroduce anchors after big style shifts.
If you jump from a realistic branch to a stylized dream sequence, open with a shot that clearly shows the same character design translated into the new style. This tells players, “Yes, same person—new lens.”
In Questas, you can:
- Create a “Cast” node with their reference images.
- Link to that node from any scene where you generate new art.
- Keep character descriptors copy-pasted in your prompt chords.
Step 4: Make Style Shifts Serve the Story
Not every branch needs to look identical. In fact, intentional style shifts can be one of your strongest narrative tools.
Here are ways to make those shifts feel purposeful:
1. Tie Styles to Story States
Decide what each style means inside your world:
- Realistic, grounded style = baseline reality.
- High-contrast, graphic style = high-stakes moments or emergencies.
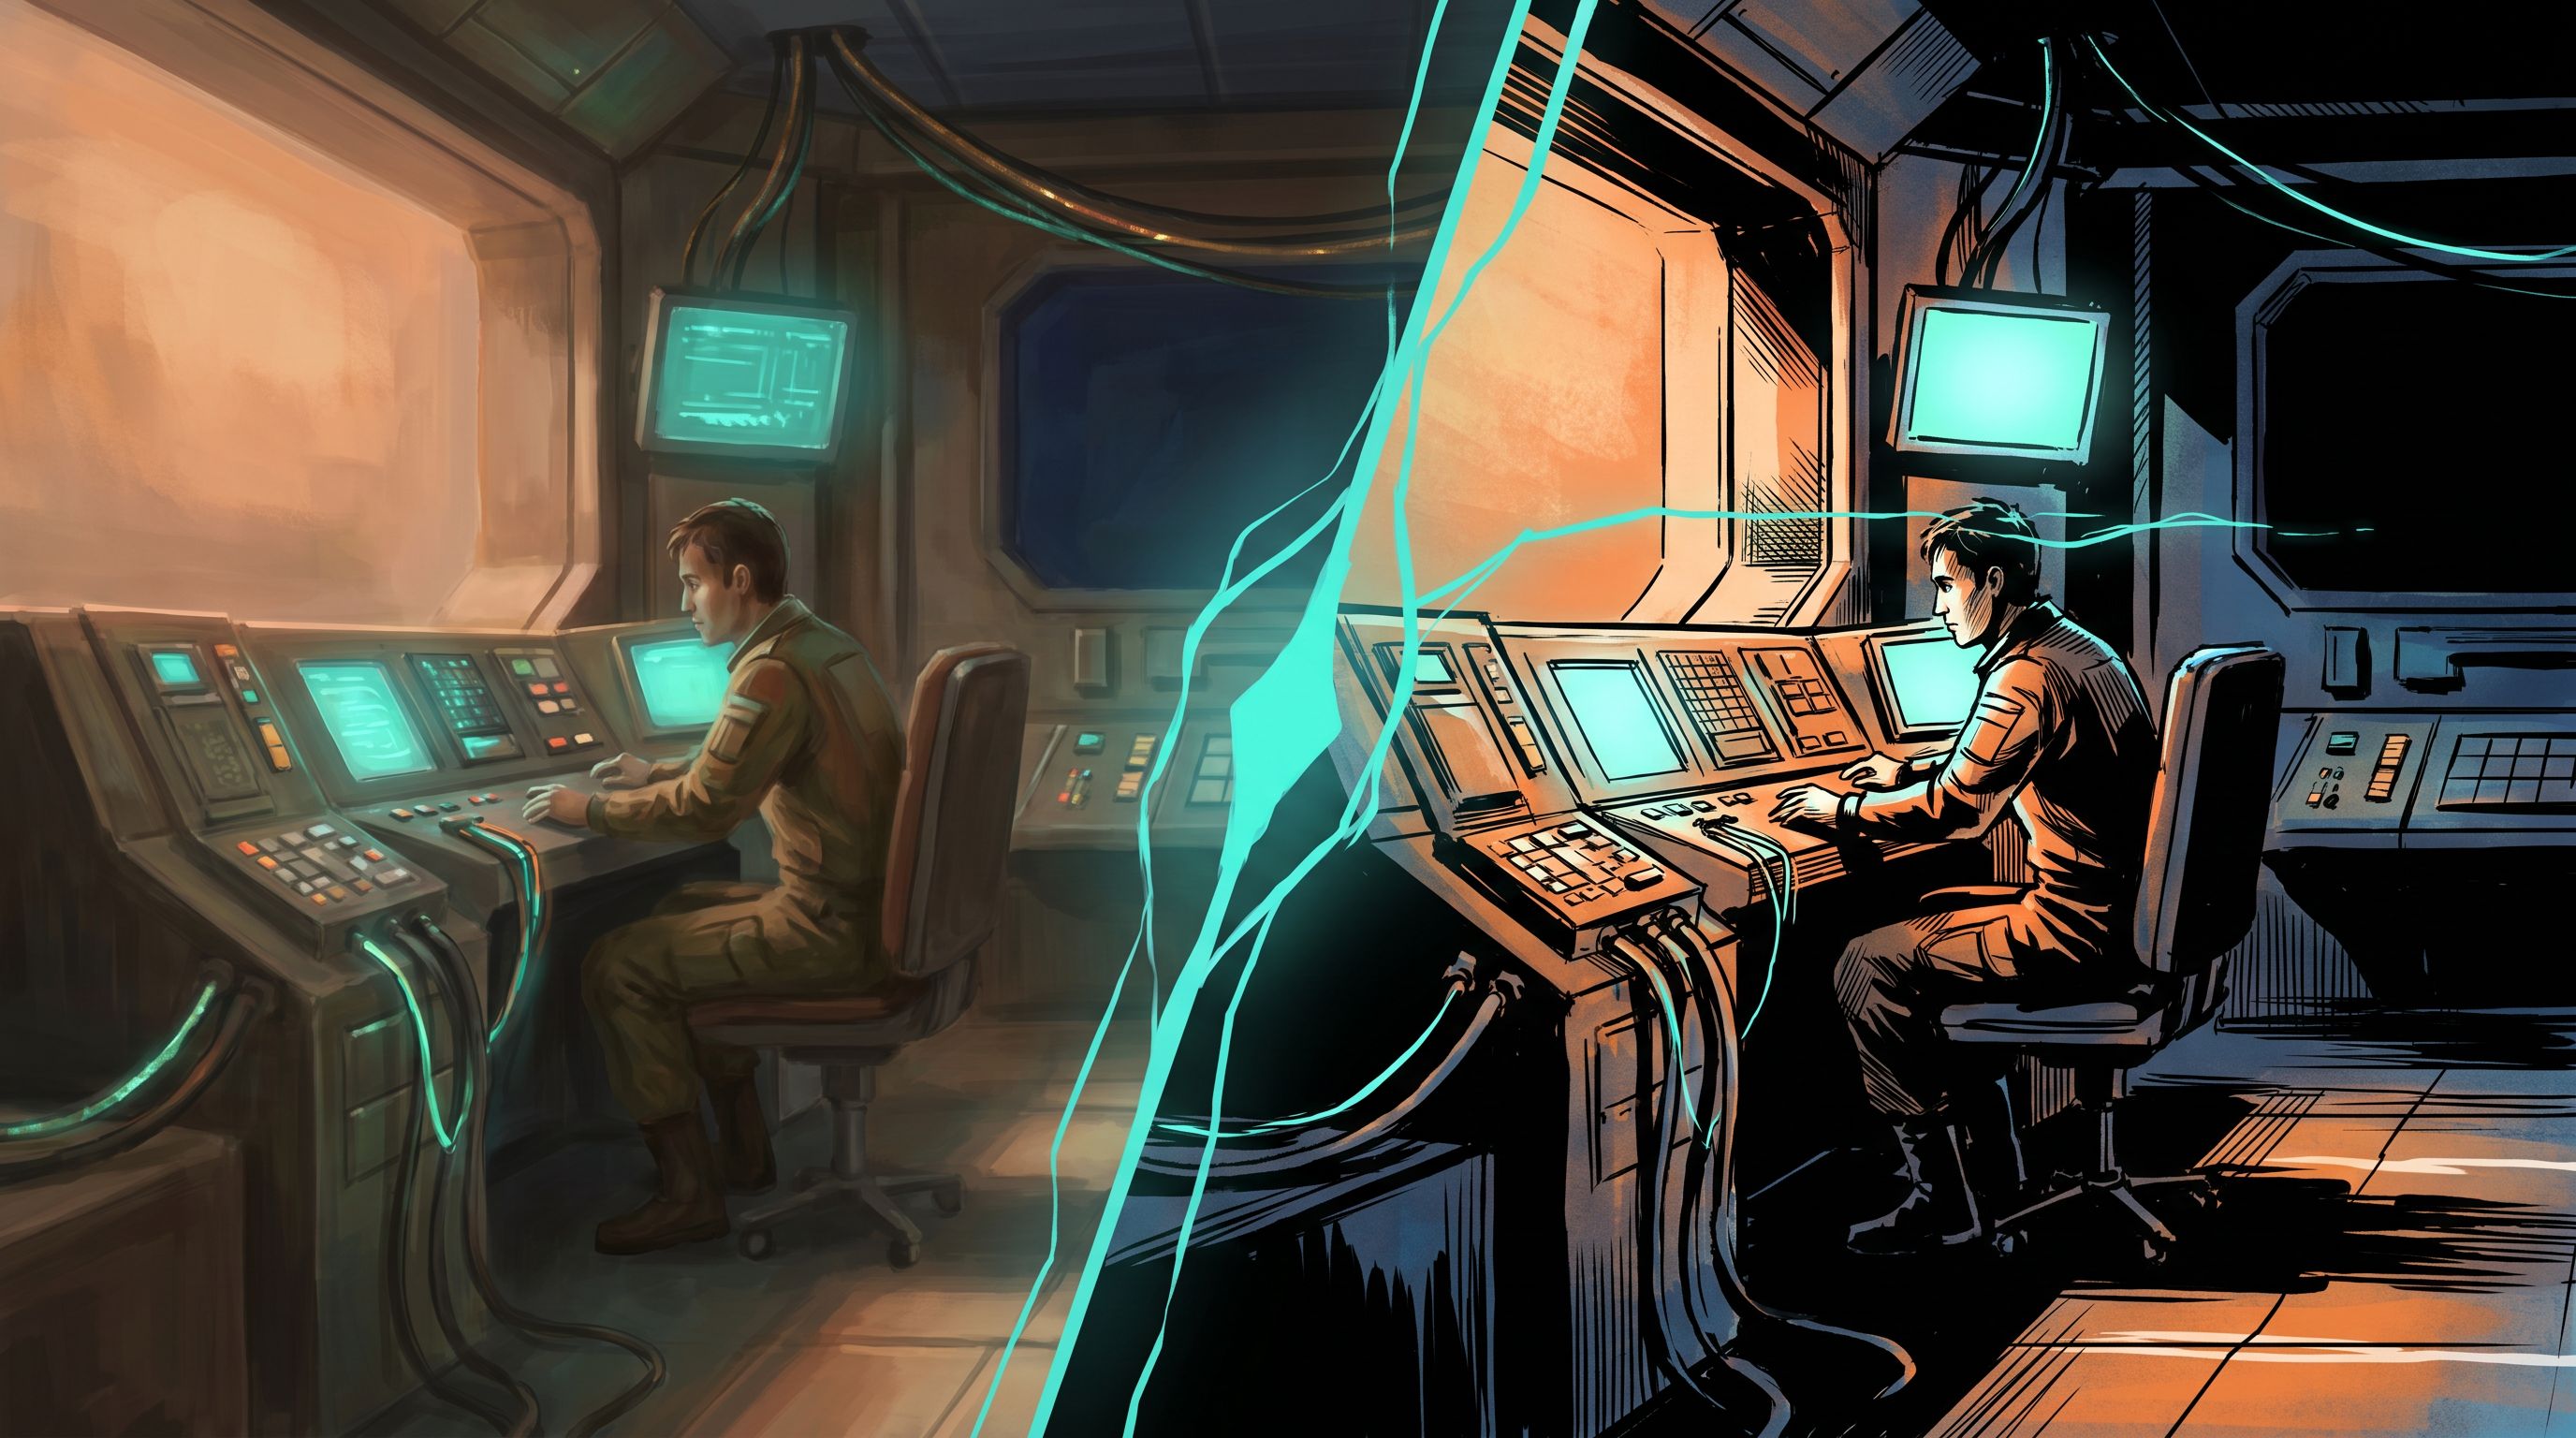
- Soft, sketchy style = flashbacks, hypothetical futures, or internal monologues.
Then, whenever you switch styles in Questas:
- Signal it with a transition scene (e.g., character falling asleep, entering VR, walking through a portal).
- Use consistent visual motifs (same teal accent, same grain, same camera angles) so players feel continuity through the change.
2. Use Style to Differentiate Perspectives
If your quest lets players jump between characters or factions:
- Give each POV a sub-style, but keep the base chord.
- Example:
- Rebel POV: gritty, handheld-feeling compositions, more noise and texture.
- Corporate POV: clean lines, symmetrical framing, cooler color temperature.
This approach pairs well with complex multi-POV stories. If that’s your jam, you may find The Tangled Timeline: Techniques for Keeping Branching Questas Plots Coherent When Players Jump Across Perspectives helpful too.
3. Let Players Notice the Shift
You can even call attention to style changes in the text:
- “The colors drain from the room, leaving only sharp lines and stark shadows.”
- “Everything looks sketchier now, as if the world itself isn’t fully decided.”
This turns visual variation into diegetic storytelling, not a production artifact.
Step 5: Build a Reusable Visual Toolkit Inside Questas
To make mood mixing sustainable, treat your visuals like a toolkit, not one-off experiments.
Here’s a practical workflow you can use inside Questas:
-
Create a “Style Lab” sub-quest.
- Spin up a small, separate project or branch where you test prompts, palettes, and compositions.
- Generate a handful of scenes with your base chord and a few variant chords.
-
Curate your winners.
For each test, ask:- Does this feel like the same world as the other images?
- Does it support the emotional tone I want for that branch?
- Can I imagine this holding up across 20+ scenes?
Save only the strongest results as reference scenes.
-
Document your recipes.
In a dedicated node, list:- Base chord text
- Variant chords and when to use them
- Character descriptions
- Notes on what didn’t work (e.g., “full neon palette broke the grounded feel”).
-
Turn references into templates.
- Duplicate reference scenes when building new branches.
- Swap text and choices, then adjust prompts slightly to match the new context.
-
Audit your quest visually.
Every so often, do a thumbnail pass:- Zoom out on your Questas project and skim the scene previews.
- Look for images that feel like they belong to a different project.
- Regenerate or tweak prompts where needed.
This “style lab → recipe → template → audit” loop keeps your world coherent even as you experiment.
Step 6: Plan Mood Arcs, Not Just Plot Arcs
Branching narratives already ask you to think in terms of plot arcs. Mood mixing adds a parallel layer: visual and emotional arcs.
For each major route through your quest, sketch:
-
Starting mood.
- Calm orientation?
- Uneasy curiosity?
- Immediate crisis?
-
Key emotional peaks.
- Where should visuals feel most intense, surreal, or stylized?
-
Moments of relief.
- Where can you soften lighting, simplify compositions, or use warmer tones to give players a breather?
-
Ending tone.
- Hopeful? Bittersweet? Ambiguous? Triumphant?
Then, align your style variants to those arcs:
- Use bolder contrasts and more stylized elements at emotional peaks.
- Use simpler, cleaner visuals in reflective or onboarding scenes.
This is especially powerful in the first few screens of your quest. If you want help shaping that early emotional arc, check out The First Five Screens: Onboarding New Players Smoothly into Complex Questas Worlds.
Step 7: Start Small, Then Widen the Palette
It’s tempting to try every style at once. Resist.
When you’re building your first visually rich quest in Questas:
-
Lock a narrow base first.
- One main palette
- One lighting approach
- One texture/finish
-
Ship a small, playable slice.
- For example, a 10–15 minute pilot that uses only two style variants: baseline reality and one heightened mode (e.g., crisis or dream).
-
Watch how players respond.
- Do they notice the style shifts?
- Do they feel more engaged or confused?
- Are there branches where visuals feel out of sync with the text?
-
Add more variants only where they serve a clear purpose.
- New POV → new sub-style.
- New timeline → different color temperature.
- New emotional register → different contrast and framing.
This incremental approach lets you tune your mood mixer gradually instead of trying to solve everything at once.
Bringing It All Together
Blending multiple AI image styles into one cohesive Questas world isn’t about chasing perfection. It’s about intentionality:
- You define a house mood that anchors your universe.
- You build prompt chords that mix styles without losing coherence.
- You treat characters as visual anchors across branches.
- You make style shifts serve the story, not fight it.
- You build a reusable toolkit and audit your project visually.
- You design mood arcs alongside plot arcs.
- You start small, then widen your palette as you learn.
Do that, and your players won’t be thinking about prompts or models. They’ll just feel like they’ve stepped into a world that holds together—no matter which path they take.
Where to Go Next
If you’re ready to put this into practice:
- Open Questas and create a tiny “Style Lab” quest.
- Draft a one-paragraph house mood for your current or next story.
- Build one base chord and one variant chord, then generate 4–6 test scenes.
- Pick your favorites, turn them into templates, and use them in a short playable pilot.
You don’t need a full series mapped out to start. One small, well-styled branch is enough to teach you more than a dozen mood boards.
Your world is already vivid in your head. Let AI be your mood mixer—and let Questas be the stage where players finally get to walk around inside it.