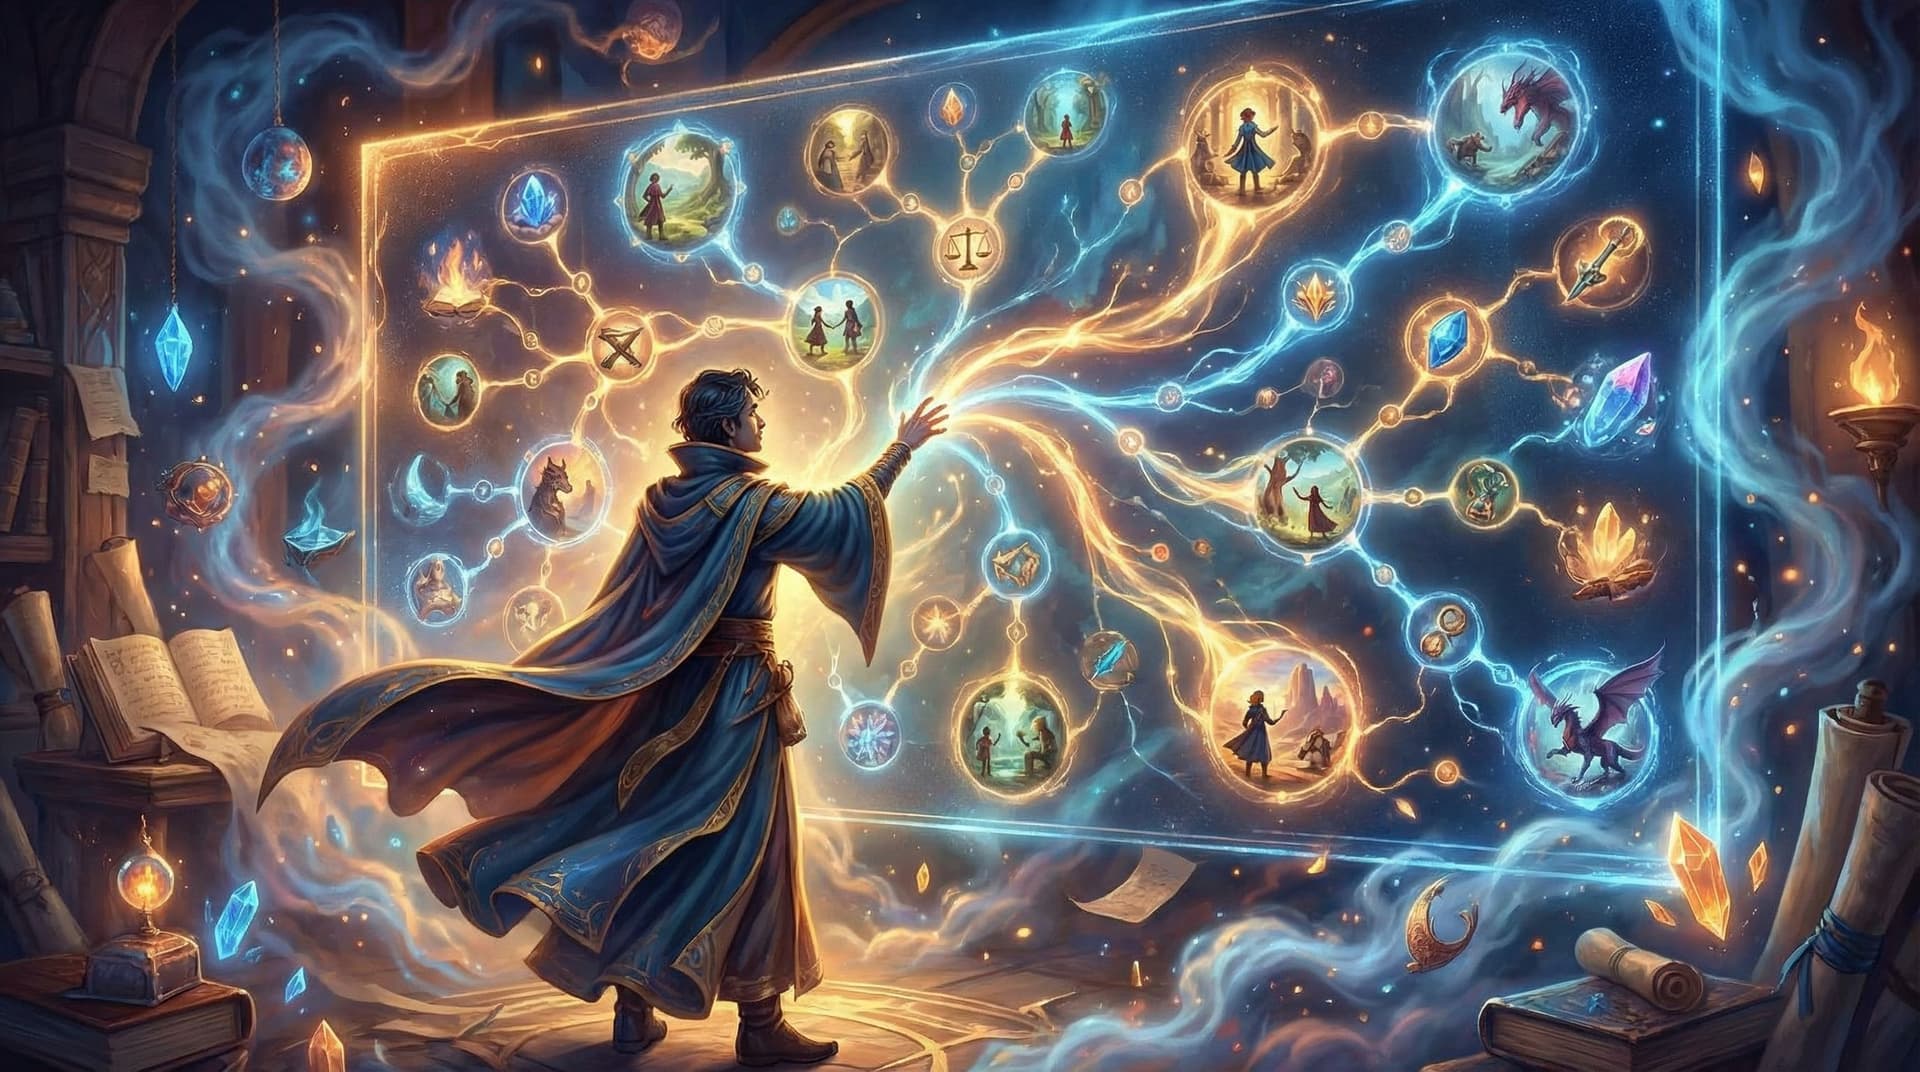
Picture This: How to Prompt AI for Consistent Characters and Worlds in Questas

If you’ve ever tried to generate images for an interactive story, you’ve probably run into this problem:
You love the hero in Scene 1… but by Scene 3, the AI has turned them into a completely different person.
New face. New outfit. Sometimes a new species.
For branching, choice-driven stories, that inconsistency breaks immersion fast. The magic of your story depends on readers believing they’re following the same character through the same world—even as choices send them down wildly different paths.
That’s why learning to prompt AI for consistent characters and worlds is one of the most valuable skills you can develop as a Questas creator.
In this guide, we’ll walk through practical, repeatable techniques you can use inside Questas to:
- Lock in a character’s look across dozens of scenes
- Keep your world’s style and mood coherent, even as the plot branches
- Design prompts you can reuse, remix, and scale as your story grows
Whether you’re building a cinematic sci-fi epic, a classroom mystery, or a cozy slice-of-life adventure, these techniques will help your visuals feel intentional and story-driven.
Why Visual Consistency Matters for Interactive Stories
Interactive stories ask readers to do more than just watch—they participate. That makes visual continuity even more important than in traditional linear fiction.
Here’s what consistency buys you:
- Stronger emotional attachment – When a character looks and feels the same from scene to scene, readers build a relationship with them. That’s crucial when choices affect that character’s fate.
- Less cognitive friction – If your main character’s appearance keeps changing, readers waste mental energy re-orienting instead of focusing on choices and consequences.
- Clearer branching – When visuals stay consistent while situations change, it’s easier to feel the impact of each decision. This pairs beautifully with structured patterns like the ones we cover in Level Up Your Plots: 7 Branching Narrative Patterns to Try in Questas.
- Professional polish – Consistent characters and worlds simply feel more “finished,” even if you’re a solo creator or educator with no art background.
The good news: you don’t need advanced art skills or complex tools. You just need a disciplined prompting approach.
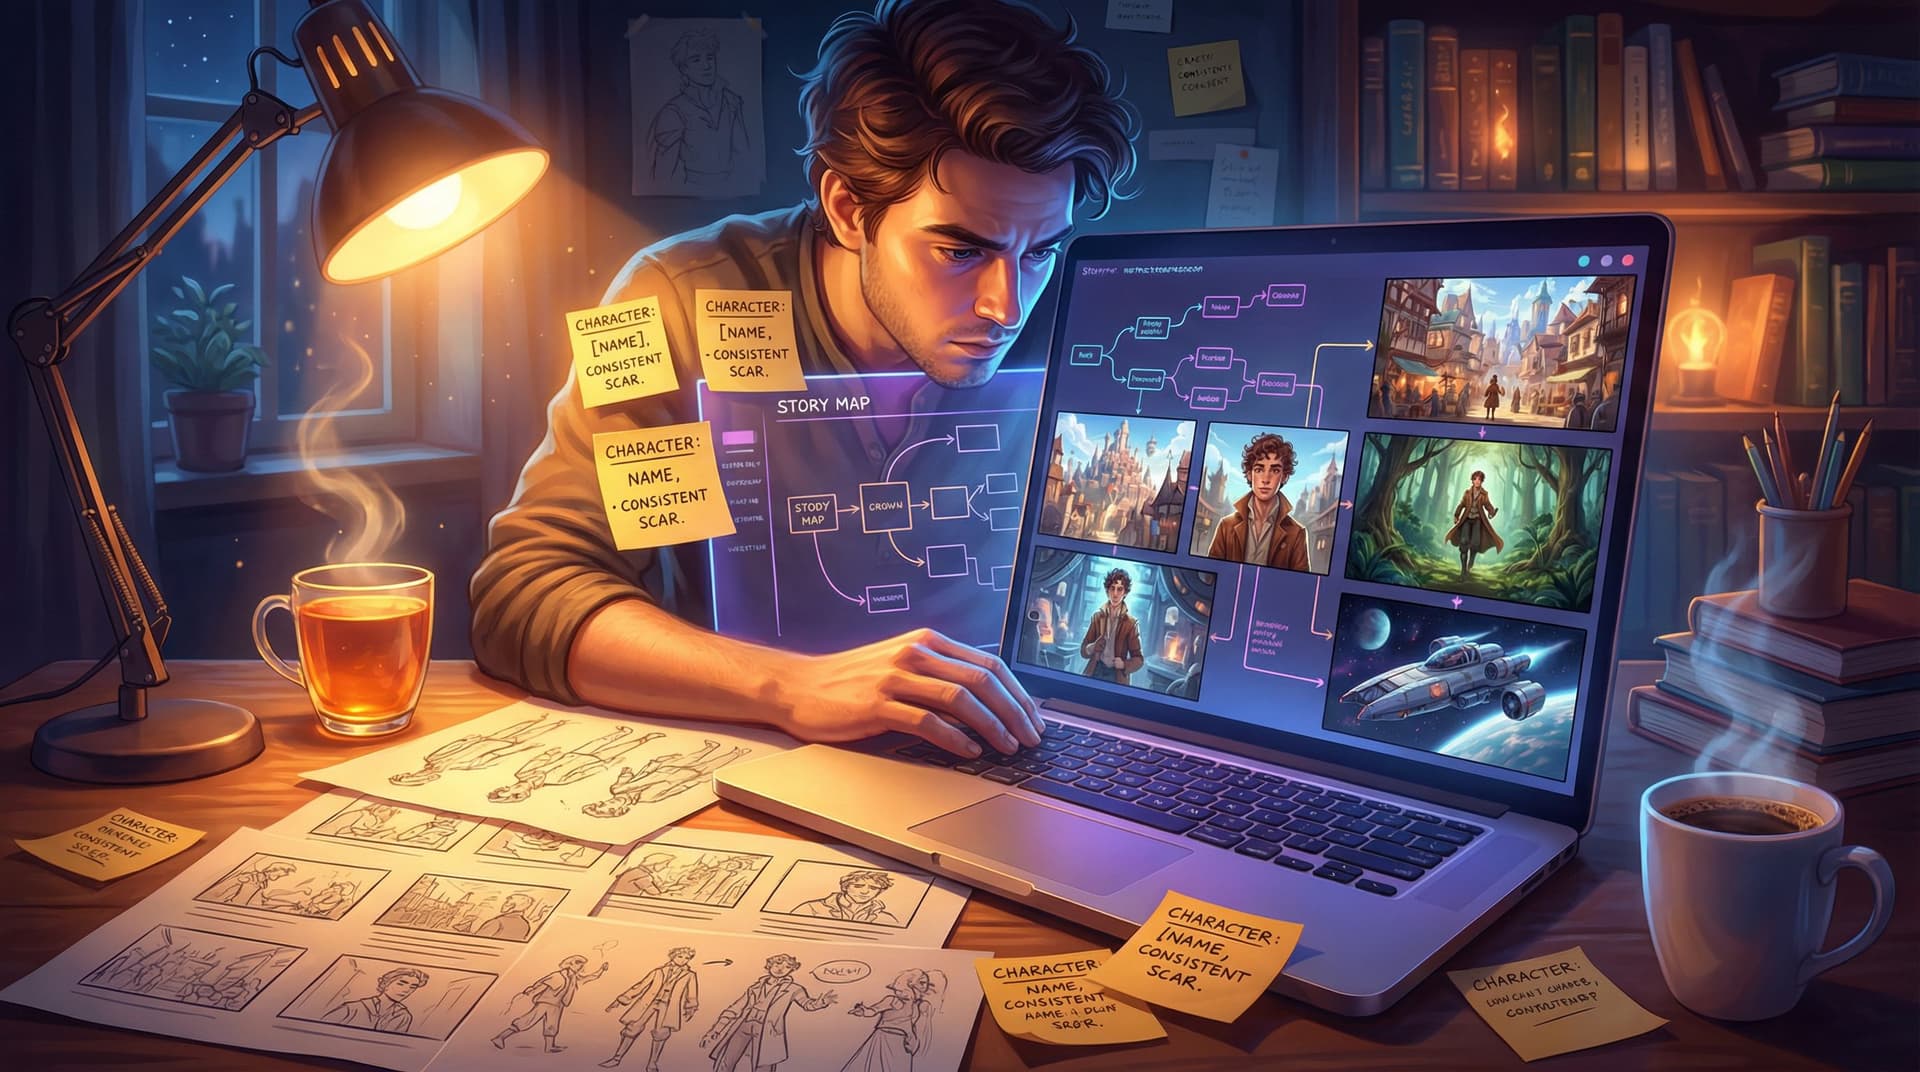
Start With a Character Bible (Even for AI)
Before you ever type a prompt, define your character like you would for a traditional story. This becomes your visual contract with yourself.
Create a simple character bible that includes:
1. Core physical traits
- Age range (e.g., "around 16," "mid-40s")
- Body type (slim, muscular, curvy, broad-shouldered)
- Skin tone (be specific: “medium brown with warm undertones”)
- Hair (color, length, texture, style)
- Eyes (color, shape, expression—e.g., "wide, curious green eyes")
- Distinguishing marks (freckles, scar, tattoo, birthmark)
2. Signature outfit(s)
- Everyday outfit (colors, style, notable accessories)
- Variants for specific contexts (battle gear, school uniform, formal wear)
3. Personality cues
- A few adjectives (e.g., "optimistic, impulsive, loyal")
- Typical expressions (smiling, wary, intense, thoughtful)
- Posture/energy (relaxed, tense, confident, shy)
You can keep this in a note, a doc, or directly in a reference node in your Questas project.
Tip: Treat this like a source of truth. When you update the character bible, update your prompts to match.
Turn That Bible Into a Reusable Prompt Template
Once you’ve defined your character, your next step is to translate that into a prompt template you can reuse across scenes.
Here’s a simple structure you can adopt:
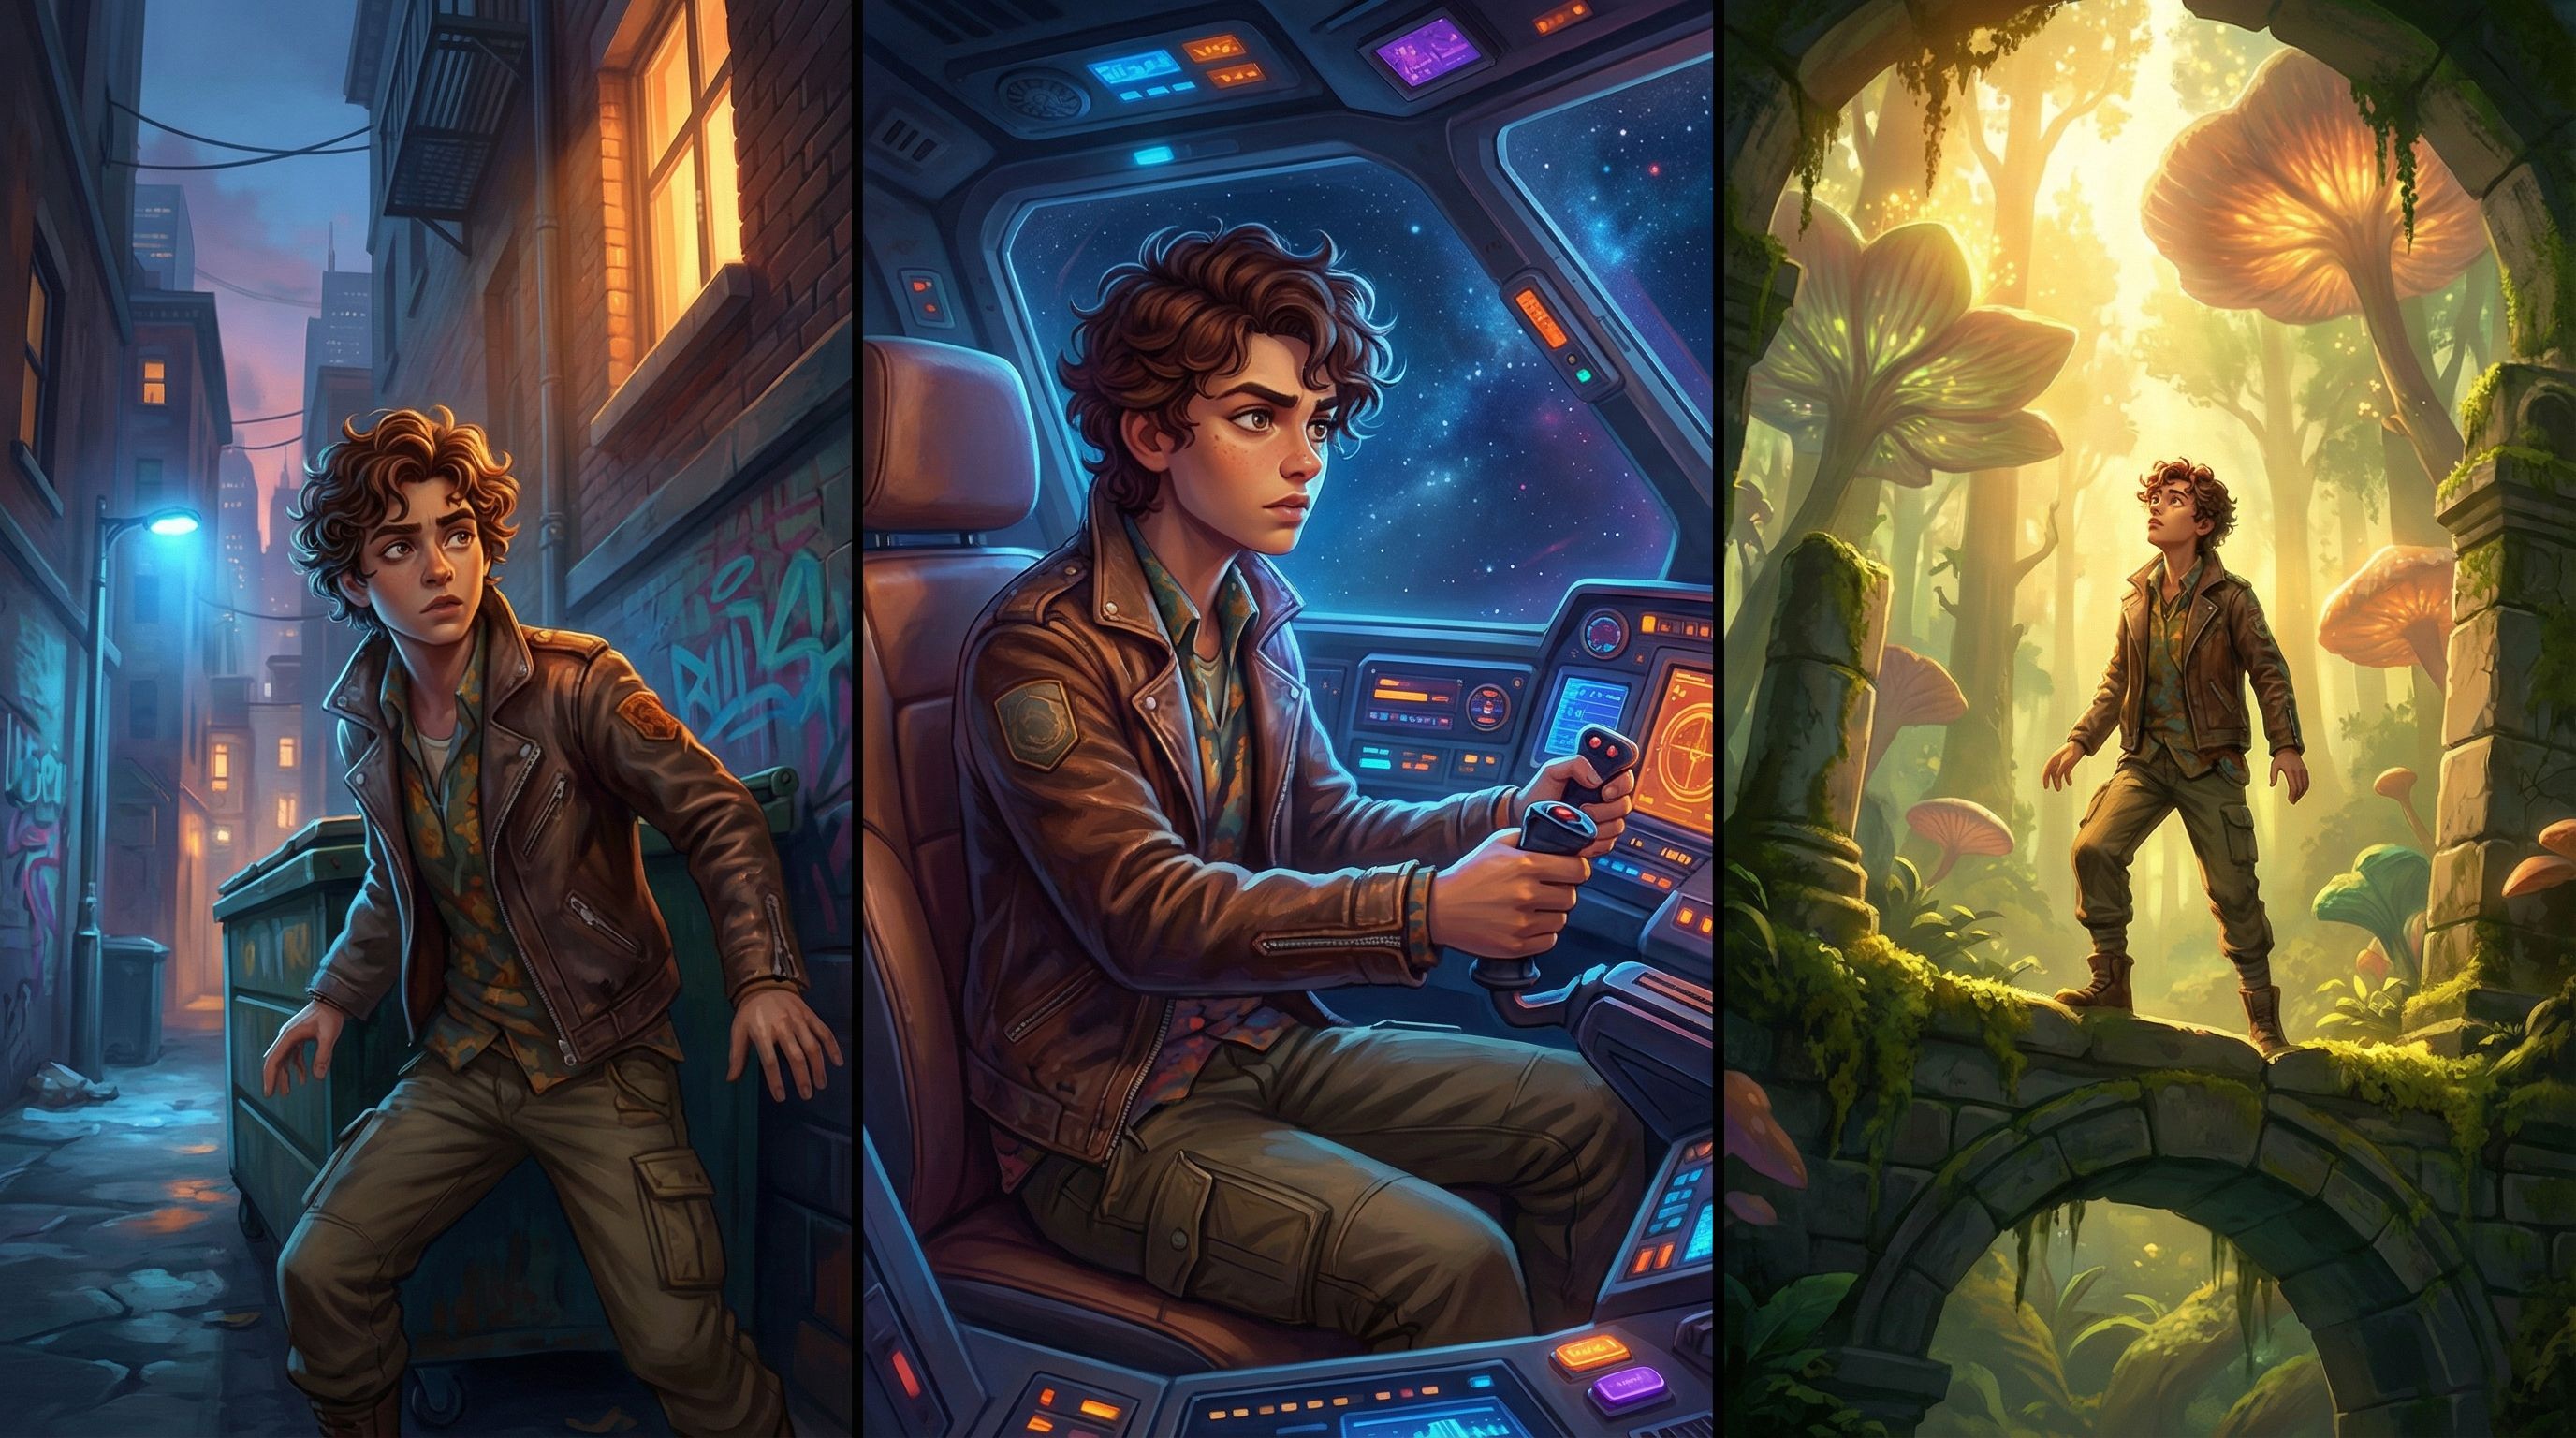
[Subject] – [Age], [body type], [skin tone], [hair], [eyes], [distinguishing features], wearing [signature outfit], [expression], [pose], in [setting], in [visual style]
Example for a teen sci-fi protagonist:
A 16-year-old girl, slim build, light brown skin with warm undertones, shoulder-length curly black hair, bright hazel eyes, a small scar on her left eyebrow, wearing a teal bomber jacket with glowing circuitry patterns, dark cargo pants, and worn sneakers, determined expression, standing in a ready stance, in a neon-lit alley of a futuristic city, cinematic lighting, detailed, cohesive color palette.
Then, instead of rewriting from scratch every time, you:
- Keep 70–80% of the prompt identical across scenes
- Only change what needs to change:
- Expression (e.g., “shocked,” “relieved,” “furious”)
- Pose (e.g., “running,” “kneeling,” “reaching out a hand”)
- Setting details (e.g., “inside a cramped spaceship cockpit” instead of “neon-lit alley”)
This balance of fixed and variable elements is the key to getting recognizable characters in different contexts.
Use Anchors: The Secret Sauce of Consistency
AI image models are pattern-hungry. You can use that to your advantage by building anchors into your prompts—details that repeat so consistently that the model starts treating them as non-negotiable.
1. Visual Anchors
These are unique, visually striking elements that appear in every image of that character.
Examples:
- A bright red scarf with a specific pattern
- A glowing amulet with a spiral symbol
- A prosthetic arm with blue LED lines
- A distinctive hairstyle (e.g., “half-shaved head with a long braid on the right side”)
When you prompt, don’t just say “scarf.” Say:
“wearing a long bright red scarf with a subtle diamond pattern, always the same scarf”
Adding “always the same” or “signature” can nudge the model to treat it as a core identity trait.
2. Style Anchors
Visual style is just as important as character design.
Pick a style recipe for your story and stick to it:
- Color palette (e.g., “warm, golden tones,” “cool blues and purples,” “muted earth tones”)
- Rendering style (e.g., “painterly illustration,” “cel-shaded anime,” “soft watercolor,” “3D cinematic render”)
- Camera feel (e.g., “cinematic wide shot,” “intimate close-up portrait,” “over-the-shoulder shot”)
Then bake this into every prompt:
“…in a painterly illustration style with warm golden lighting and soft brush strokes, cohesive color palette, subtle film grain.”
3. Textual Anchors
Use consistent phrasing in your prompts:
- Use the same order of traits
- Reuse key adjectives
- Repeat your style description almost verbatim
AI models often respond better to familiar phrasing than to many different ways of saying the same thing.
Building a Consistent World: Locations, Mood, and Rules
Characters don’t exist in a vacuum. Your world needs consistency, too—especially in a branching story where players may visit locations in different orders.
Define Location Profiles
For your major locations (e.g., “The Skyport,” “The Enchanted Library,” “The Classroom Lab”), create a simple profile:
- Architecture & layout – cramped or spacious, vertical or horizontal, cluttered or minimal
- Lighting – warm candlelight, harsh fluorescents, bioluminescent plants
- Color palette – dominant colors and contrasts
- Signature elements – floating lanterns, holographic billboards, chalkboard walls, hanging vines
Then turn each into a reusable prompt block:
“inside the Enchanted Library, towering wooden bookshelves that curve overhead, floating candles, soft golden light, dust motes in the air, deep emerald and burgundy color palette, ornate spiral staircase in the background.”
Copy-paste this block into every scene set in that location, only adjusting what’s absolutely necessary (time of day, number of people, weather visible through windows, etc.).
Keep Mood and Genre Coherent
Ask yourself:
- Is this story whimsical and cozy? Dark and gritty? High-energy and comedic?
- Does the tone shift in certain branches, or stay mostly stable?
Reflect that in your prompts with emotion words for the environment, not just the characters:
- “cozy, inviting atmosphere”
- “tense, foreboding mood”
- “chaotic, high-stakes energy”
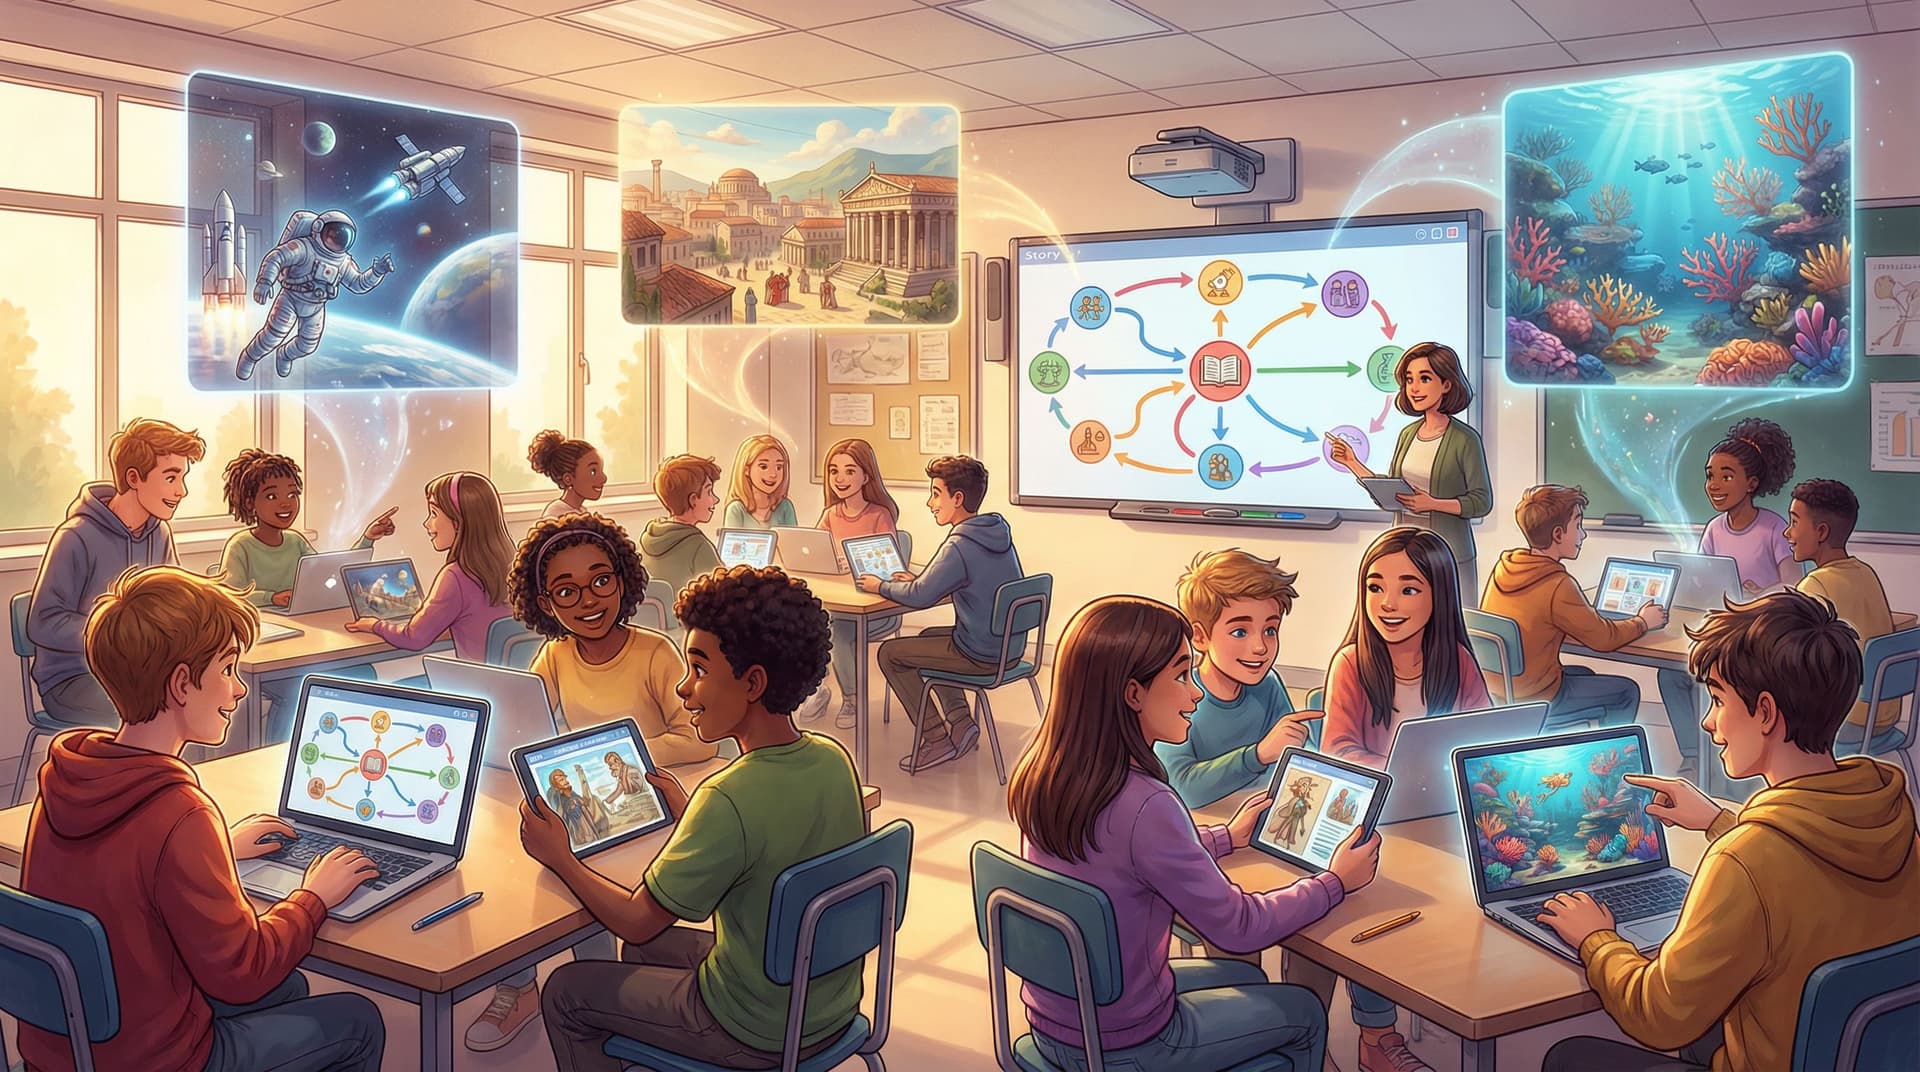
This is especially powerful when designing educational stories or classroom experiences, where you want visuals to support a specific learning atmosphere. If that’s your context, you may also enjoy seeing how teachers apply this in Classroom Adventures: How Teachers Use Questas to Turn Lessons into Playable Stories.
Putting It All Together in Questas
Let’s walk through a practical workflow you can use directly in your Questas projects.
Step 1: Create Your Visual Reference Nodes
Start by designing 2–4 reference images for your main character and key locations.
- Use your full character or location prompt template
- Generate several variations
- Pick the one that best matches your mental image
Label these clearly in your project (e.g., “Hero – Reference Portrait,” “Skyport – Wide Establishing Shot”).
Step 2: Standardize Your Prompt Snippets
In a separate document or note, keep:
- A base character prompt (your template with all fixed traits)
- A few expression/pose snippets (e.g., “shocked, leaning back slightly,” “laughing with eyes closed”)
- Location blocks for each major setting
- A style block you use everywhere
When you create a new scene in Questas:
- Paste the base character prompt.
- Add the relevant location block.
- Add the style block (if it’s not already part of the other two).
- Adjust only the small bits that need to change (pose, expression, action).
This keeps your process quick and consistent.
Step 3: Use Iteration Instead of Reinvention
If a new image comes out almost right but not quite:
- Hit regenerate with minor prompt tweaks instead of rewriting
- Emphasize the missing details: “freckles across the nose,” “same teal bomber jacket as before,” “identical red scarf”
- Add clarifiers like “same character as in previous scene” or “same library as before”
The more your prompts echo each other, the more the model learns what’s non-negotiable.
Avoiding Common Consistency Pitfalls
Even with a good system, a few mistakes can derail your visuals. Watch out for these:
1. Overloading the Prompt
Stuffing your prompt with dozens of details can cause the model to “choose” randomly which ones to honor.
Fix: Prioritize. Decide what is essential (face, outfit, style) and what’s optional (background props, minor accessories).
2. Constantly Changing Style
Trying “anime” for one scene, “watercolor” for the next, and “3D render” after that will make your story feel like a collage.
Fix: Pick one main style for the story. If you must change style, do it intentionally for:
- Flashbacks
- Dream sequences
- In-universe media (e.g., posters, TV screens)
3. Vague Character Descriptions
Prompts like “a young man in a jacket” invite wild variation.
Fix: Be concrete about age, body, face, and clothing. Think like a casting director giving notes to a costume and makeup team.
4. Forgetting the Branching Structure
In branching stories, players may:
- See Scene 5 before Scene 3
- Skip certain scenes entirely
- Revisit locations under different circumstances
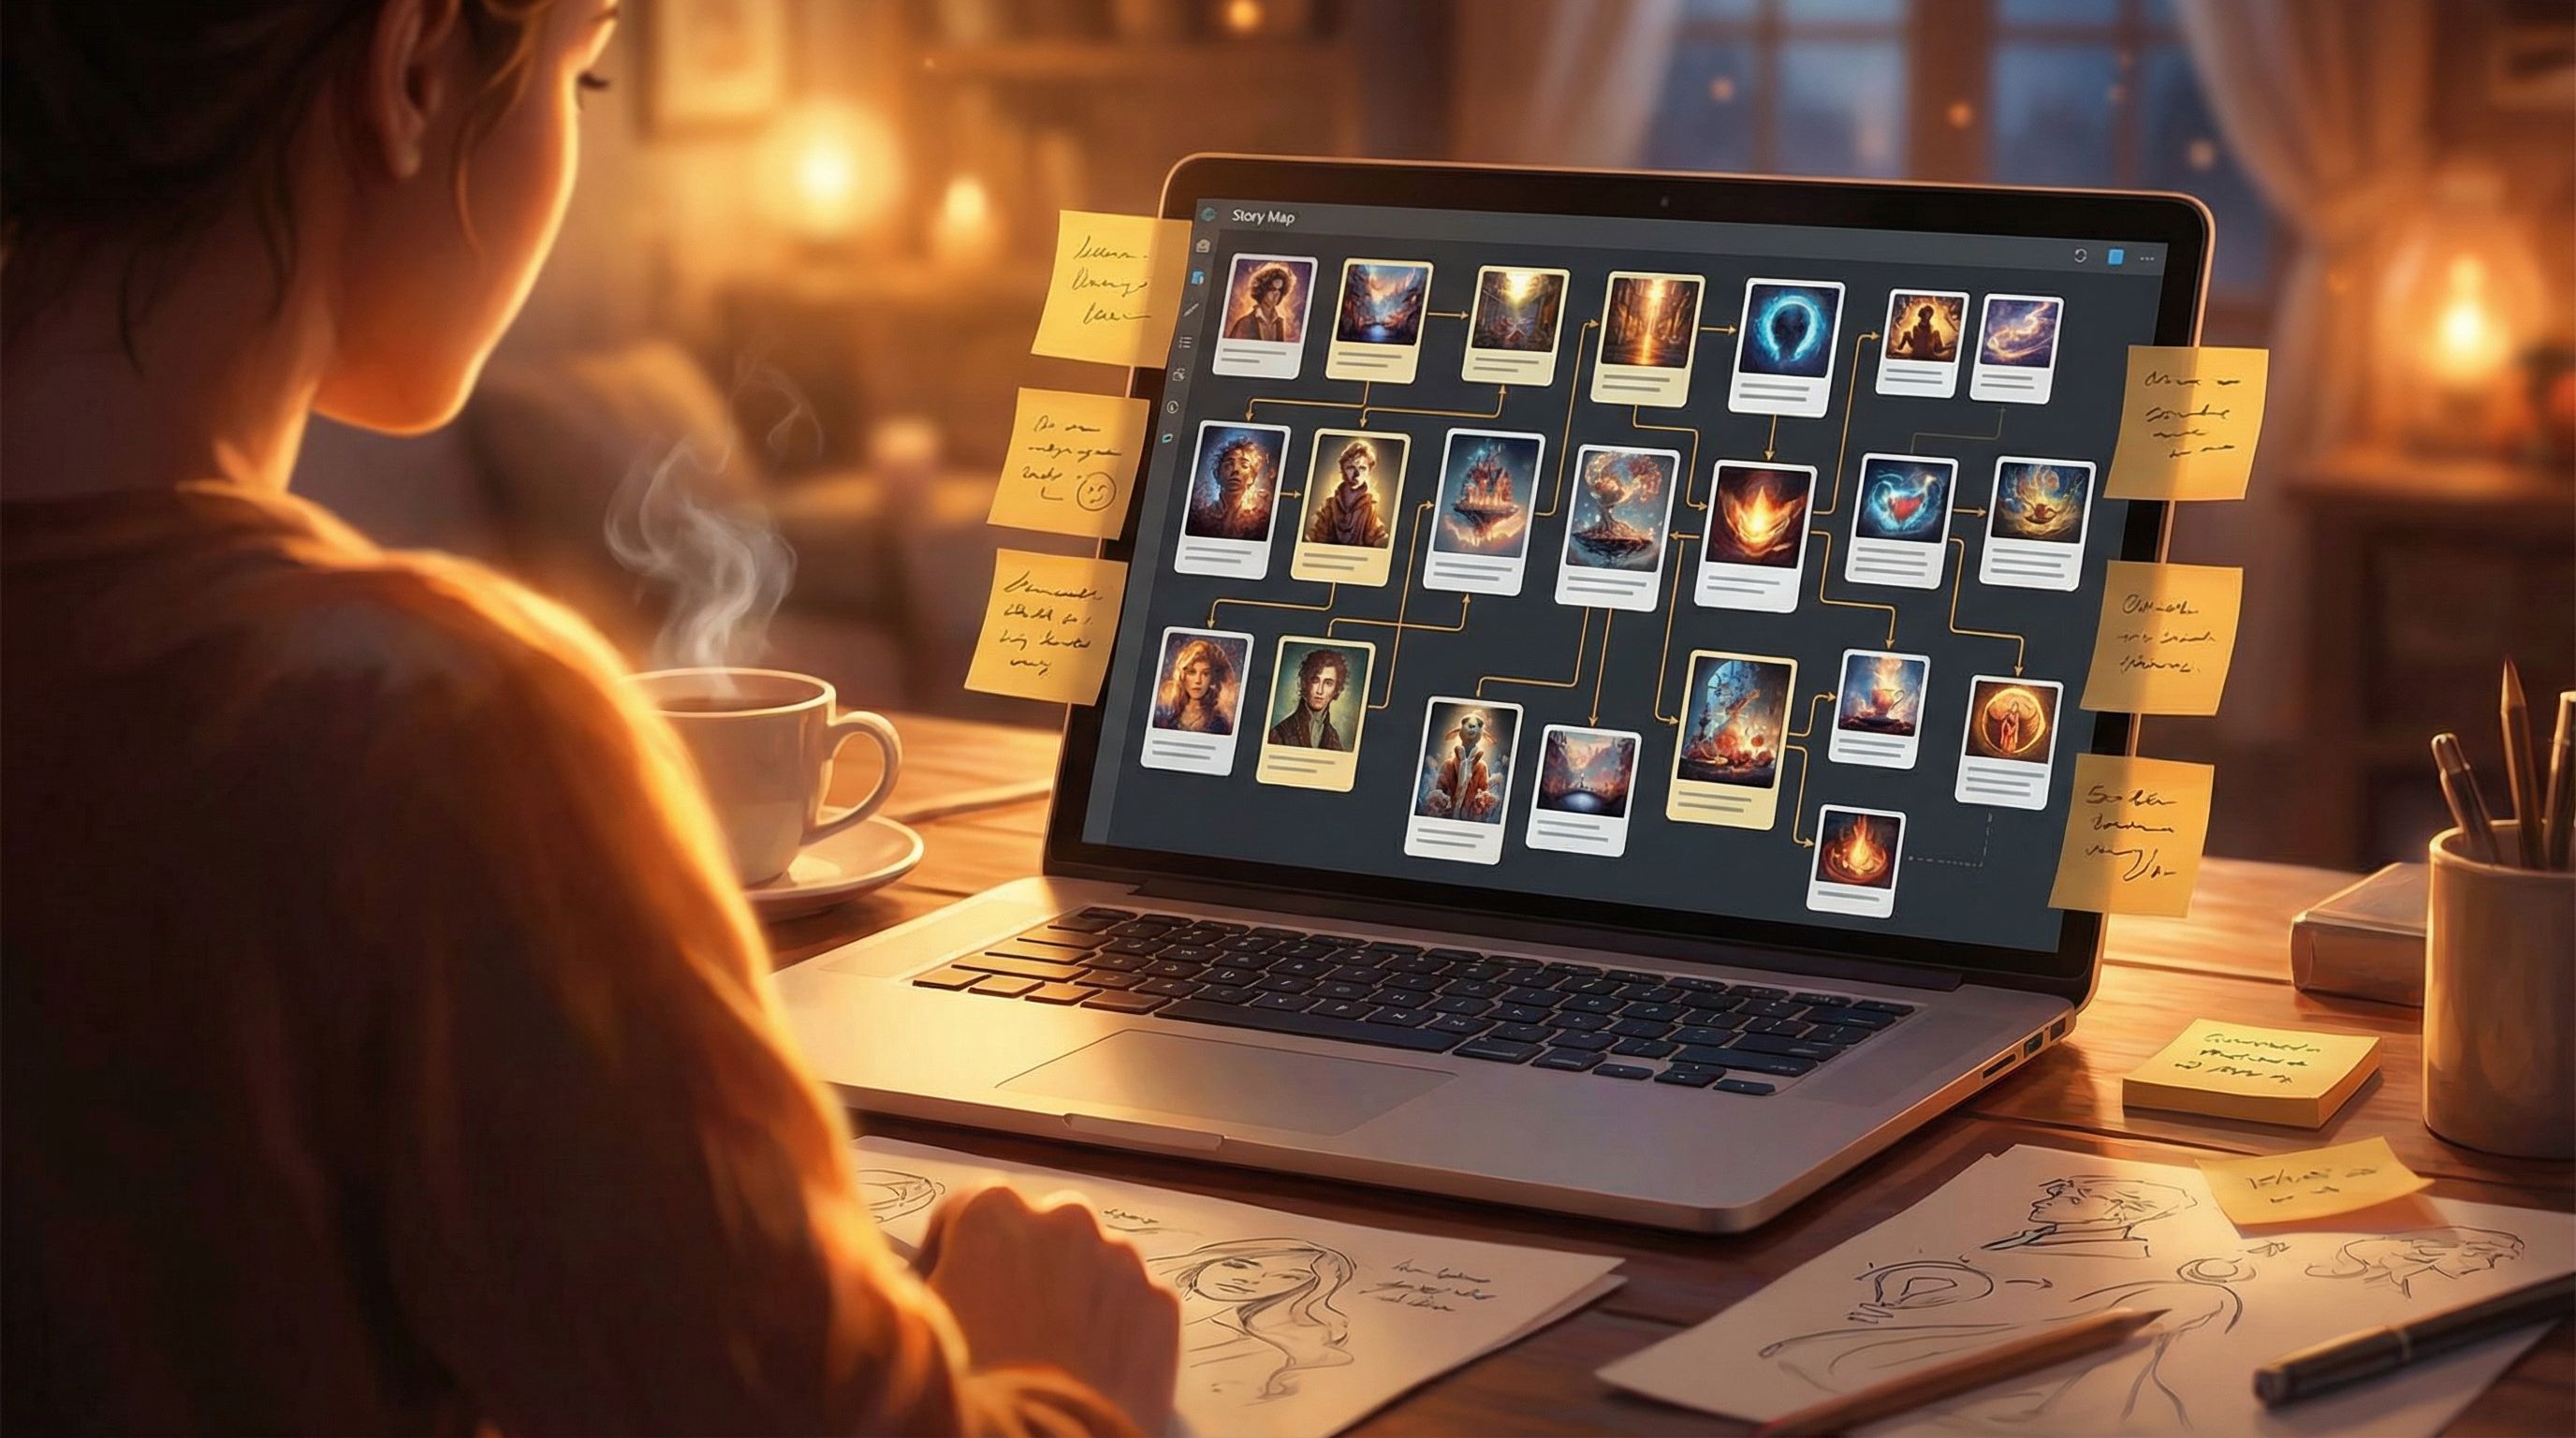
Fix: Check your story map (if you’re experimenting with patterns, you may find our post on branching narrative structures helpful here). Make sure that no matter the path, characters and locations remain recognizable.
When to Loosen Consistency on Purpose
Consistency is powerful—but so is contrast. Sometimes, you want visuals to change dramatically to underline a story beat.
Intentional moments to break your own rules:
- Character growth arcs – New outfit after a major decision, a scar that appears after a tough battle, a more confident posture after a key success.
- Branch-defining moments – In one branch, the city is thriving; in another, it’s in ruins. Make those differences bold.
- Genre twists – A lighthearted comedy branch vs. a darker, more serious branch can justify different palettes or lighting.
The key is to signal continuity plus change:
Same face, same anchor items (scarf, amulet, hairstyle)… but different expression, posture, or environment.
That contrast makes choices feel meaningful while still grounding the player in a familiar world.
Quick Prompt Checklists You Can Reuse
Here are compact checklists you can keep handy when crafting prompts in Questas.
Character Prompt Checklist
For every character image, include:
- [ ] Age range
- [ ] Body type
- [ ] Skin tone (specific)
- [ ] Hair (color, length, texture, style)
- [ ] Eyes (color + vibe)
- [ ] Distinctive features (scars, freckles, tattoos, prosthetics)
- [ ] Signature outfit pieces (at least one anchor item)
- [ ] Expression and pose
- [ ] Setting
- [ ] Style description (same across the story)
World/Location Prompt Checklist
For every location image, include:
- [ ] Architecture/structure
- [ ] Lighting type and source
- [ ] Color palette
- [ ] 2–3 signature environmental elements
- [ ] Mood words (cozy, tense, mysterious, etc.)
- [ ] Style description (matching the story)
Use these as quick sanity checks before generating.
Wrapping Up: Keep Your Story’s Visual Language Fluent
Consistent characters and worlds don’t happen by accident—they’re the result of:
- A clear character and world bible
- Reusable prompt templates and anchors
- A stable visual style applied across branches
- A workflow that favors iteration over reinvention
When you treat your prompts as part of your storytelling craft—not just a technical chore—you unlock interactive stories that feel cinematic, cohesive, and emotionally resonant.
Your Next Step: Try It in Your Own Questas Story
You don’t have to overhaul an entire saga to start using these techniques.
Here’s a simple way to begin:
- Pick one main character from a story idea you’re excited about.
- Write a short character bible (5–10 bullet points).
- Turn it into a prompt template using the structure in this article.
- In Questas, create three scenes:
- A neutral introduction
- A high-stakes moment
- A quieter emotional beat
- Generate images for each scene using the same base prompt, changing only expression, pose, and setting.
Notice how much more “together” your story feels when the visuals line up.
When you’re ready, expand this approach to your locations, your branching paths, and your supporting cast.
Your readers—and your future self—will thank you.
Ready to see your characters stay themselves no matter which path your audience chooses? Open up Questas, build your first character prompt template, and start crafting a world your players will recognize, remember, and want to revisit.