From Style Transfer to Story Consistency: Advanced AI Visual Workflows for Questas Creators

If you’ve built more than one interactive story on Questas, you’ve probably hit this moment:
“Why do my characters look different in every scene?”
“Why does this one branch feel like a different art style entirely?”
“How do I keep things visually cohesive without spending hours per image?”
As AI image and video tools get more powerful, the bar for visual polish keeps rising. Players may happily forgive a rough line of dialogue, but they notice when a protagonist’s face changes every scene or when the mood of the art clashes with the tone of the story.
This post is about moving from one-off prompts to repeatable visual systems—so your Questas feel like unified storyworlds, not AI art experiments stitched together.
We’ll dig into:
- How to use style transfer and style tokens to keep a consistent look
- Techniques for character continuity across dozens of branches
- Scene-level visual rules that make your story feel intentional
- Practical workflows inside Questas for managing and reusing styles
By the end, you’ll have a toolkit you can apply to any quest—whether you’re building a training simulation, a marketing funnel, or a sprawling fantasy epic.
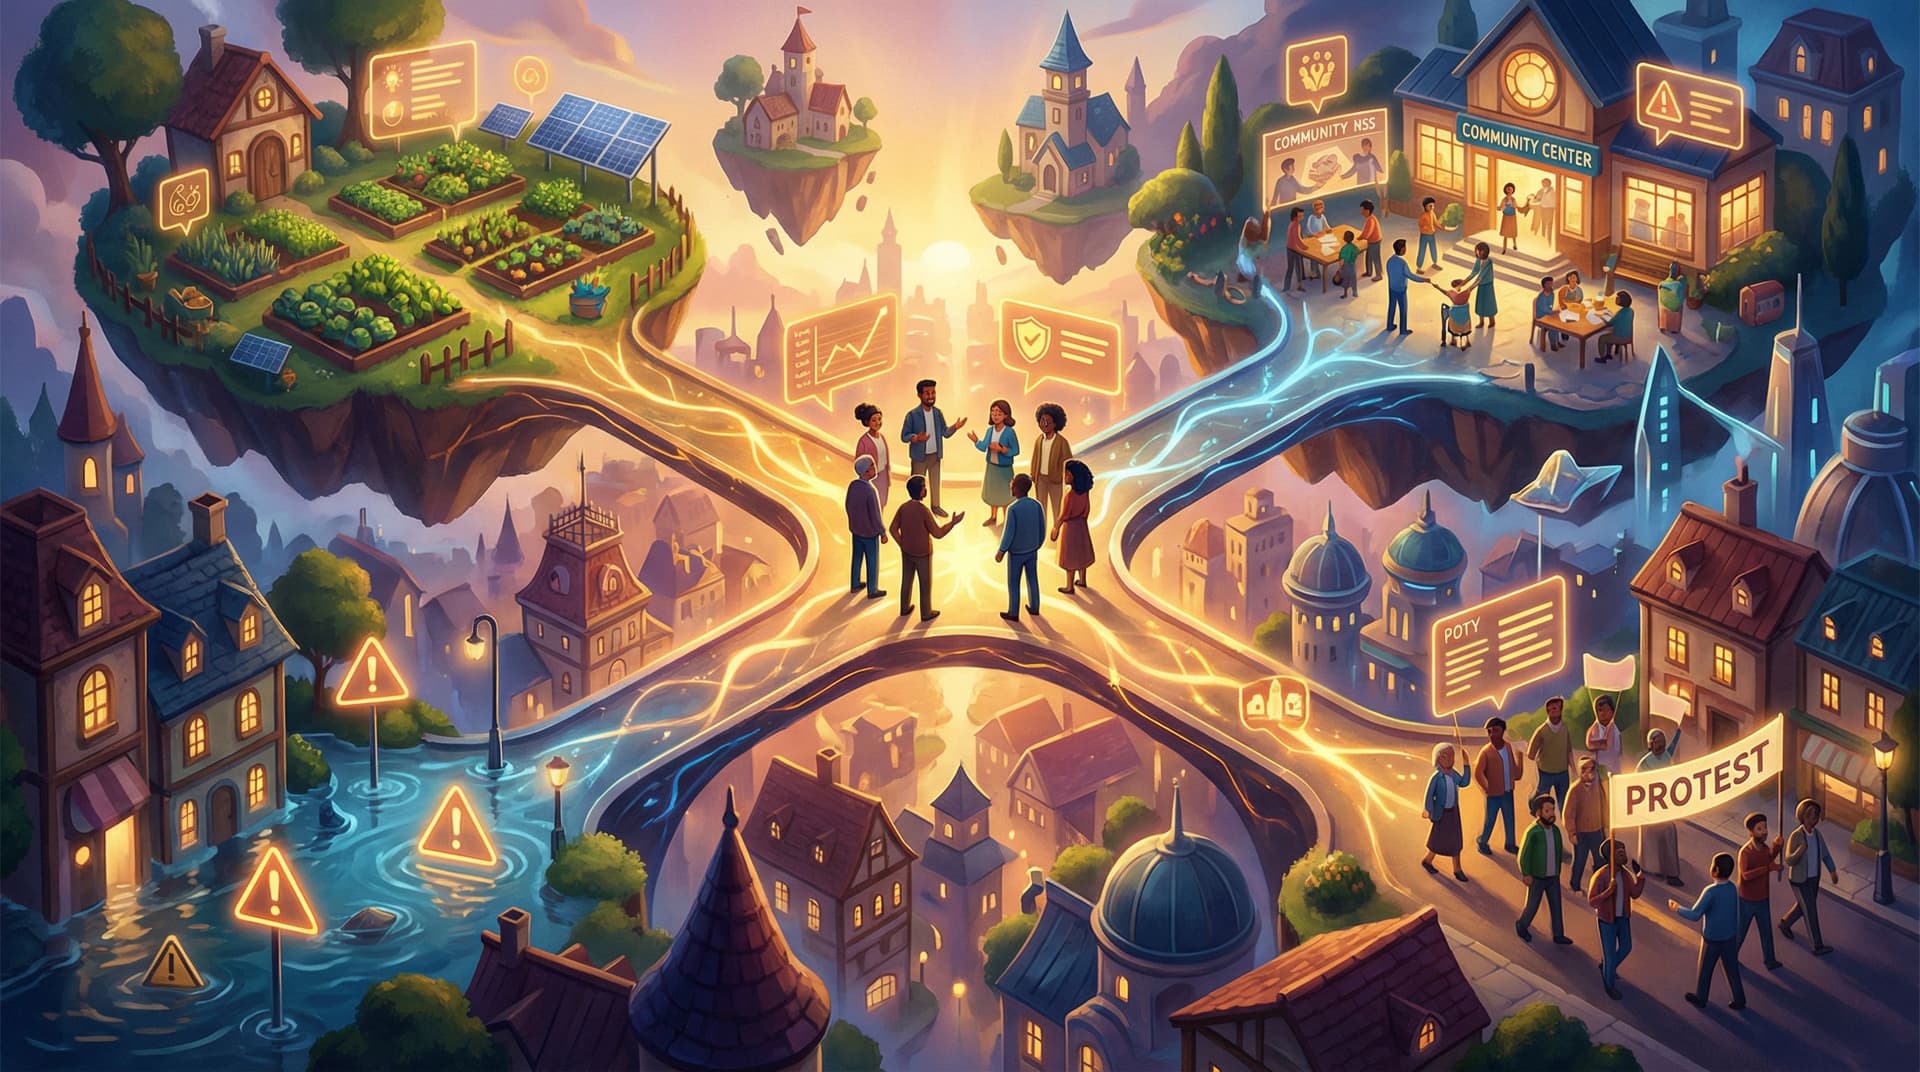
Why Visual Consistency Matters More in Branching Stories
Linear stories can sometimes get away with visual inconsistency. A jarring image shows up, you scroll past it, and the narrative keeps you moving.
In a branching quest, visuals do more work:
- Orientation: Players rely on images to quickly understand where they are in the story map.
- Continuity: When they loop back, reroute, or replay, consistent visuals help them recognize, “Oh, I’ve been here before—but something’s different this time.”
- Emotion: Mood, lighting, and composition carry a lot of the emotional weight, especially when text is concise.
If you’ve read our post on using AI art to plan your story structure—AI Art as Storyboard: Rapidly Prototyping Adventure Worlds Before You Write a Single Line—you’ve seen how early visuals can shape narrative decisions. Advanced visual workflows take that idea further: you’re not just sketching; you’re designing a visual system your whole quest can run on.
Benefits of a consistent visual workflow:
- Your quests look intentional instead of random.
- You can scale to more scenes without multiplying your workload.
- Collaborators (writers, subject-matter experts, marketers) can plug into a shared style language.
- Players feel like they’re inhabiting one coherent world—even when they’re jumping across wildly different branches.
Step 1: Define Your Visual North Star Before You Generate Anything
Before you open an AI image tool, you want a short, reusable description of your story’s visual identity. Think of it as your style seed.
Answer these questions in a single paragraph:
-
Medium: Is this world illustrated, painted, photographed, or something in between?
- “Painterly, concept-art style”
- “Crisp 3D renders with soft lighting”
- “Grainy, documentary photography”
-
Mood and palette: What feelings should the visuals evoke?
- “Warm, hopeful, golden light”
- “Cold, clinical, desaturated blues and grays”
- “Neon, high-contrast, cyberpunk glow”
-
Level of detail: How busy or clean is the frame?
- “Minimalist compositions with lots of negative space”
- “Dense, intricate backgrounds full of environmental storytelling”
-
Camera and framing: How close are we to the action?
- “Mostly mid-shots and close-ups on characters”
- “Wide establishing shots with tiny figures in the distance”
Write this down in a doc or inside your Questas project notes. You’ll reuse it as a base in every visual prompt.
Example style seed:
Painterly, cinematic concept art with soft edges and subtle grain, warm golden and teal color palette, moody directional lighting, mid-shots and wide shots that emphasize scale, detailed but not cluttered backgrounds.
Once you have this, you can layer on specific content (“a crowded spaceport,” “a tense boardroom training scenario”) while keeping the underlying style stable.
Step 2: Use Style Transfer and Style Tokens as Reusable Building Blocks
Most modern AI image tools support some form of style transfer or style tokens:
- Style transfer: Upload a reference image (or choose a built‑in style) and ask the model to render new content “in this style.”
- Style tokens / presets: Save a particular style configuration and reuse it across prompts.
To build a reliable workflow for Questas, treat these like reusable components.
Build a Small Style Library
Instead of chasing novelty with every scene, create a tiny library of 3–5 styles that cover your whole quest:
- Core narrative style (used in 70–80% of scenes)
- Flashback or dream style (slightly different palette or texture)
- UI / map / diagram style (clean, readable, often more minimal)
- Optional: “System view” style for training or simulation overlays
Within your image tool of choice:
- Create each style once using your style seed.
- Save it as a preset, token, or named reference.
- Note the exact prompt text and parameters in a shared doc.
Then, inside Questas:
- Tag scenes with which style they should use.
- Keep a short style note in your scene descriptions so collaborators know what to request.
Use Style Transfer for External Assets
Sometimes you need to bring in a logo, a product shot, or a real photograph. Raw, they often clash with your quest’s look.
Use style transfer to normalize them:
- Upload the original asset.
- Apply your core narrative style (or UI style for diagrams).
- Keep important details (brand colors, text) legible.
This is especially powerful if you’re building:
- Interactive trainings from real customer support logs (see: From Chat Transcript to Quest: Turning Customer Support Logs into Interactive Training Scenarios)
- Product demos or onboarding flows based on screenshots
The goal isn’t photorealistic accuracy; it’s stylistic harmony so players stay immersed.
Step 3: Lock in Character Consistency Across Branches
Nothing breaks immersion faster than a protagonist whose face, body type, or even apparent age changes from scene to scene.
You don’t need full 3D rigs to keep characters consistent, but you do need a deliberate workflow.
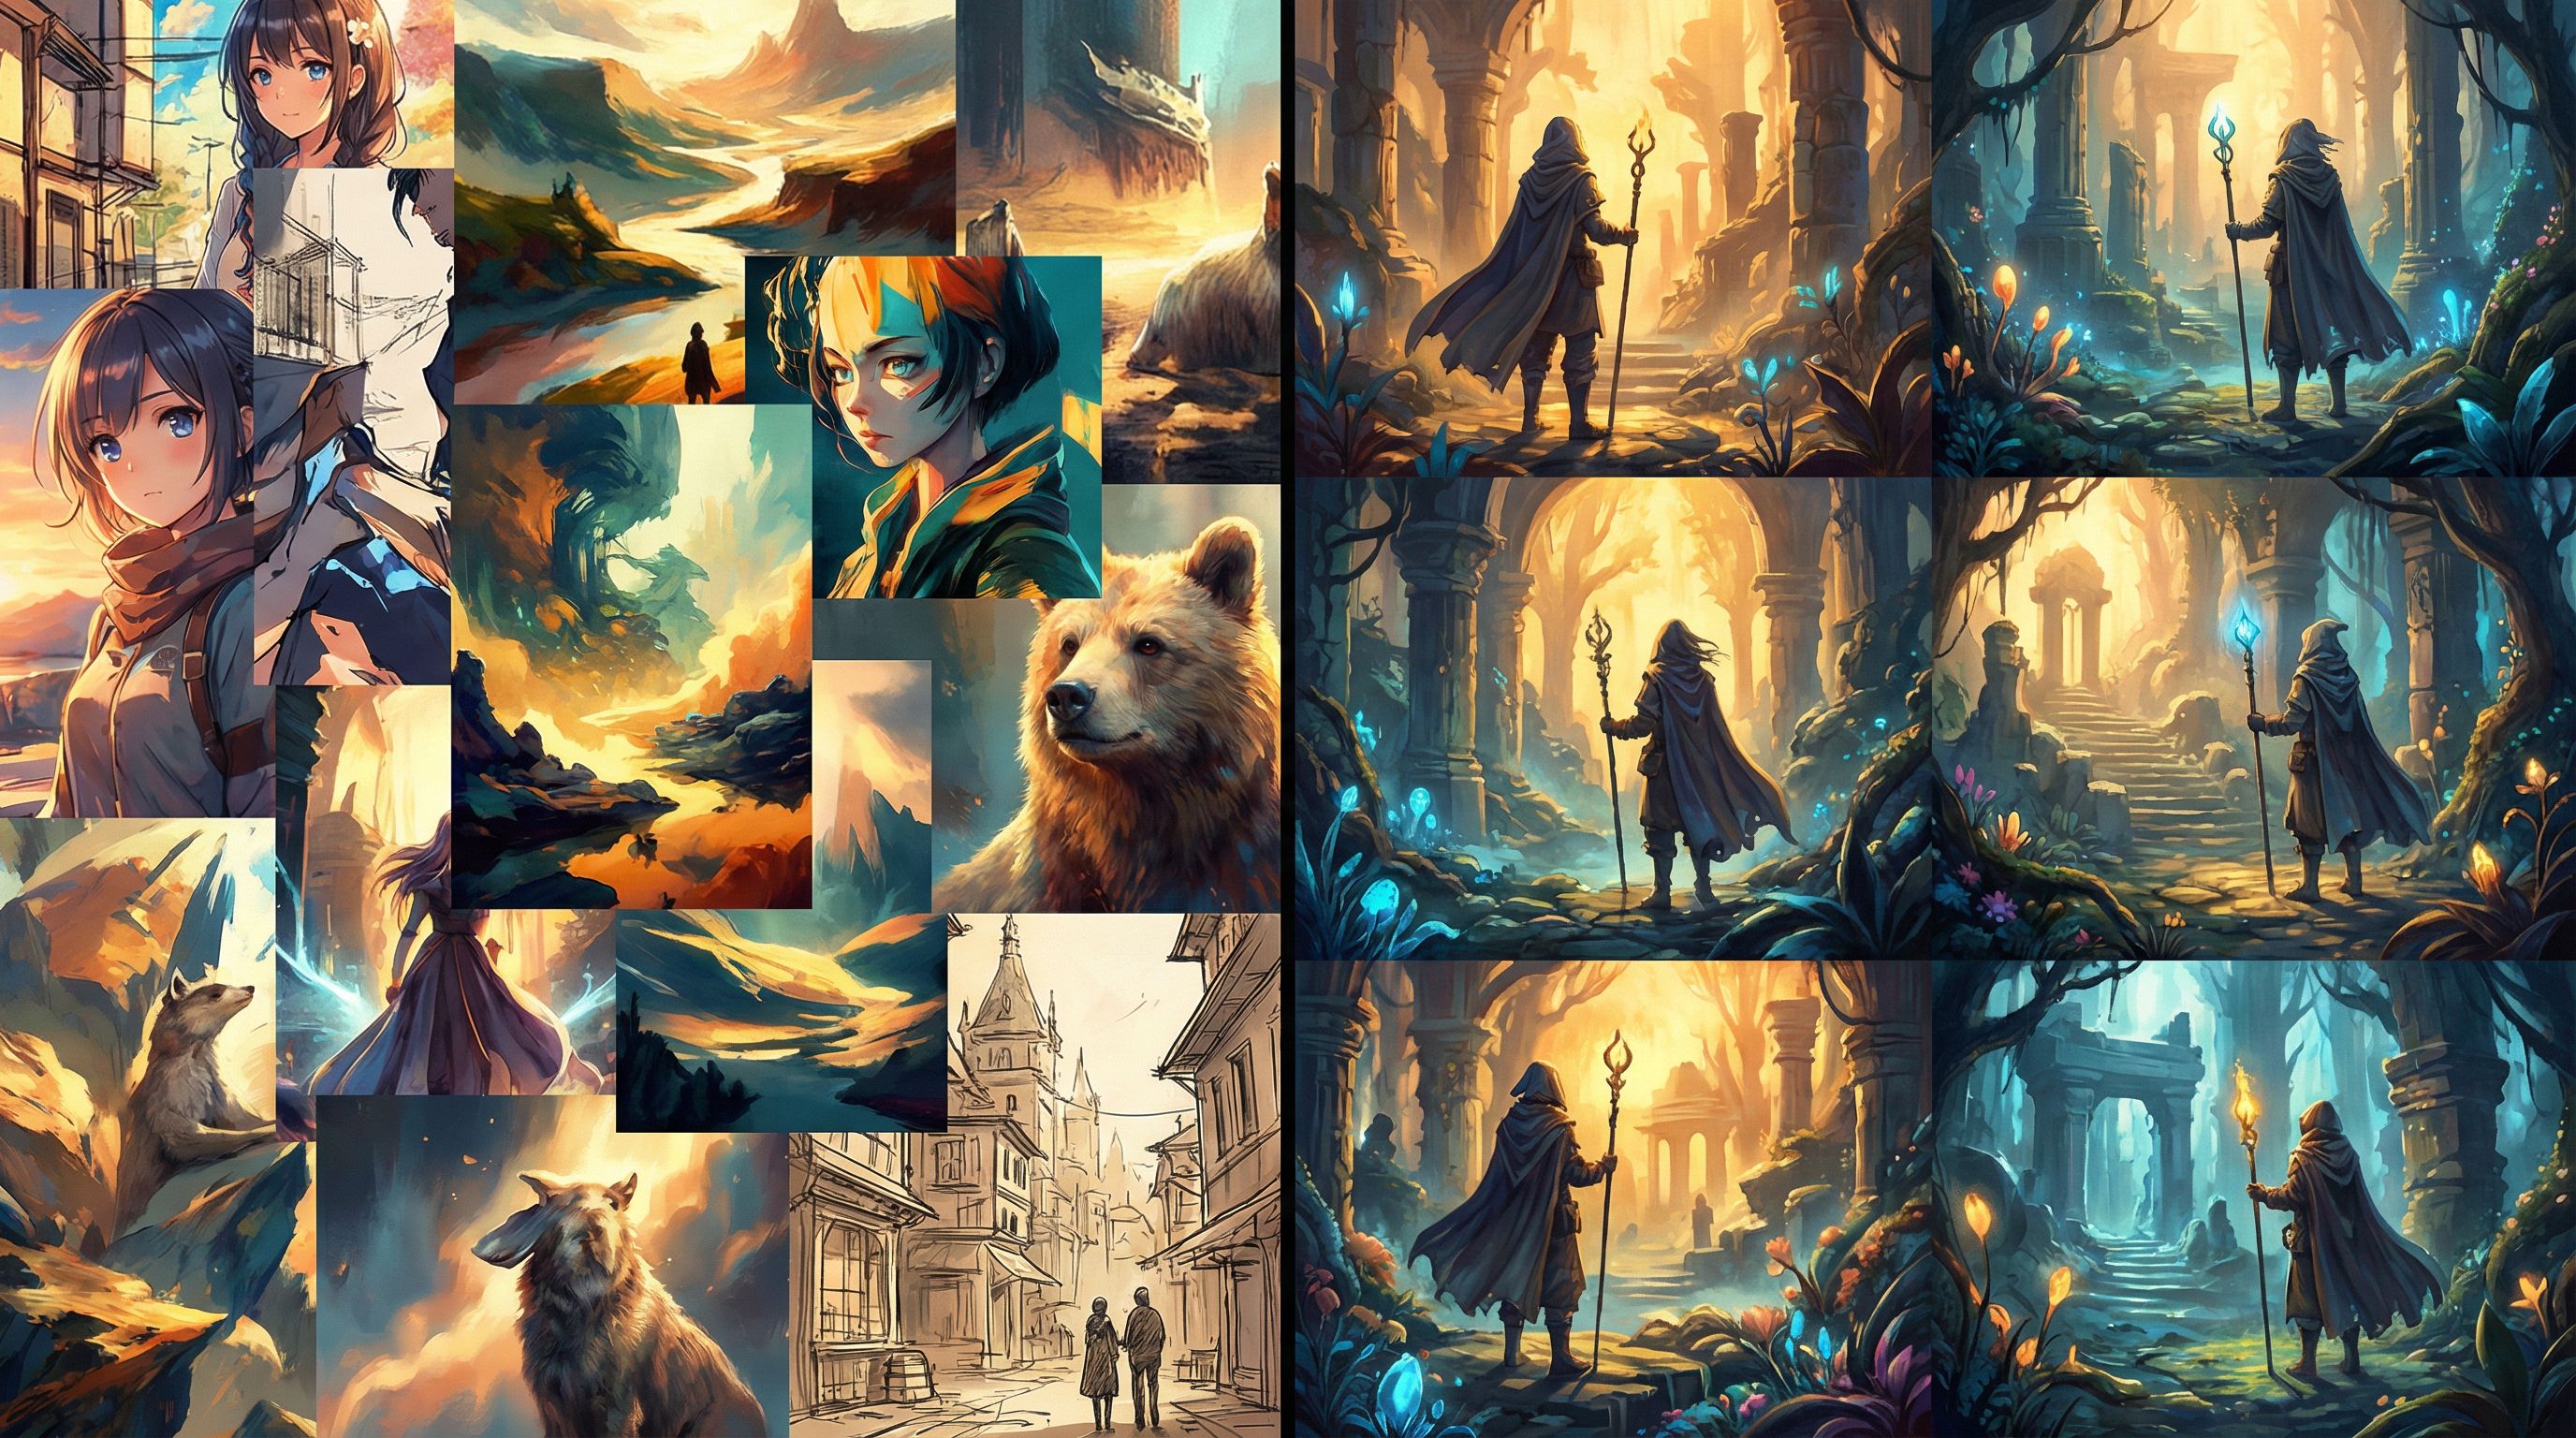
Start with a Character Sheet
For each major character, create a 4–6 image character sheet:
- Neutral standing pose
- 2–3 emotional expressions (angry, delighted, worried)
- 1–2 situational shots (in uniform, in casual clothes, etc.)
Prompt tips:
- Use the same seed phrase for their appearance every time:
- “short Black woman in her 30s with a buzzcut and gold hoop earrings, wearing a navy blazer and white shirt”
- Combine that with your global style seed.
- Save the best images as references.
Reuse Character References
When generating new scenes:
- Supply one of your favorite character images as a reference.
- Use a prompt like:
- “same character as reference, now [doing X] in [location Y], [emotion Z].”
Even if the tool isn’t perfect, you’ll get close enough that players recognize them.
Decide What Can Vary (and What Can’t)
Give yourself clear rules:
- Fixed: face shape, hairstyle, body type, primary color palette
- Can vary: outfits (within a palette), accessories, background density
This makes it easier to judge whether a new image is “on model” or not.
Inside Questas:
- Pin a reference image in your project notes for each main character.
- Link that reference in any scene where they appear.
- If you collaborate with co‑authors, this saves endless back‑and‑forth.
Step 4: Design Scene-Level Visual Rules
Beyond characters, each type of scene in your quest should follow recognizable visual rules.
Think in buckets:
- Decision scenes (where choices appear)
- Consequences / payoff scenes
- Exposition or recap scenes
- Meta or UI scenes (maps, dashboards, diegetic interfaces)
For each bucket, define:
-
Camera distance:
- Decision scenes: mid‑shots that keep characters and context visible.
- Consequence scenes: close‑ups for emotional impact, or wide shots for big reveals.
-
Lighting and contrast:
- Choices: clear, balanced lighting so text and UI elements feel readable.
- Failures or high tension: harsher shadows, stronger contrast.
-
Color cues:
- Positive outcomes: slightly warmer or more saturated.
- Negative or risky paths: cooler tones, or a subtle shift toward a specific accent color.
-
Background complexity:
- Busy scenes when you want to slow players down and invite exploration.
- Minimal scenes when cognitive load is already high.
These rules help you maintain coherence even as your branches get wild. They also pair beautifully with UX patterns from posts like The UX of Choice: Interface Patterns that Make Branching Stories Feel Effortless, where visual clarity directly supports smoother interaction.

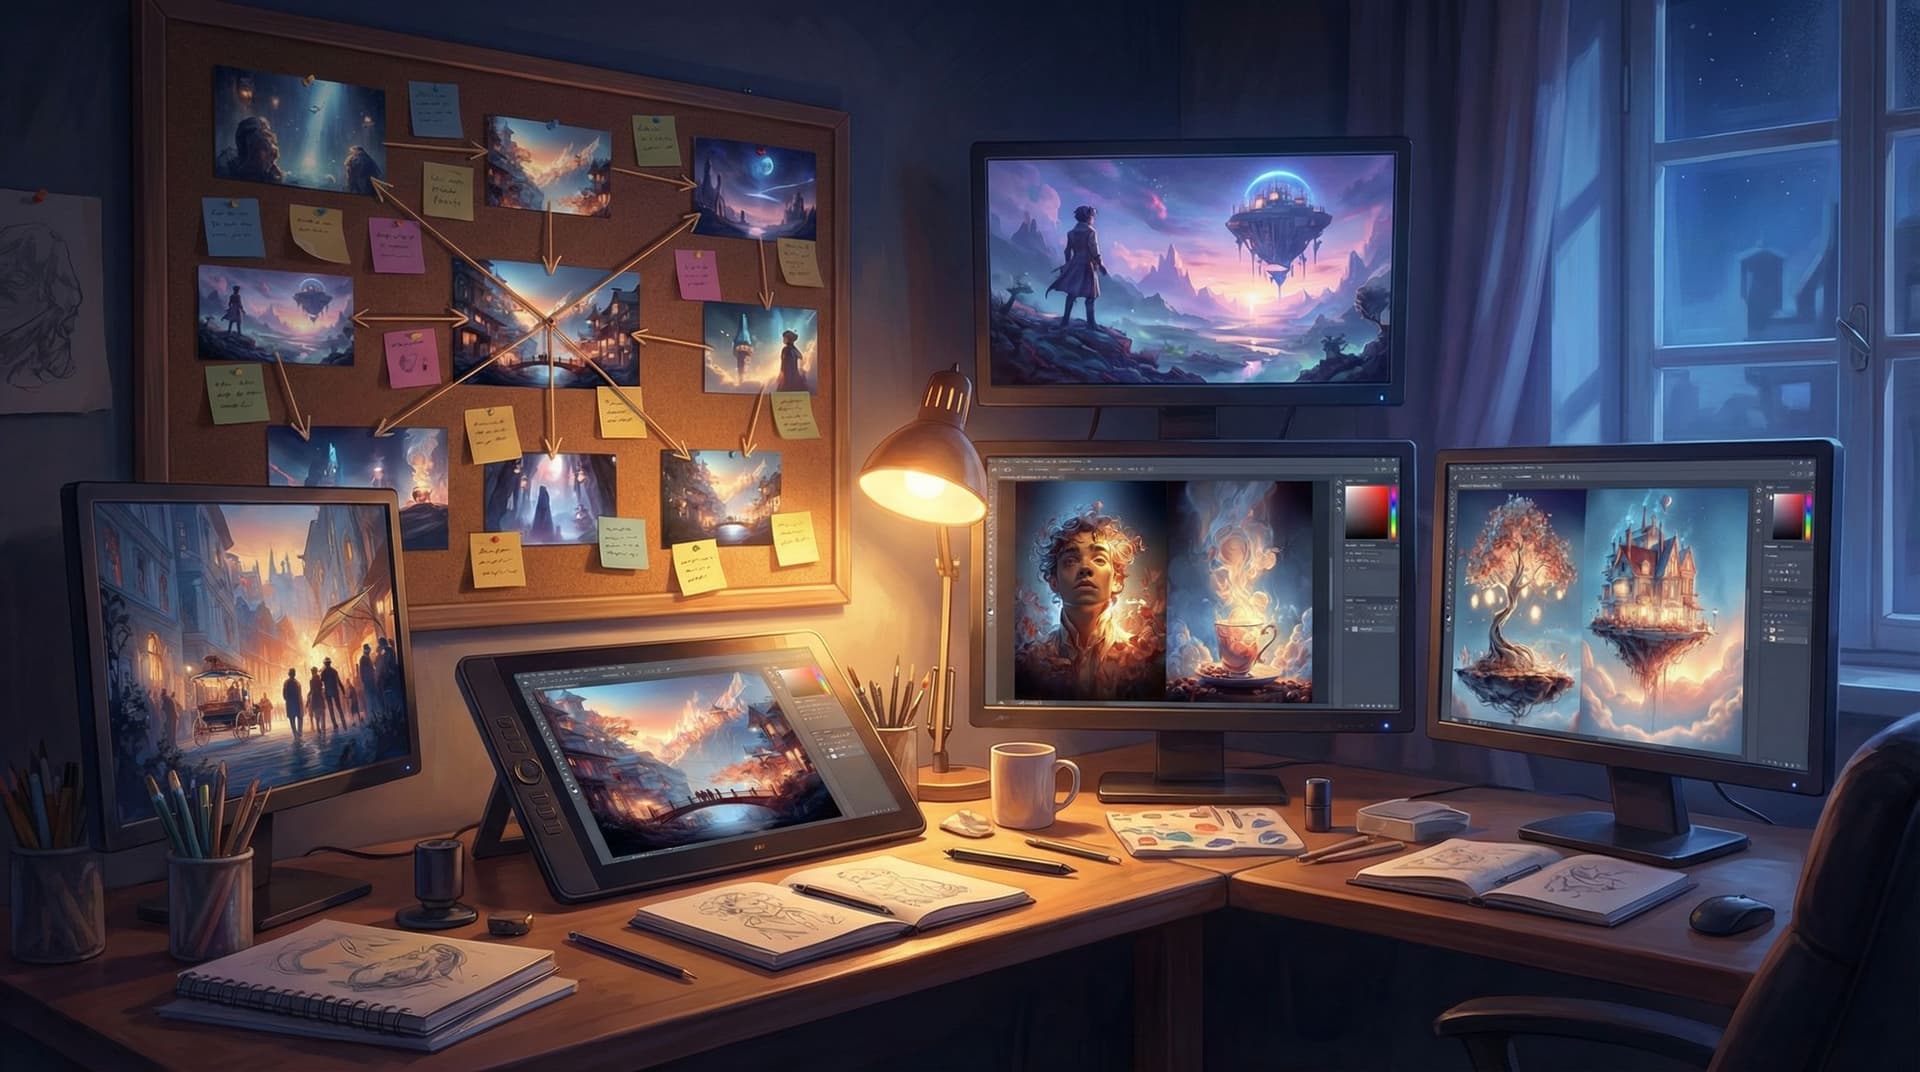
Step 5: Build a Reusable Visual Pipeline Around Questas
To avoid reinventing the wheel for every project, treat visuals as a pipeline, not a series of ad‑hoc tasks.
Here’s a practical template you can adapt.
1. Pre‑Production: Visual Bible
- Draft your style seed.
- Create your style library (core, flashback, UI, etc.).
- Generate character sheets for main characters.
- Save everything in a shared folder and a short internal doc.
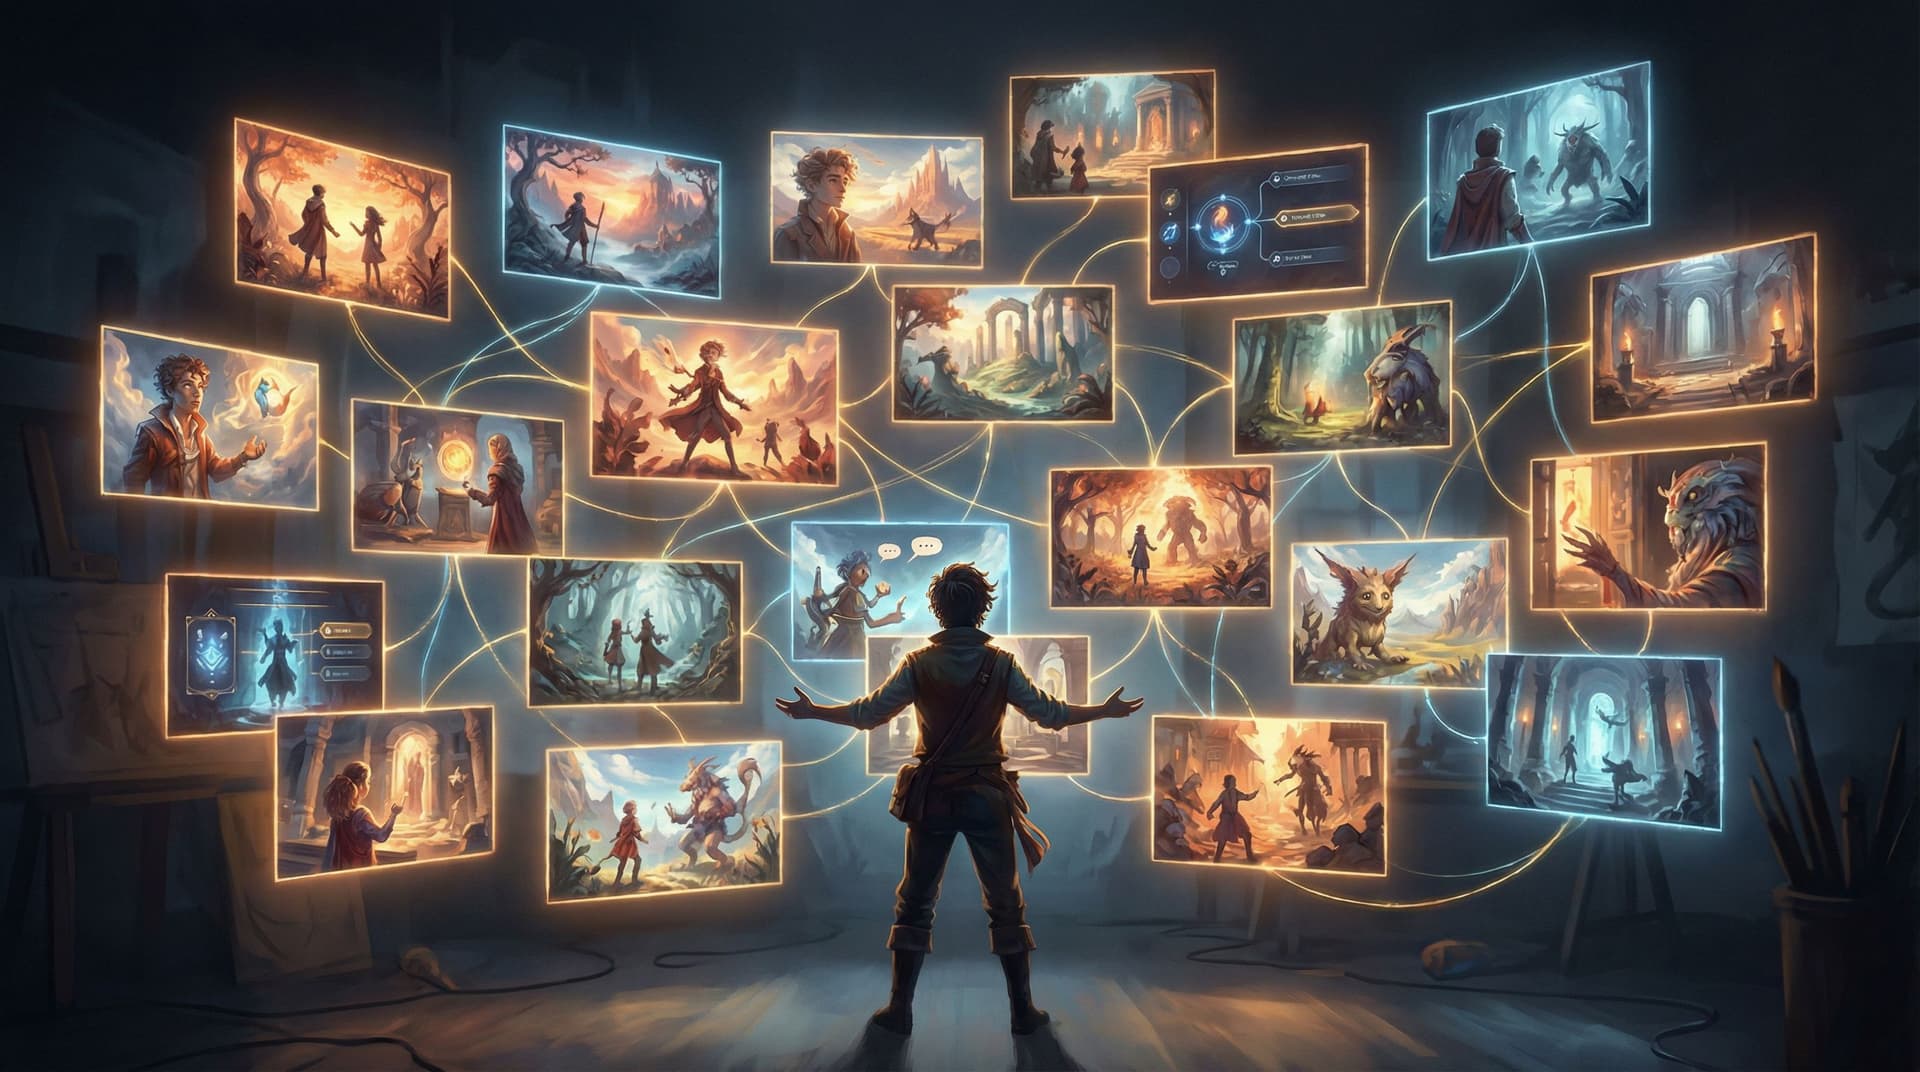
2. Story Mapping: Visual Tags in Your Questas Graph
As you outline your quest in Questas:
- Tag each scene with:
- Style (core / flashback / UI)
- Character presence (which characters appear)
- Scene bucket (decision / consequence / exposition / meta)
- This turns your story graph into a visual shot list.
If you like building systematic story structures, this pairs nicely with workflows from No-Code Narrative Systems: Designing Reusable Templates and Story Blueprints in Questas.
3. Batch Generation: Work in Passes, Not Scenes
Instead of finishing one scene at a time, work in passes:
-
Establishing shots pass
- Generate all key locations first.
- Make sure the style is stable across them.
-
Character-in-context pass
- For each location, generate 1–2 images with main characters present.
-
Special states pass
- Alternate versions of scenes for success/failure, day/night, or different branches.
Batching helps you spot inconsistencies early and fix them before you’ve wired images into dozens of scenes.
4. Review and Polish: Visual QA
Do a dedicated visual QA run of your quest:
- Play through each major branch.
- Ask:
- Does this character feel like the same person throughout?
- Do transitions between scenes feel smooth or jarring?
- Are there any “style outliers” that break the illusion?
- Keep a short list of fixes and regenerate only the outliers.
5. Template for the Next Project
At the end of a quest:
- Save your best prompts and style settings in a “visual recipe” doc.
- Duplicate your Questas project as a visual template:
- Pre‑labeled scene types
- Example images embedded
- Style notes in the project description
Over time, you’ll build your own library of visual systems you can remix for new quests.
Step 6: When to Break Your Own Rules (On Purpose)
Consistency doesn’t mean sameness. Some of the most striking quests use deliberate visual breaks to signal a shift in reality, perspective, or stakes.
Consider breaking your style system when:
- The player enters a dream, simulation, or alternate timeline.
- You switch to another character’s point of view.
- You reveal hidden information (e.g., the “true” version of events).
When you do, make the break obvious and repeatable:
- Switch to a monochrome palette for all flashbacks.
- Use sketch-like line art for “behind-the-scenes” meta scenes.
- Introduce a glitchy, chromatic aberration look for in‑simulation moments.
Because you’ve built a strong baseline, these departures feel intentional and meaningful—not like random style drift.
Step 7: Keep It Sustainable as a Solo or Small-Team Creator
All of this can sound like a lot—style bibles, character sheets, pipelines. But the point isn’t to add work; it’s to trade chaos for systems.
A few ways to keep it manageable:
- Limit scope: Start with one or two main characters and a handful of locations.
- Reuse aggressively: The same background can support multiple scenes with different crops or overlays.
- Automate where possible: Use image upscalers, background removers, or batch processors to handle repetitive tweaks.
- Accept “good enough” consistency: Aim for recognizability, not pixel-perfect identity.
If you’re juggling story, visuals, and UX alone, you’ll find more practical tips in Branching Narratives on a Budget: How Solo Creators Can Ship Polished Questas Without Burning Out.
Bringing It All Together
Advanced AI visual workflows aren’t about fancy tools; they’re about intentional constraints:
- A clear style seed that anchors every prompt.
- A small style library you reuse across scenes and branches.
- Character sheets and reference-based prompting for continuity.
- Scene-level rules for camera, lighting, and color that match your narrative beats.
- A pipeline mindset that lets you batch, review, and reuse instead of starting from scratch every time.
When you combine these with the visual, no‑code editor inside Questas, you get something powerful: branching stories that feel as cohesive as they are complex.
Your players may never see your style bible or prompt recipes—but they’ll feel the difference in every choice they make.
Ready to Level Up Your Next Quest?
You don’t need to overhaul your entire process to start.
For your very next Questas project, try this:
- Write a one-paragraph style seed.
- Generate a 4-image character sheet for your protagonist.
- Pick one style preset and use it for every scene in your first playable draft.
Once that’s working, you can layer in more advanced techniques—alternate styles for flashbacks, diegetic UI, or specialized visual systems for training and marketing quests.
Open up Questas, start a new project, and give yourself a constraint: one world, one style, one consistent cast. Then let your branches go as wild as you want.
The more your visuals hang together, the braver your players will feel exploring every path.