AI Art as Storyboard: Rapidly Prototyping Adventure Worlds Before You Write a Single Line

If you’ve ever stared at a blank page thinking, “I know there’s an incredible world in my head, but I can’t see it yet,” this post is for you.
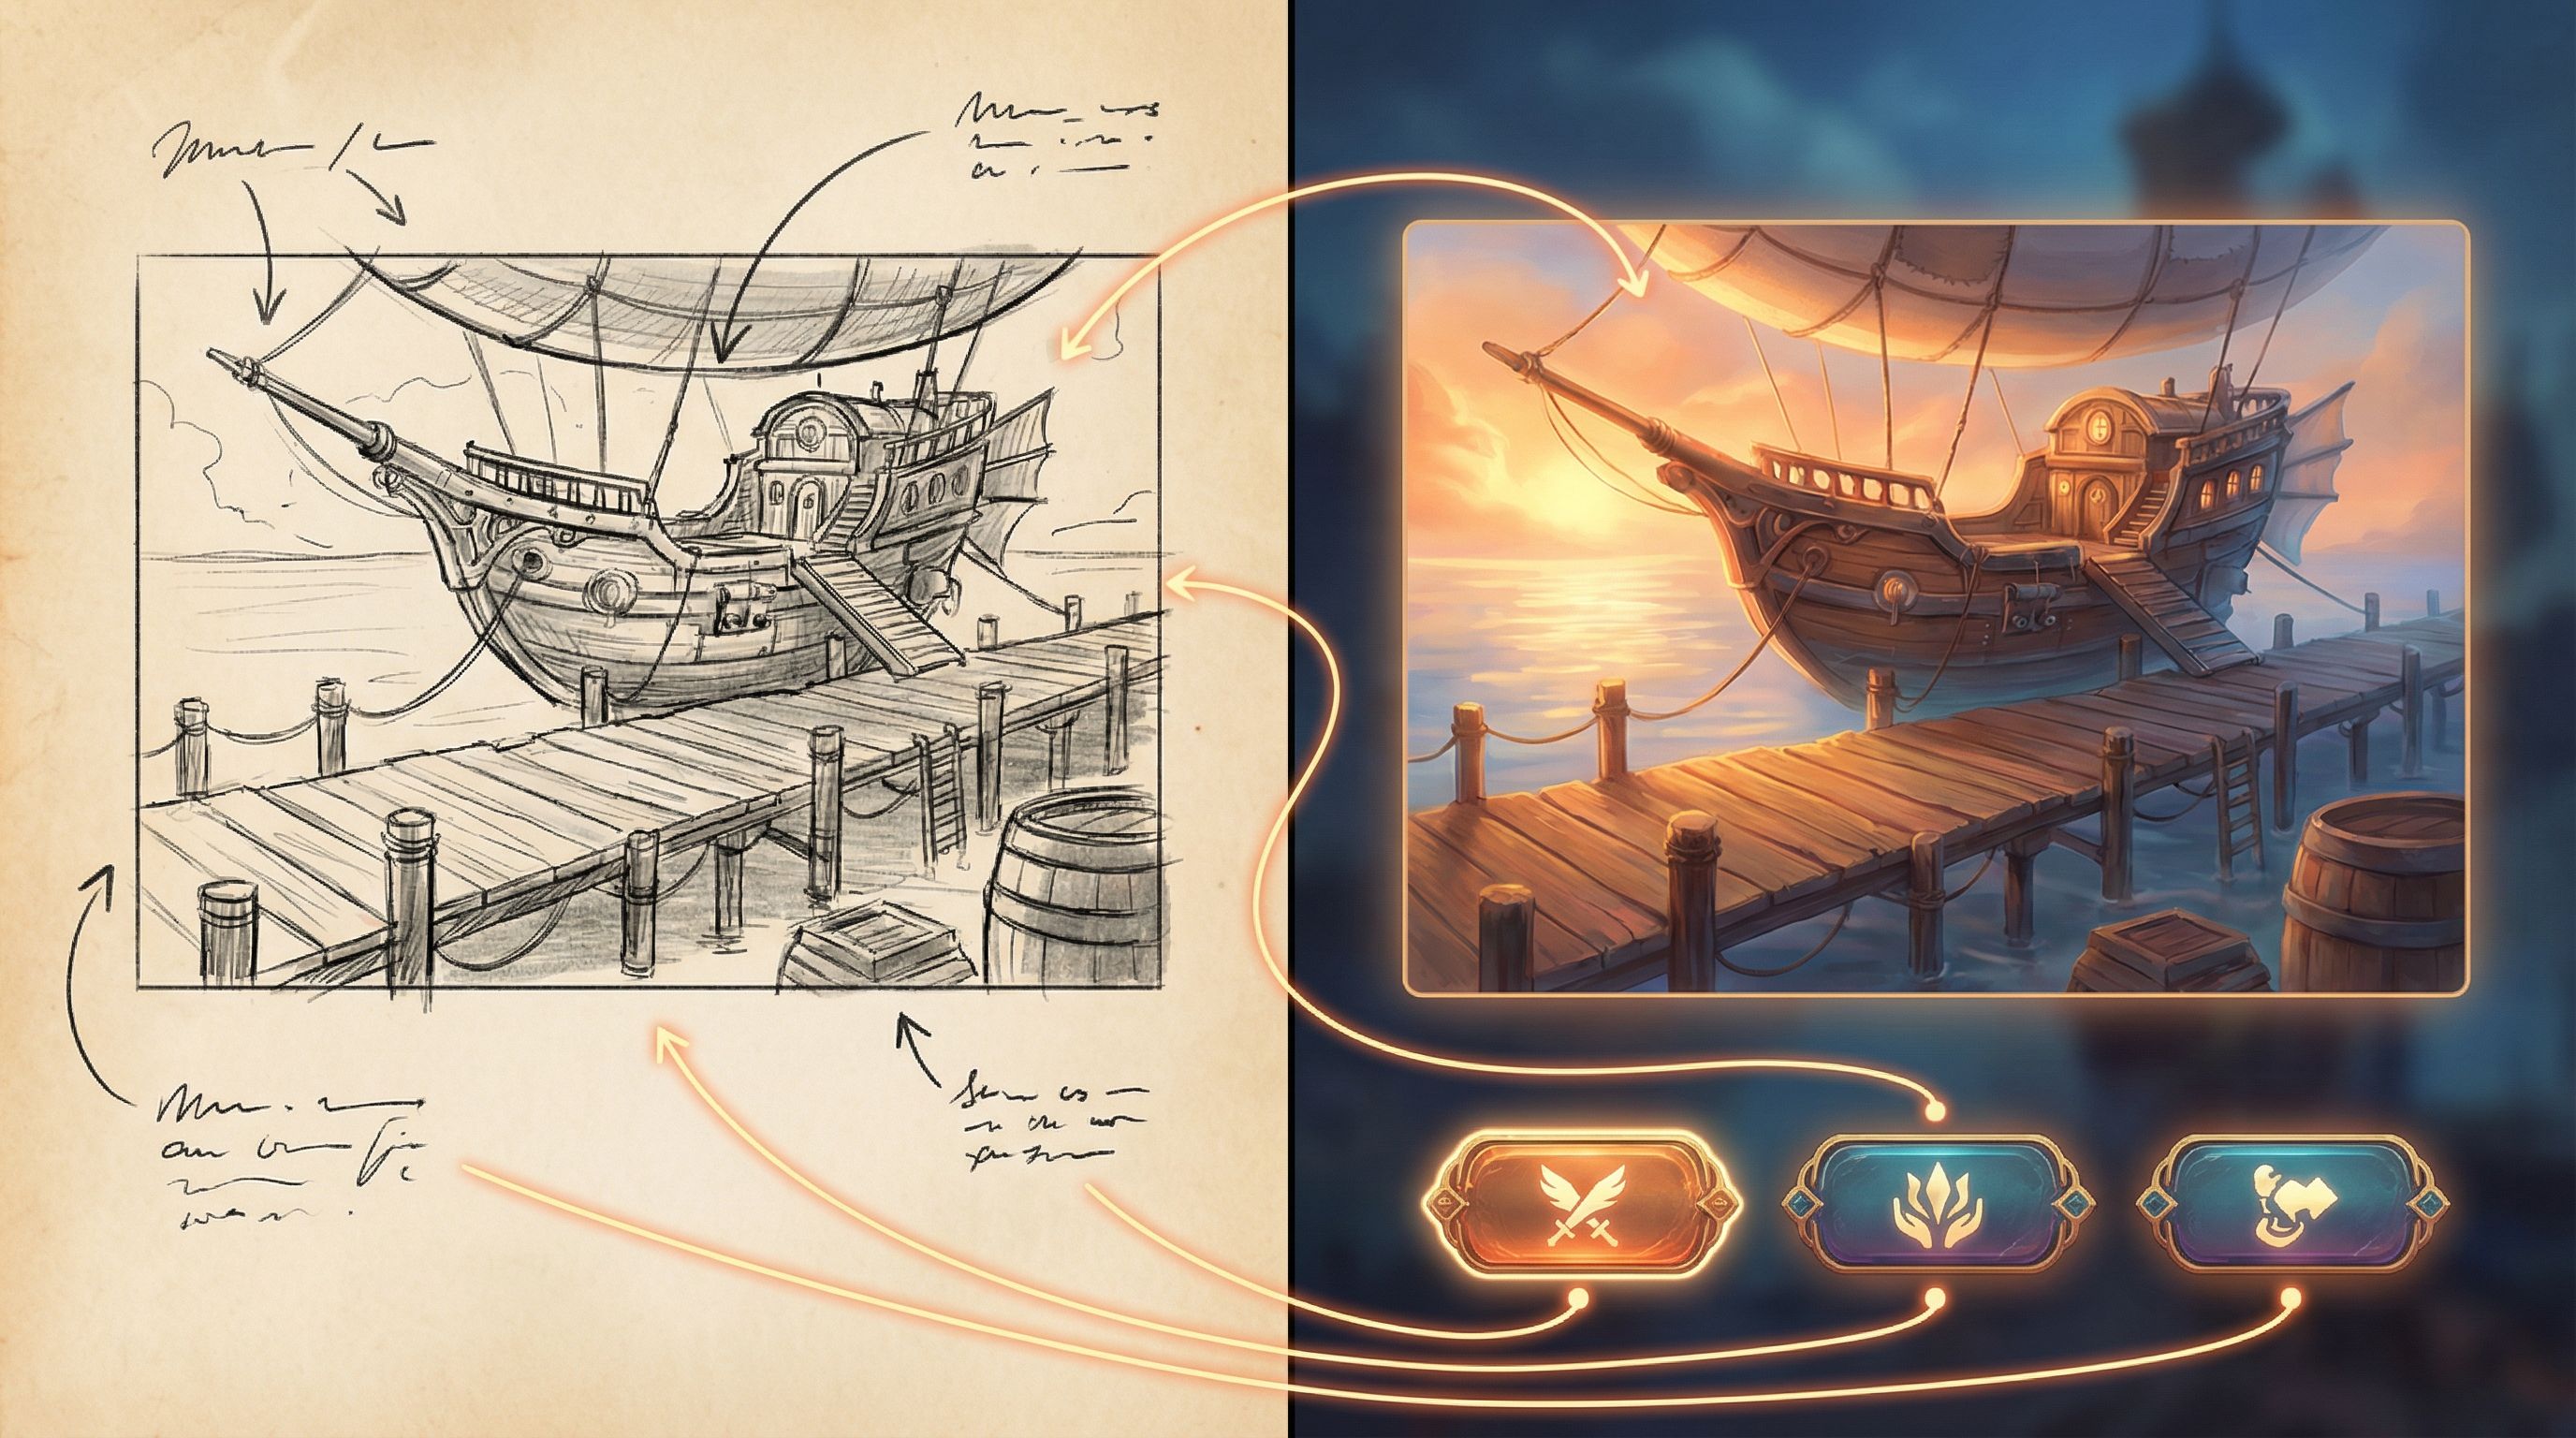
AI image generation has quietly become one of the most powerful pre-writing tools available to storytellers. Instead of wrestling with paragraphs of exposition, you can sketch your entire adventure world in images first—then let those visuals guide your plot, characters, and branching paths.
For interactive creators working in platforms like Questas, where scenes, choices, and AI-generated media all live in a visual editor, this approach is a game-changer. You’re not just decorating a finished story; you’re designing the story through the art.
In this article, we’ll explore how to use AI art as a storyboard to rapidly prototype adventure worlds—before you commit to a single finished scene.
Why Storyboarding with AI Art Matters for Adventure Creators
Traditional storyboarding is powerful but demanding. It usually requires:
- Drawing skill (or a budget for an artist)
- Lots of time
- A fairly locked-in vision
AI art flips that equation:
- Speed: You can go from vague idea to a 20-image visual tour of your world in an afternoon.
- Exploration: You can try multiple aesthetics—grimdark, cozy, painterly, anime—without committing.
- Low risk: If something doesn’t work, you delete the image and try again. No sunk cost.
- Shared understanding: If you’re collaborating with writers, designers, or stakeholders, images make your world instantly legible.
For branching, interactive stories, the benefits multiply:
- Branch clarity: Visuals help you see where different paths diverge and converge.
- Tone consistency: A shared art style keeps far-flung branches feeling like the same world.
- Player empathy: When you design characters visually first, it’s easier to write choices that feel emotionally grounded.
If you’re a solo creator, this approach also pairs beautifully with the scope-management strategies in Branching Narratives on a Budget: How Solo Creators Can Ship Polished Questas Without Burning Out—because storyboarding with AI art makes it obvious which ideas deserve to be built now and which can wait.
The Core Idea: “See the World Before You Write the Words”
Think of AI art as a visual outline.
Instead of starting with:
Act I: The hero receives a mysterious letter and travels to the floating city.
You start with:
- An image of a cramped attic bedroom with a glowing, wax-sealed envelope.
- An image of a floating city seen from below, with cables and waterfalls trailing down.
- An image of a crowded airship dock with vendors, guards, and strange luggage.
Once you see those spaces, questions emerge naturally:
- Who lives in this attic? Why are they chosen?
- Who controls the floating city—and who resents it?
- What kind of trouble can you get into at that airship dock?
Those questions become your choices, branches, and scenes inside Questas. The storyboard isn’t just a mood board; it’s a map of playable moments.
Step 1: Define Your Storyworld in 5–7 Visual Pillars
Before you open any AI image tool, define a handful of visual pillars—the core elements that make your world feel distinct.
Aim for 5–7 pillars covering:
-
Signature locations
Examples: “flooded library,” “bioluminescent forest,” “orbital scrapyard,” “underground bazaar.” -
Key factions or cultures
Examples: sky pirates, archivist monks, corporate surveyors, rebel gardeners. -
Technology or magic level
Examples: clockwork prosthetics, rune-etched tablets, neural implants, kitchen-table witchcraft. -
Mood and palette
Examples: warm, saturated optimism; cold neon noir; dusty, sun-bleached melancholy. -
Player fantasy (what your audience gets to be)
Examples: reluctant courier, ruthless fixer, curious archivist, chaotic trickster.
Write these down in a short paragraph or bullet list. This becomes your prompt backbone for AI art.
Tip: Keep a consistent “world seed” phrase you reuse across prompts, like “in the stormglass archipelago” or “in the neon-ruined city of Halcyon Sprawl.” It’s a simple way to enforce continuity.
Step 2: Choose AI Art Tools That Match Your Workflow
You don’t need a perfect tool stack—just something you’ll actually use. A common combo looks like:
-
General-purpose image models for concept art
Examples include tools built into platforms like Questas (for in-editor generation), or external tools such as Midjourney, DALL·E, or Stable Diffusion-based apps. Use these for:- Environments
- Character concepts
- Key story beats
-
Reference management for organizing your storyboard
Use tools like Milanote, Notion, or even a shared Google Drive folder to sort images by:- Location
- Character
- Branch/route
-
Your narrative platform for turning images into playable scenes
In Questas, you can import AI-generated images directly into scenes, connect choices, and visually follow your branching paths.
Don’t over-optimize. The point is to get from idea → image → playable prototype as quickly as possible.
Step 3: Build a “World Tour” Storyboard Before Any Script
Instead of storyboarding every single branch, start with a world tour—10–20 images that capture the range of experiences your adventure might offer.
Think of it as a trailer made of stills.
A simple process
-
Draft 10–15 prompt ideas
- 3–5 for core locations
- 3–5 for character archetypes
- 3–5 for key moments or conflicts
-
Generate multiple variations per prompt
Save 2–3 favorites for each. Don’t worry about perfection; you’re exploring. -
Arrange them along a loose journey
- Start: how players enter the world
- Middle: where tension spikes and choices matter
- End: several possible outcomes or vibes (triumphant, bittersweet, unsettling, etc.)
-
Annotate each image with questions, not answers
Under each image, jot 1–3 questions:- “What would tempt someone to break this rule?”
- “What’s the worst thing that could happen here?”
- “Who is missing from this scene—and why?”
Those questions will later turn into choices and branches when you build your quest.
Step 4: Let Characters Emerge from the Art
Many creators start with plot, then retrofit characters. When you storyboard with AI art, you can flip that: let the faces, postures, and costumes you generate suggest who your characters are.
A character-first exercise
-
Generate 6–10 character portraits based on your pillars. Mix:
- Different ages and body types
- Distinct fashion silhouettes
- Visible tools, weapons, or artifacts
-
For each portrait, answer quickly:
- Role: What do they do in this world?
- Desire: What do they want badly enough to make risky choices?
- Leverage: What can they offer or threaten the player with?
-
Cluster characters around conflicts
Look at your world-tour images and ask:- Who belongs in this scene?
- Who opposes them here?
-
Pick 2–3 “anchor characters”
These are the people who show up across multiple branches:- A mentor who reappears in different contexts
- A rival whose allegiance can change
- A guide who is trustworthy in one path and compromised in another
Because Questas is built around scenes and choices, these anchor characters become your narrative spine: you can attach multiple branches to their decisions, loyalties, and secrets.
If you’re interested in how character-driven structure keeps players engaged across long experiences, From Branches to Beats: Using Story Rhythm to Keep Players Clicking in Long Questas dives deeper into pacing those returns and reveals.
Step 5: Translate Images into Branching Moments
Once you have a visual storyboard, it’s time to ask: Where are the decisions?
For each key image, identify at least one meaningful fork. Use this simple pattern:
Context → Tension → Choice → Consequence
Example: The Airship Dock
You have an image of a bustling airship dock under the floating city:
- Context: You’ve just arrived with a contraband artifact.
- Tension: Guards are inspecting luggage. A smuggler catches your eye. An official courier offers “protection.”
- Choices (visualized):
- Follow the smuggler into a side alley.
- Queue up for official inspection.
- Hand the artifact to the courier for a fee.
Each option points to another image in your storyboard:
- Side alley → image of a shadowy warehouse
- Inspection line → image of a stark interrogation room
- Courier handoff → image of a luxurious sky lounge with hidden dangers
In Questas, you’d:
- Create a scene using the airship dock image.
- Add three choices beneath your text.
- Link each choice to a new scene that uses the corresponding image.
You’ve just turned a single storyboard panel into a branching hub.
Step 6: Use AI Art to Test Tone and Audience Fit
Before you invest in full writing passes, use your storyboard to validate tone:
- Is this too dark or too whimsical for the audience you have in mind?
- Do the visuals suggest horror when you meant cozy mystery?
- Would this feel appropriate for learners, customers, or internal teams if you’re building training or brand experiences?
For example, if you’re designing a learning scenario or product training journey, you can:
- Generate a “serious” version of a scene (muted colors, realistic style, grounded stakes).
- Generate a “playful” version (stylized art, brighter palette, lighter visual metaphors).
Share both with stakeholders or test players and ask:
- Which one makes you more curious to click?
- Which one feels more trustworthy or on-brand?
This kind of visual A/B testing is especially valuable for teams using Questas to prototype user journeys or training modules, as discussed in Story Prototyping for Product Teams: Turning User Flows into Playable Questas Scenarios.
Step 7: Keep the Storyboard Loose While You Build
The biggest trap with AI art is over-polishing too soon. Remember: your storyboard is a draft of possibilities, not a locked-in asset library.
A few principles to keep it flexible:
-
Use “sketch” prompts first.
Ask for concept art, loose painterly style, or rough storyboard frames so you’re not tempted to treat early images as final. -
Name images by function, not detail.
Instead offloating_city_v5_final.png, tryhub_city_arrival_branchA.png. That makes it easier to swap art later without rewriting your mental map. -
Let dead ends stay visual only.
Some images will be cool but not worth building into full branches. That’s fine. Keep them in a “later” folder. -
Iterate inside your narrative tool.
As you add scenes in Questas, you might discover you need a transition image, a close-up, or a different angle. Generate those on demand.
Over time, your storyboard will evolve from rough visual sketch → semi-final art direction → in-story assets—all while keeping your branching structure coherent.
Practical Prompt Templates for Storyboard-First Creators
Here are some reusable prompt patterns you can adapt to your world. Swap in your own nouns, styles, and moods.
Locations
wide establishing shot of [location], [time of day], [weather], [art style], cinematic lighting, concept art
Example:
wide establishing shot of a flooded cathedral turned into a black-market library, dusk, candles reflecting on water, painterly concept art, moody cinematic lighting
Character moments
portrait of [role] in [location], [emotion], [key prop], [style], storytelling composition
Example:
portrait of a nervous courier in a crowded airship dock, clutching a glowing briefcase, retrofuturist anime style, storytelling composition
Branching tension points
scene showing [conflict], with three clear options visually implied: [option A], [option B], [option C], dynamic composition, concept art
Example:
scene showing a rebel hacker confronted by corporate security in a neon subway car, with three clear options: emergency exit door, open laptop on seat, suspicious briefcase above, dynamic composition, concept art
Use these as starting points, then tweak based on what you see.
From Storyboard to Shippable Adventure
Once your storyboard feels rich and coherent, you’re ready to:
-
Lock your core loop
Decide what players do repeatedly:- Investigate → Decide → Consequence → New clue
- Travel → Encounter → Choice → Resource change
-
Pick a minimum viable route
Identify the shortest satisfying path through your storyboard:- Intro scene
- 2–3 key decision hubs
- 1–2 endings
-
Build that route first in Questas:
- Import the images for those scenes.
- Write just enough text to make each choice clear and emotionally grounded.
- Playtest for clarity, pacing, and tone.
-
Layer in additional branches
Once the spine works, you can:- Add side paths that use existing images in new contexts.
- Introduce “soft fails” and alternate outcomes, as explored in Designing ‘Soft Fails’: How to Let Players Backtrack, Reroute, and Recover Inside Questas Adventures.
By starting with AI art, you’ve already done a huge chunk of the heavy lifting: the world feels real, the characters are concrete, and the major beats are visible at a glance.
Wrapping Up: Why This Workflow Works
Using AI art as a storyboard before you write a single line helps you:
- Clarify your world faster than text alone.
- Discover characters and conflicts you wouldn’t have invented in a vacuum.
- Design branches visually, which is exactly how players will experience them.
- Protect your energy and scope, especially if you’re a solo creator.
Most importantly, it turns the scariest part of the process—the blank page—into a playful, exploratory phase where you’re allowed to be messy, curious, and surprised by your own ideas.
Your Next Step: Build a 10-Image World Tour
Don’t overthink it. Here’s a concrete challenge you can complete this week:
-
Pick a story seed
One sentence is enough: “A rookie courier smuggles forbidden memories between floating cities.” -
Define 5 visual pillars
Jot them down in a note. -
Generate 10 images
- 4 locations
- 3 character portraits
- 3 key conflict scenes
-
Arrange them in a simple board
Order them from “arrival” to “possible endings.” -
Open Questas and:
- Create a new project.
- Import those 10 images as scenes.
- Add placeholder text and a few obvious choices.
You’ll have a playable prototype of an adventure world—not polished, not final, but real enough to click through, share, and iterate.
That’s the power of treating AI art as your storyboard: you get to see your world sooner, and invite others into it long before the prose is perfect.
Adventure awaits. Go sketch it in images—and then let the story catch up.