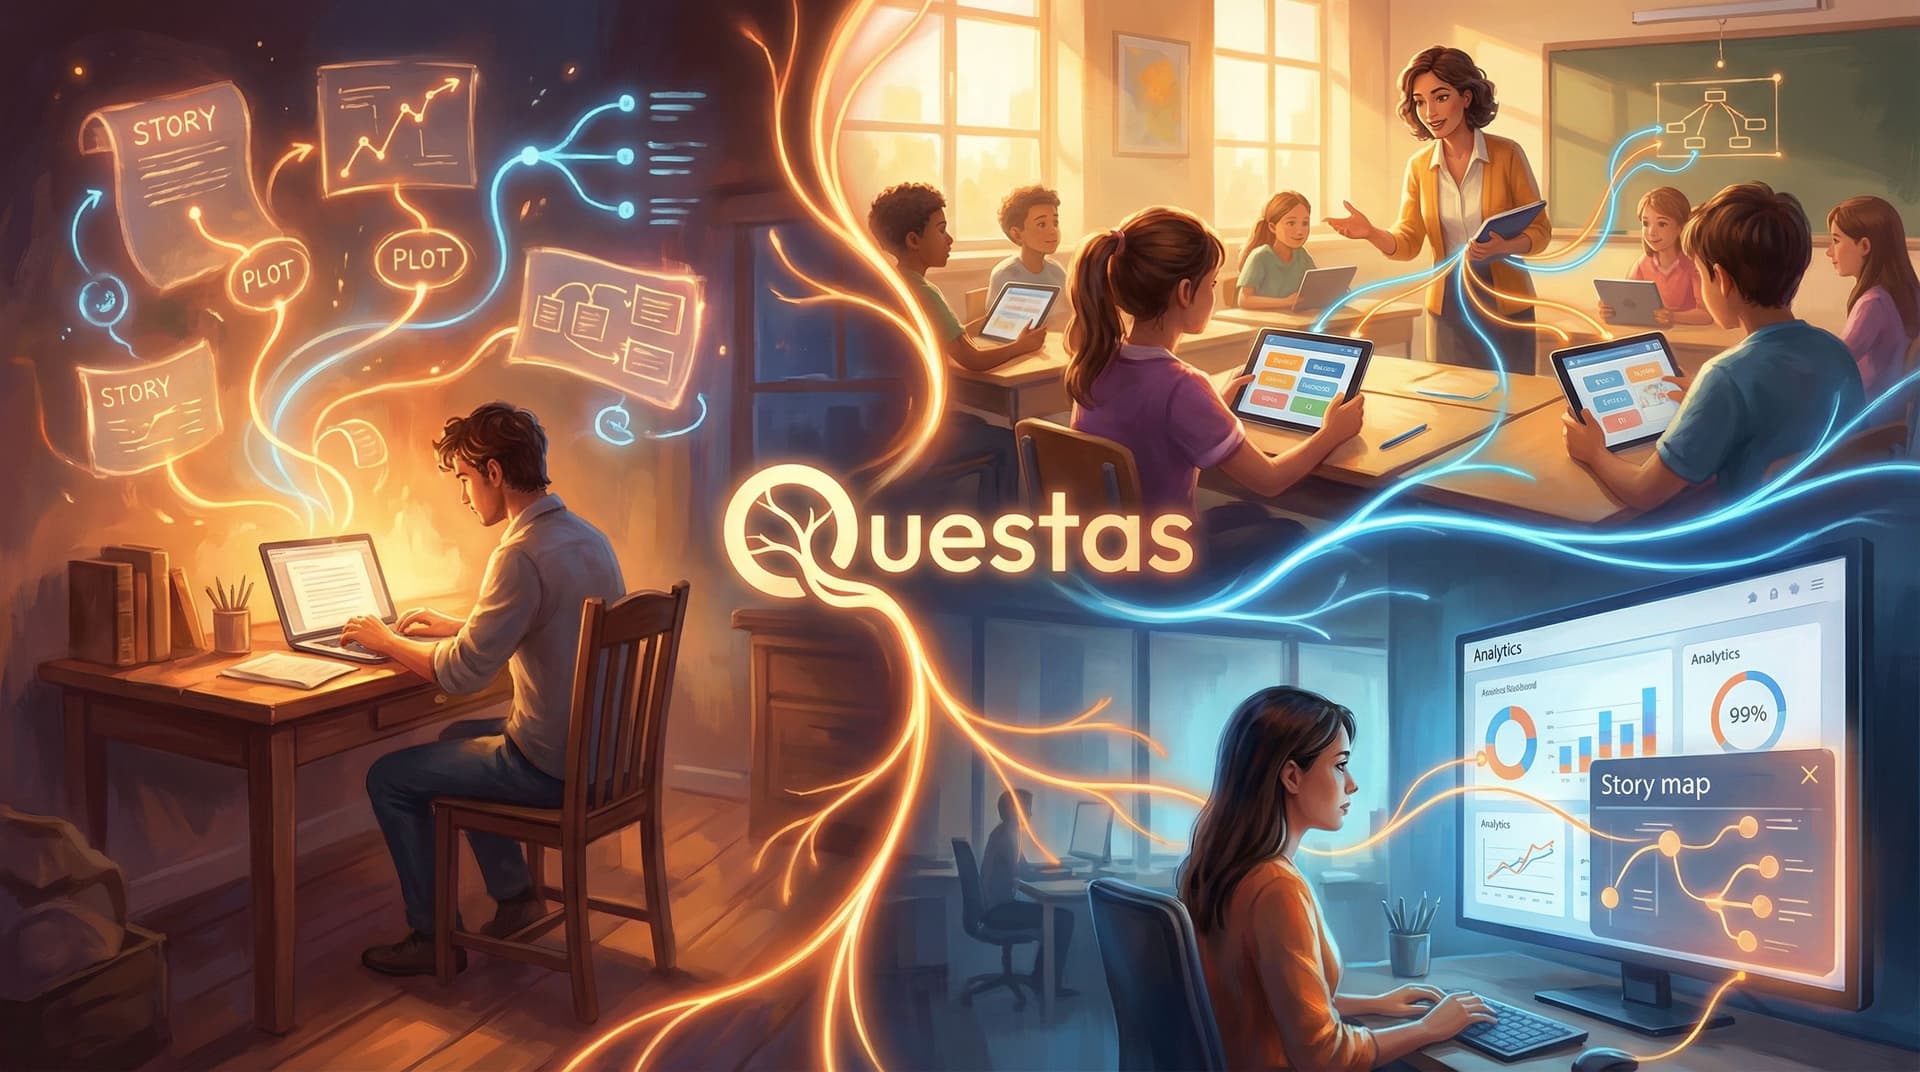
Story Prototyping for Product Teams: Turning User Flows into Playable Questas Scenarios


Product teams already think in flows: onboarding funnels, upgrade paths, incident runbooks, support journeys, sales demos. But those flows usually live as static artifacts—Figma diagrams, Miro boards, Confluence pages, or dense PRDs that only a few people ever read closely.
Story prototyping flips that. Instead of describing how a user journey should feel, you let people play through it.
With a platform like Questas, you can turn user flows into interactive, choose‑your‑own‑adventure scenarios—complete with AI‑generated images and video—that anyone on your team (or in your customer base) can click through. No engineering sprint. No custom build. Just a visual, no‑code editor and a branching story that behaves like your product or process.
This isn’t just fun. It’s a serious tool for:
- Validating UX decisions before you ship
- Aligning stakeholders around what a journey actually feels like
- Training sales, support, and success teams on realistic scenarios
- Testing messaging, framing, and edge cases in a safe sandbox
Let’s walk through how to do it well.
Why Playable Scenarios Beat Static User Flows
User flows and journey maps are great for designers and PMs—but they’re not how most people think.
Playable scenarios help you:
1. Expose gaps and edge cases early
When you click through a story prototype, you immediately notice:
- “Wait, what happens if the user skips this step?”
- “We never tell them why we’re asking for this permission.”
- “If they say ‘not now,’ do we give them a way back?”
That kind of insight is harder to get from a flowchart. A branching story forces you to write the actual words, make the actual choices, and feel the consequences.
2. Align cross‑functional teams faster
Engineers, marketers, execs, and frontline teams often interpret the same diagram differently. But they all understand a story.
A playable Questas scenario turns a vague spec into a shared experience:
- Sales can say, “This is exactly how we want the trial to feel.”
- Support can say, “This is where users usually panic.”
- Legal can say, “This consent screen works; that one doesn’t.”
3. Test behavior, not just opinions
Usability tests on static mocks are useful, but they’re still hypothetical. When people step into a branching scenario, you can see:
- Which choices they gravitate toward
- Where they hesitate or backtrack
- Which explanations reduce confusion or anxiety
If you later instrument your Questas experiences with analytics, you can go deeper on this. For a primer on what to measure in interactive narratives, see Beyond Click-Throughs: Measuring Learning, Alignment, and Engagement in Narrative Experiences Like Questas.
4. Train teams with realistic, reusable simulations
The same story prototype you used for design validation can become a training asset:
- Sales reps play through discovery calls with different buyer personas.
- Support agents navigate tricky refund or escalation paths.
- CSMs practice renewal conversations with multiple stakeholder types.
Because Questas is no‑code, non‑technical team members can update these scenarios as the product or policy evolves.
Choosing the Right Flows to Turn into Stories
You don’t need to turn every flow into a playable scenario. Focus where story adds the most value.
Good candidates typically:
- Involve emotionally charged moments: pricing, permissions, errors, cancellations, upgrades
- Have multiple valid paths: different personas, risk tolerances, or levels of expertise
- Generate lots of internal debate: “Should onboarding be opinionated or flexible?”
- Require behavior change, not just clicks: onboarding to a new workflow, security practices, or collaboration patterns
Common examples for product teams:
- New user onboarding, including first‑run experience
- Trial → activation → paid conversion
- Critical setup wizards (e.g., integrations, permissions, data import)
- Recovery flows (password reset, account lock, billing issues)
- “Uh‑oh” moments (data loss risk, security prompts, breaking changes)
If you’re just getting started, pick a narrow, high‑impact slice—something you could map and prototype in a week. For inspiration on scoping compact but powerful experiences, check out Low-Lift, High-Impact: Weekend Questas Projects for Writers, Educators, and Marketers.
From Flowchart to Story: A Practical Workflow
Here’s a concrete process you can follow to turn an existing user flow into a playable Questas scenario.
1. Clarify the Scenario’s Purpose
Before you write a single line of dialogue, answer:
- Who is the player? New user, admin, support agent, sales rep, power user?
- What is their goal? Complete setup, fix an error, decide on a plan, evaluate fit?
- What do you want to learn or validate? Messaging, sequence of steps, emotional response, comprehension?
- Who is the scenario for internally? Design team, cross‑functional stakeholders, external testers, new hires?
Write this as a one‑paragraph design brief. It will keep your branching under control.
2. Translate the Flow into a Narrative Spine
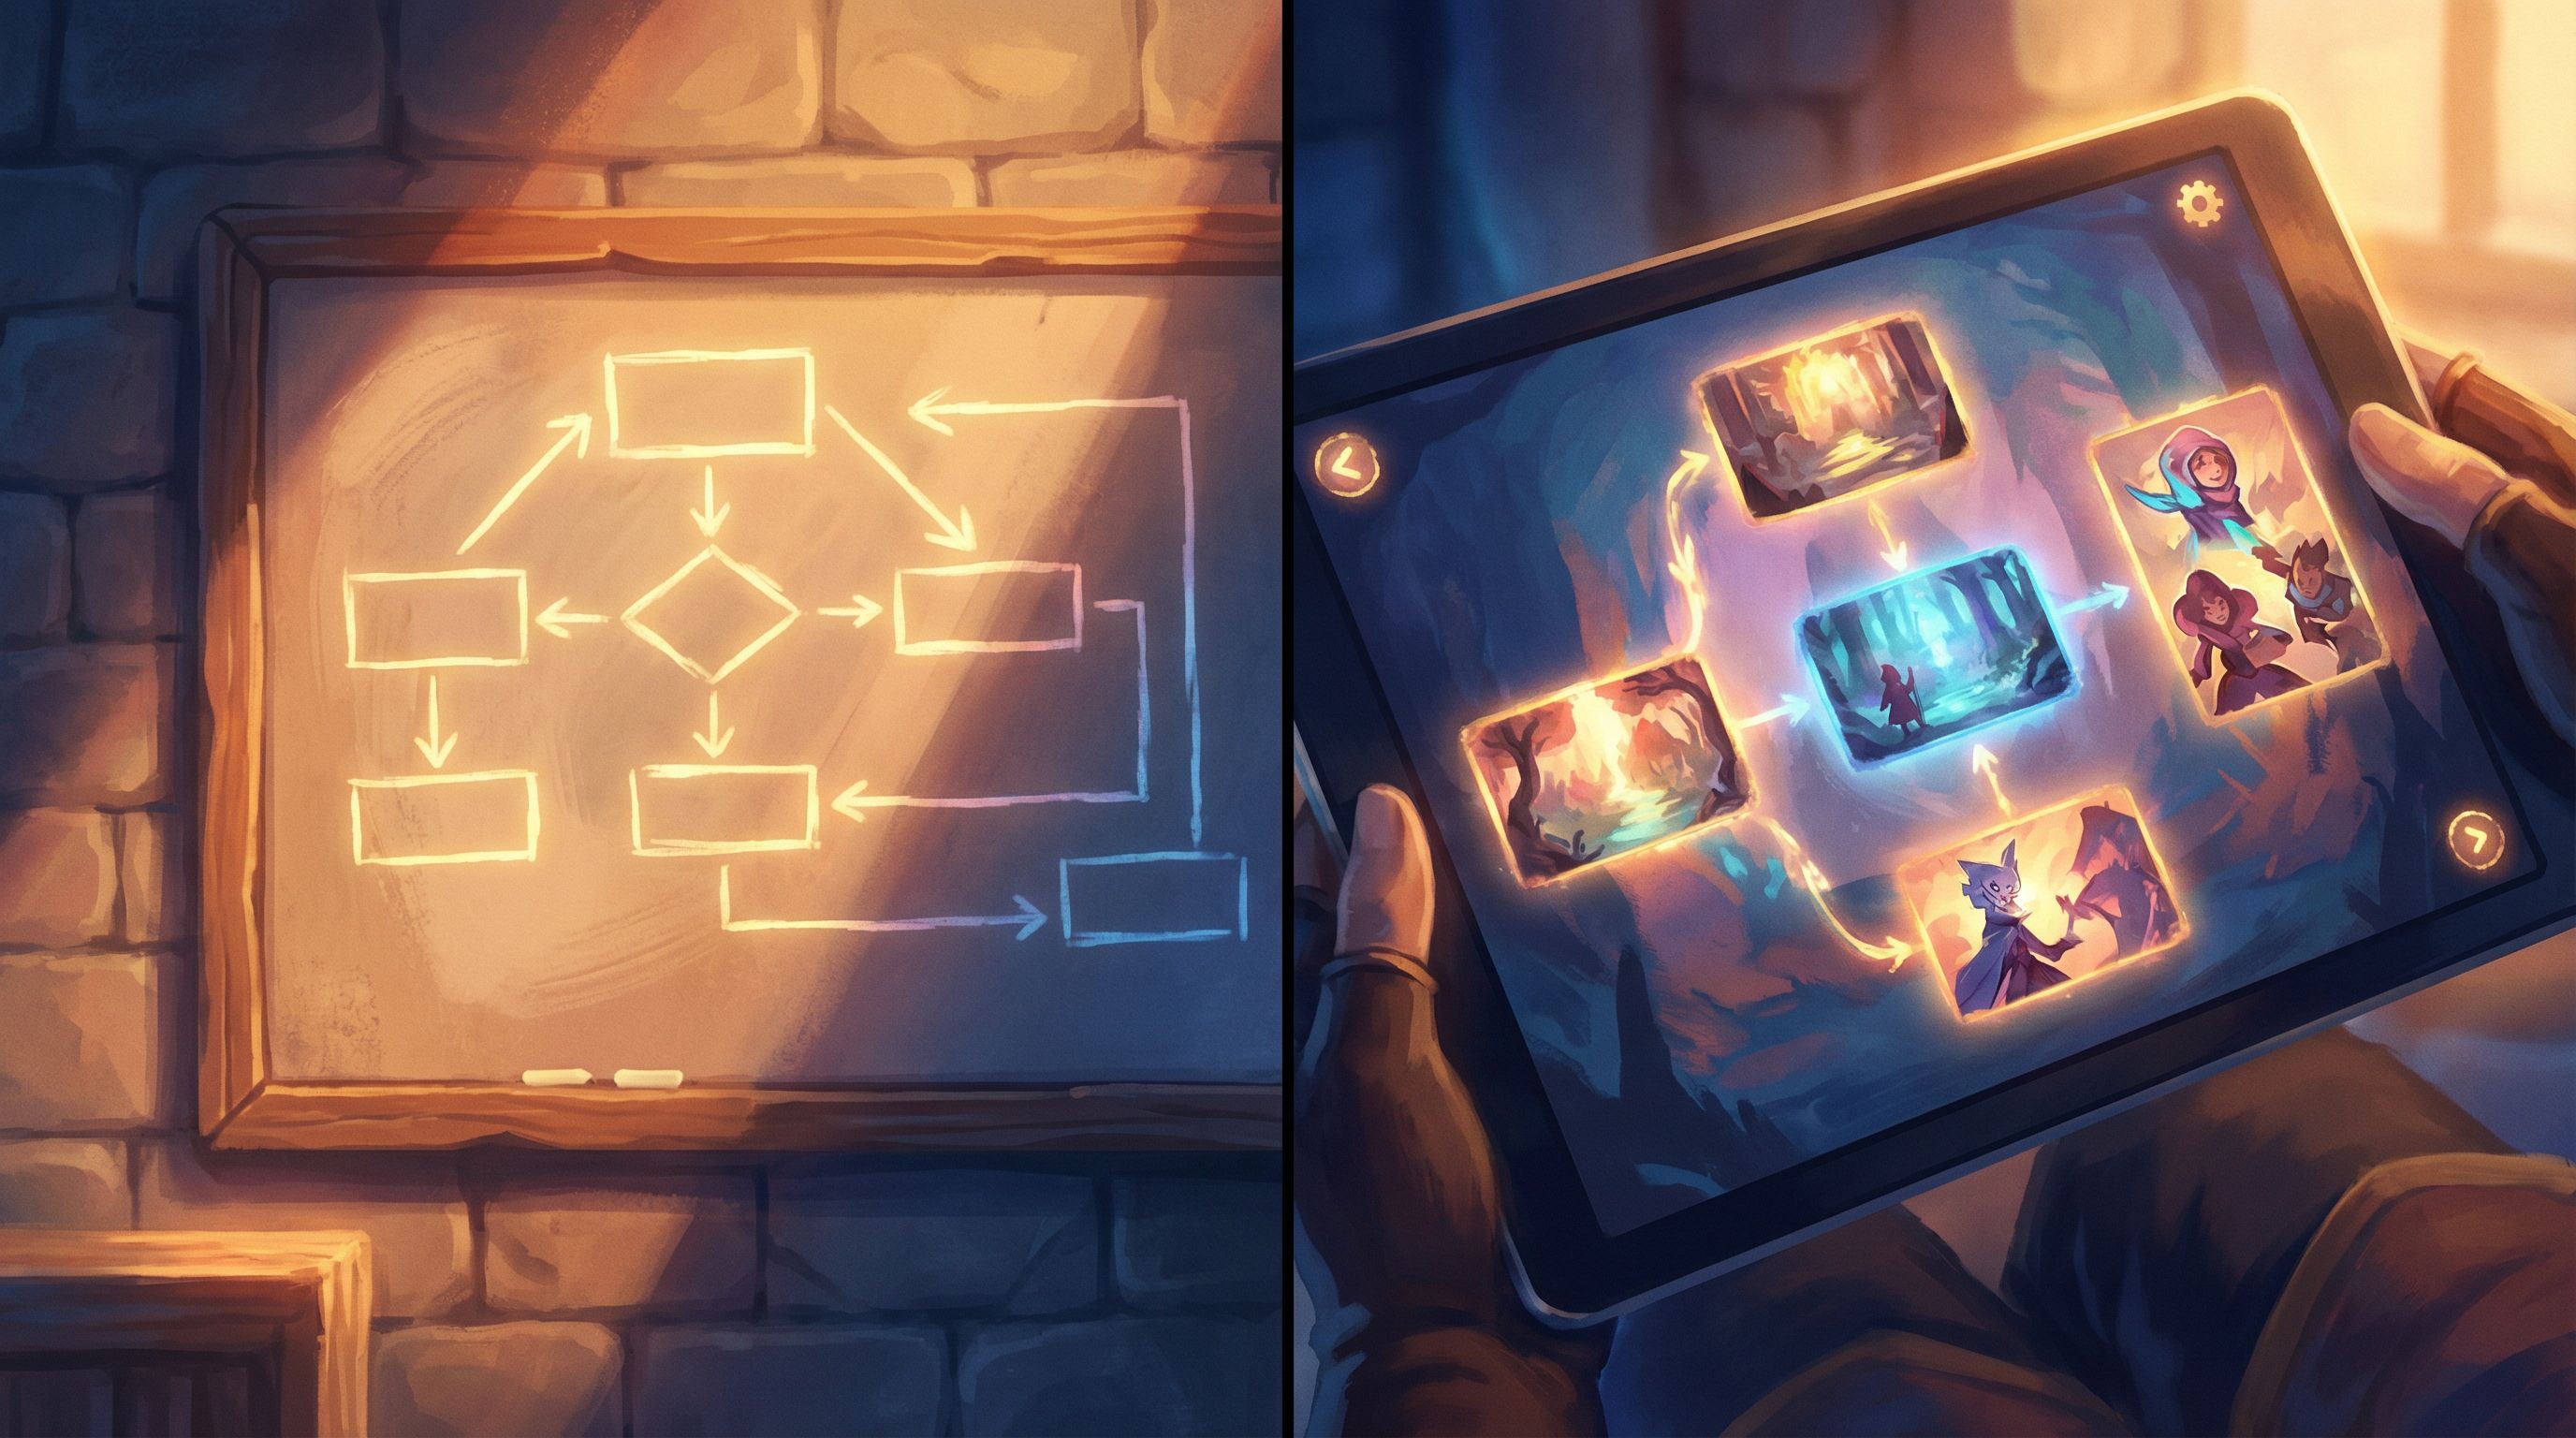
Take your existing diagram (Figma, Miro, Whimsical, etc.) and map a single, ideal path as if it were a short story.
For each step, describe:
- Context: What does the user see and know at this moment?
- Decision: What choice are they making?
- Consequence: What happens next, and how does it feel?
You might end up with a simple outline like:
- User lands on welcome screen → chooses “guided setup” vs. “explore on my own.”
- If guided setup → we ask about role and use case.
- Based on role → we suggest a default template.
- User chooses to accept template or customize.
- If customize → we ask a few more questions; if accept → we jump to preview.
This is your story spine—the backbone you’ll build branches off of in Questas.
3. Identify High‑Leverage Branch Points
Not every click needs to become a branch. Focus on decisions where:
- The stakes change (commitment, data risk, time investment)
- The user’s mental model diverges (“I want control” vs. “I want guidance”)
- You’re genuinely unsure which option or framing works best
Mark these moments in your outline. For each, define:
- The choice labels you’ll test (e.g., “Skip for now” vs. “Remind me later”)
- The emotional promise of each option (safety, speed, control, savings)
- The downstream consequences (extra steps, reduced functionality, risk)
This is also where cognitive psychology can help. If you want to go deeper on how framing and bias shape decisions in branching stories, see The Psychology of Choice: How Cognitive Biases Shape Player Decisions in Branching Stories.
4. Draft Scenes in Plain Language First
Before you touch the editor, write your scenes in a doc as if you’re scripting a short interactive fiction.
For each scene, include:
- Title: A short, descriptive label (e.g., “Welcome: Choose Your Onboarding Path”)
- Narrative text / UI copy: What the player reads
- Choices: 2–3 options, written as the player would see them
- Notes: Intent, assumptions, and questions for your team
Example:
Scene: Permissions Prompt – Calendar Access
Copy: “We can keep your schedule in sync if you connect your calendar. We’ll never edit or delete events—only read them to suggest the best times.”
Choices:
- “Connect my calendar (recommended)”
- “Not now—show me around first”
Notes: Test whether reassurance + ‘recommended’ label increases opt‑in without feeling pushy.
This step keeps you out of “UI rearranging mode” and firmly in “experience design mode.”

Building Your Scenario in Questas
Once your outline and scene drafts feel solid, you’re ready to build.
5. Lay Out the Core Path in the Visual Editor
Start simple:
- Create a new story in Questas.
- Add scenes for each step in your ideal path.
- Connect them linearly so you can play through end‑to‑end.
Don’t worry about every branch yet. You want a rough but coherent run that demonstrates the core journey.
As you build, keep an eye on:
- Scene length: Shorter beats keep people clicking; long walls of text feel like docs.
- Choice density: Most scenes should end in a meaningful decision or clear progression.
- Clarity of state: Make it obvious what has changed after each choice.
For pacing tips specific to longer interactive journeys, From Branches to Beats: Using Story Rhythm to Keep Players Clicking in Long Questas is a useful companion.
6. Add Branches Where They Teach You Something
Now, go back to your marked branch points and:
- Add alternative scenes for different decisions.
- Make sure each branch earns its existence by:
- Testing a different framing or sequence
- Representing a distinct persona or goal
- Surfacing an edge case or failure mode
Resist the urge to “branch for branching’s sake.” Every detour should:
- Reveal something about the user’s mindset, or
- Reveal something about your product’s design trade‑offs
If a branch doesn’t change what you learn or what the player feels, cut it.
7. Use AI‑Generated Visuals to Signal Context and Emotion
One of the advantages of Questas over a static prototype is that you can quickly add AI‑generated images and looping videos to each scene.
Use visuals to:
- Differentiate personas: Different workspaces, devices, or environments
- Signal stakes: Calm vs. urgent scenes, secure vs. risky actions
- Anchor abstract flows: Turn “billing configuration” into a recognizable setting (e.g., a founder at their laptop late at night)
Keep your visual style consistent so the scenario feels like one coherent world, not a collage. If you’re new to this, AI Visual Styles 101: Matching Your Questas Imagery to Genre, Tone, and Audience offers a practical style guide.
Testing, Iterating, and Using Scenarios with Your Team
Building the scenario is only half the value. The other half comes from how you use it.
8. Run Internal Playtests with Clear Prompts
Invite a mix of teammates—design, product, engineering, sales, support—to play through the scenario.
Give them a role and goal, such as:
- “You’re a time‑strapped manager trying our product for the first time.”
- “You’re a skeptical buyer who’s been burned by similar tools.”
- “You’re a support agent handling a frustrated customer.”
Ask them to think aloud as they play. Capture:
- Moments of confusion (“I don’t know what this button will do.”)
- Emotional spikes (“This feels pushy.” “This is reassuring.”)
- Mismatches with reality (“Our real customers would never click that first.”)
9. Observe Real Users When Possible
If you can, bring a few target users into moderated sessions where they:
- Play through the Questas scenario
- Then try a clickable prototype or live product
Compare:
- Did they make similar choices in both experiences?
- Did the story prototype predict where they got stuck or anxious?
- Which explanations or framings reduced friction most effectively?
Even a handful of sessions can reveal whether your story prototype is modeling reality well enough to guide design decisions.
10. Turn the Scenario into a Living Asset
Once validated, your story prototype can keep providing value:
- Onboarding for new hires: “Play through this to understand our ideal onboarding journey and where users struggle.”
- Sales enablement: “Use this scenario to practice discovery conversations and objection handling.”
- Change management: When you ship a major UX change, update the scenario to reflect the new journey and share it widely.
Because Questas is no‑code, product ops or enablement teams can maintain these assets without tapping engineering.
If you want to go further and build a system of reusable narrative components—personas, situations, outcomes—rather than one‑off stories, you’ll find a detailed approach in No-Code Narrative Systems: Designing Reusable Templates and Story Blueprints in Questas.
Practical Tips to Keep Prototypes Useful (and Sane)
A few guardrails will help your story prototypes stay lean and effective.
Keep scope intentionally small.
Aim for a 10–20 minute experience:
- 8–15 scenes on the main path
- 2–3 meaningful branches
- 1–2 “soft fail” paths where things go wrong but the story continues
Write for busy brains.
Your players are colleagues and customers, not novel readers.
- Use short paragraphs and clear headings.
- Put critical information near the top of each scene.
- Make choices scannable and mutually exclusive.
Design safe “failure” paths.
Let people make questionable choices and see consequences without hitting a dead end. This is especially useful for training scenarios and risk‑sensitive flows.
- Show what goes wrong.
- Offer a way to recover or backtrack.
- Highlight what was learned.
For more on this pattern, see Designing ‘Soft Fails’: How to Let Players Backtrack, Reroute, and Recover Inside Questas Adventures.
Document assumptions inside the story.
Use internal notes (or non‑player‑facing text) to capture:
- Why a branch exists
- What you’re testing
- What data you’ll use to decide whether to keep or change it
This keeps your scenario from turning into an unmaintainable tangle.
Plan how you’ll measure impact.
Even a simple story prototype can benefit from lightweight metrics:
- Completion rate for the scenario
- Distribution of choices at key decision points
- Qualitative feedback from internal and external players
Over time, you can build a library of scenarios and compare which patterns consistently lead to better product outcomes.
Bringing It All Together
Turning user flows into playable Questas scenarios is about more than making your specs prettier.
It’s about:
- Thinking in experiences instead of diagrams
- Letting teams feel a journey before you commit code
- Giving users and stakeholders a safe place to explore trade‑offs and consequences
When you:
- Choose high‑leverage flows,
- Translate them into a clear narrative spine,
- Build and branch thoughtfully in a visual, no‑code editor, and
- Use the resulting scenarios for testing, training, and alignment,
…you turn your product strategy into something people can actually play.
Your Next Step
You don’t need to overhaul your entire roadmap to try this.
Pick one journey that matters this quarter—maybe:
- The first five minutes of your trial
- The critical setup wizard for a new feature
- A tricky support or escalation path
Then:
- Write a one‑paragraph brief for the scenario.
- Outline 8–12 scenes on a single ideal path.
- Mark 2–3 decisions where different choices really matter.
- Open Questas and build a rough, playable version.
- Share it with three colleagues and watch them play.
By this time next week, you could have a living, clickable story that shows—not just tells—how your product should feel.
Adventure awaits in your user flows. It’s time to turn them into quests.