From Workshop Icebreakers to Full Simulations: Scaling Live Activities into Questas Experiences

You already know how to run a great room.
You’ve got go‑to icebreakers, role‑plays, “what would you do?” debates, maybe even a home‑grown tabletop exercise or escape‑room‑style challenge. People laugh, lean in, and leave with pages of notes.
Two weeks later? Most of that energy—and a lot of the learning—is gone.
Research on experiential learning and simulations keeps landing on the same conclusion: active, scenario‑based practice dramatically outperforms lecture for skill transfer and retention. Some studies show simulation‑driven programs improving knowledge retention by around 60% and speeding up skill acquisition by nearly 50% compared to traditional e‑learning.(industryresearch.biz)
The problem isn’t that your workshops don’t work. It’s that they’re hard to scale and impossible to replay.
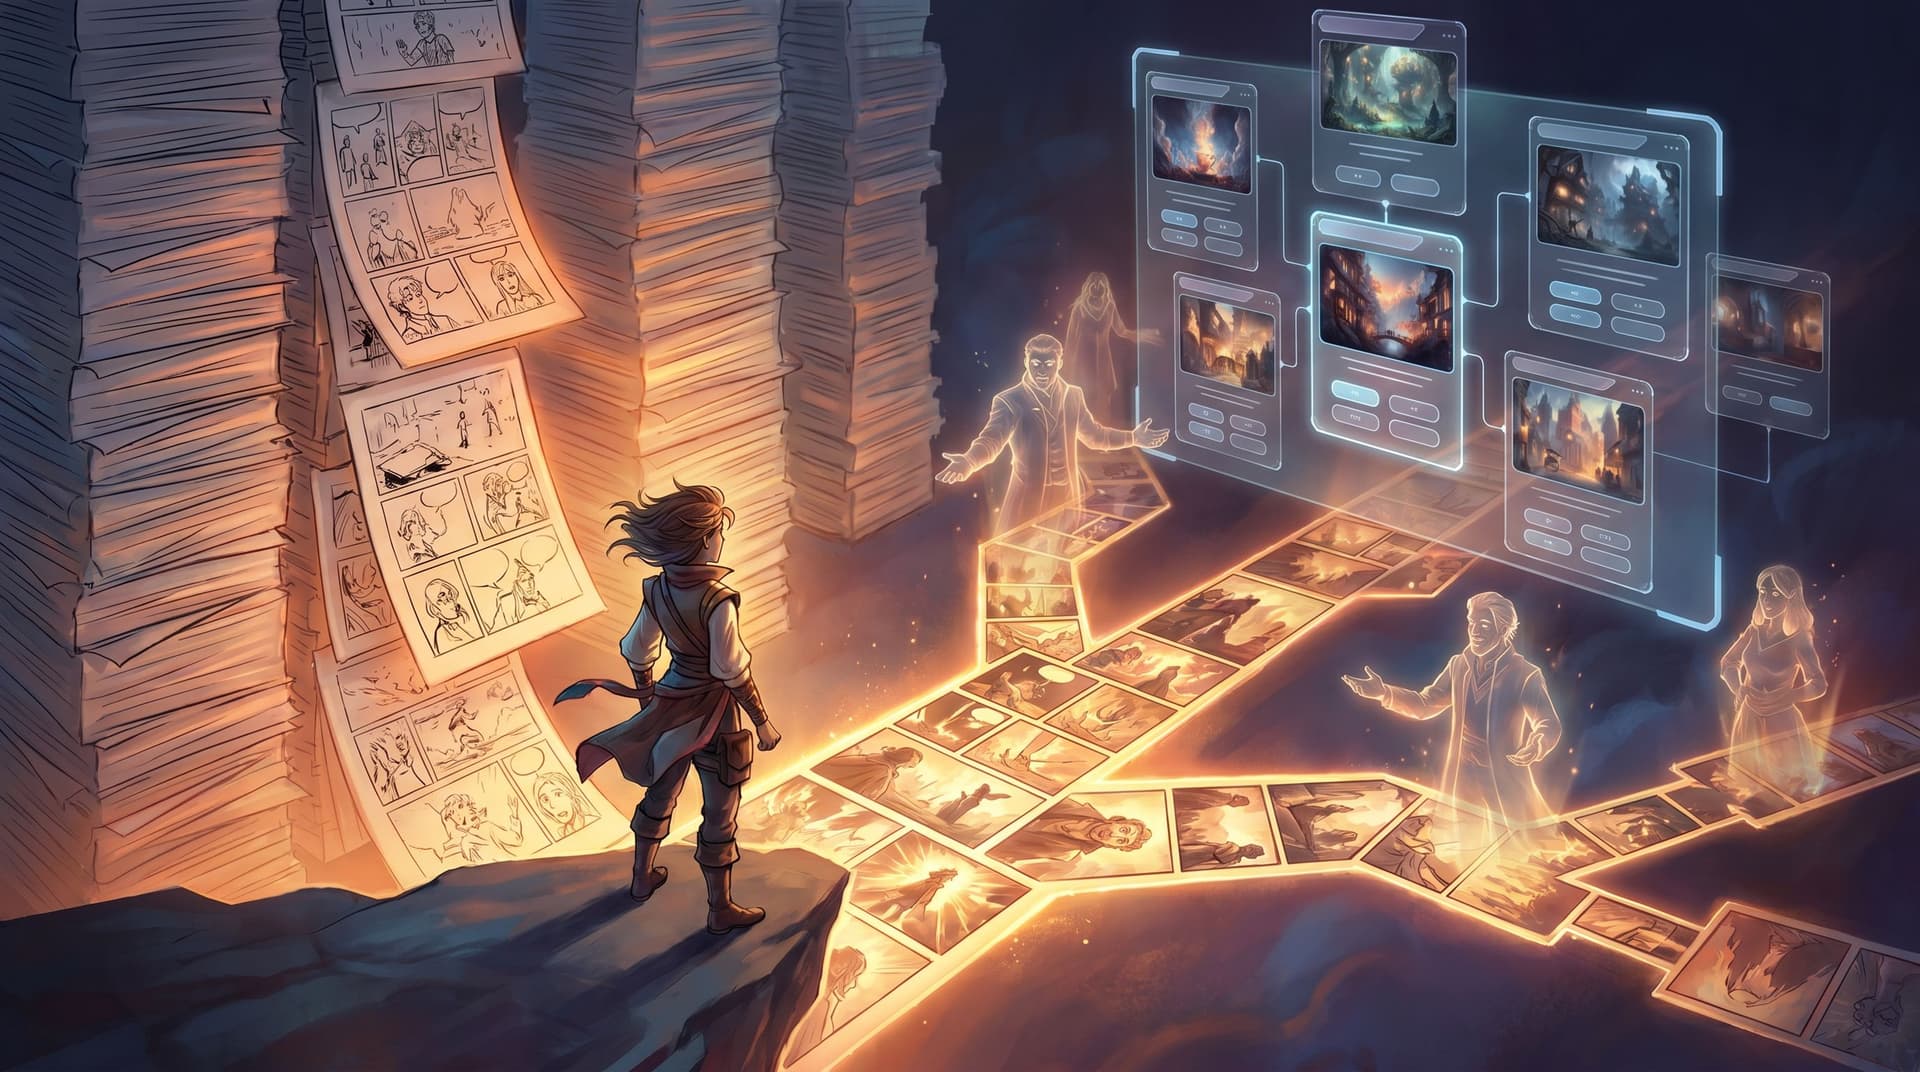
That’s where turning live activities into interactive Questas stories comes in.
In this post, we’ll walk through how to:
- Start with simple icebreakers and warm‑ups you already use.
- Translate them into short, branching Questas experiences.
- Grow those into rich simulations for leadership, crisis response, sales, learning, and more.
Along the way, we’ll look at practical patterns, common pitfalls, and how to use AI‑generated visuals to carry the emotional weight of your sessions—without needing a dev team.
Why Scale Live Activities Into Playable Experiences?
Before we get tactical, it’s worth naming why this shift matters.
1. You stop losing the “you had to be there” magic
Icebreakers, role‑plays, and tabletop exercises work because they’re embodied:
- People speak in their own words.
- They negotiate in real time.
- They feel the stakes of a decision, even if it’s fictional.
But once the room disperses, all you have left is a slide deck and maybe a PDF recap. Turning those same flows into Questas experiences gives you:
- Replayability – people can revisit scenarios on their own time.
- Consistency – every cohort hits the same core beats, even if facilitators differ.
- Shareability – you can distribute the experience to teams you’ll never meet live.
2. You get real behavior, not just nice survey scores
Live activities already reveal more than post‑workshop feedback forms. When you convert them into branching simulations, you can:
- See which paths people actually choose.
- Spot patterns in where they hesitate, backtrack, or “fail.”
- Use that data to refine both the simulation and your real‑world processes.
If you’re curious about how this behavior‑first mindset shows up in market and user research, check out our post on letting customers “choose their own pain points” in [Branching Narratives for Brand Research](/branching-narratives-for-brand-research-let-customers-choose-th).
3. You serve far more people with the same design effort
Simulation‑based learning is no longer niche. Recent market analyses suggest that over 70% of large corporations now use simulation games for technical, safety, or process training—and they’re doing it because it measurably reduces errors and accelerates proficiency.(industryresearch.biz)
By building your own simulations on Questas, you:
- Decouple impact from calendar space. One well‑designed scenario can run for hundreds or thousands of learners.
- Shorten the path from idea to experiment. No RFPs for custom software; you iterate directly in a visual editor.
Step 1: Capture the Live Activity You Already Run
The easiest way to start is not with a blank canvas, but with a workshop moment that already works.
Look for an activity that:
- Consistently wakes people up.
- Surfaces real opinions or trade‑offs.
- Could plausibly be framed as a decision with consequences.
Common candidates:
- Values or priority icebreakers – “Choose one of these three options and defend it.”
- Scenario debates – “A customer sends this email—what do you reply?”
- Tabletop or escape‑room beats – “You have 5 minutes to decide which lever to pull.”
Then, document it in gritty detail:
- Write down the exact prompt you give participants.
- Note the most common responses or moves you see.
- Capture the debrief questions you use to turn activity into insight.
- List any visual or physical elements you rely on (cards, props, whiteboard sketches).
Don’t worry about story structure yet. You’re just gathering raw material.
Step 2: Find the Hidden Narrative Spine
Even simple icebreakers contain a story:
- There’s a setup (context or constraint).
- Participants make a choice.
- Something changes because of that choice.
To find that spine, ask yourself:
- What is the learner really deciding here? (Not just “Option A vs B,” but “speed vs safety,” “short‑term win vs long‑term trust,” etc.)
- What’s at stake if they choose poorly? (Embarrassment, lost revenue, safety risk, team morale.)
- What new information do I reveal after their choice? (The twist you usually drop in the debrief.)
Turn that into a simple three‑beat outline:
- Scene 1 – Setup: Introduce the situation, characters, and tension.
- Scene 2 – Decision: Present 2–4 plausible options that map to real trade‑offs.
- Scene 3 – Consequence: Show what happens and ask a reflective question.
This is your first micro‑quest.
If you’d like a deeper dive on shaping emotional beats in short sequences, the [5-Scene Story Lab](/the-5-scene-story-lab-rapidly-ab-testing-branches-endings-and-v) is a great companion read.
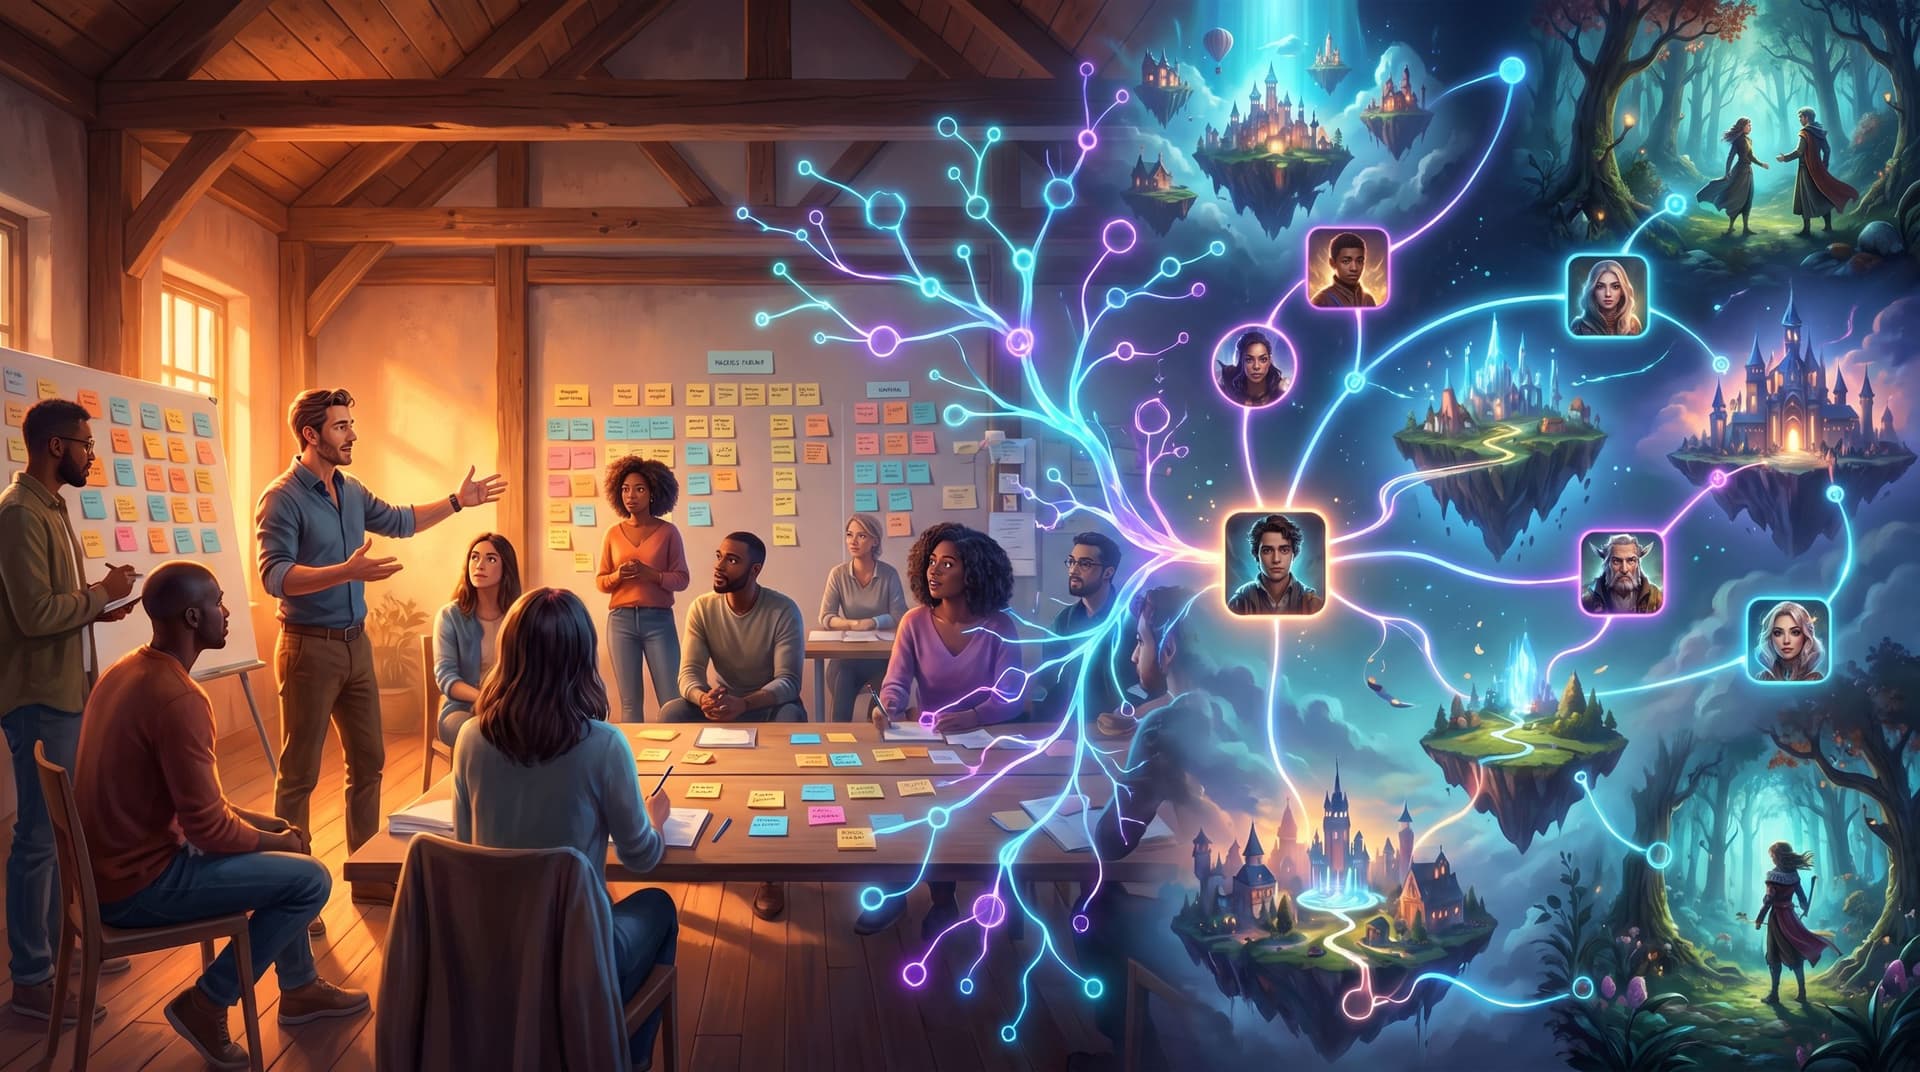
Step 3: Build a Micro‑Quest in Questas
Now you’re ready to move into the editor and give your activity a playable body.
Lay out your scenes visually
In Questas, start with 3–5 scenes:
- Opening scene – Frame the context in a way that feels like your workshop intro. Use a few lines of narration or dialogue.
- Decision scene – Present the key choice from your activity as buttons or cards.
- Outcome scenes – One short scene per decision, showing immediate consequences.
- (Optional) Reflection scene – Ask the player why they chose what they did, or invite them to replay.
Keep it small on purpose. You’re not building a full simulation yet; you’re testing how your live activity feels when it’s screen‑based and asynchronous.
Use AI visuals to carry the mood
One of the advantages of Questas is baked‑in AI image and video generation. Instead of generic stock photos, you can:
- Show the room where the decision happens (boardroom, ER, factory floor, call center).
- Capture micro‑expressions on key characters as stakes rise.
- Use visual metaphors (storm clouds, branching paths, ticking clocks) to reinforce tension.
If you’re planning a recurring series of activities, you can go deeper on visual systems—with reusable characters, locations, and props—using approaches like those in [From Style Guide to Shot List](/from-style-guide-to-shot-list-building-reusable-visual-systems).

Step 4: Add Branches Without Losing Clarity
Once your micro‑quest feels good, you can start layering in complexity.
The temptation is to explode into a 40‑scene epic. Resist that. Instead, scale in controlled ways:
Add depth, not just width
Rather than adding 10 new options at the first decision, try:
- Follow‑up decisions: After an initial choice, present a second, more nuanced call.
- Soft fails: Let sub‑optimal choices bend the story instead of ending it. The player feels the consequences but keeps going.
- Perspective shifts: Let the player briefly step into another character’s viewpoint.
Our post on [Designing ‘Soft Fails’ in Questas](/designing-soft-fails-in-questas-letting-players-mess-up-without) goes deep on this idea—especially useful when you’re modeling real‑world stakes without shaming your learners.
Use three “choice types” to structure branches
To keep things legible, it helps to label your choices behind the scenes:
- Risky choices – High stakes, visible upside/downside.
- Reflective choices – Values, priorities, interpretations.
- Routine choices – Everyday actions that make the world feel real.
A single workshop‑inspired simulation might use all three:
- Start with a reflective icebreaker (what kind of leader do you want to be?).
- Move into risky crisis or negotiation calls.
- Sprinkle in routine steps that mirror real workflows.
If you want a framework for designing these, [From Mood to Mechanic](/from-mood-to-mechanic-designing-choice-types-risky-reflective-r) is worth exploring next.
Step 5: Grow From Icebreakers to Full Simulations
Once you’ve built and tested a few micro‑quests, you’re ready to scale into larger experiences that mirror your most ambitious live sessions.
Here’s a practical progression:
Level 1: Standalone icebreaker quests (5–10 minutes)
Use these to:
- Replace or augment the first 10 minutes of a workshop.
- Warm people up before a live session (“Play this scenario before we meet”).
- Capture baseline attitudes or instincts.
Design tips:
- One core decision, max two follow‑ups.
- Low cognitive load – clear language, minimal UI.
- Strong debrief – end with a short reflection or prompt to share in the live room.
Level 2: Scenario clusters (20–30 minutes)
Now you’re chaining 3–5 related micro‑quests into a mini‑campaign:
- A leadership journey across the first 90 days in role.
- A customer escalation that unfolds over several emails and meetings.
- A safety incident from early warning signs to post‑mortem.
Design tips:
- Reuse characters and locations for continuity.
- Let early decisions subtly echo later (reputation, trust, resources).
- Build in checkpoints where facilitators can pause and discuss.
Level 3: Full simulations (45–90 minutes)
This is where you’re mirroring your most complex tabletop or escape‑room‑style workshops.
You might:
- Turn a crisis playbook into a multi‑path simulation (for inspiration, see
[From Escape Rooms to Escape Routes](/from-escape-rooms-to-escape-routes-turning-crisis-playbooks-int)). - Build a branching B2B deal journey where sales teams navigate politics, pricing, and product fit.
- Create a “playable forecast” of future market scenarios for strategy offsites.
Design tips:
- Treat it like a season of a show, not a single movie: multiple episodes, each playable in one sitting.
- Use chapter breaks so people can step away without losing the thread.
- Consider multiple roles (e.g., leader, customer, regulator) to show system dynamics.

Step 6: Blend Live Facilitation With Self‑Paced Play
Scaling into Questas doesn’t mean abandoning live sessions. Some of the most powerful experiences combine both.
Hybrid formats that work well
- Pre‑work quests – Participants play a short scenario before the workshop. You use their paths and reflections to tailor the agenda.
- Live “branch votes” – Project a scene and let the room vote on choices via chat, polls, or show of hands, then branch together.
- Post‑workshop refreshers – Send follow‑up quests that revisit key moments with new twists.
Facilitation moves that carry over
Everything you already do as a facilitator still matters:
- Set psychological safety before tough scenarios.
- Normalize “failure” as data, not judgment.
- Invite people to compare paths and notice trade‑offs.
The difference is that now, your facilitation has a durable artifact: a quest people can return to, share with peers, and build on.
Step 7: Measure What Matters (Beyond Smiles and Scores)
Once your activities live inside Questas, you gain a new layer of insight.
Instead of just asking “Did you like this workshop?”, you can track:
- Path distribution – Which options do people pick most often? Which paths almost nobody sees?
- Time on decision – Where do people hesitate or rush?
- Replay behavior – Do learners come back to try different approaches?
Pair this with qualitative feedback:
- Ask players to screenshot moments that felt surprising or emotionally charged.
- Invite short written reflections at key junctures.
If you’re curious how to turn this raw signal into narrative analytics, [From Playtest Notes to Narrative Analytics](/from-playtest-notes-to-narrative-analytics-what-to-measure-and) breaks down a practical approach.
Common Pitfalls (And How to Avoid Them)
As you scale from icebreakers to simulations, watch out for a few traps:
1. Over‑branching too early
You don’t need 20 endings. Start with a few strong paths that clearly illustrate trade‑offs.
2. Confusing complexity with realism
Real life is messy, but your simulation doesn’t need to model every variable. Focus on the decisions that actually change behavior on the job.
3. Turning everything into a quiz
Simulations are about experience, not just right answers. Let people explore, make mistakes, and recover.
4. Ignoring accessibility
If you’re building experiences meant for broad audiences, consider font sizes, contrast, alt‑text for visuals, and pacing. The principles in [Accessibility-First Quest Design](/accessibility-first-quest-design-building-questas-that-welcome) apply just as much to training simulations as to story games.
Bringing It All Together
When you zoom out, the journey from “fun icebreaker” to “full simulation” looks like this:
- Start from what already works – Capture a live activity that reliably engages people.
- Extract the story – Identify the setup, key decision, and consequence.
- Build a tiny quest – 3–5 scenes in Questas, with AI visuals to set the mood.
- Layer in branches thoughtfully – Use soft fails, follow‑up decisions, and varied choice types.
- Scale into series and simulations – Chain micro‑quests into journeys that mirror your biggest workshop goals.
- Blend live and playable – Use quests before, during, and after sessions to deepen impact.
- Measure and iterate – Watch how people actually play, then refine.
The payoff: your best facilitation moments stop being one‑time events and become reusable, evolving story systems that anyone in your organization—or community—can step into.
Your Next Move
You don’t need to redesign your entire program to get started.
Pick one:
- Choose a favorite icebreaker you already run and write down the exact prompt and typical responses.
- Sketch a three‑scene outline (setup → decision → consequence) on a sticky note.
- Open Questas and turn that outline into a tiny, playable prototype—with one AI‑generated image that captures the moment.
Once you’ve seen one of your live activities come to life as a branching story, it’s hard to go back to one‑and‑done workshops.
Adventure awaits—one micro‑quest at a time.