From Webcomic to Webquest: Turning Episodic Visual Stories into Interactive Questas Serials

Webcomics are having a moment. Global webcomics revenue is projected in the multi‑billion‑dollar range and still growing, with forecasts pointing to steady expansion through 2030 and beyond as mobile‑first reading and creator‑driven platforms spread worldwide. Readers are already trained to follow episodic, visual stories week after week—and they love to binge. (market.us)
At the same time, interactive stories and visual novels are creeping into the mainstream through platforms like Choices, Episode, and webtoon formats that experiment with motion, sound, and branching panels. Readers don’t just want to see what happens next; they want to decide what happens next. (en.wikipedia.org)
That’s where the shift from webcomic to webquest comes in.
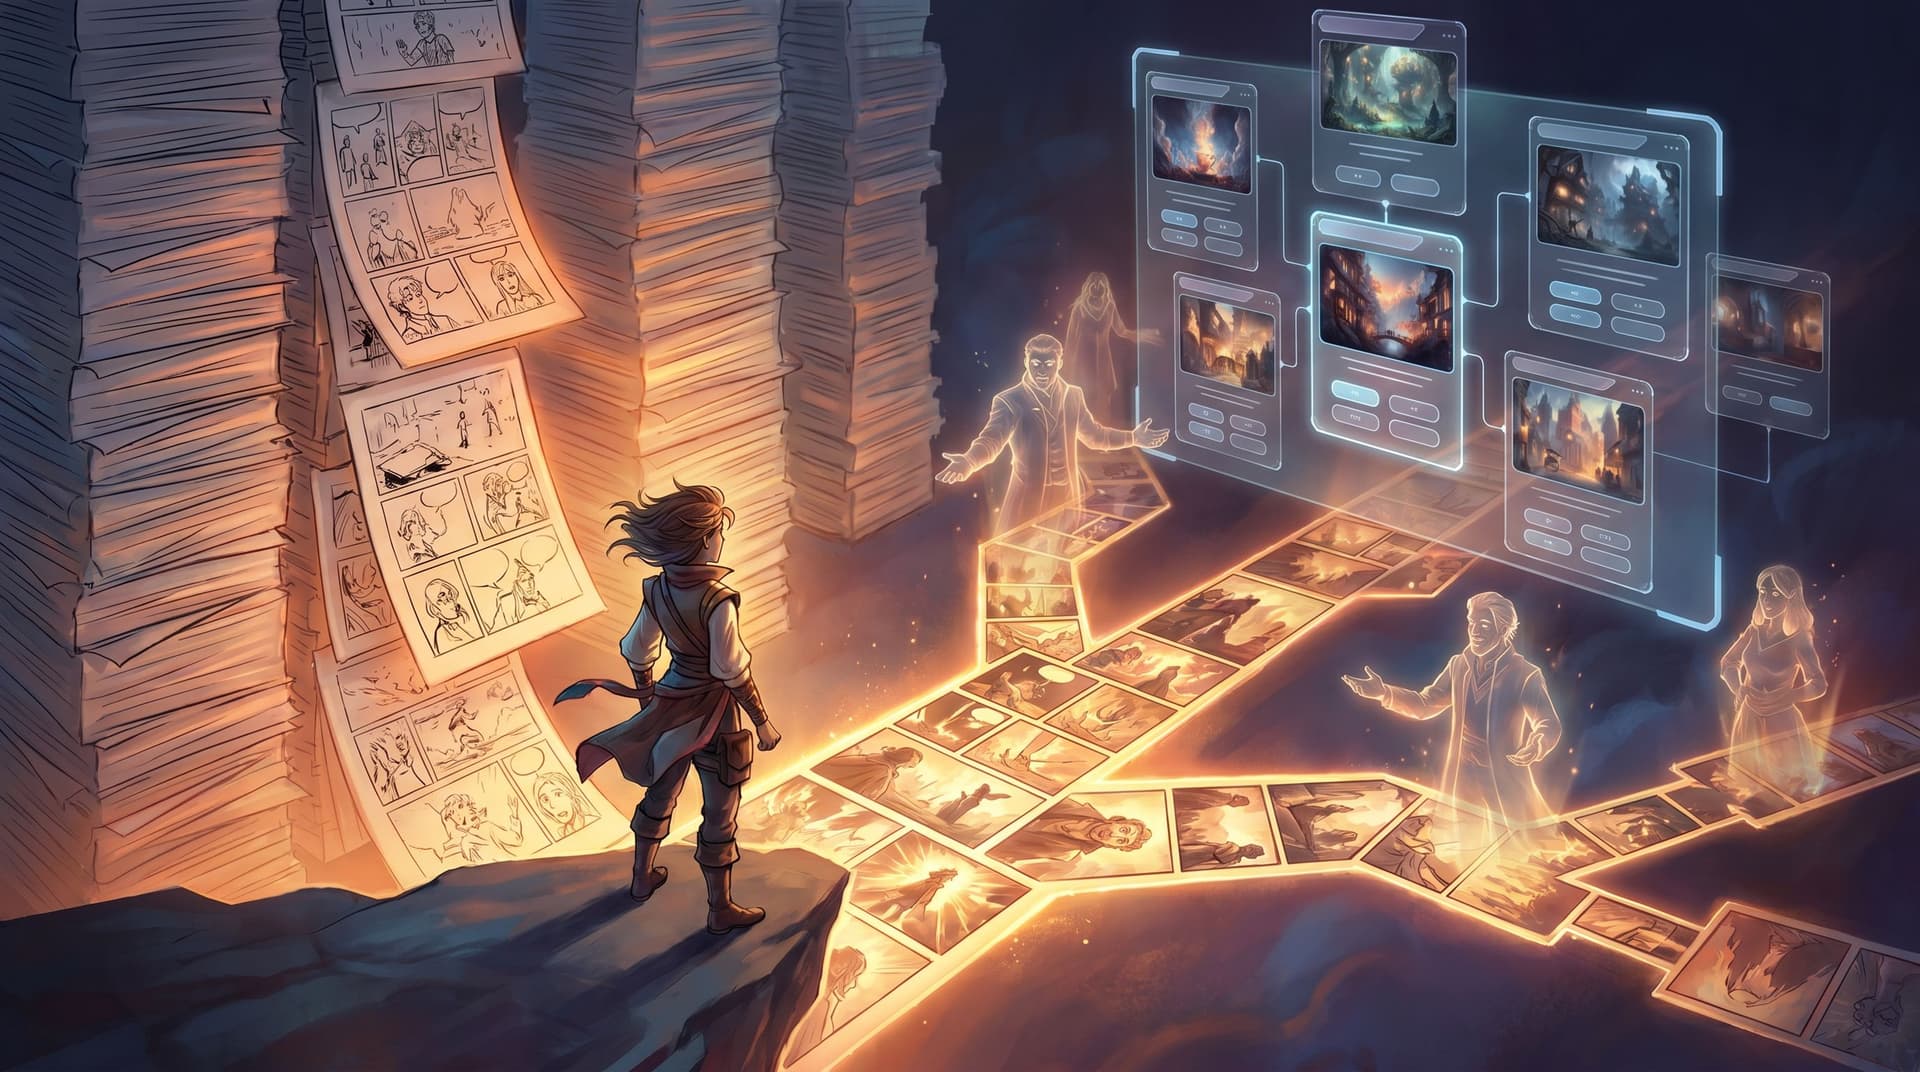
If you’ve been publishing a linear comic—on your own site, on WEBTOON, Tapas, or social—you’re sitting on a goldmine of characters, locations, and lore. Turning that universe into an interactive serial built on Questas lets your audience step inside your story instead of just scrolling past it.
This post is about how to do that—practically, sustainably, and without needing to learn to code.
Why Turn a Webcomic into an Interactive Quest?
Before we get tactical, it’s worth getting clear on why this is worth your energy.
1. Deeper engagement with the same world
A linear comic gives readers one route through your story. An interactive quest gives them:
- Multiple POVs on the same events
- What‑if timelines that explore alternate choices
- Replayability, because readers can come back and see different outcomes
Research on interactive narratives shows that letting people influence the story boosts engagement and retention—they’re not just consuming; they’re collaborating. (arxiv.org)
2. New ways to monetize and reward superfans
Once your world becomes playable, you can experiment with:
- Early‑access routes for patrons
- Premium branches with extra art or micro‑video
- Character‑specific paths that only unlock after certain endings
Because Questas is web‑based and no‑code, you can iterate on these ideas quickly instead of commissioning a custom game build.
3. A creative lab for your canon
Interactive branches are a safe space to test:
- Alternate endings you’re not ready to commit to in canon
- Side stories for supporting characters
- Tone shifts (e.g., a horror route in an otherwise cozy series)
If you’ve read our post on The 5-Scene Story Lab: Rapidly A/B Testing Branches, Endings, and Visual Styles in Questas, you already know how powerful short, experimental builds can be before you lock anything into your main continuity.
Step 1: Pick the Right Slice of Your Comic
You don’t need (and probably shouldn’t try) to convert your entire archive on day one. Instead, start with a contained slice that already behaves like a mini‑arc.
Look for:
- A decision‑heavy stretch – An infiltration, investigation, heist, or social conflict where characters could plausibly make different choices.
- A strong location hub – A school, starship, café, or town with multiple rooms or factions your readers love.
- A fan‑favorite episode – The chapter your readers still comment on months later.
Good starter candidates:
- The pivotal argument where your protagonist could have walked away, confessed, or doubled down.
- The mission gone sideways that could have failed earlier, succeeded too easily, or exposed a different secret.
- The festival / party episode with many side characters and subplots.
Your goal is to find a 3–6 episode block that can be reframed as: “What if the reader were driving this?”
Step 2: Map Your Linear Episode into a Branching Skeleton
Once you’ve picked your slice, resist the urge to add fifty branches immediately. Start small.
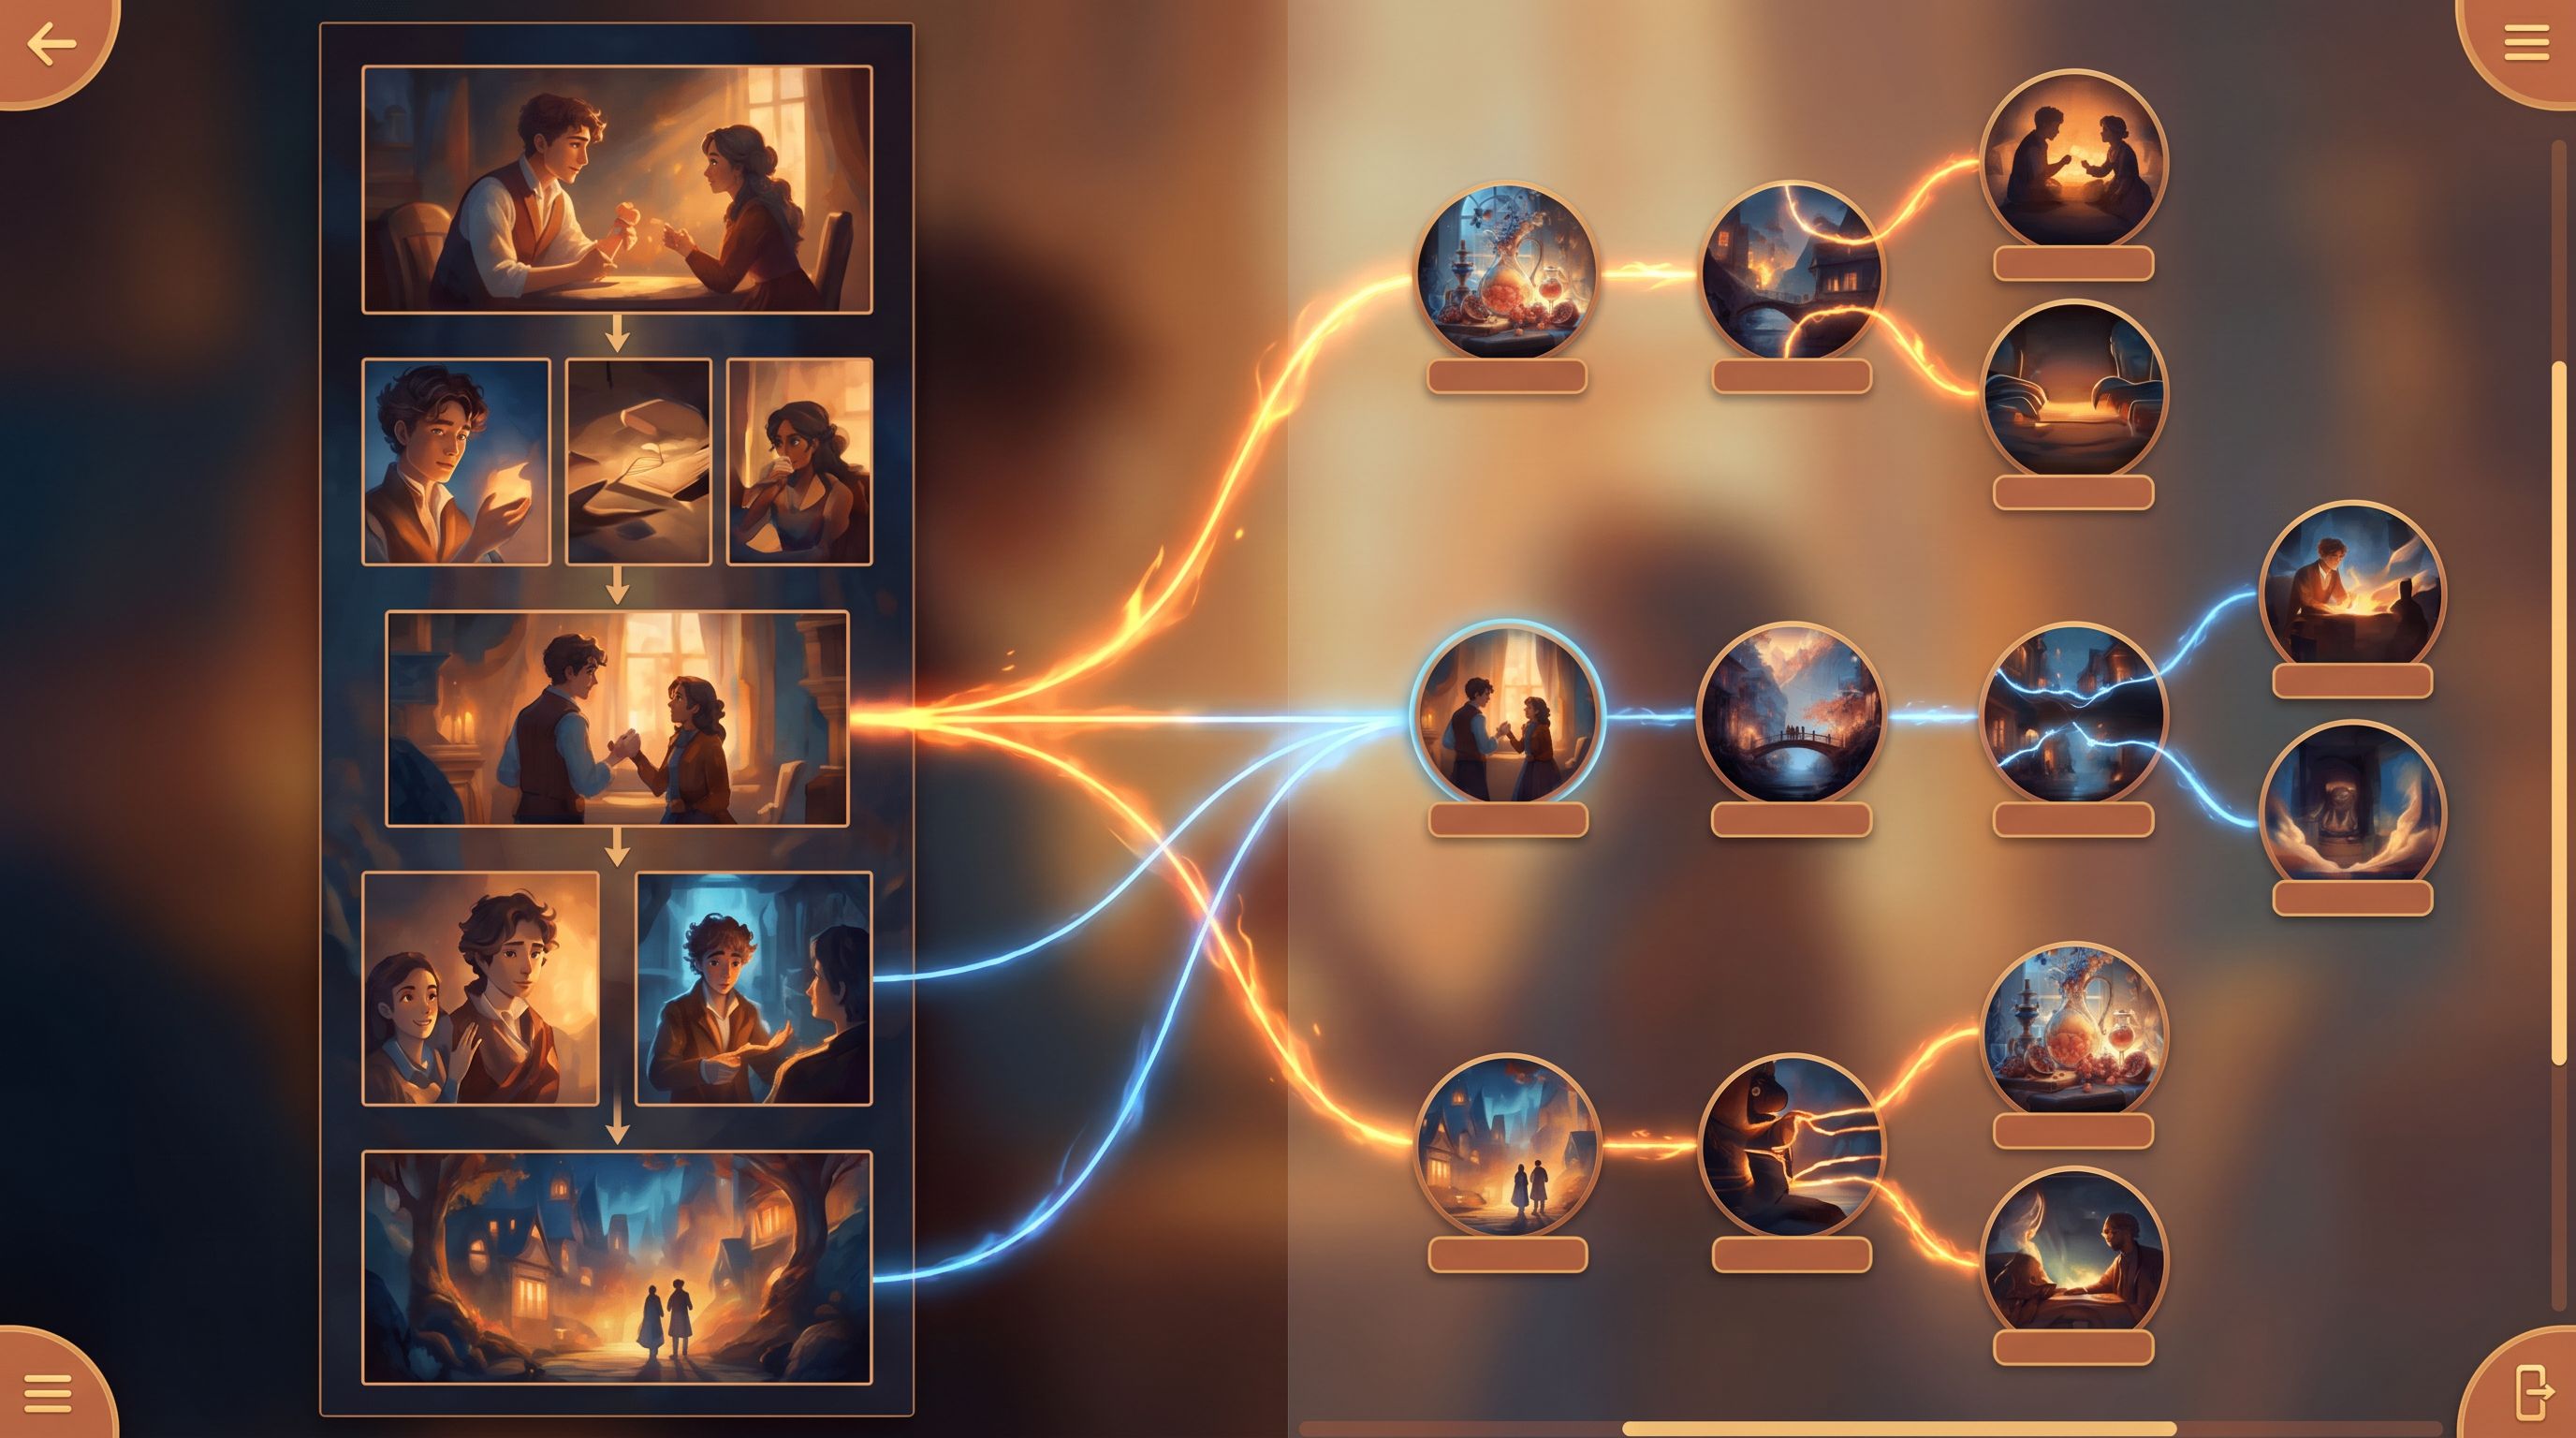
A simple pattern that works well in Questas:
- On‑ramp scene – The player steps into the story at a familiar moment from your comic.
- First fork – A meaningful choice that sets their route (e.g., who they side with, which door they open).
- Two mid‑path scenes – Each with a smaller choice that colors tone, relationship, or risk.
- Convergence or split endings – 2–3 outcomes that feel distinct but still coherent with your canon.
Think in terms of:
- Spines, not trees. You’re building a few strong routes, not an infinite maze.
- Choice themes. Maybe one route is “reckless honesty,” another is “careful deception.”
- Soft fails over hard stops. If a choice goes badly, let the story bend, not break—our post on Designing ‘Soft Fails’ in Questas: Letting Players Mess Up Without Breaking the Story digs deeper into this.
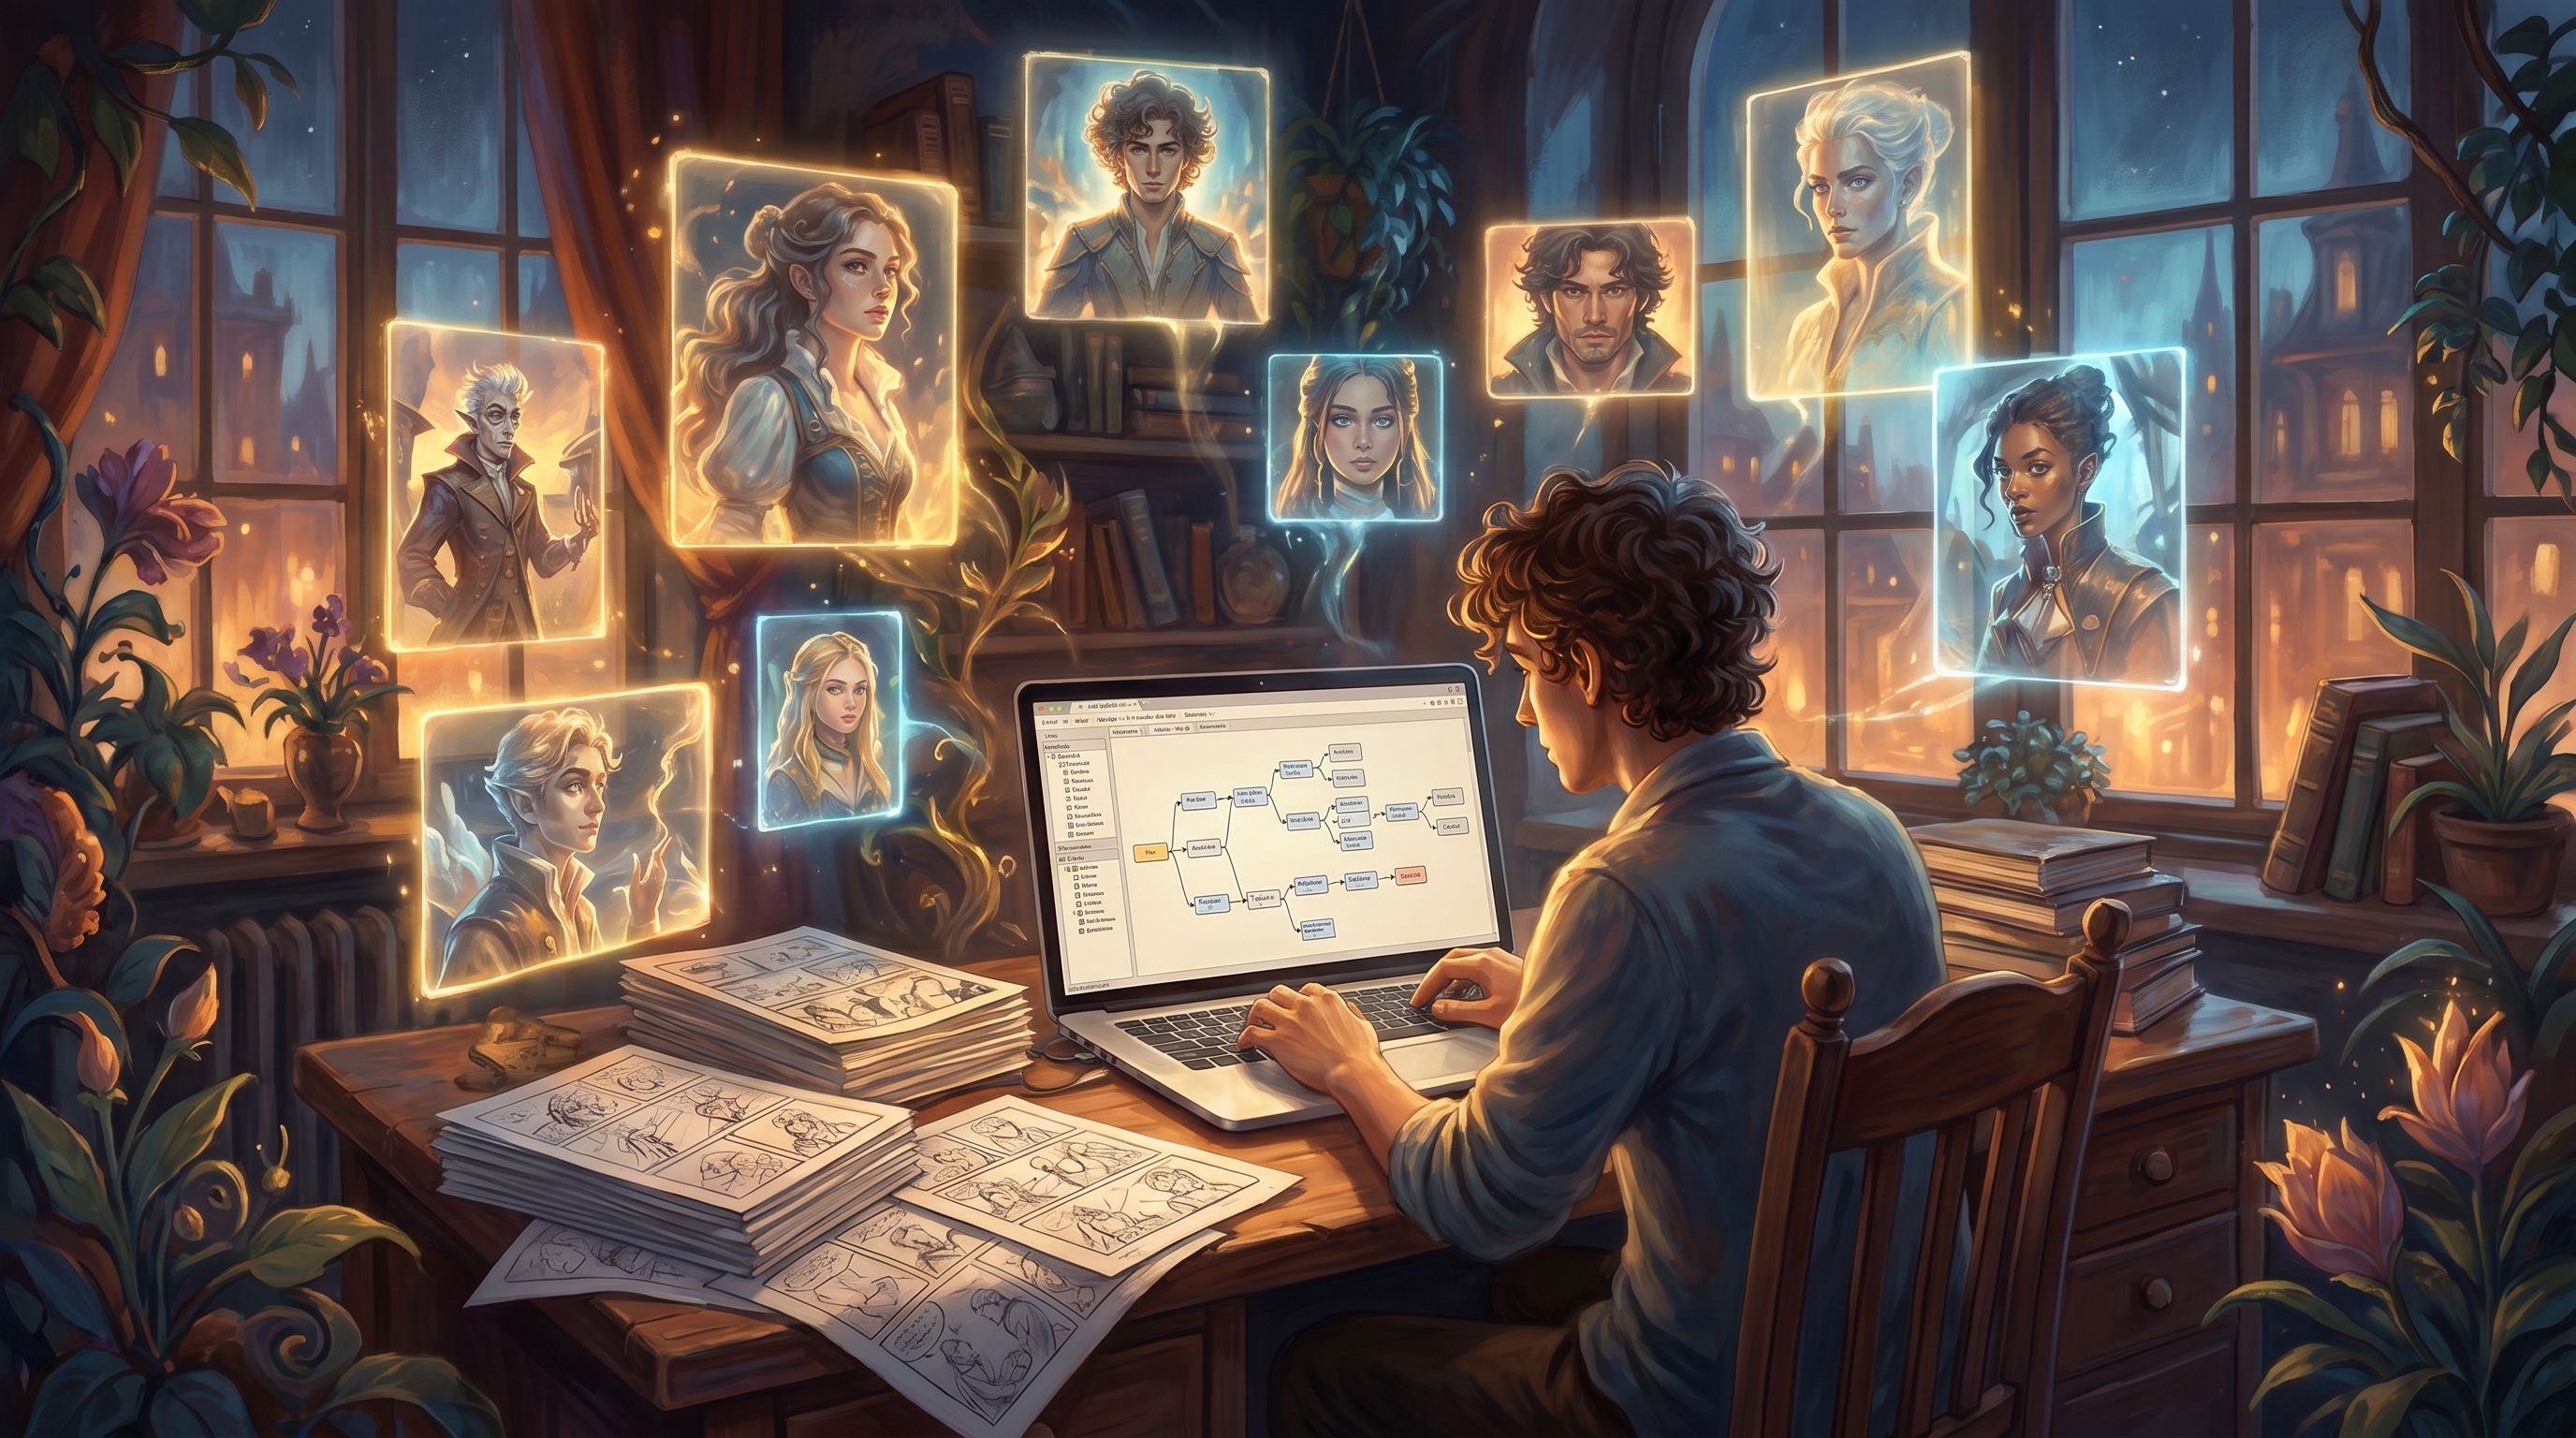
Practical tip: In the Questas editor, sketch this as boxes and arrows before you write a single new line of dialogue. If you can’t summarize each scene in one sentence, your slice is probably too big.
Step 3: Turn Panels into Playable Scenes
You already have visual beats and dialogue. Now you’re translating them into interactive scenes.
Decide what stays fixed vs. what becomes variable
For each original episode:
- Fixed: Key reveals, anchor images, essential character beats.
- Variable: Order of events, who triggers them, how much the player knows when they happen.
Ask yourself:
- “What absolutely must happen for this to still feel like my story?”
- “Where could the player credibly intervene?”
Build your first scene in Questas
In the Questas visual editor:
- Create a scene node named after your episode moment (e.g., “Rooftop Confrontation”).
- Paste in adapted dialogue – Use your original script as a base, but rewrite lines to acknowledge the player’s perspective (“You edge closer to the ledge…” instead of “Ava steps closer to the ledge…”).
- Add 2–3 choices that:
- Reflect different intents (confront, deflect, stay silent)
- Are phrased as player actions (“Tell Kai the truth,” “Lie about the message,” “Change the subject”)
- Wire each choice to its follow‑up scene.
If you want to go deeper on shaping how choices feel, cross‑reference our post From Mood to Mechanic: Designing Choice Types (Risky, Reflective, Routine) in Your Questas Stories.
Step 4: Use AI Visuals to Recast Your Existing Art
You don’t have to abandon your original art style—but you can use AI images and video to:
- Fill in angles you never drew (close‑ups, reaction shots, establishing shots)
- Smooth pacing between major panels
- Create variant visuals for different branches (e.g., the same alley in daylight vs. at night)
Build a mini “visual bible” first
Before you generate hundreds of images, lock in:
- Character prompts – Physical traits, clothing, vibe, recurring props.
- Environment prompts – Key locations with mood and lighting.
- Style constraints – Line weight, color palette, rendering style.
If you’re planning a long‑running interactive serial, pair this with the ideas in From Style Guide to Shot List: Building Reusable Visual Systems for Ongoing Questas Series and Prompt Libraries That Scale: Building Reusable AI Image Systems for Long-Running Questas Series.
Think like a director, not just an illustrator
With AI‑generated stills and micro‑video inside Questas, you can simulate camera language:
- Push‑in close‑ups when a player commits to a risky choice
- Wide shots when you reveal consequences across the city
- Match cuts between parallel branches (e.g., two characters making the same decision in different places)
For more on this, check out Camera Moves Without a Camera: Simulating Pans, Zooms, and Cuts with AI Images in Questas and Storyboard to Screen: Using AI-Generated Micro-Video to Pace Tension and Reveal in Your Questas.
Step 5: Design Episodes as Playable “Issues”
Your readers are used to episodic beats: updates on a schedule, each with its own mini‑arc and hook. You can keep that rhythm in your interactive serial.
Think of each quest episode as:
- A focused scenario – 10–20 minutes to play, 4–8 scenes.
- One emotional question – “Will you tell them the truth?” “Will you take the deal?”
- A clear endpoint – A reveal, a consequence, or a new problem.
Structure for serial tension
Within each interactive episode:
- Cold open – Drop players into an in‑media‑res moment they recognize from the comic.
- Orientation – A brief recap or optional “Previously…” scene for new players.
- Choice ladder – Start with low‑stakes choices, then escalate.
- Cliffhanger or payoff – End with a strong beat that justifies playing the next episode.
You can use Questas variables to carry forward:
- Relationship flags (who trusts whom)
- Knowledge flags (what secrets the player knows)
- World state flags (is the city under curfew, did the heist succeed)
That continuity is what turns a one‑off quest into a serial.
Step 6: Protect Your Canon (While Letting Players Go Wild)
A common fear for comic creators: “If I let players change things, do I break my canon?” You don’t have to.
A few patterns that work well:
- Branch inside the margins. Let players explore alternate routes that could have happened off‑panel without contradicting your published pages.
- Use side characters as POV anchors. Main plot stays mostly the same; what changes is whose eyes we see it through.
- Declare certain routes ‘what‑ifs.’ Label them as non‑canon experiments or dream sequences.
Design your endings in tiers:
- Canon‑compatible endings – Outcomes that match or gently echo your original story.
- Soft‑canon endings – Divergent but plausible; you might later adapt them back into the comic.
- Wild‑card endings – Fan‑service, horror twists, or comedy routes that clearly live in their own lane.
Questas makes it easy to tag and group endings, so you can communicate this clearly to players.
Step 7: Playtest with Your Existing Readers
You already have a built‑in audience: your webcomic readers. Use them.
How to invite them in
- Embed or link your first quest episode directly under the original comic episode it adapts.
- Offer a small reward for early testers (e.g., a behind‑the‑scenes process post or a bonus illustration).
- Ask them to screenshot moments they loved or found confusing.
Those screenshots and replays are a goldmine for understanding how your interactive version actually lands—something we explore in depth in The Visual Feedback Loop: Using Player Screenshots and Replays to Iteratively Refine Your Questas Worlds.
What to pay attention to
- Where players hesitate before clicking
- Which choices get most replays
- Which endings get shared or discussed
Then, use Questas to:
- Tighten confusing branches
- Add new routes where demand is high
- Smooth pacing where people drop off
Step 8: Plan for Sustainability
The biggest risk with any long‑running interactive project is burnout. A few ways to protect your energy:
- Work in seasons. Plan a 5–8 episode interactive arc, then take a break before the next.
- Reuse your systems. Once you have character prompts, location templates, and choice patterns, you can remix them instead of starting from scratch each time.
- Alternate formats. Mix full interactive episodes with lighter “micro‑quests” or non‑branching visual interludes built in Questas.
You don’t have to ship weekly forever. You just have to be clear with your readers about the rhythm.
Quick Recap
Turning your webcomic into an interactive Questas serial isn’t about throwing away what you’ve built. It’s about:
- Choosing a strong, decision‑rich slice of your existing story.
- Mapping a small, clear branching structure instead of an unwieldy tree.
- Reusing and extending your visuals with AI‑generated art and micro‑video.
- Designing episodes as playable issues with their own arcs and hooks.
- Protecting your canon while letting players explore alternate routes.
- Playtesting with your current readers and iterating based on what they actually do.
Done well, you’re not just making a spin‑off. You’re inviting your audience into the writer’s room.
Your Next Step
If this is sparking ideas, don’t wait to redesign your entire universe. Pick one episode, one argument, one heist, one festival—and:
- Sketch a 5‑scene branching outline.
- Drop those scenes into Questas’s visual editor.
- Generate 3–5 key images using your existing art as a reference.
- Share the prototype with a handful of your most engaged readers.
You’ll learn more from that first tiny webquest than from months of theorizing.
Adventure awaits in the worlds you’ve already drawn. It’s time to let your readers play them.