The 5-Scene Story Lab: Rapidly A/B Testing Branches, Endings, and Visual Styles in Questas

Most creators wildly overbuild their first interactive stories.
You plan 40 scenes, three major acts, five endings, and a cast of characters big enough for a streaming show. By the time you’re halfway through, your energy is gone and you still don’t know the most important thing:
Which parts of this experience actually work for players?
That’s where the 5-scene story lab comes in.
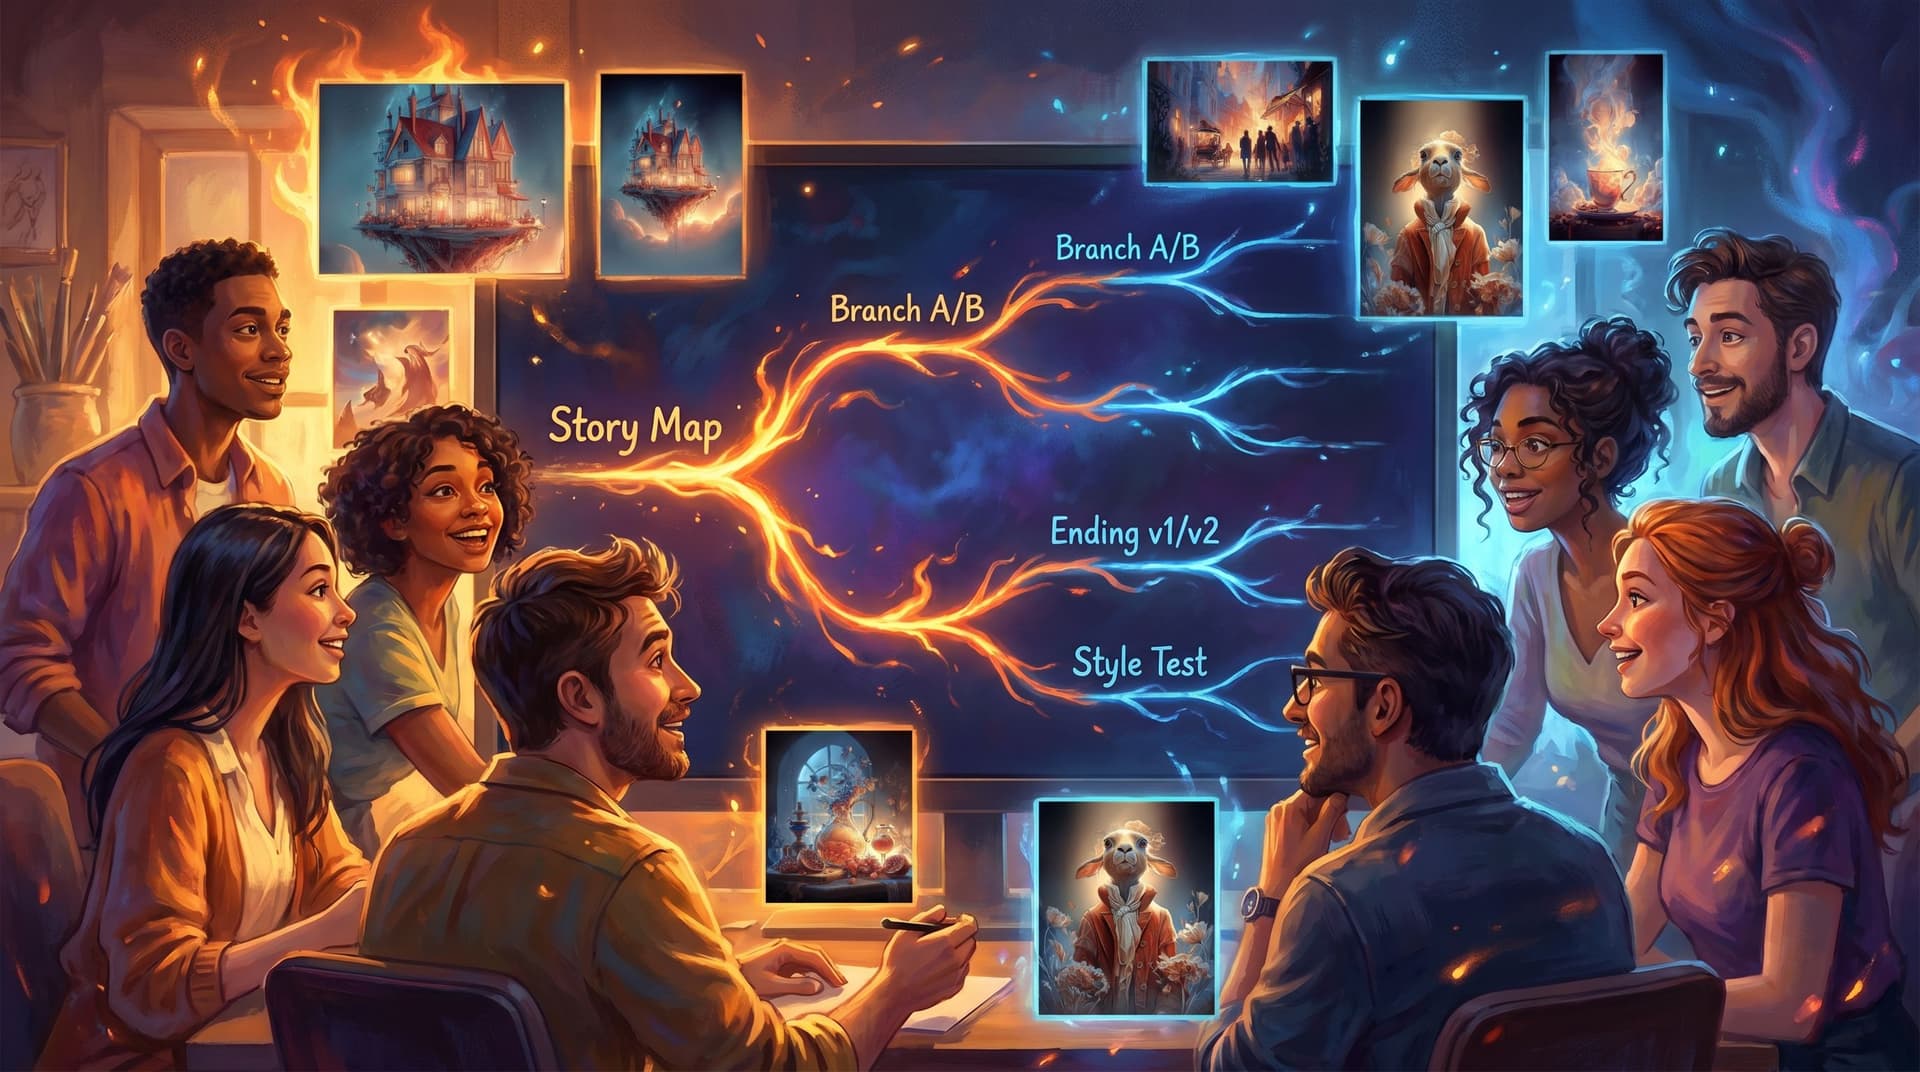
Instead of betting weeks of effort on a sprawling quest, you use Questas as a rapid experiment engine: tiny, focused builds that let you A/B test branches, endings, and visual styles before you commit to a full production.
This post walks through how to do that—step by step—using a simple five-scene format you can reuse for sales sims, fandom storyworlds, leadership training, research scenarios, and more.
Why a 5-Scene Lab Beats a 50-Scene Epic
A 5-scene story lab is a miniature quest designed to answer specific questions:
- Do players prefer high-stakes branches or slower, reflective ones?
- Which ending structure lands better: neat closure or open-ended ambiguity?
- Does a painterly, stylized visual look outperform grounded photorealism for your audience?
Keeping it to roughly five scenes forces discipline:
- You ship faster. A single afternoon is enough to go from idea to playable build.
- You learn sooner. You get real player behavior instead of guessing in a doc.
- You waste less. You only scale up the branches, endings, and visuals that clearly resonate.
If you’ve read about the Minimal Viable Quest format, you’ve already seen this philosophy in action: small, deliberate builds that still deliver big insight. The 5-scene lab is that idea turned into a repeatable testing framework.
The Core 5-Scene Pattern
Think of your 5-scene lab as a spine you can dress in different clothes:
-
Scene 1 – Hook & Setup
Establish the situation, tone, and player role in 1–2 screens. -
Scene 2 – First Fork (Branch A vs. Branch B)
Present a clear, meaningful choice that splits into two paths. -
Scene 3A / 3B – Divergent Middles
Each path explores a different flavor of experience (e.g., risky vs. reflective, serious vs. playful). -
Scene 4A / 4B – Consequence Beat
Show a visible payoff or cost for the earlier choice. -
Scene 5A / 5B – Endings (or Soft Landings)
Deliver two contrasting endings you can compare.
You’re not limited to exactly five nodes in Questas, but keeping the player-facing experience to about five beats helps you stay focused on testable questions, not lore.
Step 1: Define What You’re Actually Testing
Before you open the editor, decide what this lab is for. A 5-scene story lab should answer one primary question and, at most, one secondary.
Some examples:
-
Branch design tests
- Do players engage more with risk-heavy decisions or identity-focused reflection? (See also: From Mood to Mechanic: Designing Choice Types (Risky, Reflective, Routine) in Your Questas Stories)
- Are players more likely to replay if branches are clearly signposted or if choices feel mysterious?
-
Ending structure tests
- Does your audience prefer multiple short endings or one longer, epilogue-style wrap-up?
- Are “bittersweet but honest” endings more memorable than “hero wins everything” resolutions?
-
Visual style tests
- Which visual system better fits your brand or storyworld: stylized illustration, cinematic realism, or graphic novel panels?
- Does a tight, character-focused framing drive more emotional response than wide, environmental shots?
Write your test question at the top of your planning doc:
“This 5-scene lab exists to compare X vs. Y for Z audience.”
If you can’t fill in those blanks, you’re not ready to build yet.
Step 2: Sketch a Bare-Bones Flow in Questas
Open Questas and resist the urge to write dialogue first. Start in the visual, no-code editor and block out your structure:
-
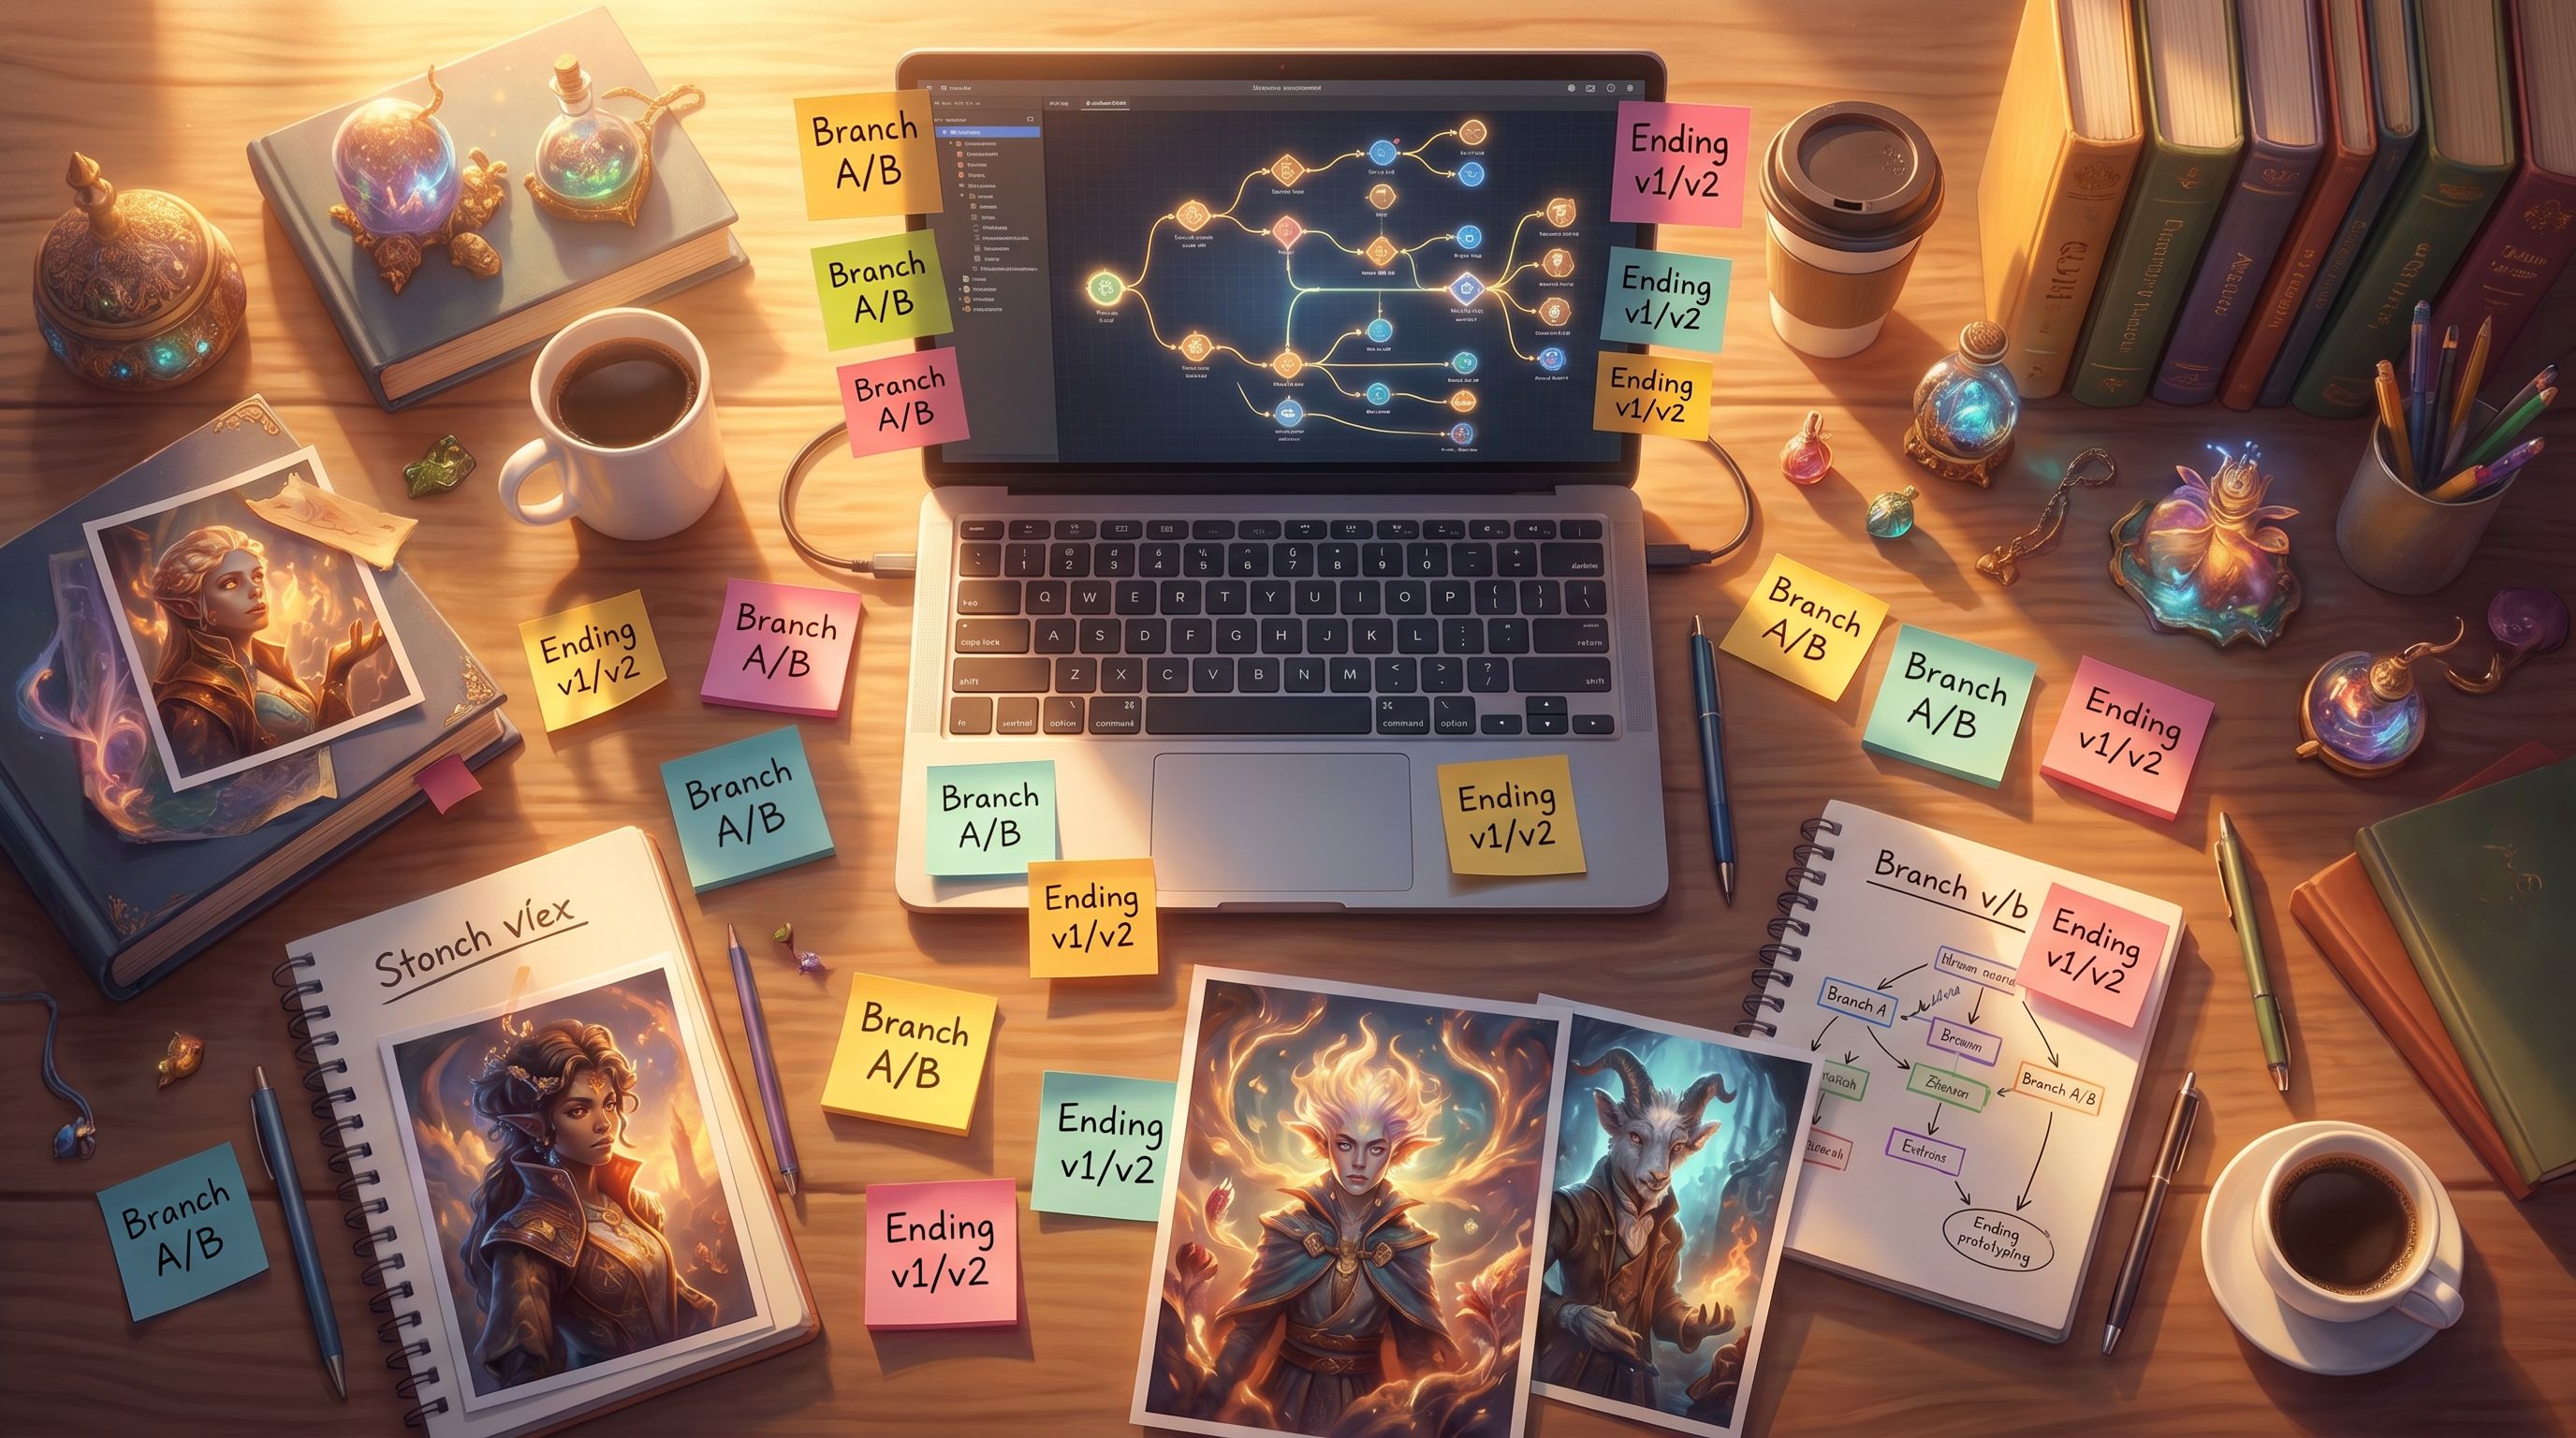
Create your five core scenes as empty nodes.
- Label them clearly:
S1_Hook,S2_Fork,S3A_Path1,S3B_Path2,S5A_Ending1,S5B_Ending2(you can merge consequence + ending if needed).
- Label them clearly:
-
Wire the branches.
- From
S2_Fork, create two choice options that lead toS3AandS3B. - From each middle scene, connect to its corresponding ending.
- From
-
Add a lightweight replay loop.
- At each ending, include a button like “Try another path” that jumps back to
S2_ForkorS1_Hook.
- At each ending, include a button like “Try another path” that jumps back to
Keep the structure simple enough that you can glance at the canvas and understand it instantly. This is a lab, not your magnum opus.
Pro tip: If you’re building for a sales or strategy use case, you can adapt patterns from posts like Branching for B2B: Designing Questas Scenarios That Actually Move Enterprise Deals Forward or Playable Forecasts: Using Questas to Let Teams ‘Test-Drive’ Future Market Scenarios Before They Bet Big. Borrow their branch structures, then shrink them down to a 5-scene test.
Step 3: Write Just Enough Story to Make Choices Real
Once the skeleton is in place, you’re ready for words.
Your goal: make each choice feel meaningful without over-writing.
For each scene:
-
Scene 1 (Hook)
- 2–3 paragraphs max.
- Clarify: Who am I? Where am I? What’s at stake right now?
- End with a light interaction or a single, low-stakes choice to get players clicking.
-
Scene 2 (Fork)
- Brief recap of the tension.
- Present 2–3 choices that map cleanly to what you’re testing. For example:
- “Confront the executive publicly” vs. “Pull them aside privately” (branching style test).
- “Accept the uneasy compromise” vs. “Hold the line, risk the relationship” (ending tone test).
-
Scenes 3 & 4 (Middles & Consequences)
- 1–2 key beats that show how the earlier choice unfolds.
- Use visual detail to anchor emotion: the way a room sounds, how a character’s posture changes, the flicker of a status dashboard.
-
Scene 5 (Endings)
- A single, clear resolution sentence: what changed because of the player’s path?
- One reflective line or question: “Was that worth it?” / “What would you do next?”
You’re not trying to build a whole universe. You’re building a wind tunnel to test how your branches and visuals behave under pressure.
Step 4: A/B Testing Branch Types Inside the Same Lab
You don’t need separate projects to compare different branch flavors. Within one 5-scene lab, you can intentionally make Branch A and Branch B feel different:
-
Branch A – Risky, high-stakes, external conflict
- Sharp, time-pressured choices.
- Visible external consequences: deals lost, alarms triggered, public reactions.
-
Branch B – Reflective, values-driven, internal conflict
- Slower, introspective choices.
- Consequences framed as relationships, identity, long-term trust.
Track:
- Which branch players choose first.
- Whether they replay to see the other branch.
- Where they hesitate or backtrack.
If you want a deeper framework for designing these contrastive paths, pair this lab approach with the ideas in From Mood to Mechanic: Designing Choice Types (Risky, Reflective, Routine) in Your Questas Stories.
Step 5: A/B Testing Endings Without Bloated Trees
Endings are where many creators over-scope. A 5-scene lab keeps things contained while still letting you compare:
- Tone: hopeful vs. tragic vs. ambiguous.
- Framing: first-person reflection vs. external narrator.
- Length: snappy “tagline” endings vs. short epilogues.
Tactics that work well in Questas:
-
Mirror the same core event with different framing.
- In both endings, the same deal falls through—but in one, it’s framed as a learning moment; in the other, as a political disaster.
-
Use a shared visual with different overlays.
- Same AI-generated image, but different text overlays or captions to change meaning.
-
Invite replay in the copy.
- Endings can explicitly tease alternative outcomes: “Somewhere, in another version of this meeting, you chose differently.”
- Include a “See how this could have gone” button that loops back.
You’re not trying to offer every possible fate. You’re trying to learn which kind of fate your audience finds satisfying enough to build around.
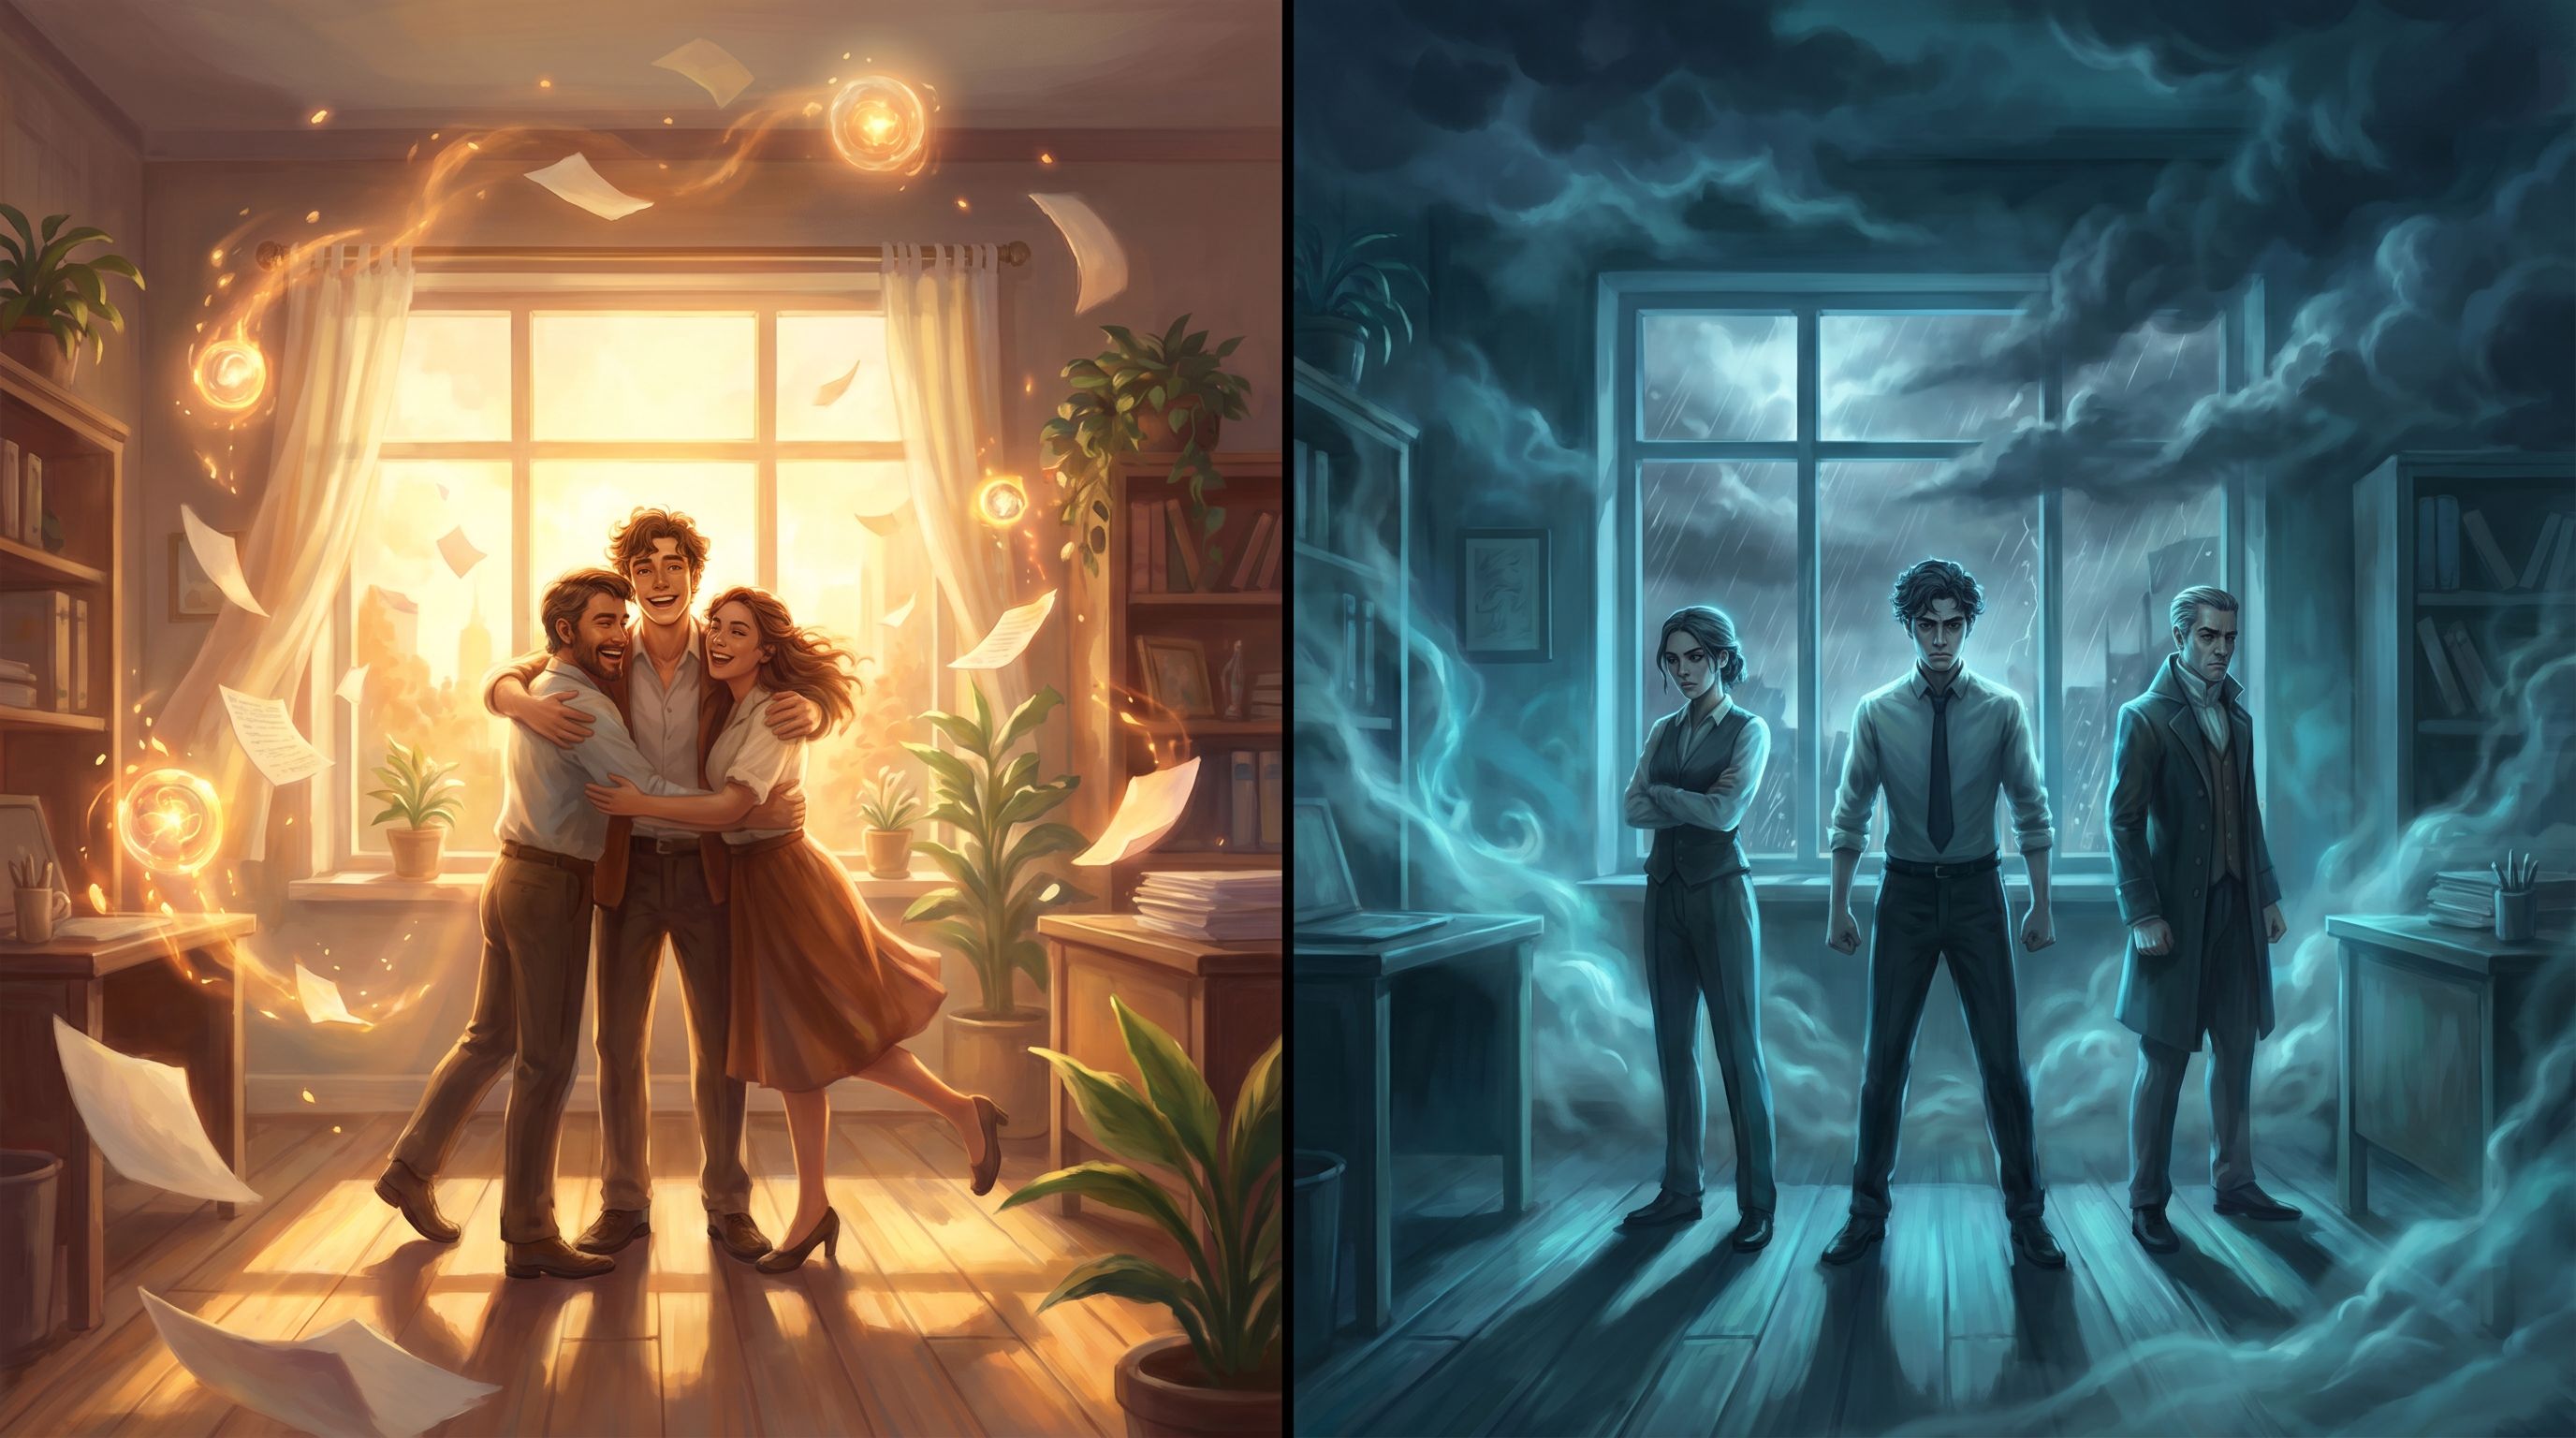
Step 6: A/B Testing Visual Styles with Intent
Because Questas bakes AI-generated images and video into the workflow, your 5-scene lab is also a visual style sandbox.
Pick two coherent visual systems to compare:
-
Style System 1 – Cinematic realism
- Photoreal characters and environments.
- Shallow depth of field, dramatic lighting, lens flares.
-
Style System 2 – Stylized illustration
- Painterly or graphic-novel look.
- Bold color palettes, visible brush strokes, slightly exaggerated proportions.
Then:
- Assign one style per branch (e.g., Branch A uses cinematic realism, Branch B uses stylized illustration), or
- Keep both branches identical in writing but duplicate the quest and swap the visual system per version.
Track:
- Which style gets more completion and replay.
- Where players screenshot or share (these moments tell you which visuals land hardest).
- Any qualitative feedback about clarity, tone fit, or character appeal.
If you’re planning a longer series, combine this lab approach with the systems thinking in From Style Guide to Shot List: Building Reusable Visual Systems for Ongoing Questas Series. Use the 5-scene lab to audition styles before you lock in a whole style guide.
Step 7: Instrument the Lab for Learning, Not Vanity Metrics
A/B testing only works if you capture the right signals. You don’t need complex analytics to make a 5-scene lab useful; you just need clear questions and simple instrumentation.
Examples of what to pay attention to:
-
Choice distribution at the main fork
- If 80% of players pick Branch A, Branch B might be poorly framed—or just less interesting.
-
Drop-off points
- If many players leave before Scene 3, your hook or first fork isn’t doing its job.
-
Replay behavior
- Do players click “Try another path”? If not, maybe endings feel too final—or too similar.
-
Qualitative notes
- Ask a handful of testers: “Which path felt more like the story you wanted to be in?”
- “Which visuals fit the content better?”
If you want to go deeper on early-stage measurement, pair this workflow with the techniques in From Playtest Notes to Narrative Analytics: What to Measure (and Ignore) in Your Early Questas Builds (slug: from-playtest-notes-to-narrative-analytics-what-to-measure-and).
Step 8: Turn Lab Results into Your Next Full Build
The 5-scene lab only pays off if you act on what you learn.
Once you’ve run a few playtests:
-
Pick a winning branch flavor.
- Did players gravitate to risk-heavy decisions, or to quiet, reflective ones?
- Commit: your larger quest should lean into that flavor.
-
Choose an ending philosophy.
- Which tone felt most satisfying?
- Decide whether your full story will bias toward that tone or deliberately mix tones for contrast.
-
Lock in a visual system.
- Promote the winning style from “experiment” to “canon.”
- Capture the prompts, compositions, and camera language that worked best so you can scale them (a topic covered in depth in posts like Prompt Libraries That Scale: Building Reusable AI Image Systems for Long-Running Questas Series).
-
Refine your next lab.
- Each 5-scene lab should make the next one sharper.
- Maybe your next test focuses purely on choice density or micro-video moments instead of style.
Over time, you’ll build a library of small, well-instrumented experiments that inform every major quest you ship.
Putting It All Together
A 5-scene story lab in Questas is a compact, repeatable way to:
- De-risk ambitious branching stories before you sink weeks into them.
- Compare branch designs, ending structures, and visual systems in a controlled format.
- Learn how your actual audience behaves, not just what you assume they’ll like.
The pattern is simple:
- Decide what you’re testing. One main question, one secondary at most.
- Build a tiny but complete spine. Hook → fork → two paths → two endings.
- Contrast branches and visuals on purpose. Make differences obvious so results are clear.
- Instrument lightly, learn aggressively. Watch choices, drop-offs, replays, and comments.
- Promote winners into your bigger quests. Let labs shape your canon.
You don’t need a game studio or a custom engine. You just need a small canvas, a clear hypothesis, and a platform that lets you sketch, branch, and visualize quickly.
Your Next Step: Build Your First 5-Scene Lab
Here’s a simple way to start right after you finish reading:
- Open Questas in your browser.
- Create a new quest called “5-Scene Lab – [Your Topic]”.
- Block out the five core scenes and the main fork—no writing yet.
- Decide: What are you A/B testing first—branches, endings, or visuals?
- Spend 45–60 minutes writing just enough story to make that test real.
- Share the link with 3–5 people and ask them which path and style they preferred.
That’s it. You’ve just turned your story idea into a working experiment.
From there, you can expand into full-blown sales scenarios, fandom sagas, leadership journeys, or playable research worlds—confident that your foundations have already been tested in the lab.
Adventure awaits. Your next branch starts with five scenes and one clear question.