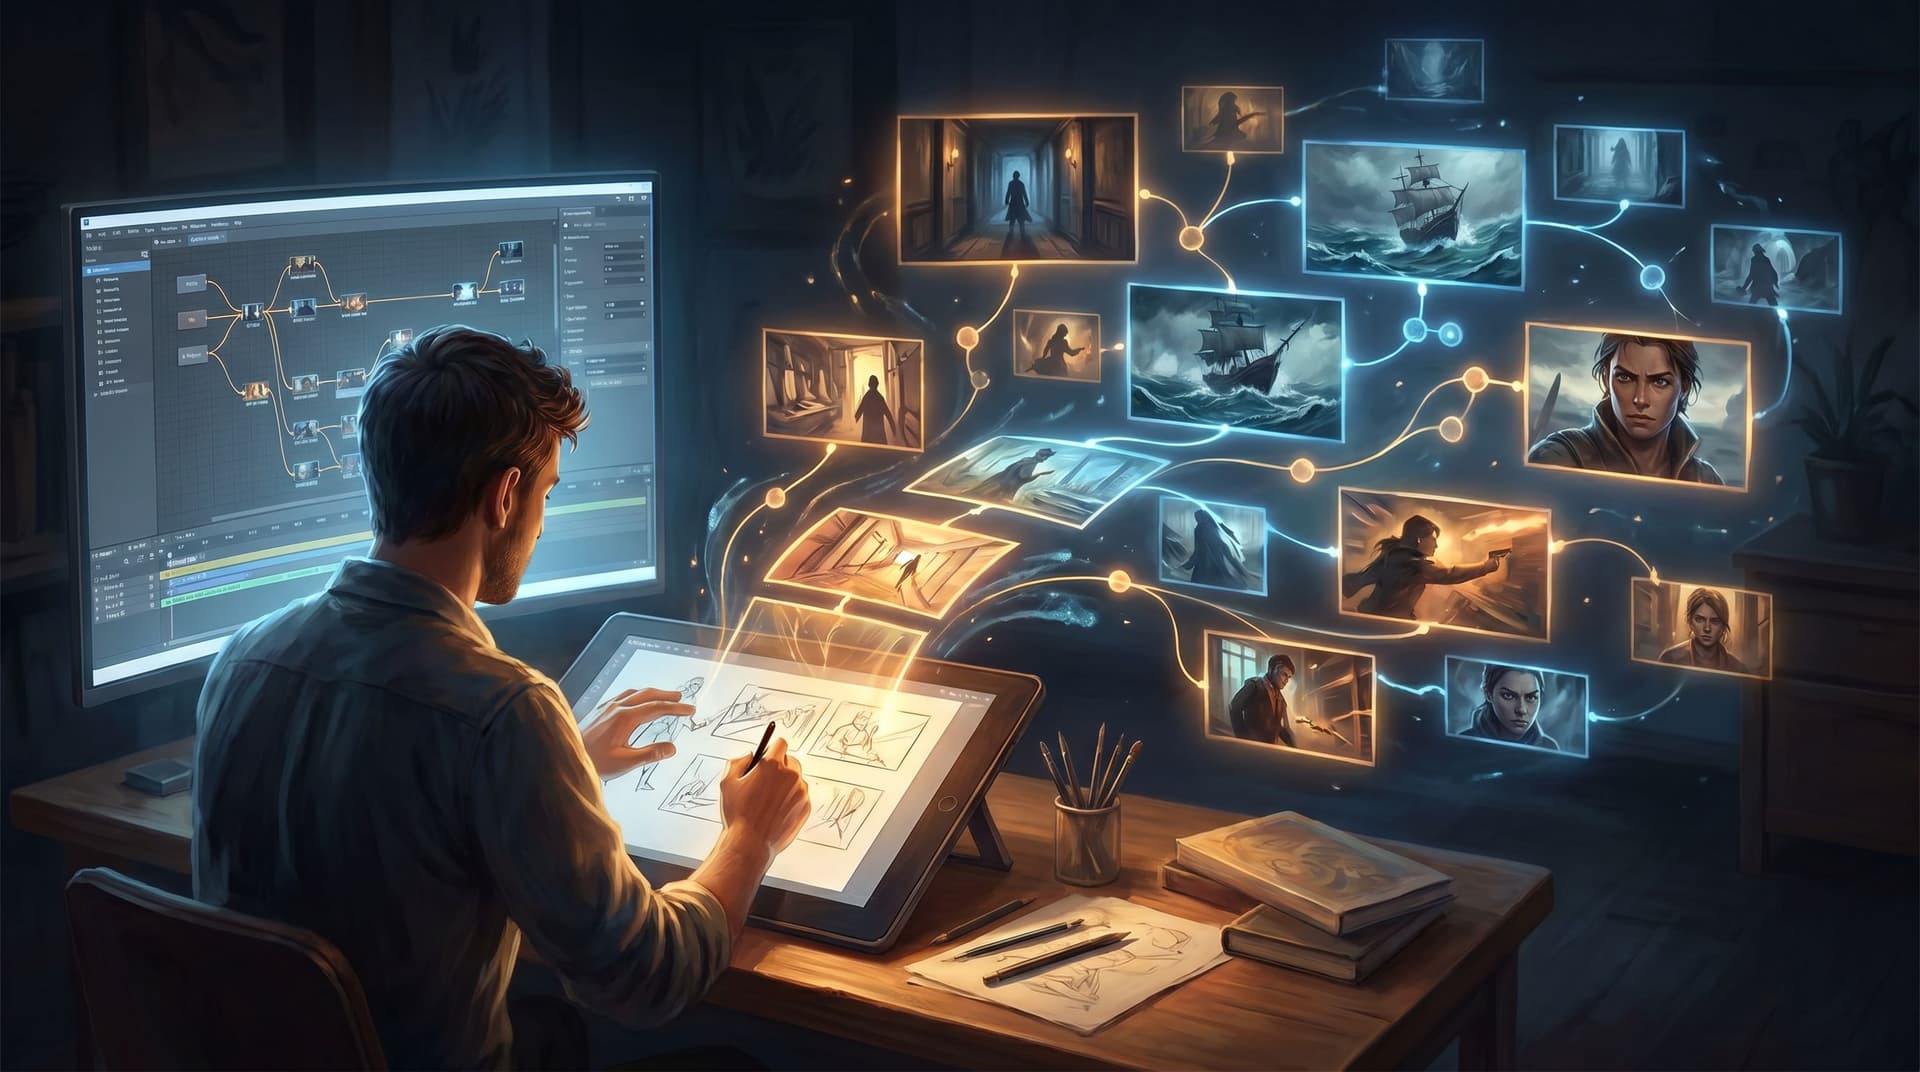
Storyboard to Screen: Using AI-Generated Micro-Video to Pace Tension and Reveal in Your Questas

Interactive stories don’t just live on the page—they live in the beats between choices.
A glance held a second too long. A door that almost closes… then stops. A flicker in the lights right before the player commits.
Those are pacing decisions, and they’re where AI-generated micro-video can quietly transform a solid Questas build into something people feel in their body.
This post is about how to go from rough storyboard to on-screen experience, using short AI video moments to control tension, reveal information, and guide your players through branching stories without ever touching code.
Why Pacing and Micro-Video Matter in Interactive Stories
Branching stories already carry a lot of cognitive load. Players are:
- Tracking what’s happened so far
- Weighing the meaning of each new choice
- Trying to predict consequences
If every scene lands with the same emotional weight and rhythm, players either tune out or get overwhelmed. Pacing is how you:
- Shape emotional arcs – Slow, lingering shots build dread; quick cuts create urgency.
- Signal importance – A micro-video at a choice point tells the player, “This matters.”
- Clarify consequences – Visual reveals make it easier to understand what a choice really does.
- Reward exploration – Hidden or branch-specific clips make alternate paths feel special.
On a platform like Questas, where AI-generated images and videos are already part of your workflow, micro-video becomes a natural extension of your storyboards—not an extra production burden.
If you’ve already experimented with using tiny visual beats to punctuate choices, the earlier post on Micro-Video, Macro Impact: Using AI-Generated Video Moments to Punctuate Key Choices in Your Questas is worth a read. Here, we’ll go deeper into pacing and reveal across whole storylines.
Step 1: Start with a Tension Map, Not a Timeline
Before you think about prompts or shot lists, sketch a tension map for your quest.
Imagine your story as a line graph:
- X-axis: scenes or beats
- Y-axis: emotional intensity (calm → high tension → release)
Then mark, for your main paths:
- Where tension should rise (mystery deepens, stakes climb)
- Where it should plateau (players sit with uncertainty)
- Where it should break (a reveal, a twist, a failure, a win)
Ask yourself:
- Where do players need breathing room?
- Quiet, slower micro-videos work here: a lingering cityscape, a character alone in a hallway.
- Where do you want their heart rate up?
- Faster, punchier clips: quick cuts, close-ups, movement.
- Where should new information drop?
- Visual reveals: something enters the frame, is uncovered, or turns toward camera.
You don’t need to map every branch. Focus on:
- The critical path (the most common route)
- 1–2 high-impact branches (best ending, worst ending, or a surprising detour)
From that tension map, circle 4–8 moments where a micro-video would:
- Clarify stakes
- Heighten a choice
- Reward a path
These become your anchor beats for AI video.
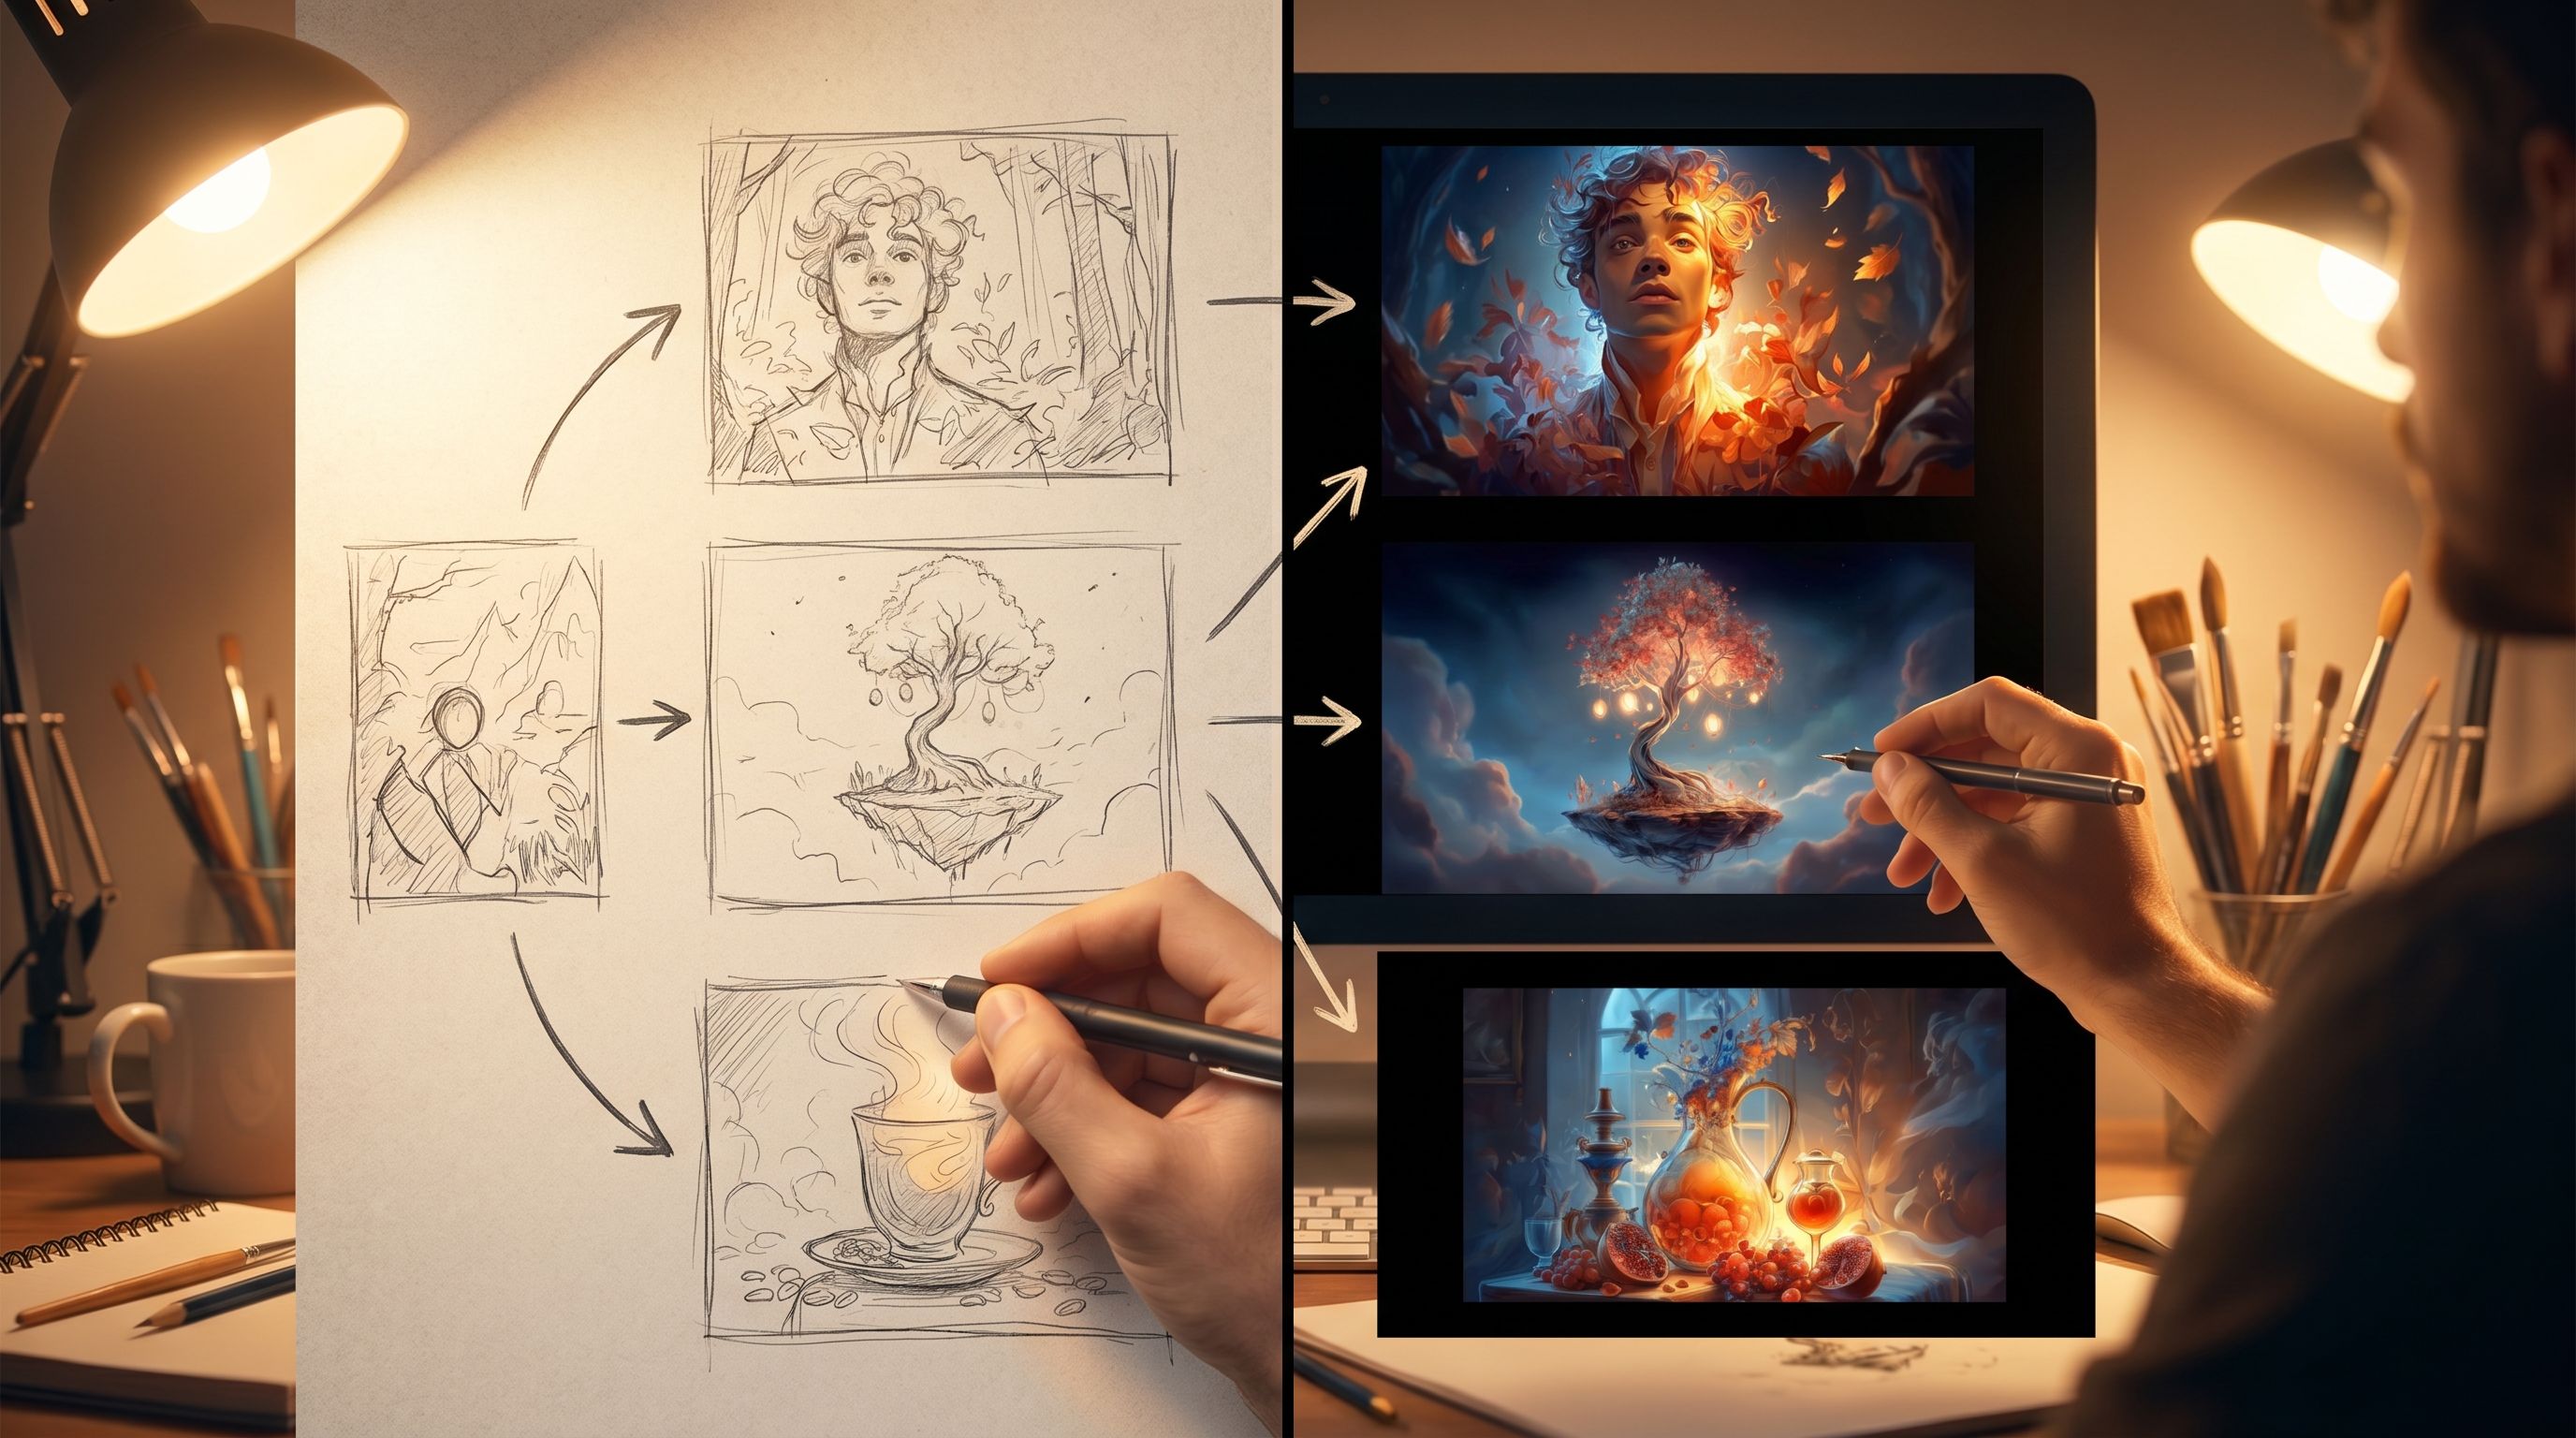
Step 2: Translate Storyboards into Micro-Video Moments
Once you know where you want video, decide what kind of shot belongs there.
Think in terms of shot roles, not just aesthetics:
-
Establishing Shots – Set location and mood before a choice.
- Example: A slow pan across a stormy coastline before the player chooses whether to sail or stay.
- Use for: Rising tension and orientation.
-
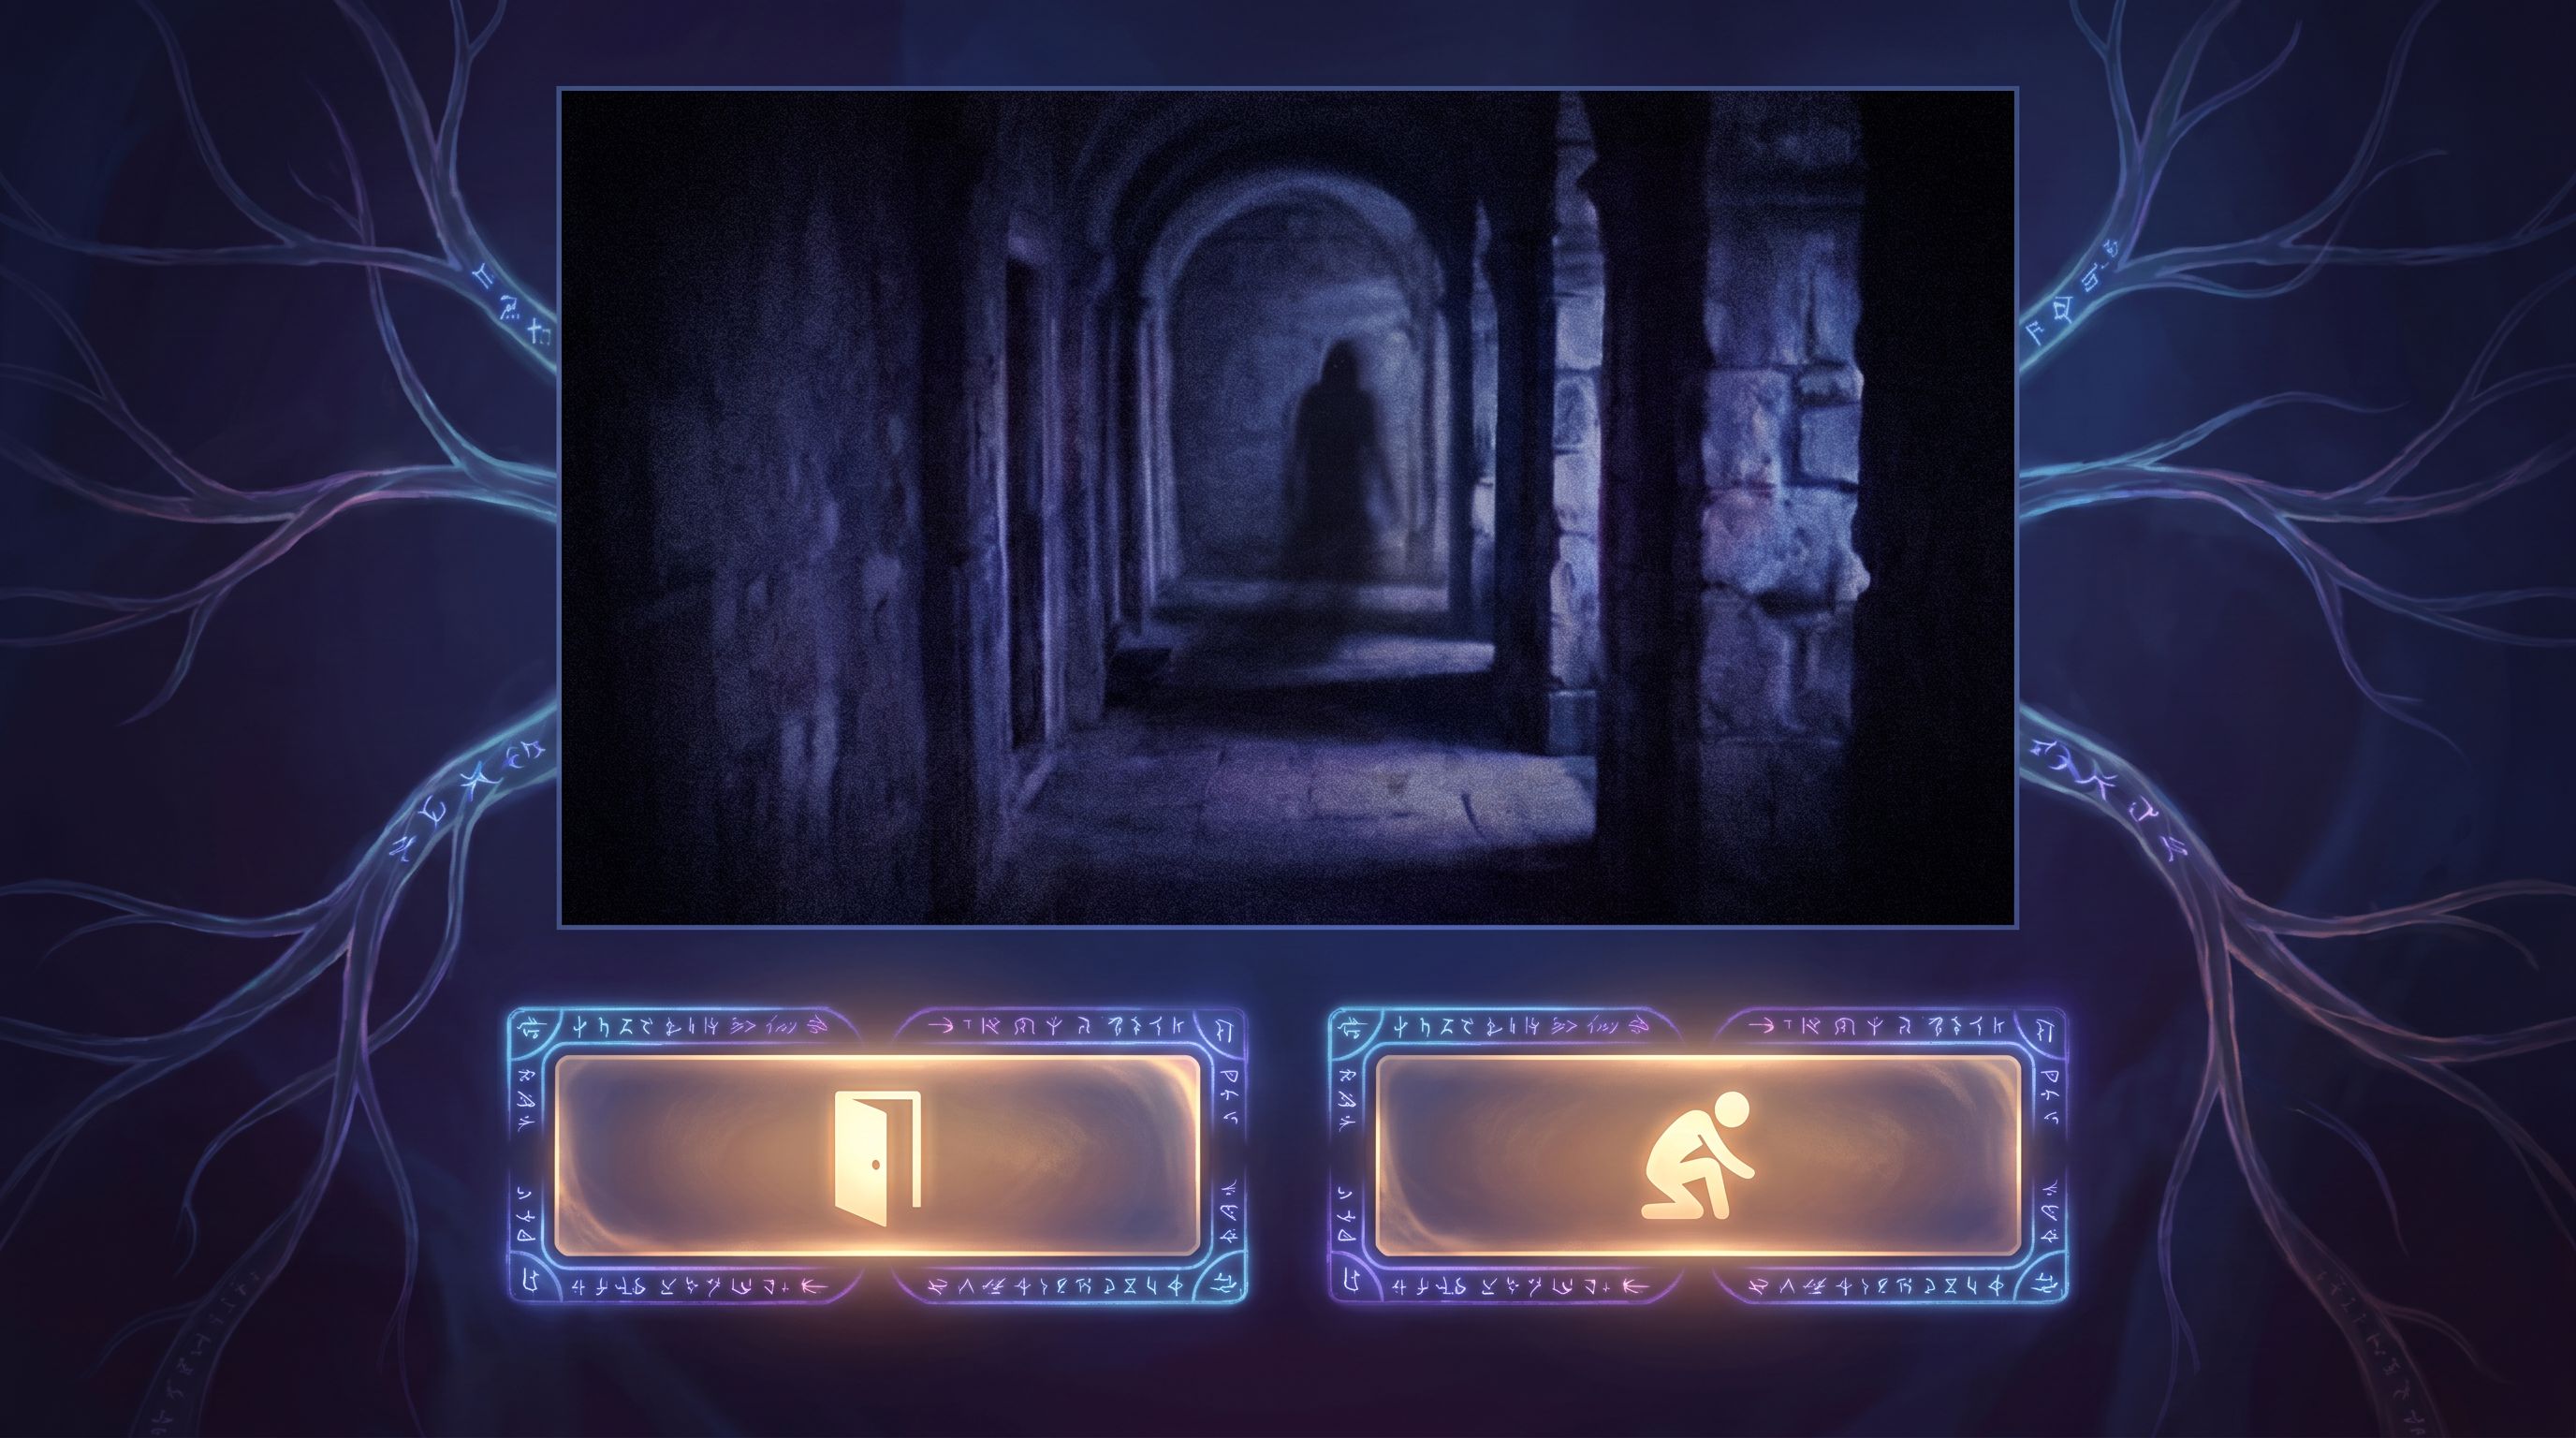
Point-of-View (POV) Shots – Put the player in the character’s body.
- Example: A shaky POV walking down a flickering corridor toward a locked door.
- Use for: Immersion and immediate danger.
-
Reaction Shots – Show how characters feel about what just happened.
- Example: A mentor’s face tightening as they read a critical report.
- Use for: Emotional clarity and subtext.
-
Object or Detail Shots – Focus on a clue, prop, or symbol.
- Example: A close-up of a bloodied key dropping to the floor in slow motion.
- Use for: Foreshadowing and reveal.
-
Transition Shots – Bridge between scenes or branches.
- Example: A train pulling out of a station, then cutting to a new city.
- Use for: Time jumps and branch shifts.
For each anchor beat from your tension map, assign a shot role:
“Scene 7: Player chooses to confront the CEO or leak the files. Tension peak. Use reaction shot of CEO watching security footage loop, then cut to choice.”
This keeps your micro-video purposeful instead of decorative.
Step 3: Prompting AI for Pacing, Not Just Style
When you generate micro-video, it’s tempting to focus on style prompts: “cinematic, 4K, moody lighting.” Those matter—but pacing lives in motion and duration.
When crafting prompts (whether directly in Questas or via an external tool you bring assets in from), make sure you specify:
- Camera behavior – pan, zoom, dolly in/out, static, handheld
- Speed – slow, glacial, frantic, rapid cuts
- Subject motion – creeping, sprinting, trembling, barely moving
- Timing of reveal – “at the end of the clip,” “gradually emerges,” “suddenly appears”
Example prompts for different pacing goals:
-
Slow-build dread before a choice
“5-second slow dolly down a dim hospital corridor at night, camera moving forward very slowly, fluorescent lights flickering occasionally, no people visible, subtle fog, high contrast, cinematic horror tone, tension rising but nothing fully revealed yet.”
-
Punchy, urgent decision point
“3-second handheld POV sprinting down a rain-soaked alley at night, camera shaking, neon signs blurring by, footsteps loud, quick breathing, sense of being chased but pursuer never shown, high-energy, thriller style.”
-
Quiet emotional release after a climax
“6-second static wide shot of a mountain overlook at sunrise, one silhouetted figure sitting at the edge, wind moving their jacket slowly, sky gradually brightening, calm and contemplative mood, gentle color shift from blue to gold.”
If you’re mixing tools, you might:
- Use a dedicated video model (for instance, tools like Pika, Runway, or Kling as of 2026) to generate clips.
- Export short MP4/WebM files.
- Import them into Questas as scene media.
The key is to treat the AI like a cinematographer: you’re not asking for “a cool clip,” you’re asking for a specific emotional beat.
Step 4: Place Micro-Video Where Choices Actually Happen
A common mistake is to drop micro-videos after choices, as pure rewards. That can work—but you’ll get more impact by bracketing decision points:
-
Pre-choice teaser
- A brief clip before the options appear.
- Purpose: load tension, hint at stakes.
-
Post-choice consequence
- A short clip after the player chooses.
- Purpose: confirm or complicate their expectation.
A simple pattern inside your quest:
- Scene text sets up the situation.
- Micro-video A (2–4 seconds) plays to heighten the moment.
- Choices appear.
- Player selects.
- Micro-video B (2–6 seconds) plays to show the immediate result.
- Next scene text continues.
For high-stakes decisions, you can even:
- Use different pre-choice clips on different branches to reflect prior decisions (e.g., the same hallway, but with more damage if the player has made reckless choices earlier).
- Swap post-choice clips to show success vs. failure, or different emotional tones.
This is where the visual, no-code editor in Questas shines—you can:
- Attach different media to each branch without touching code.
- Reuse a base clip with small variations (color grading, overlays) to signify subtle shifts in tension.
If you’re interested in how small structures can still deliver big impact around choices, The Minimal Viable Quest: Tiny, Three-Choice Questas Formats That Still Deliver Big Insight has useful patterns that pair nicely with micro-video beats.
Step 5: Use Reveal Types Intentionally
“Reveal” doesn’t always mean a jump scare or a plot twist. In interactive stories, reveals come in flavors, and each suggests a different kind of micro-video.
Consider these reveal types and how to visualize them:
-
Information Reveal – The player learns a fact.
- Visual: Text or diagrams overlaid on a slow pan; close-up of a document; a screen loading sensitive data.
- Use: Training scenarios, simulations, interactive guides.
-
Character Reveal – Someone’s true nature or hidden role emerges.
- Visual: A character stepping out of shadow; a lingering close-up as their expression changes; them removing a disguise.
- Use: Drama, leadership scenarios, ethics training.
-
Environment Reveal – The world changes or is seen anew.
- Visual: Camera tilt up to show a massive structure; a door opening onto a new landscape; lights coming on in a dark room.
- Use: Exploration, travel, museum or field guide quests.
-
Consequence Reveal – The impact of a past choice becomes visible.
- Visual: Quick montage of affected people; a scoreboard/metric shifting; a once-bustling street now empty.
- Use: Strategy, L&D, scenario planning.
For each major reveal in your quest, ask:
- What kind of reveal is this?
- What’s the minimum visual hint that would make this land?
Then design a micro-video that:
- Starts from a familiar visual (so players orient quickly).
- Introduces the new element halfway through the clip.
- Ends on a frame you could freeze as a still image—so players have a mental snapshot.
If you’re building scenario-based Questas for strategy or training, the post From War Games to Scenario Planning: What L&D and Strategy Teams Can Learn from Playable Futures has great examples of consequence reveals that pair well with micro-video moments.
Step 6: Calibrate Length, Frequency, and Load Time
Even the best-paced micro-video falls flat if it feels like a buffering screen.
Some practical guidelines:
-
Keep clips short.
- 2–6 seconds is usually enough to convey mood or reveal.
- Longer clips work only for deliberate, reflective beats (endings, debriefs).
-
Use video sparingly.
- Aim for 1–2 clips per 5 minutes of play on lower-intensity quests.
- Up to 1 per scene on cinematic, story-first quests—if performance is smooth.
-
Optimize for load.
- Compress videos and test on mid-range laptops and phones.
- Consider using lower resolution on branches that are less frequently reached.
-
Offer a “skip” affordance for repeat players.
- If your quest is meant to be replayed, allow players to bypass non-critical clips they’ve seen before.
A simple playtest checklist:
- Does any clip feel like it overstays its welcome?
- Are there long stretches with no motion where a single micro-video could help?
- On weaker connections, do clips delay choices appearing?
Iterate ruthlessly. Pacing is felt, not theorized—watch players’ faces if you can.
Step 7: Maintain Visual and Narrative Continuity
Because micro-videos are short, inconsistencies stand out fast:
- A character’s jacket changes color between branches.
- A room layout shifts inexplicably.
- The mood of the clip clashes with the text.
To keep things aligned across a whole quest or series:
- Maintain a visual bible: a simple doc with reference frames for key characters, locations, and props.
- Reuse prompt fragments: copy the stable parts of your prompt (character description, lighting, color palette) into every related shot.
- Use AI as a continuity editor: generate reference stills first, then build micro-videos that echo those frames.
If you’re planning a multi-episode saga or a suite of related quests, AI as Continuity Editor: Keeping Plot, Canon, and Visuals Aligned Across a Questas Series goes deep on this discipline—and everything in it applies to micro-video work as well.
Step 8: Playtest for Emotion, Not Just Logic
Finally, remember that micro-video is an emotional tool.
When you test your quest:
-
Ask players to narrate feelings, not just choices.
- “What did you feel right before that decision?”
- “Did that clip make you more or less certain?”
-
Watch for body language.
- Leaning in, holding breath, frowning, laughing.
-
Track where they hesitate.
- A well-placed micro-video often increases meaningful hesitation—a good sign that tension is working.
-
Check for emotional whiplash.
- If a calm, reflective clip is followed by an abrupt, high-stakes decision with no ramp, you may need a bridging shot.
Use this feedback to adjust:
- Clip length
- Order (pre-choice vs. post-choice)
- Intensity (color, motion, sound if you’re using it)
Over a few iterations, you’ll find a rhythm that feels natural for your audience and genre.
Bringing It All Together
When you zoom out, using AI-generated micro-video to pace tension and reveal in your quests comes down to a few core practices:
- Map the emotional journey first. Don’t start in the prompt box; start with a tension graph.
- Assign clear roles to each clip. Establish, immerse, reveal, or transition—never “just because it looks cool.”
- Prompt for motion and timing, not just style. Camera behavior and reveal timing are your pacing.
- Frame choices with video. Use pre- and post-choice clips to raise stakes and show consequences.
- Respect your players’ time and bandwidth. Short, purposeful clips beat long, indulgent ones.
- Guard continuity. Consistent visuals keep your world believable, especially across branches.
- Test for feeling. Let real players tell you where tension spikes, sags, or snaps.
The beauty of building in Questas is that you can do all of this visually, without code—tweaking clips, branches, and beats until the whole experience feels like a story you could only tell as an interactive, playable adventure.
Your Next Move
You don’t need a full cinematic universe to start using micro-video for pacing. Pick something small and concrete:
- A three-choice micro-quest where one decision gets a pre- and post-choice clip.
- A single reveal scene where you swap in a micro-video instead of a static image.
- A travel, museum, or nature note turned into a short quest with one establishing shot and one consequence reveal—building on ideas from Interactive Field Guides: Turning Travel, Nature, and Museum Notes into Questas Micro-Adventures.
Then:
- Sketch a quick tension map.
- Choose 2–4 anchor beats.
- Generate micro-videos for those beats.
- Drop them into your Questas scenes and test with one friend.
Your players will feel the difference—even if they can’t explain why.
Adventure awaits. The next step is yours: open your storyboard, pick a single decision point, and let AI-driven micro-video turn it into a moment they’ll remember.