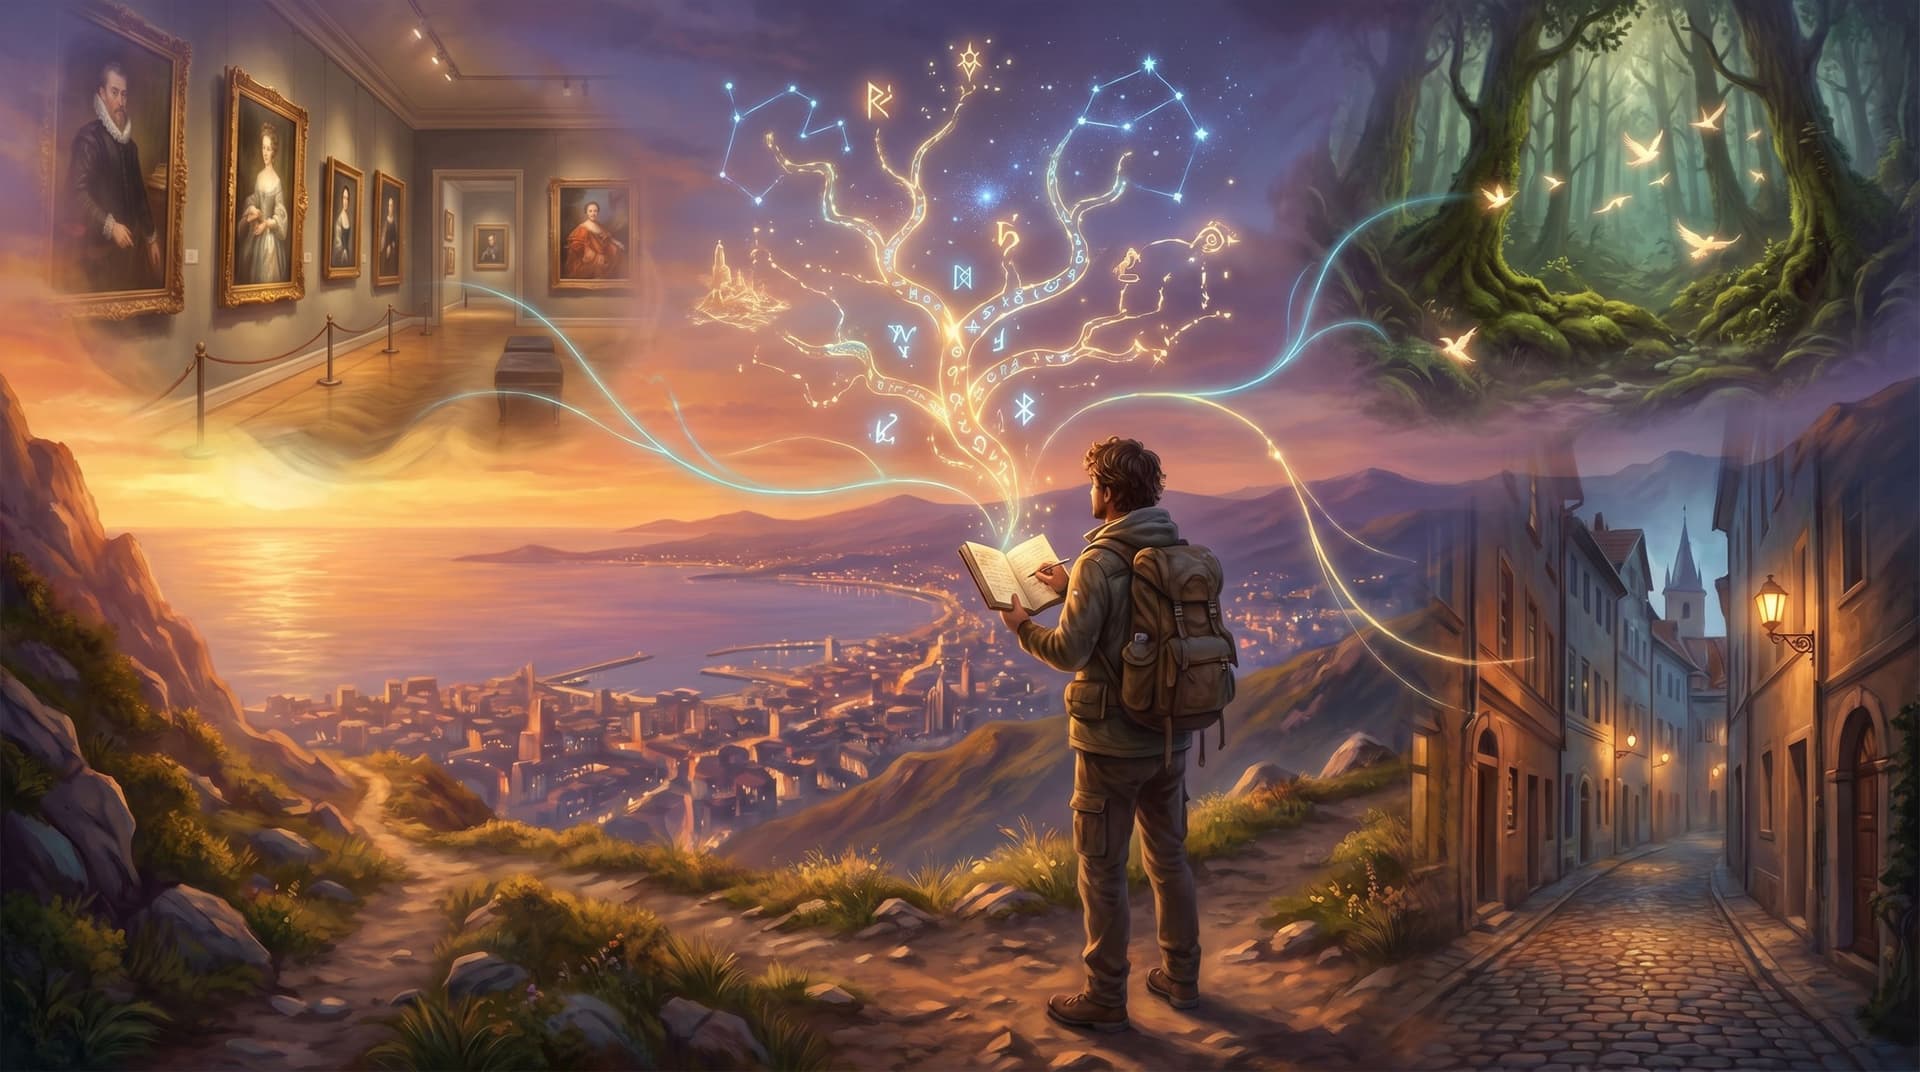
Interactive Field Guides: Turning Travel, Nature, and Museum Notes into Questas Micro-Adventures

Field notes are already tiny stories.
A scribbled sketch of a bird on a power line. A half-legible note about the smell of wet cedar on a mountain trail. A museum label you photographed because something about that artifact wouldn’t let you go.
Most of those moments get trapped in notebooks, camera rolls, or scattered docs. They’re meaningful for you—but almost impossible to share in a way that lets others feel what you felt.
Interactive field guides change that.
By turning your travel logs, nature journals, and museum notes into short, branching “micro-adventures,” you can invite people to step into your observations—making choices, following paths, and seeing AI‑generated visuals bring each scene to life.
That’s exactly the kind of experience Questas is built for: a visual, no‑code platform where you can transform raw notes into interactive, choose‑your‑own‑adventure stories, complete with AI-generated images and video.
Why Interactive Field Guides Matter
Traditional guides—printed booklets, static apps, long blog posts—assume a straight line:
Start at page 1 → follow the route → finish at the end.
But real experiences are anything but linear:
- Travelers wander side streets and skip “must‑see” landmarks.
- Birders get distracted by an unexpected call in the canopy.
- Museum visitors double back to a single object and breeze past an entire wing.
Research on visitor behavior backs this up: museum studies consistently describe visits as “free‑choice learning” environments where people self-direct their paths and engagement levels. At the same time, surveys show that over 70% of visitors will engage with interactive elements when they’re available, and that interactive exhibits often increase dwell time and emotional connection.
Interactive field guides lean into this reality instead of fighting it.
Key benefits:
- Choice mirrors real exploration. Branches let people follow curiosity—take the side alley, climb the extra staircase, or linger with one artifact.
- Bite-sized scenes fit into real life. Micro-adventures built from short scenes feel like microlearning: small, focused chunks that people can complete between meetings, on the train, or in a museum café.
- Emotion and context stick. Instead of reading a list of facts, your audience makes decisions in context—“Do you follow the raven’s call into the fog?”—which improves recall and makes the experience memorable.
- Your notes become reusable assets. A single set of field notes can power:
- A public travel story
- A classroom activity
- A museum’s youth program
- A nature club’s onboarding experience
If you’re curious how small, branching experiences can still deliver big impact, it’s worth pairing this article with our piece on tiny interactive formats: The Minimal Viable Quest: Tiny, Three-Choice Questas Formats That Still Deliver Big Insight.
From Notebook to Micro-Adventure: The Core Idea
An interactive field guide is a short, replayable story built from real observations.
Instead of:
“Here’s everything I saw on this hike.”
You build:
“You arrive at the trailhead. Do you follow the river, climb to the overlook, or detour into the old-growth grove?”
Each path is grounded in your actual notes—photos, sketches, timestamps, weather, sounds—but framed as a sequence of decisions. On Questas, each decision becomes a node in a branching map, with AI-generated visuals turning your rough descriptions into vivid scenes.
Think of it as:
- Field guide × Choose‑Your‑Own‑Adventure
- Microlearning × Story
- Itinerary × Playable simulation
You’re not fabricating a fantasy world from scratch; you’re amplifying reality.
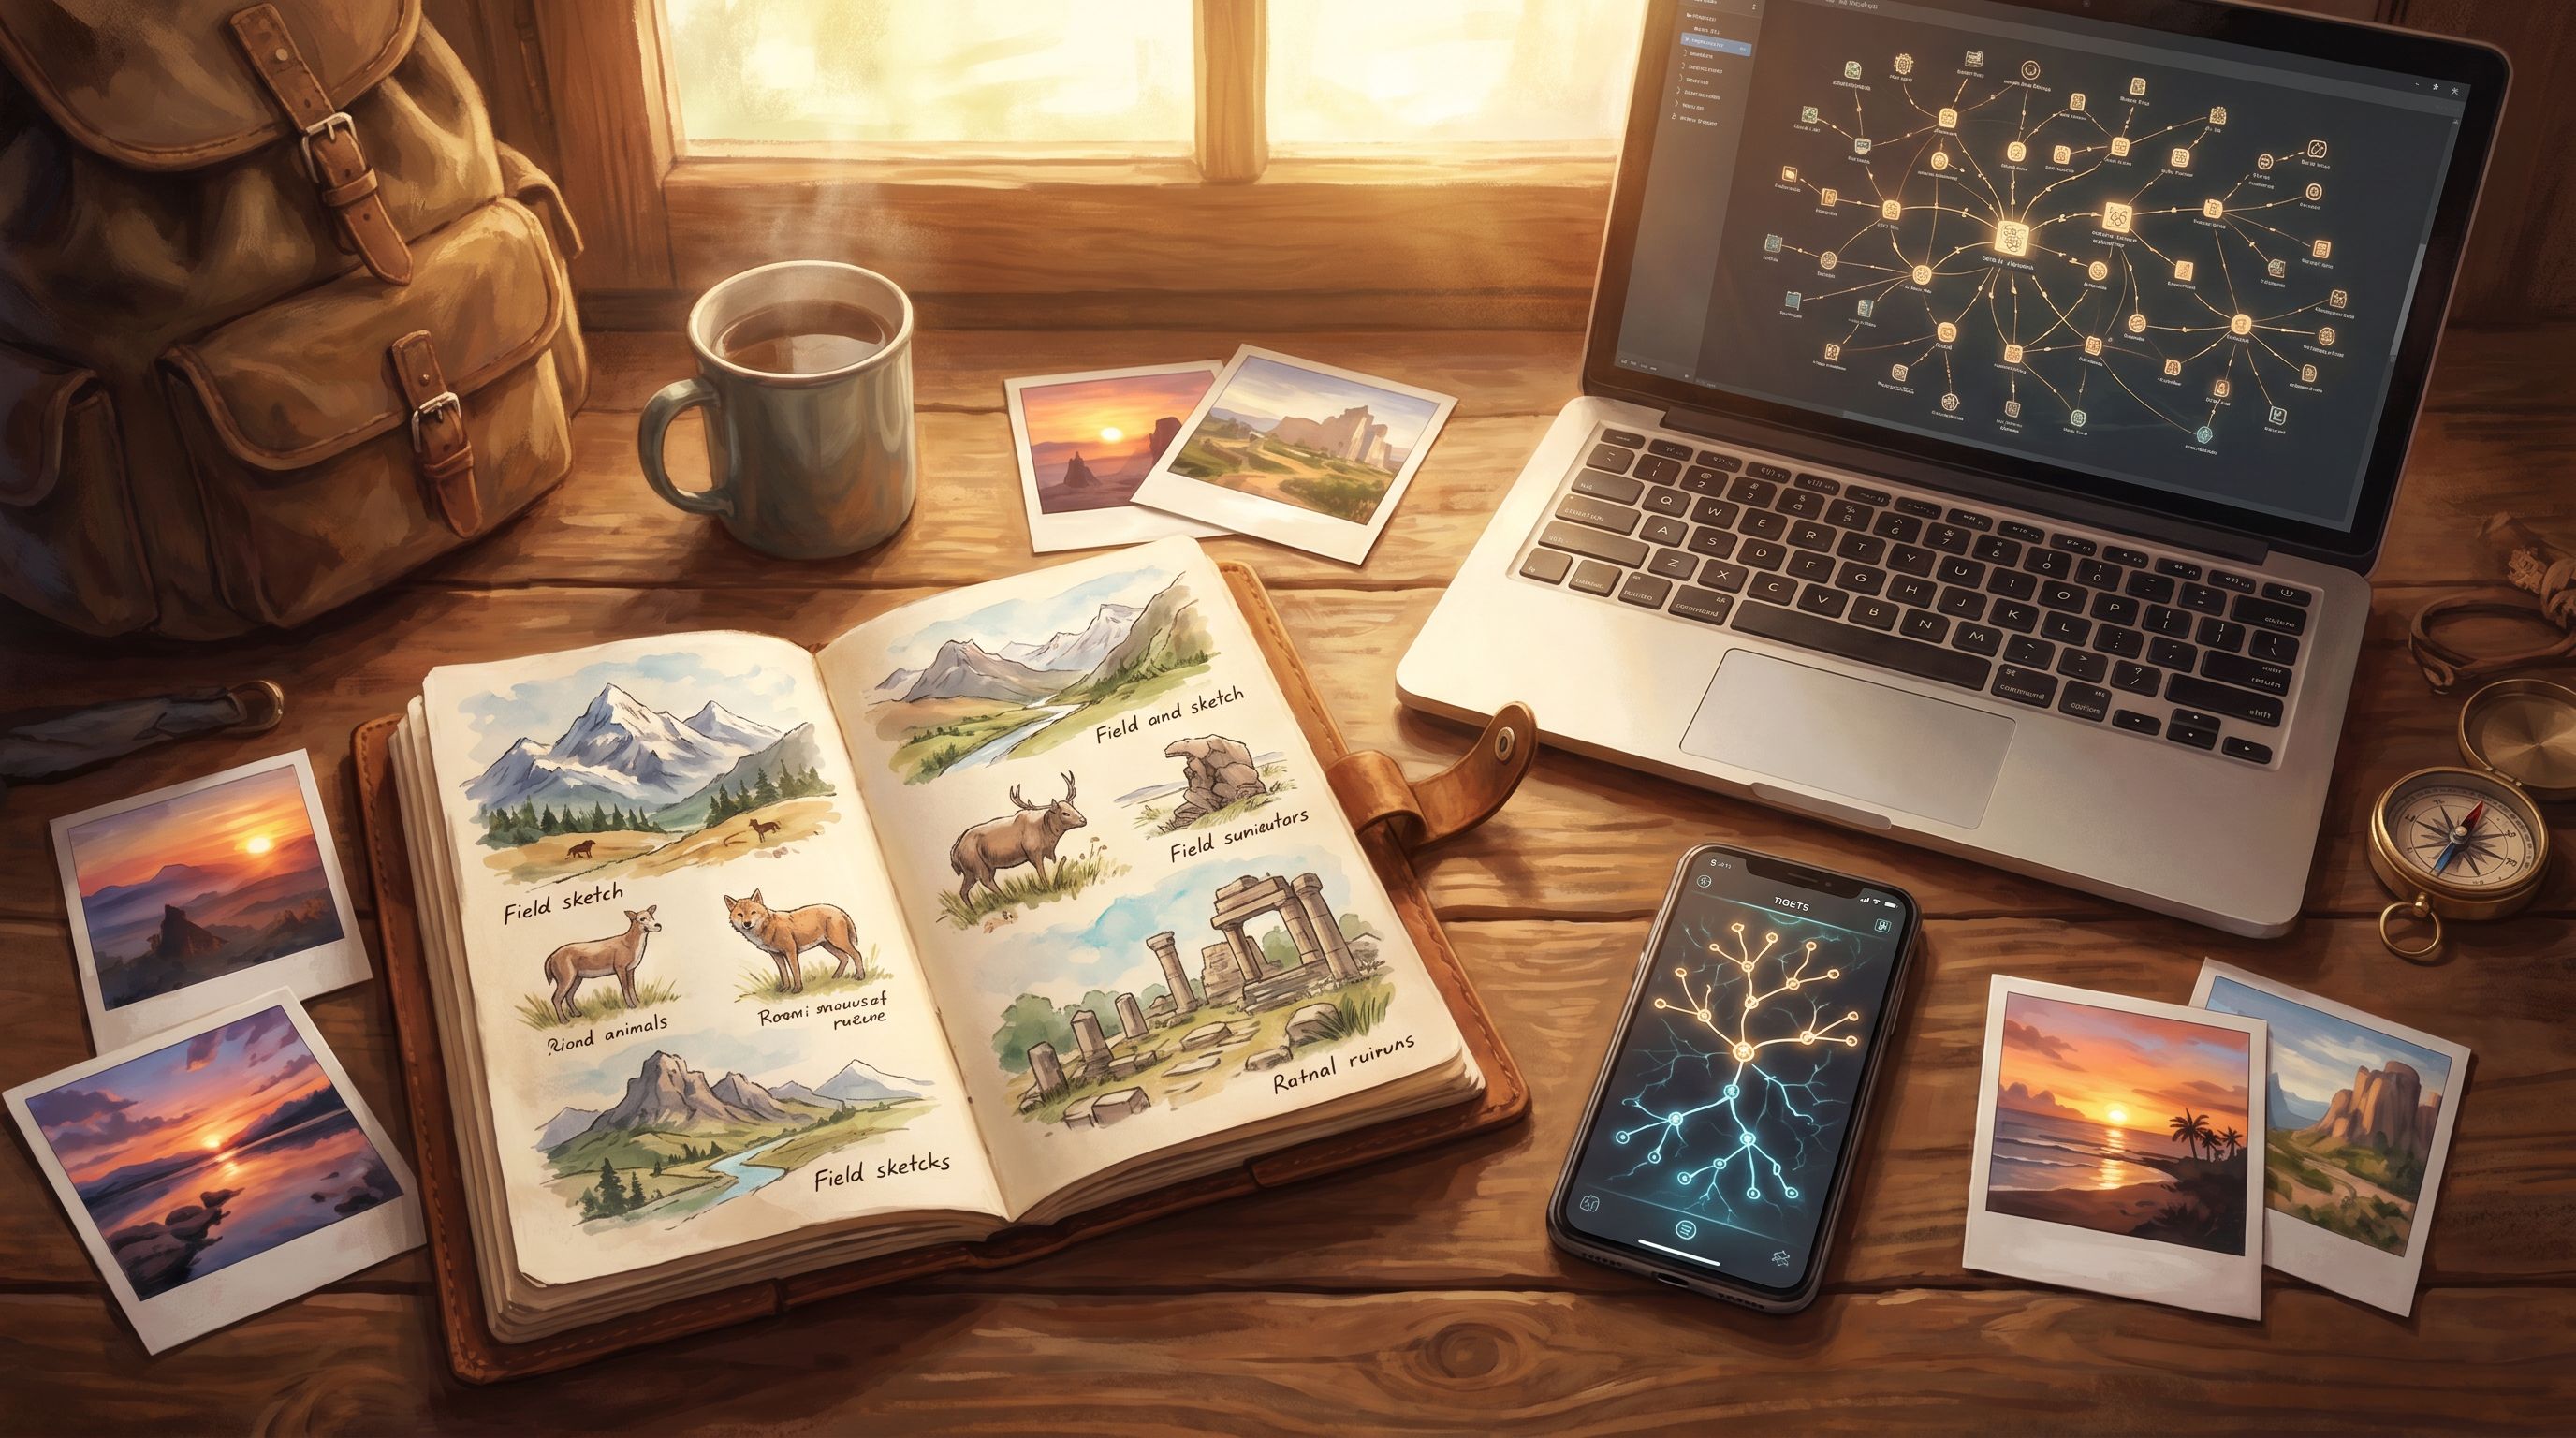
Step 1: Curate the Raw Material
Before you build anything in Questas, you need to mine your existing notes.
Look for:
-
Travel logs
- Journal entries
- GPS tracks or saved routes
- Photos and short videos
- Ticket stubs, receipts, or maps you annotated
-
Nature observations
- Sketches of plants, birds, or landscapes
- Species lists and timestamps
- Weather notes (“fog rolled in at 4:17 pm; everything went quiet”)
- Sensory details (smell, sound, texture)
-
Museum visits
- Photos of labels and objects
- Quick voice memos
- Floor-plan scribbles: “come back here!”
- Reflections: questions you had, connections you made
Then, cluster your notes into “moments.”
A “moment” is:
- A specific place and time (gallery room, trail bend, street corner)
- With at least one interesting observation
- That could lead to a decision or a fork in attention
Examples:
- “Bench facing the glacier overlook; weather closing in; raven circling.”
- “Gallery with three portraits; only one has visible restoration marks.”
- “Side street with a tiny café vs main avenue with big-name shops.”
Each of these can become a scene in your micro-adventure.
Tip: Don’t worry yet about chronology. Focus on which moments feel vivid or choice-worthy. You can reorganize them into a playable path later.
Step 2: Choose a Micro-Adventure Format
You don’t need a sprawling epic. In fact, smaller is usually better—especially when you’re just starting.
Here are three proven structures that map well to field guides:
1. The Forked Path Walkthrough
Perfect for: Travel days, museum wings, short hikes
Structure:
- Start node: You arrive at a location.
- Two or three options: Different directions or focal points.
- 2–3 steps deep: Each choice leads to 1–2 more decisions.
- Soft endings: The path concludes with a reflection, tip, or photo moment.
Example:
- Start at a historic square.
- Choose to follow: the canal, the market street, or the hilltop viewpoint.
- Each path reveals 3–5 scenes built from your notes.
2. The “What Kind of Explorer Are You?” Loop
Perfect for: Nature clubs, youth programs, museum education
Structure:
- Each choice subtly signals a style:
- “Chase the rare bird” vs “Stay with the common but curious behavior.”
- “Read every label” vs “Scan for one object that grabs you.”
- The story loops through 4–6 scenes and ends with a short “profile” of their exploration style.
This format pairs nicely with intrinsic motivation patterns we’ve written about in Beyond Badges and Leaderboards: Designing Intrinsic Motivation Loops in Your Questas Worlds.
3. The Decision Replay
Perfect for: Risky hikes, complex travel days, or emotionally charged museum exhibits
Structure:
- Focus on one key decision: “Do we push on or turn back?”
- Let players explore alternate outcomes:
- What if you’d taken the earlier train?
- What if you’d spent your whole visit with one artifact?
This is essentially a micro “what if?” scenario—akin to the thought experiments we covered in Interactive Thought Experiments: Turning ‘What If?’ Questions into Playable Questas Scenarios.
Step 3: Turn Moments into Playable Scenes
Once you’ve picked a format, it’s time to translate raw notes into scenes.
A strong scene in a Questas micro-adventure usually has four pieces:
- Context – Where are we? When is it? What’s the vibe?
- Observation – What detail from your field notes anchors this moment?
- Choice – What can the player do or focus on?
- Consequence – What do they see, learn, or feel as a result?
Example: Nature Trail Scene
- Context: “The trail narrows as you enter a stand of old-growth firs. Light filters through in long, green shafts.”
- Observation (from notes): “Heard a Pacific wren singing from low brush; song surprisingly loud for such a tiny bird.”
- Choices:
- Follow the loud birdsong into the undergrowth.
- Stay on the main trail and focus on the towering canopy.
- Pause and sketch the pattern of light on the moss.
- Consequences:
- Birdsongs path → You discover how sound behaves in dense vegetation, plus a close-up AI image of the wren.
- Canopy path → You learn to estimate tree age and see a generated vertical panorama of the forest.
- Sketch path → You unlock a reflection on how drawing changes what you notice.
Example: Museum Gallery Scene
- Context: “You step into a dim gallery. Three portraits glow against the deep blue walls.”
- Observation: “One painting shows visible restoration seams under raking light.”
- Choices:
- Lean in to study the restored portrait.
- Compare all three from the center of the room.
- Ignore the portraits and read the wall text first.
Each branch becomes a short, focused learning moment—exactly the kind of bite-sized engagement that microlearning research keeps pointing to as more memorable and less overwhelming than long, linear lectures.
Step 4: Use AI Visuals to Amplify (Not Replace) Reality
One of the superpowers of Questas is its built‑in AI image and video generation.
For field guides, the goal isn’t to invent fantasy; it’s to clarify and heighten what you observed.
Where visuals do the most work
-
Landmarks and layouts
- Generate an overhead map of a museum wing or trail junction.
- Create a stylized “you are here” scene that orients players.
-
Close-ups of details
- Zoom in on a bird’s plumage or a lichen pattern you only roughly sketched.
- Highlight a restoration seam, tool mark, or texture on an artifact.
-
Atmospheric transitions
- Short AI-generated micro-videos to mark a big choice:
- Fog rolling in over a ridgeline.
- Doors sliding open into a new gallery.
- City lights flickering on as dusk falls.
- Short AI-generated micro-videos to mark a big choice:
If you want more ideas on how to use motion sparingly but effectively, cross-reference with Micro-Video, Macro Impact: Using AI-Generated Video Moments to Punctuate Key Choices in Your Questas.
Prompting from field notes
Instead of starting from a blank prompt, start from your notebook:
“Overcast afternoon on the Pacific coast; driftwood-strewn beach, small tidepools with sea stars and anemones, low contrast colors, soft diffused light, sketchbook open in the foreground.”
You’re essentially asking the AI to reconstruct the scene your notes captured.
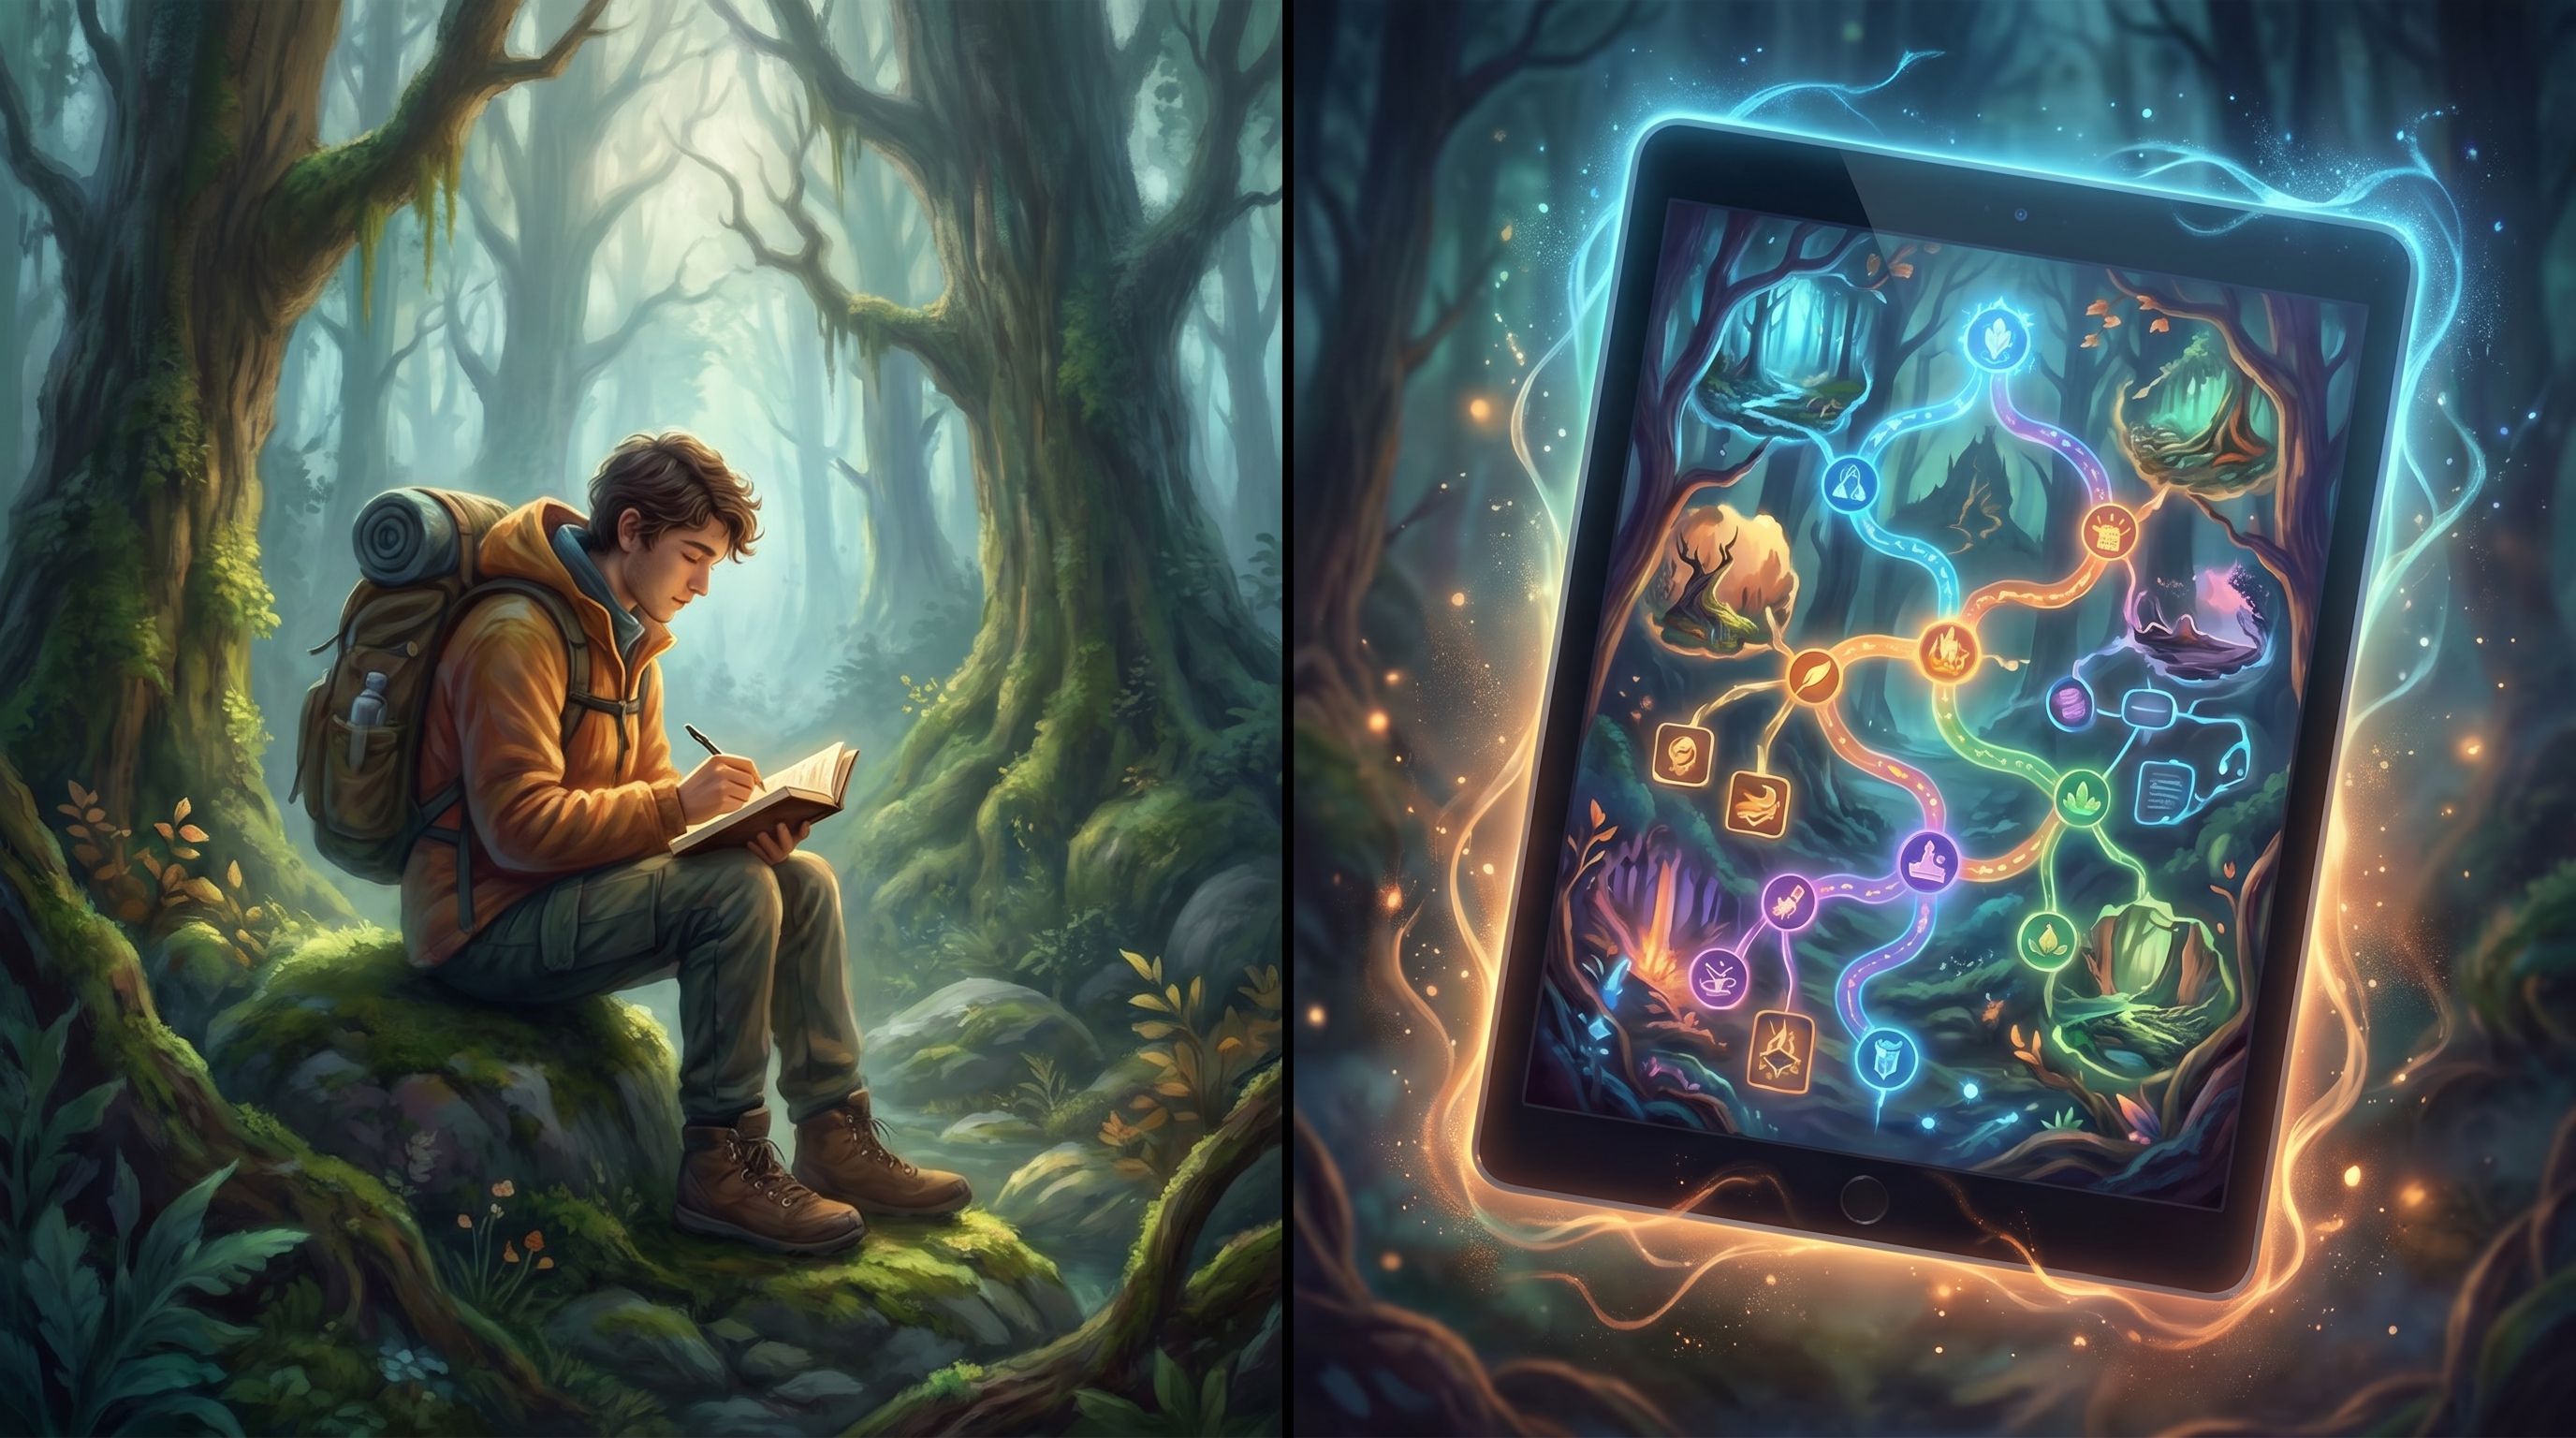
Step 5: Build the Branches in Questas
With scenes drafted, you’re ready to assemble your micro-adventure.
Inside Questas, you’ll:
-
Create a new quest. Give it a clear, enticing title:
- “One Hour in Gallery 4: A Portrait Hunt”
- “Fogline: A Short Walk Above the Tree Line”
- “Old City, New Eyes: A Micro-Adventure Through Back Alleys”
-
Lay out your core path.
- Start with a simple spine of 4–6 scenes.
- Add choices, but keep the structure readable—especially in your first project.
-
Branch lightly at first.
- Aim for 2–3 meaningful choices per playthrough.
- Use branches to reflect attention shifts more than wild plot twists.
-
Attach visuals.
- Drop in AI-generated images or micro-videos where they reinforce a choice or reveal a detail.
-
Write short, satisfying endings.
- A reflection on what kind of explorer the player was.
- A “field report” summarizing what they noticed.
- A prompt to try again with a different focus.
Remember: you’re building micro-adventures, not monoliths. It’s better to publish a 10-minute experience that people actually finish and replay than a 60-minute labyrinth they abandon halfway through.
Step 6: Tailor for Travel, Nature, and Museums
The core process is the same, but each domain has its own sweet spots.
Travel: Itineraries That Feel Like Stories
Use interactive field guides to:
- Let friends “test drive” your trip before they book.
- Share a city in layers: food, architecture, history, street life.
- Offer alternate routes for different moods or constraints (rainy day vs clear skies, solo vs group).
Design tips:
- Anchor scenes to real-world waypoints.
- Train stations, plazas, cafés, viewpoints.
- Offer trade-offs.
- “Take the scenic tram (more time, better views) or the metro (faster, less charming)?”
- Include practical consequences.
- Budget impact, time lost or gained, energy level.
Nature: Observation as Play
Interactive field guides shine when they turn observation into a game.
Ideas:
- “Forest Detective”: identify what happened in a patch of ground based on tracks, scat, and plant damage.
- “Birding by Ear”: choose which sound to follow, revealing different species and habitats.
- “Phenology Walk”: revisit the same trail in different seasons through branches.
Design tips:
- Use repeatable loops. Let players revisit a location with new prompts.
- Reward slowness. Choices that encourage lingering—sketching, listening, smelling—should unlock special scenes.
Museums: Beyond the Audio Guide
Traditional audio guides still struggle with adoption and engagement; visitors often don’t want to download a dedicated app or follow a rigid route.
Your interactive field guide can:
- Live in the browser (no install friction).
- Offer multiple “tracks” through the same space (e.g., color, materials, hidden damage, symbolism).
- Encourage visitors to make their own comparisons and interpretations.
Design tips:
- Design for partial completion. Many visitors won’t see every room; make sure each branch stands alone.
- Use photos sparingly and ethically. Mix your own photos with AI reconstructions where photography is restricted.
- Build for groups. Write choices so a family or class can discuss and vote together.
Step 7: Test, Observe, Iterate
Once your micro-adventure is playable, treat it like a living field notebook.
Ways to test:
- Shadow a friend or student as they play on their phone while walking a trail or gallery.
- Run it as a live session where you project the quest and let a group vote on choices.
- Share it asynchronously and ask for short, specific feedback:
- “Where did you feel most curious?”
- “Where did you feel rushed or confused?”
Then, iterate:
- Shorten or split any scene that feels dense.
- Add a visual where someone got lost or couldn’t picture the setting.
- Introduce an extra branch where multiple people wanted “one more option.”
Over time, you’ll build a library of micro-adventures that all draw from the same field notes but serve different audiences and purposes.
Bringing It All Together
Interactive field guides sit at the intersection of:
- Your lived experience (travel, nature, museums)
- Your observational practice (field notes, sketches, photos)
- A lightweight interactive format (branching micro-adventures)
With a platform like Questas, you don’t need to code or manage complex infrastructure. You:
- Curate your raw material.
- Choose a compact structure.
- Turn moments into scenes with clear choices.
- Use AI visuals to clarify and amplify reality.
- Assemble and share a playable guide.
The result is a new kind of field guide: one that people live through instead of just reading.
Your Next Step
You probably already have the raw material for your first interactive field guide—sitting in a notebook, a notes app, or a dusty photo album.
Here’s a simple way to start this week:
- Pick one outing: a recent trip, hike, or museum visit.
- Identify five moments that still feel vivid.
- Draft one starting scene and two choices based on those notes.
- Open Questas and turn that into a tiny, three-choice micro-adventure.
Don’t worry about perfection. Treat it like fieldwork: observe, record, share, adjust.
Adventure awaits—not just out there in the world, but inside the stories you build from the way you see it. Start turning your notes into micro-adventures, and let others walk your paths in their own way.