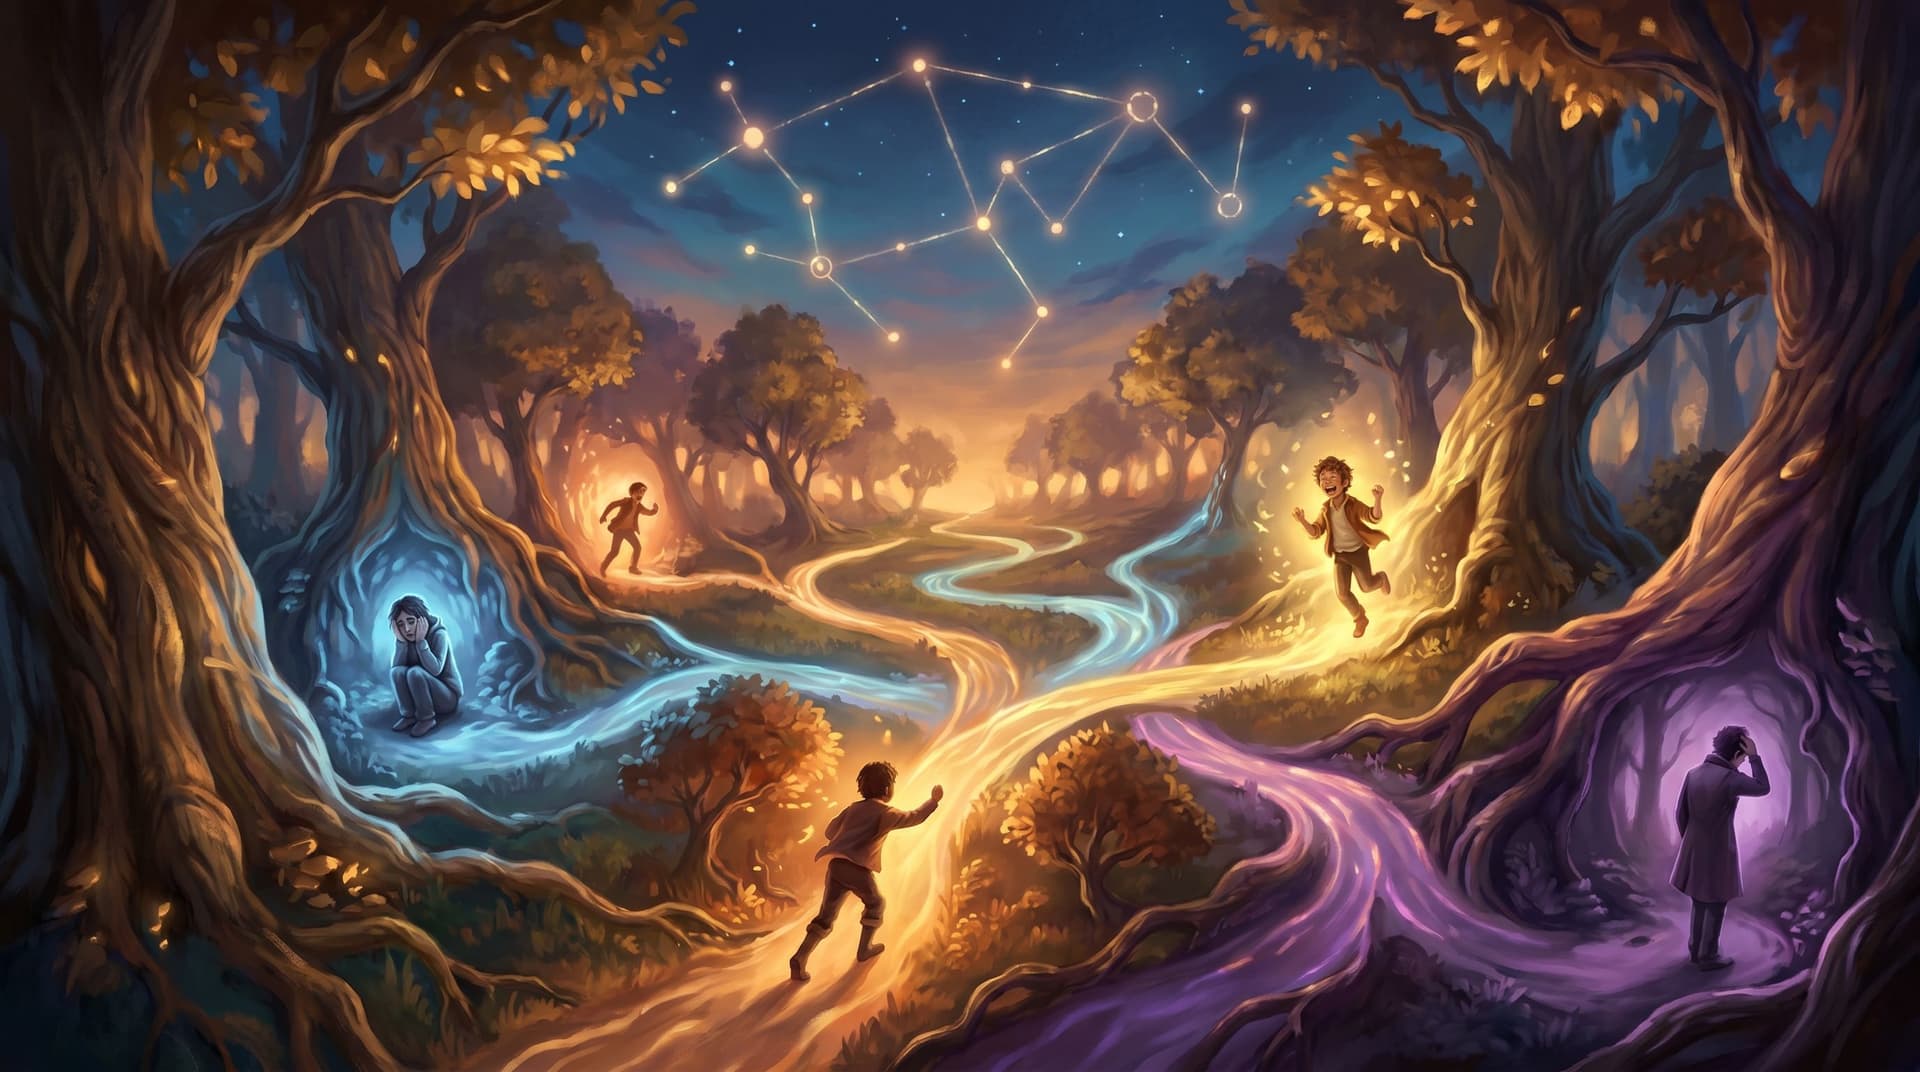
The Visual Feedback Loop: Using Player Screenshots and Replays to Iteratively Refine Your Questas Worlds

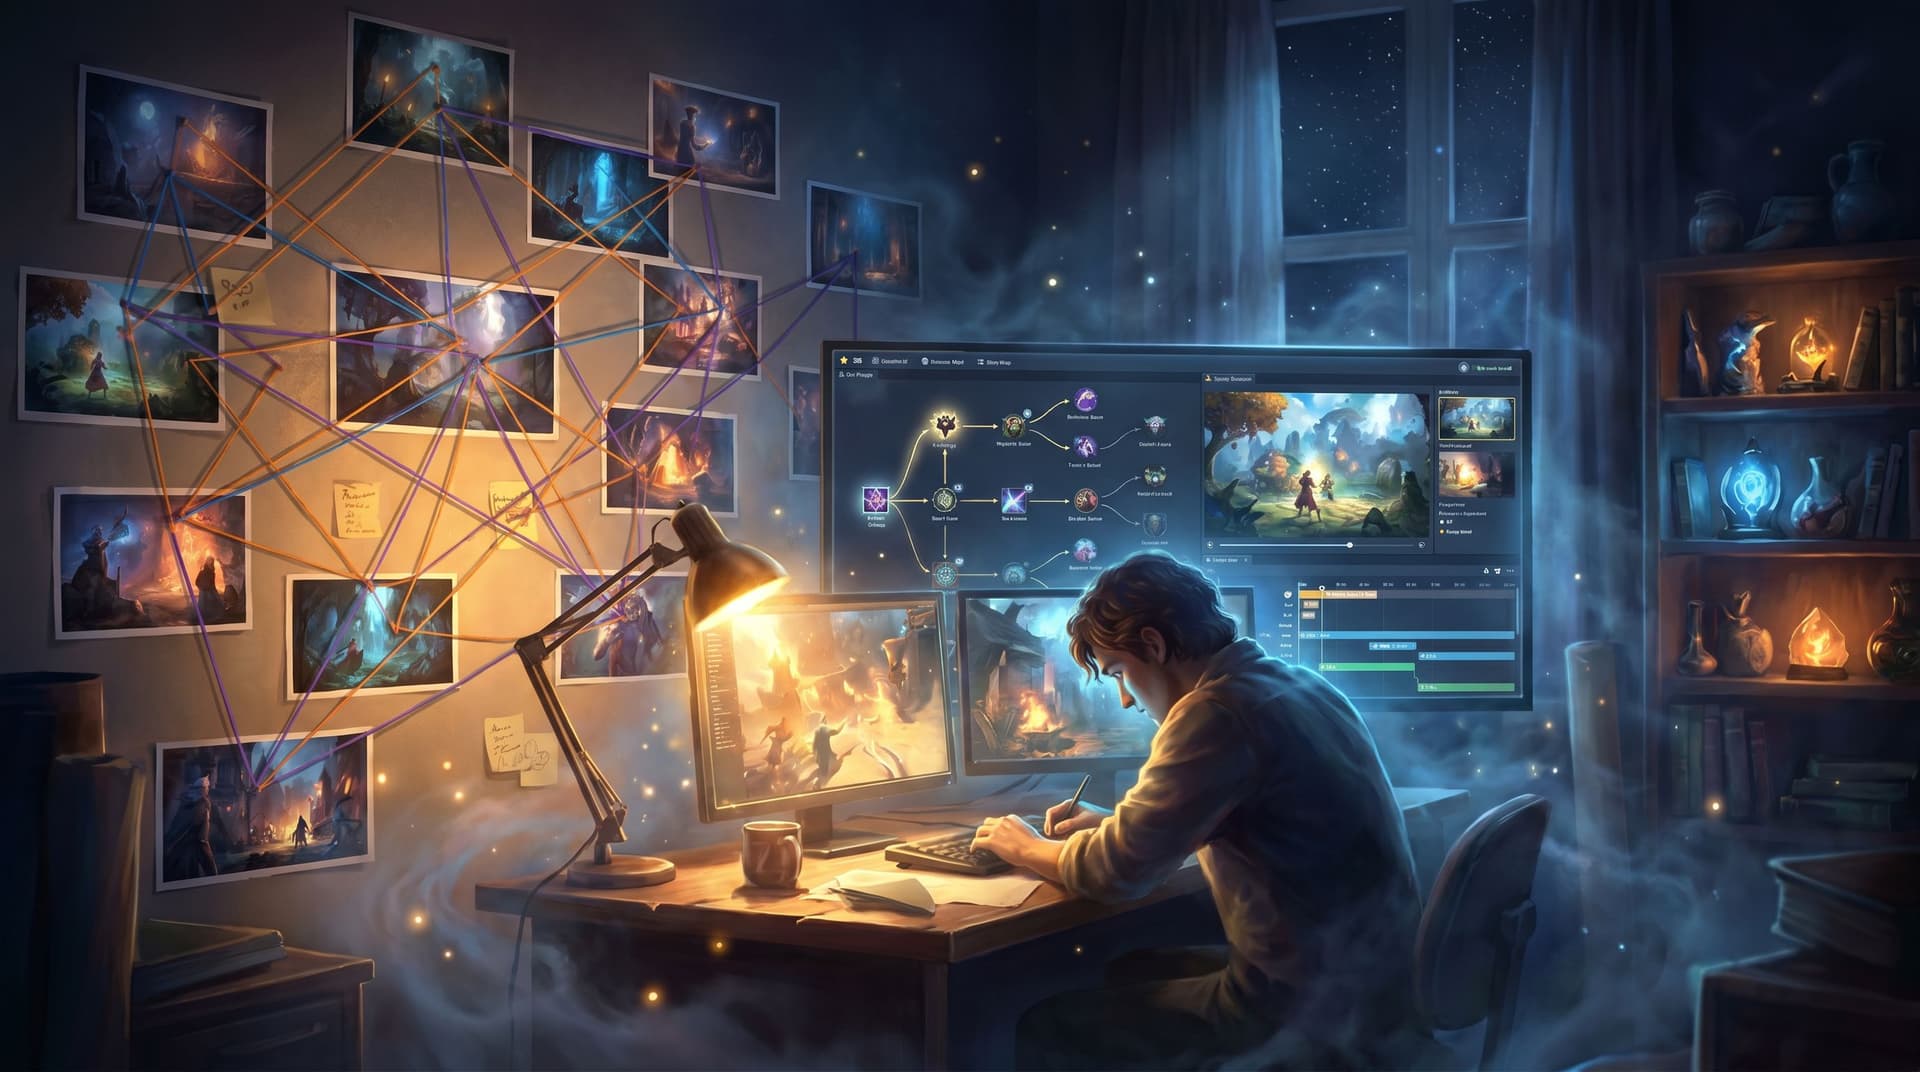
Interactive stories don’t really live in your editor—they live in your players’ screens.
You can plan elegant branches, sculpt gorgeous AI visuals, and polish every line of dialogue. But the truth of your quest only shows up when real people click through, hesitate at a choice, misread a prompt, or get unexpectedly delighted by a tiny detail in the corner of an image.
That’s where a visual feedback loop comes in.
When you deliberately collect and study player screenshots and replays from your Questas builds, you get a direct window into:
- What players actually see (vs. what you think they see)
- Where they pause, backtrack, or drop off
- Which branches feel emotionally flat or visually confusing
- Which moments are so good that people capture and share them
Turn that raw visual evidence into a habit, and your quests stop being static projects. They become living worlds you continuously tune.
Why Screenshots and Replays Are Your Most Honest Feedback
Text comments and survey forms are helpful, but they’re filtered through memory and language. Screenshots and replays are different: they’re unfiltered evidence of the moment of play.
Here’s what they reveal that most feedback never does:
-
Attention, not just opinion
You can see where the eye is likely drawn: a bright AI-generated image, a dense paragraph, a tiny button. If players keep screenshotting the same scene, that’s a signal. -
Real timing and pacing
Replays show how long players linger before clicking, whether they skim past a crucial branch, or if they bounce right after a particular scene. -
Context around mistakes
Instead of “I got confused here,” you can see exactly which choice labels, images, or layout contributed to that confusion. -
Emotional spikes
People screenshot what surprises, delights, or shocks them. If you’re designing strong emotional arcs, those captured moments are your highlight reel.
If you’re already thinking about emotion in your branches, this visual layer pairs beautifully with the ideas in Designing Emotional Arcs in Branching Stories: How to Make Every Path Feel Like a Real Journey. There, you’re mapping feelings on the page; here, you’re validating them on the screen.
Step 1: Decide What You Want to Learn From Visual Feedback
Before you start hoarding screenshots and replays, get specific about why you’re collecting them. Otherwise, you’ll drown in images and clips.
A few focused learning goals:
-
Clarity of choices
- Do choice labels clearly communicate stakes?
- Are there scenes where players consistently misinterpret what a button will do?
-
Emotional impact of key beats
- Are your “big moments” (twists, reveals, moral dilemmas) actually landing?
- Do players linger, screenshot, or replay around those scenes?
-
Visual coherence of your world
- Do AI-generated images feel like the same world across branches?
- Are there jarring style shifts that break immersion?
-
Accessibility and cognitive load
- Is text legible over images?
- Are there screens that feel visually overwhelming or hard to parse?
Pick one or two of these as a primary focus for each iteration cycle. That way, every screenshot or replay you review has a job.
Step 2: Set Up Lightweight Ways to Capture Screenshots and Replays
You don’t need a full analytics stack to start. In fact, over-engineering this step is a great way to avoid doing the simple things that work.
Here are practical capture patterns that creators use with Questas:
1. Invite players to share “favorite moment” screenshots
Add a short note near the start or end of your quest:
“If a scene really lands for you—whether it’s funny, frustrating, or beautiful—take a screenshot and send it to us at [your email or feedback form].”
To make this smoother:
- Offer a small incentive (early access to the next quest, a shout-out, a downloadable asset)
- Give examples: “A surprising outcome, a confusing choice, a gorgeous visual…”
- If you’re sharing in a Slack/Discord community, create a dedicated
#questas-feedbackor#screenshotschannel
2. Run guided playtest sessions with screen recording
For early builds, sit with 3–5 players (remote is fine) and:
- Ask them to share their screen and think aloud
- Record the session with a tool like Loom or Zoom
- Focus your questions on observation: “What are you noticing?” “What are you expecting this choice to do?”
Later, scrub through the recording and mark timestamps where:
- Players hesitate or scroll up and down
- They verbally express confusion or delight
- They misread or ignore a critical choice
3. Capture your own “first-time” replays
Even as the creator, you can learn a lot by:
- Creating a fresh player account or using incognito mode
- Screen-recording your own run-through
- Forcing yourself not to skip text or jump branches the way you normally would
You’ll notice layout issues, pacing problems, and visual bugs you’ve been unconsciously filtering out.
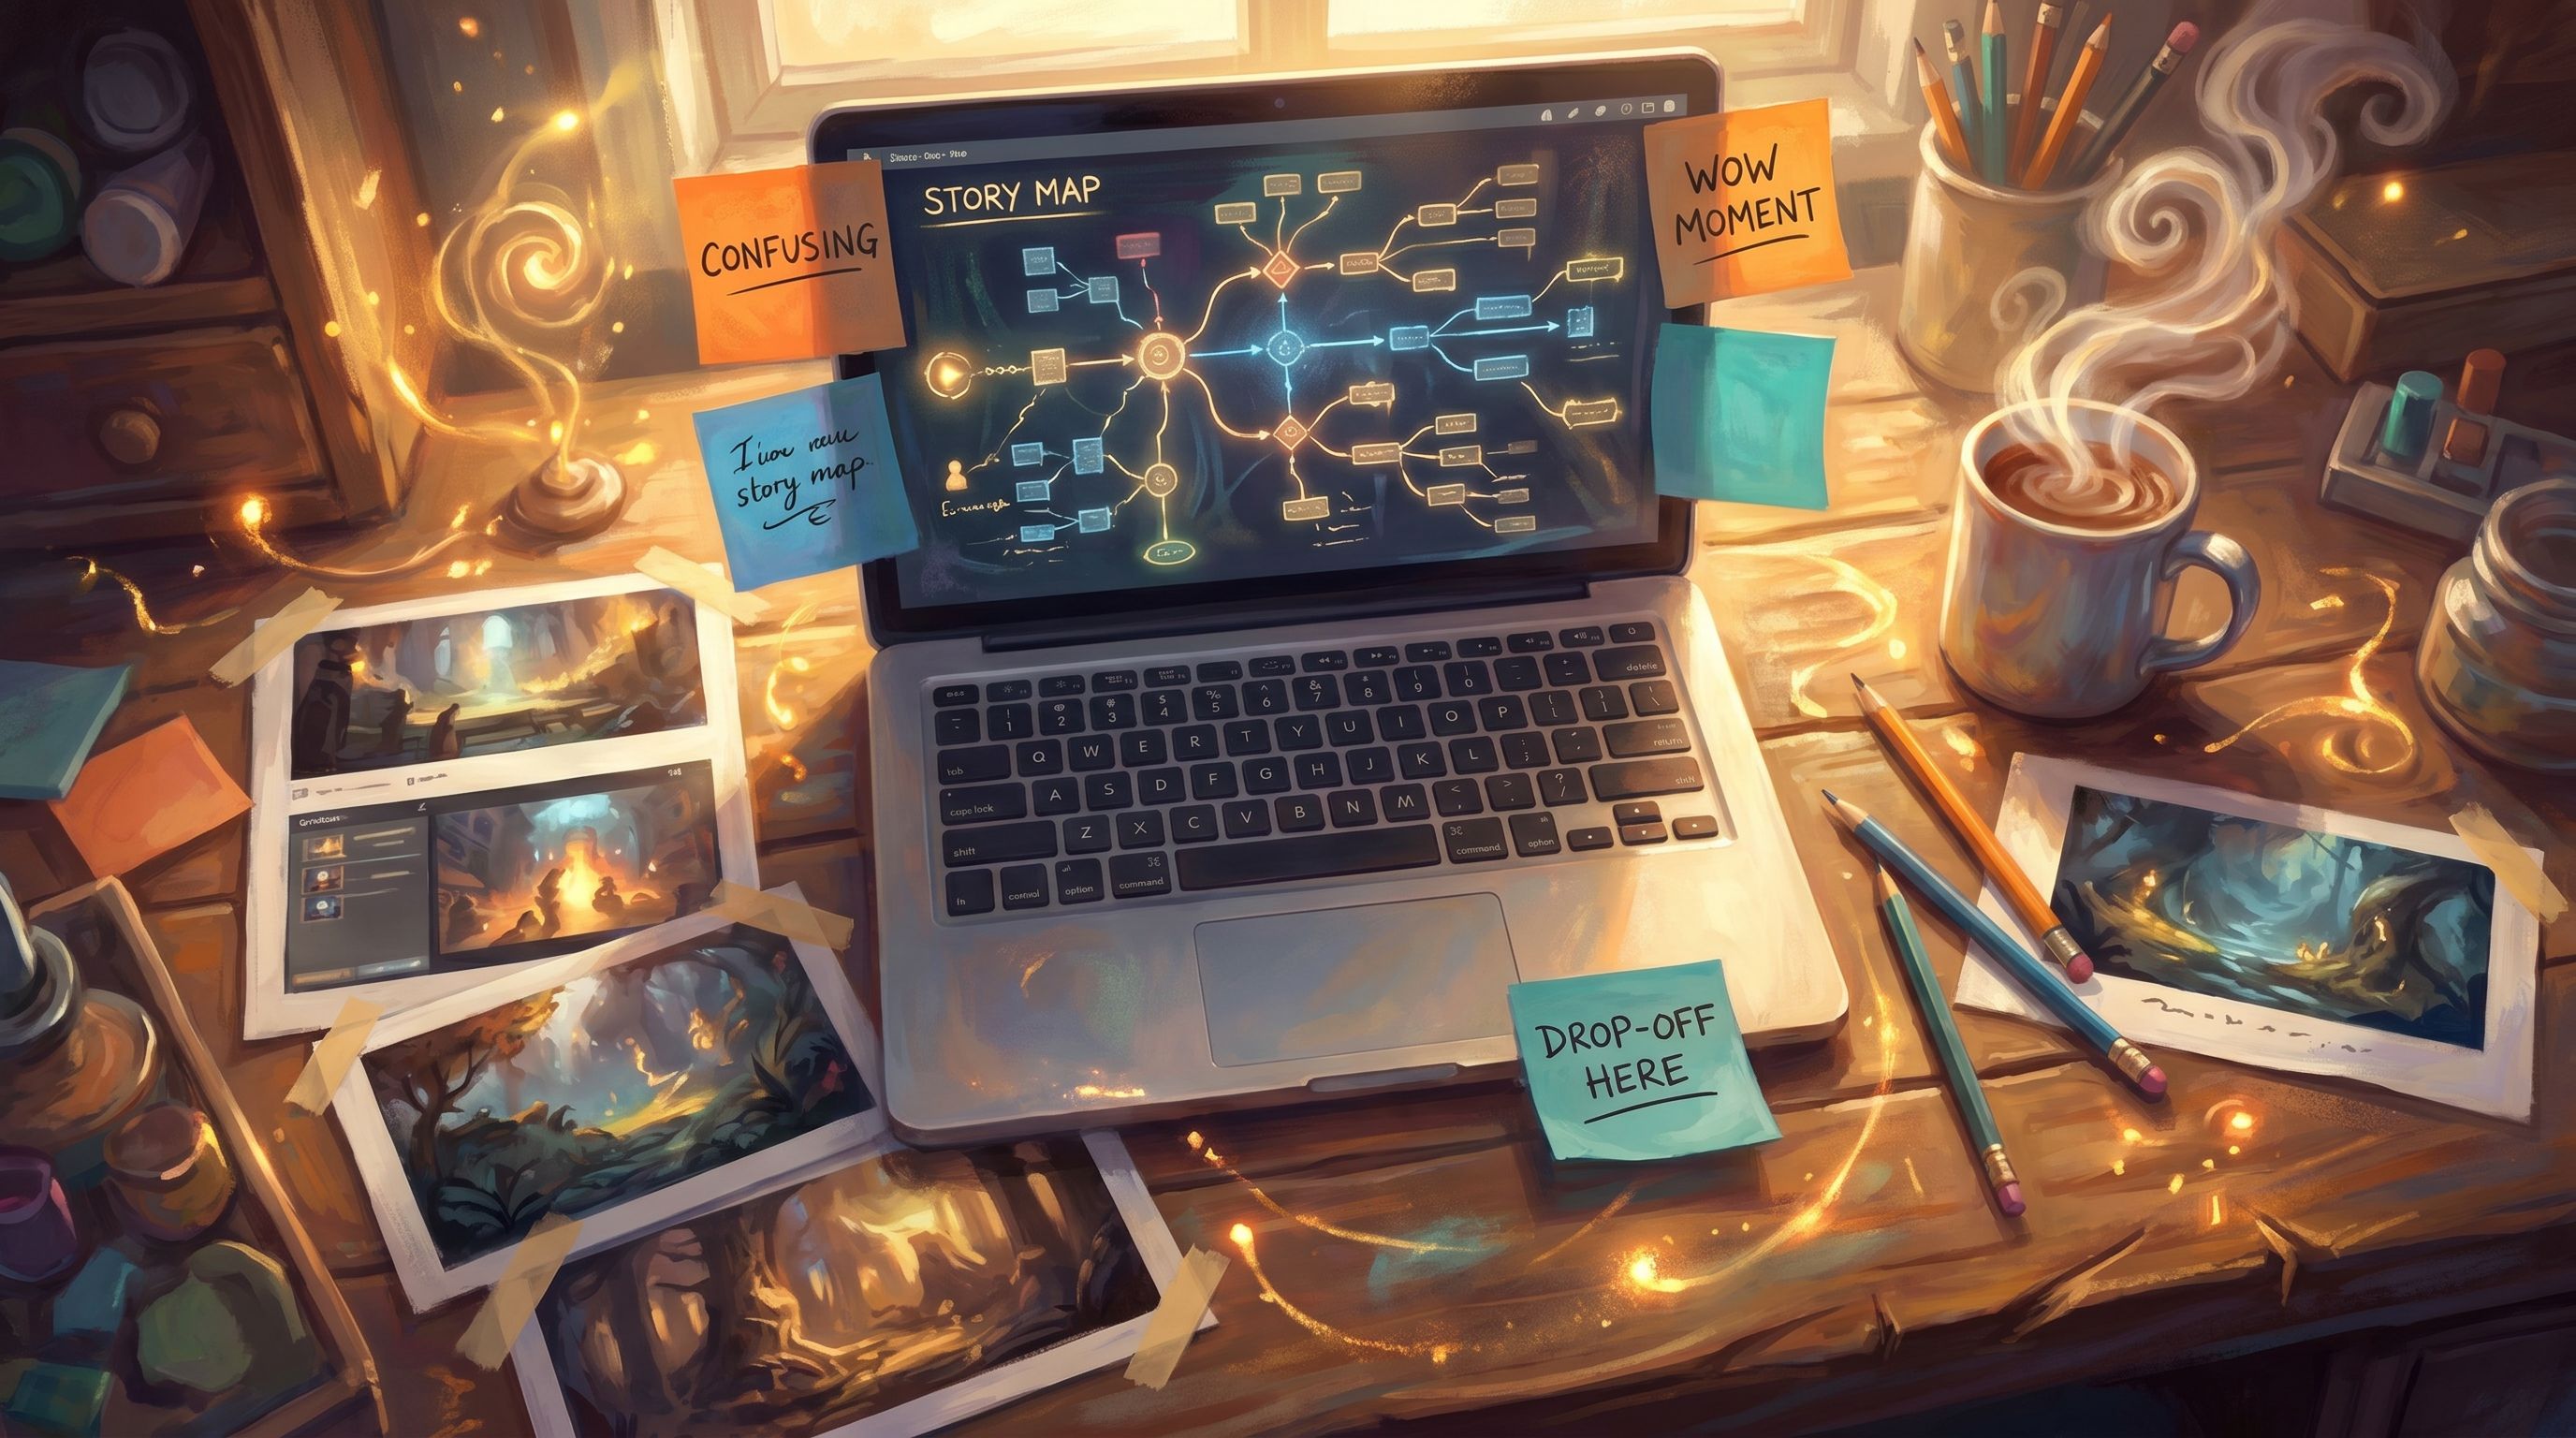
Step 3: Build a Simple Visual Feedback Library
Once you start collecting visual evidence, organization matters. A messy folder of random screenshots won’t help you refine anything.
Create a visual feedback library—a lightweight system you can maintain between projects and across a whole Questas series.
Suggested structure
Use whatever tool you already like (Notion, Miro, Figma, Google Drive, even a physical corkboard). The key is to make patterns visible at a glance.
Organize your screenshots and replay clips by:
-
Scene / Node ID
Match them to your Questas scene names so you can jump straight into the editor. -
Moment type
- Confusion
- Delight
- Drop-off
- Misclick / Misinterpretation
- “Screenshot-worthy” visuals
-
Severity / Opportunity rating
A simple 1–3 scale works:
1 = Nice-to-fix, 2 = Noticeable, 3 = Must-fix.
Add short captions like:
- “Player thought this choice would rewind, not end the scene.”
- “Everyone laughs here; three different players screenshot this moment.”
- “Image style shift here breaks the sci-fi tone established earlier.”
Over time, this becomes your pattern library of what actually happens during play, not just what you planned.
If you’re already maintaining consistent visual systems (for example, using ideas from Prompt Libraries That Scale: Building Reusable AI Image Systems for Long-Running Questas Series), your feedback library is where you can see when that system holds—and when it breaks.
Step 4: Translate Visual Evidence Into Concrete Story Changes
The real magic of a feedback loop is what you do after you’ve collected the evidence. Each screenshot or replay segment should lead to a clear decision:
- Fix (change copy, image, layout)
- Feature (double down on what’s working)
- Flag (note for later, but don’t touch yet)
Here’s how to move from raw visuals to specific edits in your Questas build.
1. When screenshots show confusion
Common signals:
- Players highlight or zoom into choice text
- They screenshot long passages that mix exposition and instructions
- You see multiple attempts around the same branch (back-and-forth clicking)
Possible responses:
-
Clarify choice labels
- Replace vague options like “Continue” and “Ask more” with explicit outcomes:
- “Continue down the unlit corridor”
- “Stop and question the guard about the missing key”
- Replace vague options like “Continue” and “Ask more” with explicit outcomes:
-
Separate narrative from instructions
- Put story in one paragraph, mechanics in another
- Use formatting (bold, line breaks) to visually distinguish them
-
Add foreshadowing visuals
- Update the AI image to hint at consequences (e.g., a cracked door, a looming storm, a worried expression)
2. When replays show flat emotional beats
Signals:
- Players click through quickly without pausing
- No screenshots or comments cluster around scenes you thought were big moments
Possible responses:
-
Tighten pacing
- Trim filler text before the big choice
- Use a micro-video or a more dramatic still image to punctuate the moment
-
Raise visible stakes
- Show the consequence visually (injured NPC, damaged environment, changed UI)
- Add a line of inner monologue or a reaction shot to reinforce what’s at risk
-
Reposition the choice
- Move a key branch earlier or later so it lands when players still have attention and context
If you want a deeper dive on tuning emotional beats, pair this practice with the frameworks in Designing Emotional Arcs in Branching Stories: How to Make Every Path Feel Like a Real Journey.
3. When visuals break continuity
Signals:
- Different art styles between adjacent scenes
- Characters changing age, clothing, or even species between branches
- Environments shifting palette or era without narrative explanation
Possible responses:
-
Align prompts to your style boards
Revisit your core style decisions (color palette, camera angle, level of realism) and adjust prompts accordingly. -
Batch-regenerate outliers
Identify 3–5 most jarring images and regenerate them in one focused session rather than piecemeal. -
Use diegetic explanations sparingly
Occasionally, a continuity break can become a story element (e.g., a glitch in a simulation), but use this intentionally, not as a patch for sloppy visuals.
For more on locking in a consistent look before you generate hundreds of assets, see From Moodboard to Mission: Using AI Style Boards to Lock In the Look of Your Next Questas World.
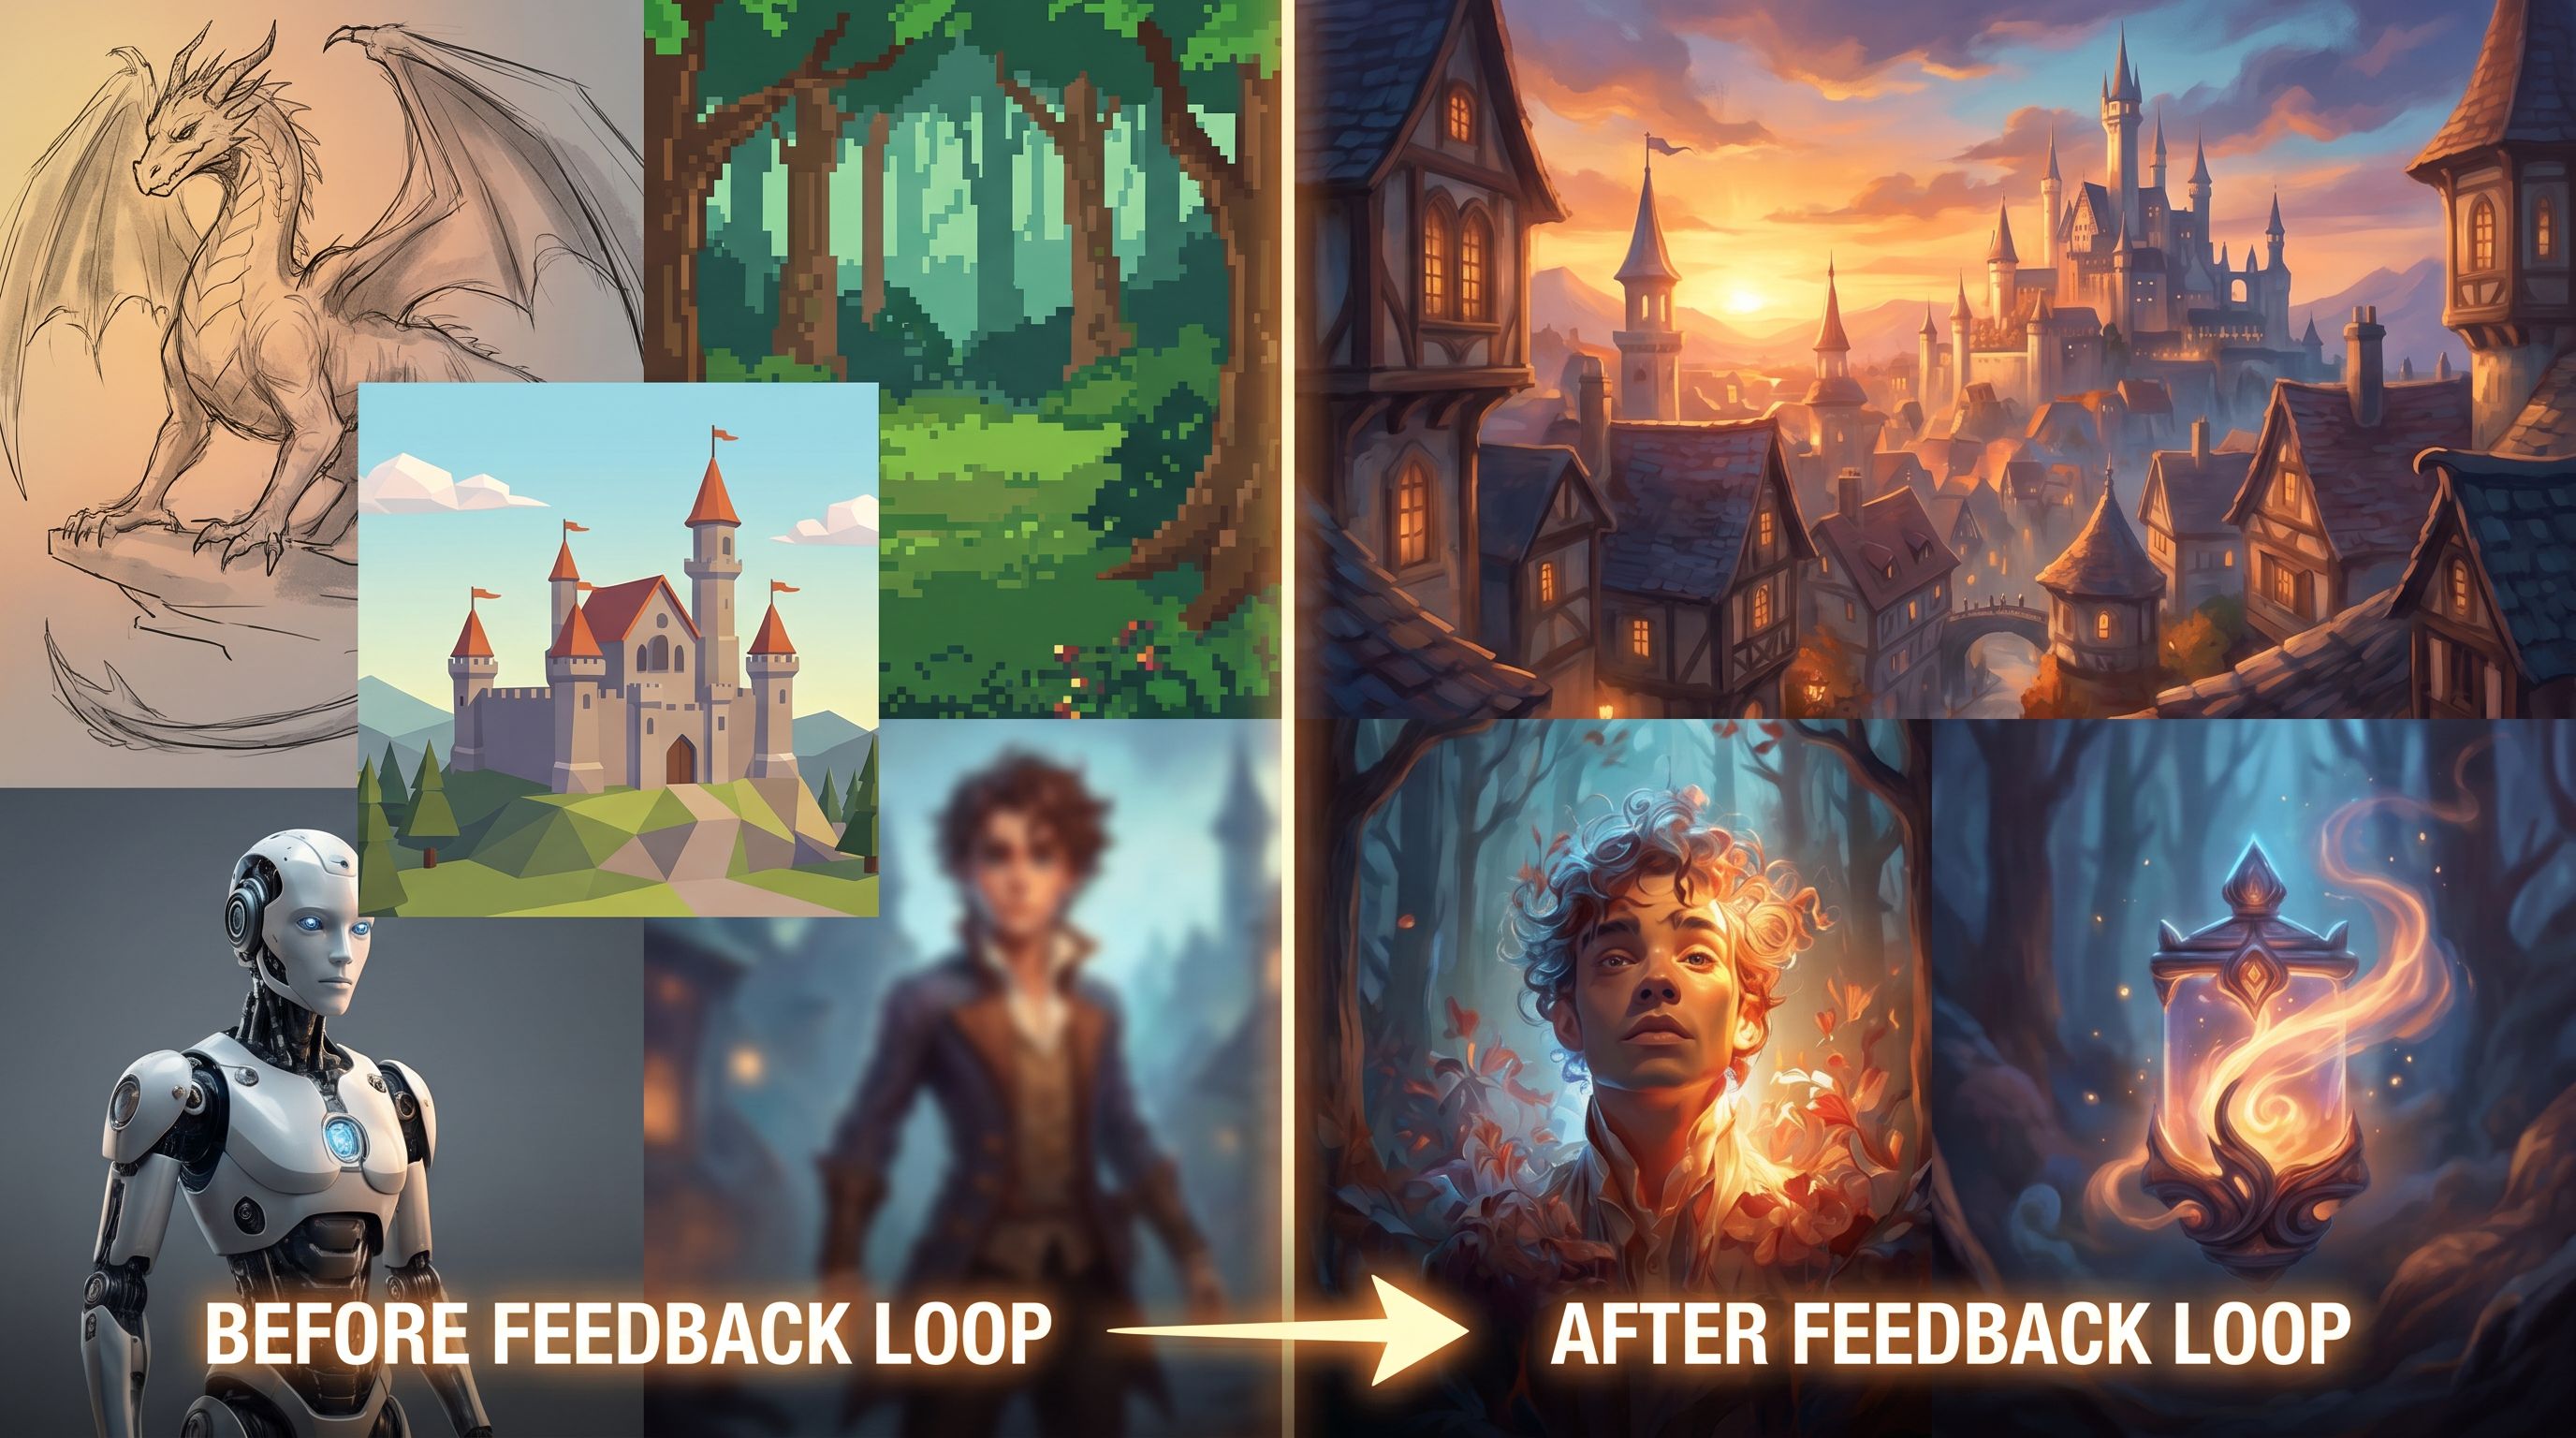
Step 5: Turn Feedback Cycles Into a Regular Ritual
A single round of visual tweaks is helpful. But the real power of screenshots and replays shows up when you make iterative refinement a habit.
Here’s a simple cadence you can adopt for each quest or episode:
-
Week 1: Launch a “beta cut”
- Share your quest with a small, trusted group
- Explicitly ask for screenshots and permission to record play sessions
-
Week 2: Review and cluster evidence
- Spend 60–90 minutes going through all visuals
- Tag them by scene, moment type, and severity in your feedback library
-
Week 3: Implement a limited set of changes
- Pick the top 5–10 changes that will have the biggest impact
- Make those edits in Questas, regenerate visuals where needed
-
Week 4: Re-test and compare
- Run a new round of playtests or share with a slightly larger audience
- Look specifically at whether previous problem scenes still generate confusion
Repeat this loop for each major chapter or release. Over time, your quests will feel less like “one-shot” projects and more like systems that learn from every playthrough.
Step 6: Use Visual Feedback Beyond Entertainment
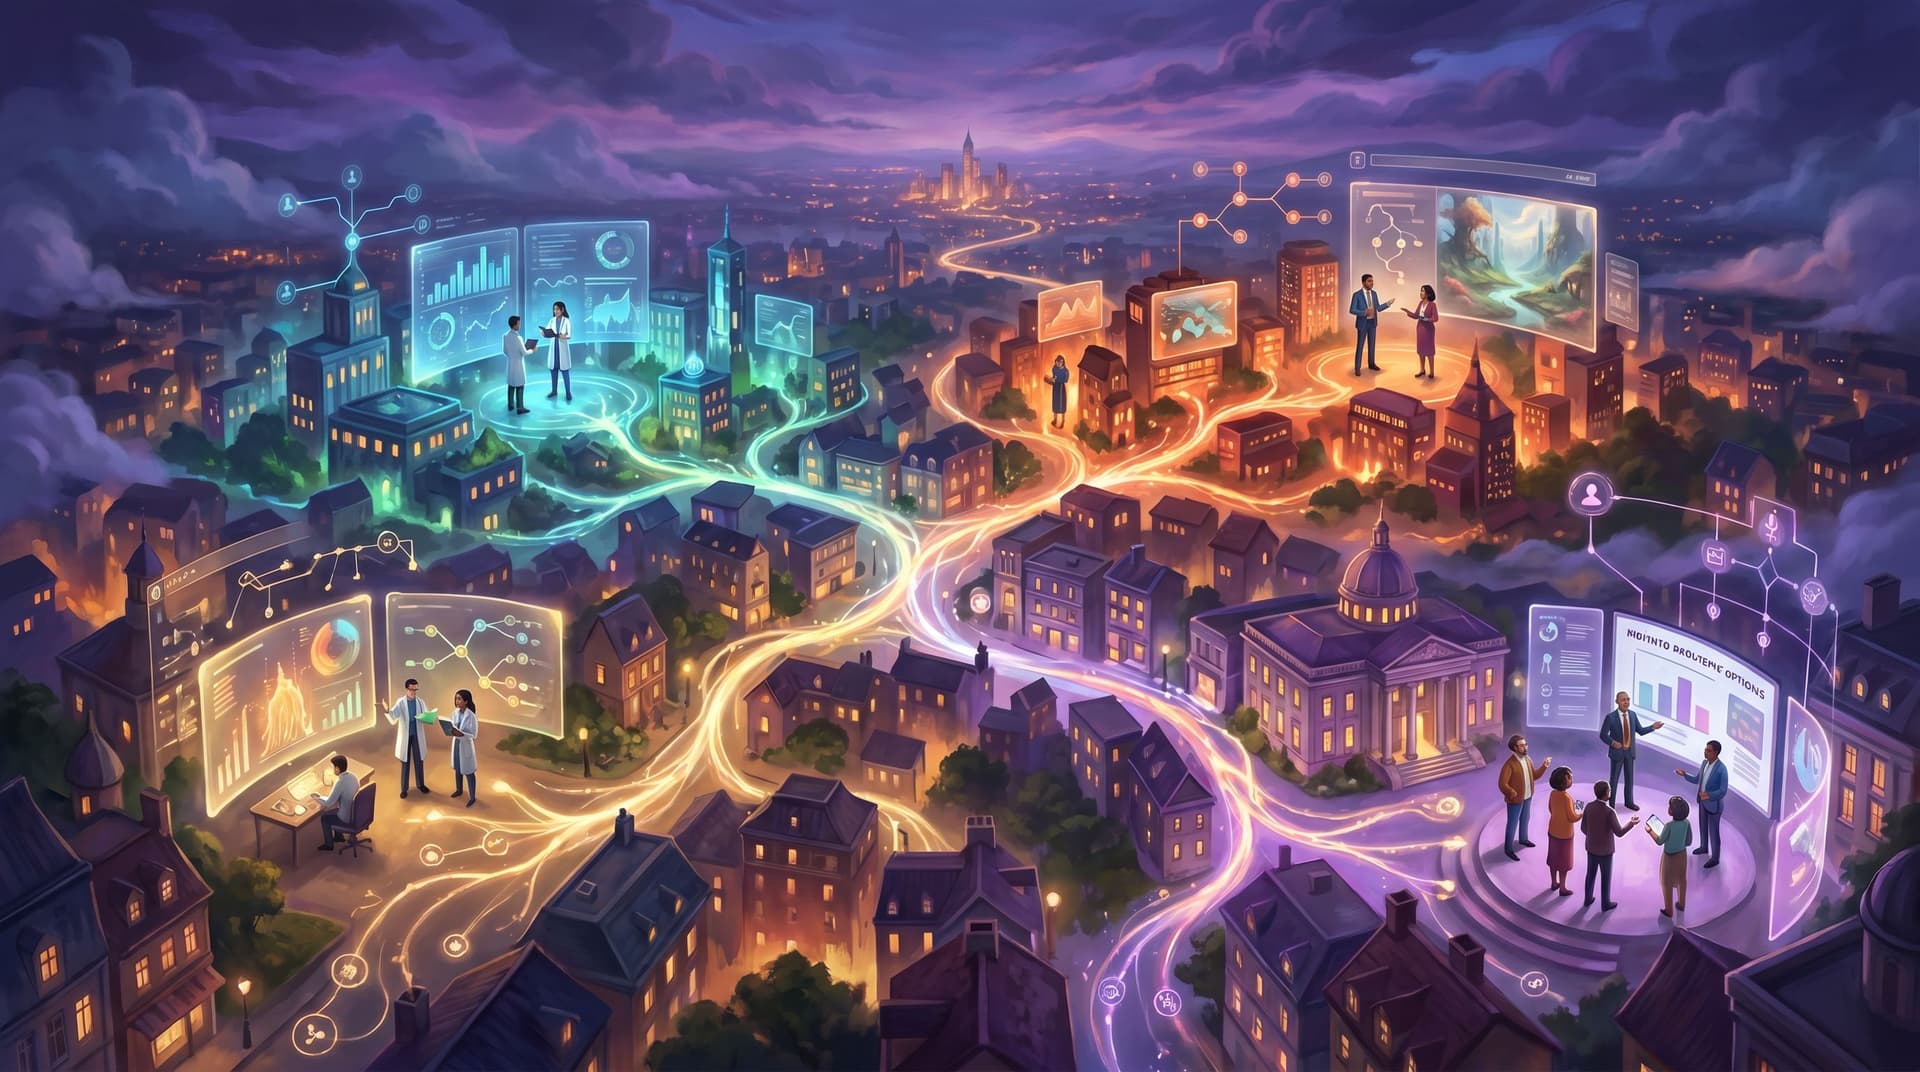
This visual feedback loop isn’t just for narrative games. If you’ve read Beyond Story Games: Unexpected Questas Use Cases in Research, Journalism, and Civic Design, you’ve already seen how branching experiences can power:
- Policy simulations
- Research scenarios
- Civic engagement tools
- Training and L&D modules
In those contexts, screenshots and replays are even more valuable:
-
In research and strategy
Replays show where participants hesitate before choosing a policy option, or where they misinterpret a scenario. That’s data you can’t get from a survey checkbox. -
In classrooms
Student replays reveal which concepts they skip, which examples they remember, and where they need more scaffolding. -
In onboarding or instruction
Watching where users get stuck in an interactive manual tells you more than a dozen written bug reports.
No matter your use case, the principle is the same: treat what’s on the player’s screen as your primary source of truth, and let that guide your next iteration.
Bringing It All Together
Let’s recap the core loop:
- Set clear learning goals for what you want to understand about your quest (clarity, emotion, continuity, accessibility).
- Capture visual evidence via player screenshots, guided replays, and your own recorded run-throughs.
- Organize that evidence in a visual feedback library tied to specific scenes and moment types.
- Translate patterns into edits in your Questas build—clarifying choices, tuning emotional beats, and aligning visuals.
- Repeat the cycle on a regular cadence, so each release learns from the last.
- Extend the practice beyond story games into research, education, training, and civic design.
When you work this way, your quests stop being frozen artifacts. They become evolving worlds shaped by how people actually move through them—not just how you imagined they would.
Your Next Step: Start a Tiny Visual Feedback Experiment
You don’t need a massive playtest lab to get value from this. You can start this week with a small, focused experiment:
- Pick one quest (or even a single branch) in your Questas workspace.
- Invite 3–5 people to play through while sharing their screen—or ask them to send you two screenshots: one moment they loved, one moment they found confusing.
- Spend one hour building a mini feedback library and making 3–5 targeted changes based on what you see.
- Re-share the updated quest with the same people and ask: “Does this feel clearer / more engaging now?”
That’s it. You’ve just completed your first visual feedback loop.
From there, you can scale up: more players, more structured tagging, smarter use of AI visuals, deeper emotional tuning. But the heart of the practice stays the same:
Watch what players actually see.
Learn from it.
Change the world accordingly.
Adventure awaits—on your screen, and on theirs. Now open up your latest quest, hit record, and start watching your story through your players’ eyes.