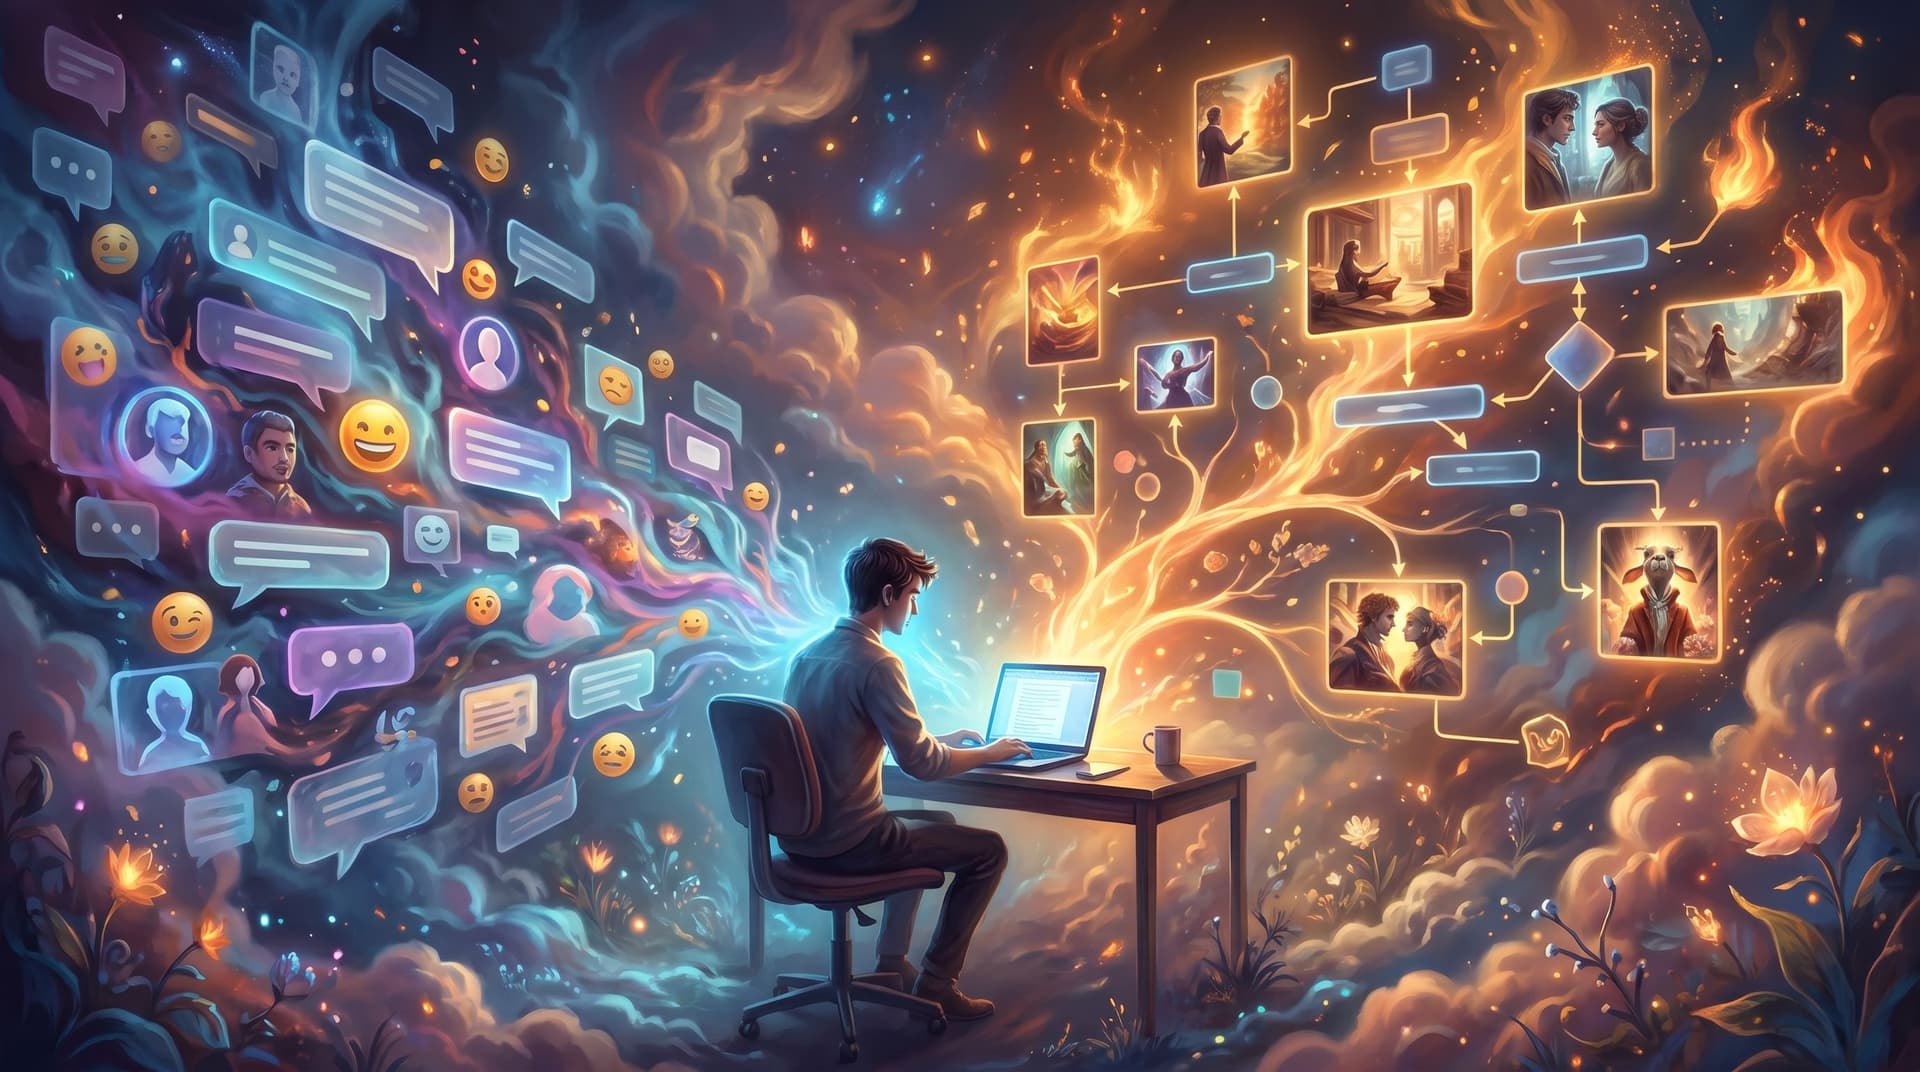
From Moodboard to Mission: Using AI Style Boards to Lock In the Look of Your Next Questas World

You’ve sketched your branching paths. You’ve got a sense of the stakes, the characters, the big twist.
And then you open an AI image tool and… everything starts to wobble.
One scene comes out painterly and soft, the next is harshly photoreal, the third looks like a Saturday-morning cartoon. Your “world” doesn’t feel like one world at all.
That’s where AI style boards come in.
Style boards are the evolution of the classic moodboard: curated, visual north stars you use to lock in the look and feel of an experience before you generate hundreds of assets. When you’re building interactive stories in Questas, style boards are the bridge between “vibe in your head” and “cohesive, replayable world your players actually feel.”
Why Style Boards Matter for Interactive Worlds
Traditional moodboards have been used for decades in film, fashion, interiors, and branding to align teams around a shared visual direction and reduce rework later. They help you:
- Translate abstract ideas ("cozy but eerie," "hopeful dystopia") into concrete references
- Align collaborators around color, lighting, texture, and composition
- Spot clashes early—before you’ve sunk hours into production
The same logic applies to AI-assisted worldbuilding, with a few extra twists:
1. AI is powerful, but also chaotic.
Modern image generators can produce almost any style you can imagine—but they’re notorious for style drift. Without a clear style reference, small prompt changes can radically shift the look of your scenes.
2. Branching narratives multiply inconsistency.
A linear story might get away with a few off-model shots. A branching Questas world with dozens of nodes and variations? Visual inconsistency quickly becomes distracting and undermines immersion.
3. Consistency amplifies emotional impact.
A coherent look—palette, lighting, framing—acts like a subtle soundtrack. It tells players what kind of story they’re in, even before they read a line of text. When your visuals pull in the same direction as your choices, the experience feels intentional instead of random.
Think of style boards as your mission briefing for the world: a compact, visual document that answers, “What does it feel like to be here?” before you generate a single in-game image.
Step 1: Define the Mission Before the Mood
It’s tempting to start dragging pretty images into a board right away. Resist that for a moment.
A strong style board starts with a clear mission:
-
Who is this world for?
- Teen players exploring social dilemmas?
- Senior leaders running a scenario-planning workshop?
- Museum visitors walking through an exhibit?
-
What should they feel at key moments?
Pick 3–5 emotional beats you want to reliably hit:- Tension before a major choice
- Wonder when a new area unlocks
- Relief after a narrow escape
-
What constraints matter?
- Accessibility requirements (e.g., high contrast, limited motion, dyslexia-friendly typography) — if that’s your focus, you’ll find a deep dive in Accessibility-First Quest Design: Building Questas That Welcome Every Player.
- Platform or bandwidth limits (e.g., no heavy video, mobile-first)
- Brand guidelines (colors, logo usage, photography style)
Write this down in a short “mission paragraph” you can paste at the top of your board and into your Questas project notes. For example:
A replayable, 20–30 minute branching scenario that helps new customer-success hires feel the pressure of real calls. Visuals should feel grounded and contemporary, with warm lighting and calm, uncluttered compositions that keep focus on the customer’s face.
That mission will filter every visual decision you make from here on.
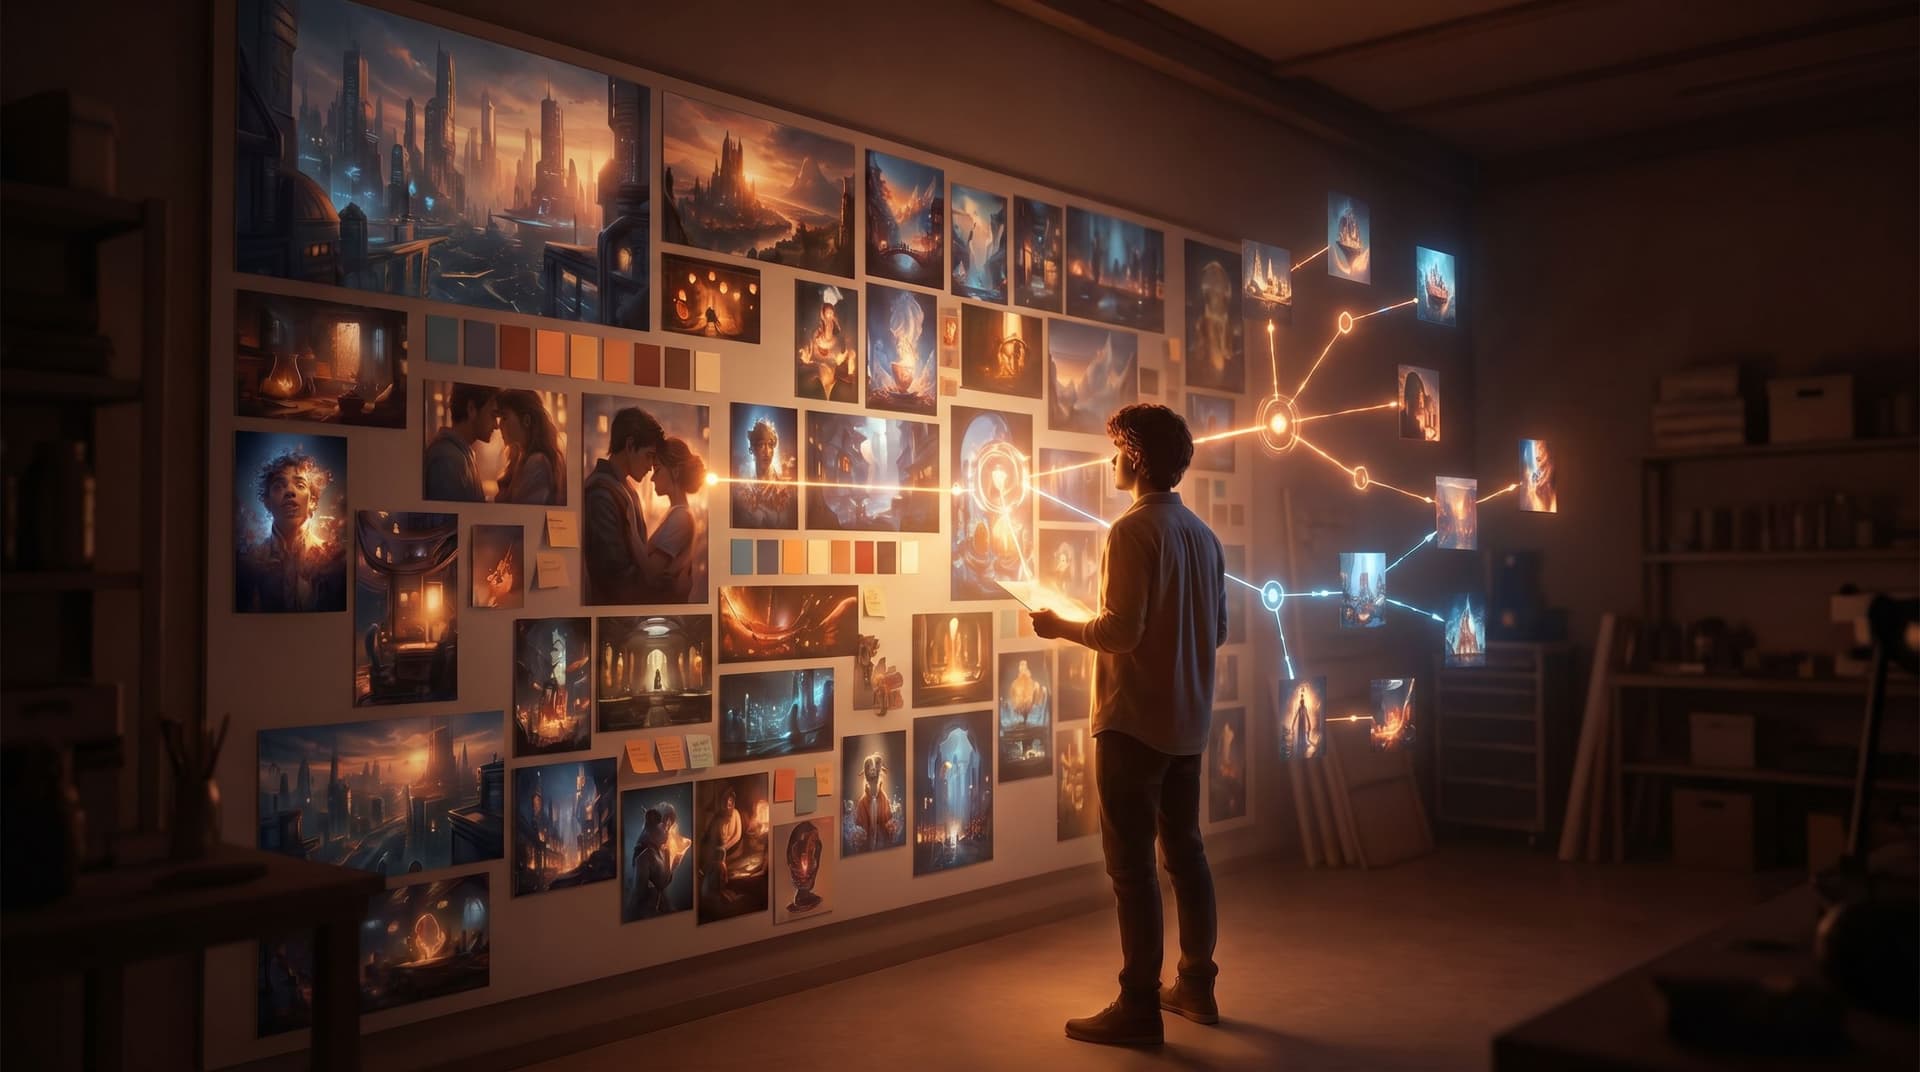
Step 2: Build a First-Pass AI Style Board
Now you can start pulling in visuals—but do it with intention.
You can create style boards in:
- A visual canvas tool (e.g., Figma, Miro, Canva)
- A moodboard-specific tool (e.g., Pinterest, or AI-augmented boards like Google’s Mixboard)
- A dedicated “board” page inside your Questas workspace where you pin reference images and notes
What to Include on the Board
Aim for 20–40 images, not hundreds. You want focus, not a scrapbook.
Organize your board into loose clusters:
-
Environment & Architecture
- 6–10 images showing the kinds of spaces your quest will visit
- Pay attention to: horizon line, clutter level, lighting direction, and how humans are framed within the space
-
Characters & Costuming
- 6–10 images focusing on how people look and dress
- Note: age range, silhouettes, color blocking, facial expression style (subtle vs exaggerated)
-
Color & Light
- 6–10 swatches or scenes where the color palette feels “right”
- Capture: day/night balance, use of shadows, accent colors
-
UI & Diegetic Elements (optional but powerful)
- 3–6 examples of interfaces, signage, maps, or in-world documents
- These will inform how you design choice screens, overlays, and in-world text inside Questas.
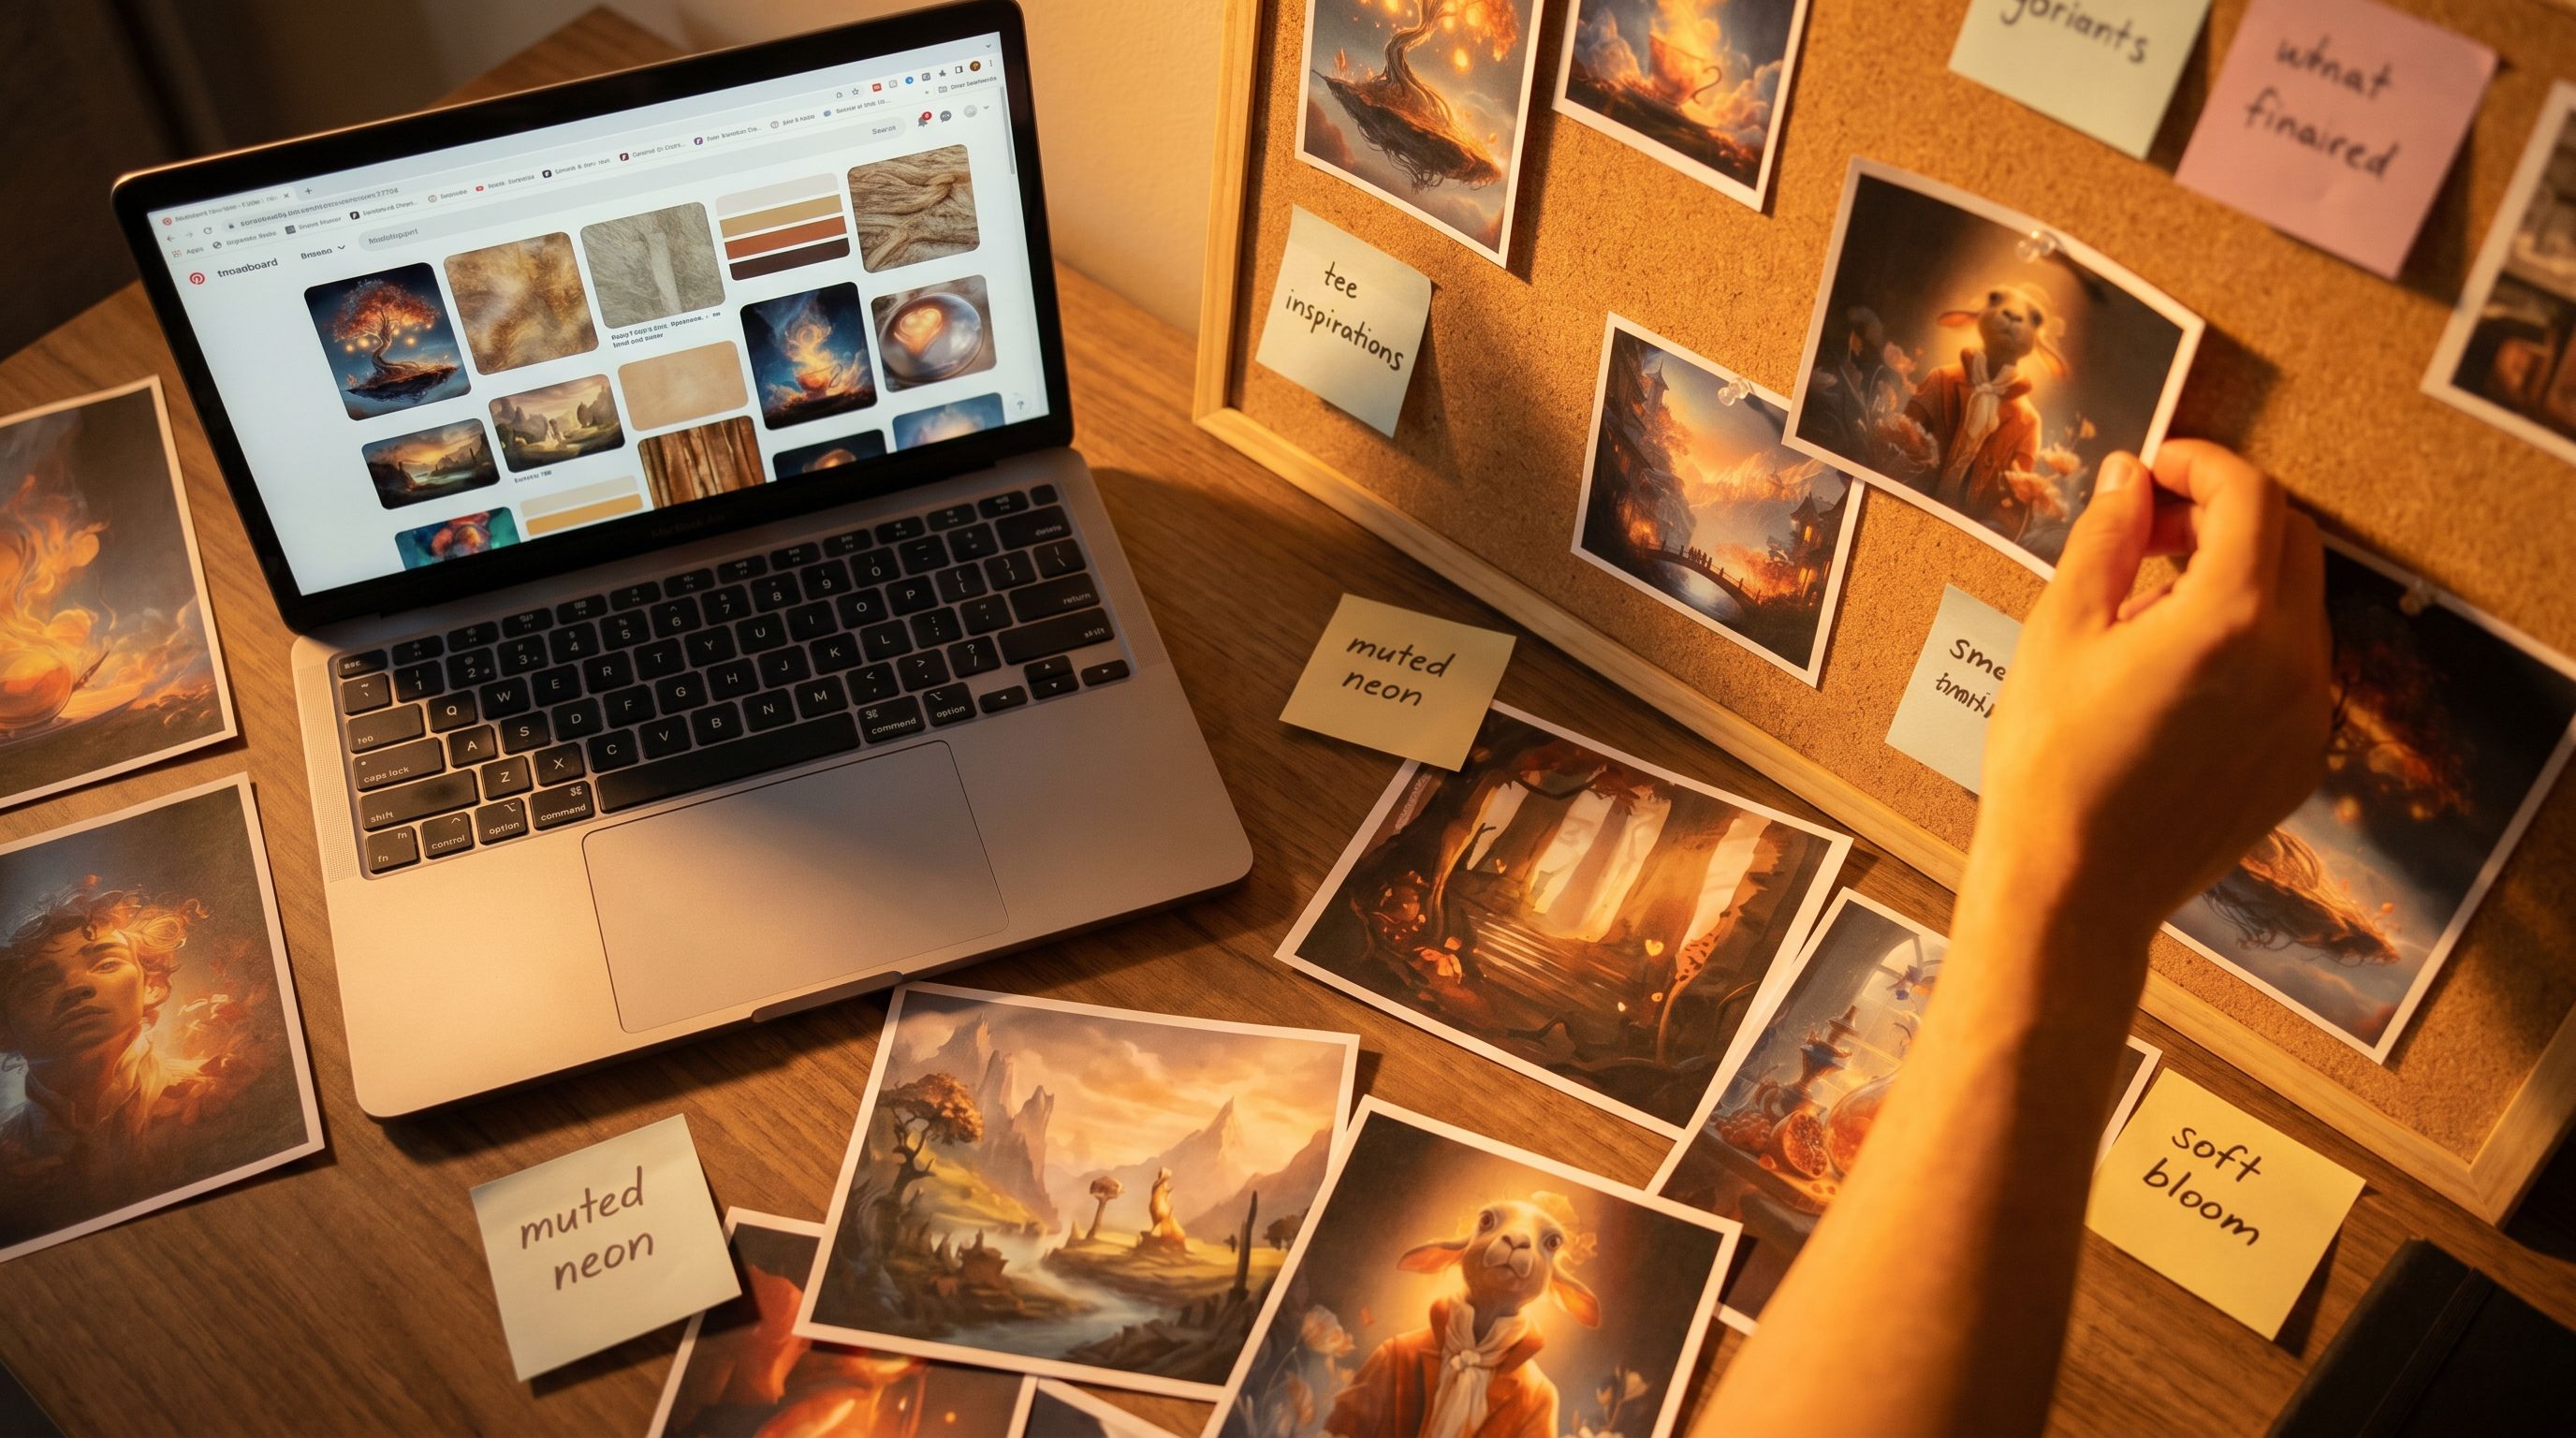
As you drag each reference in, label it with 3–5 keywords:
muted neons,soft bloom lighting,wide-angle interiorgrainy film still,handheld feel,over-the-shoulder framingflat cel shading,thick ink outlines,limited palette
Those tags will later become the building blocks of your AI prompts.
Step 3: Turn Your Board into a Reusable “Style Spec”
A board is great to look at. AI tools, however, read text.
Your next move is to distill the board into a Style Spec—a short, structured description you can paste into prompts and keep pinned in your Questas project.
A Simple Style Spec Template
Use this template and fill it with language directly inspired by your board:
-
Overall Look: 1–2 sentences
Soft, cinematic realism with a subtle film grain. Camera feels like a handheld documentary crew following the characters.
-
Color Palette: 1–2 sentences or a bullet list
Muted blues and warm ambers; occasional neon accents for key UI or warnings. Avoid pure white backgrounds.
-
Lighting & Mood: 1–2 sentences
Mostly indirect, diffused light with visible practical sources (lamps, windows, screens). Gentle contrast; no harsh spotlights.
-
Character Treatment: 2–3 bullets
- Realistic proportions, expressive but not exaggerated faces
- Everyday clothing with subtle color coding by role
- Minimal accessories; no fantasy armor or sci-fi gear
-
Camera & Composition: 2–3 bullets
- Medium shots and over-the-shoulder angles for dialogue
- Occasional wide establishing shots before major choices
- Keep horizon lines straight; no Dutch angles
-
What to Avoid: 3–6 bullets
- No anime eyes or chibi proportions
- No hyper-saturated candy colors
- No fisheye distortion or extreme wide-angle warping
You now have a portable style anchor. Any time you prompt an AI image generator or micro-video tool, you can append a shortened version of this spec to reduce style drift.
If you’re interested in how these style anchors pay off during production and analytics, From Playtest Notes to Narrative Analytics: What to Measure (and Ignore) in Your Early Questas Builds explores how consistent visuals make it easier to interpret player behavior.
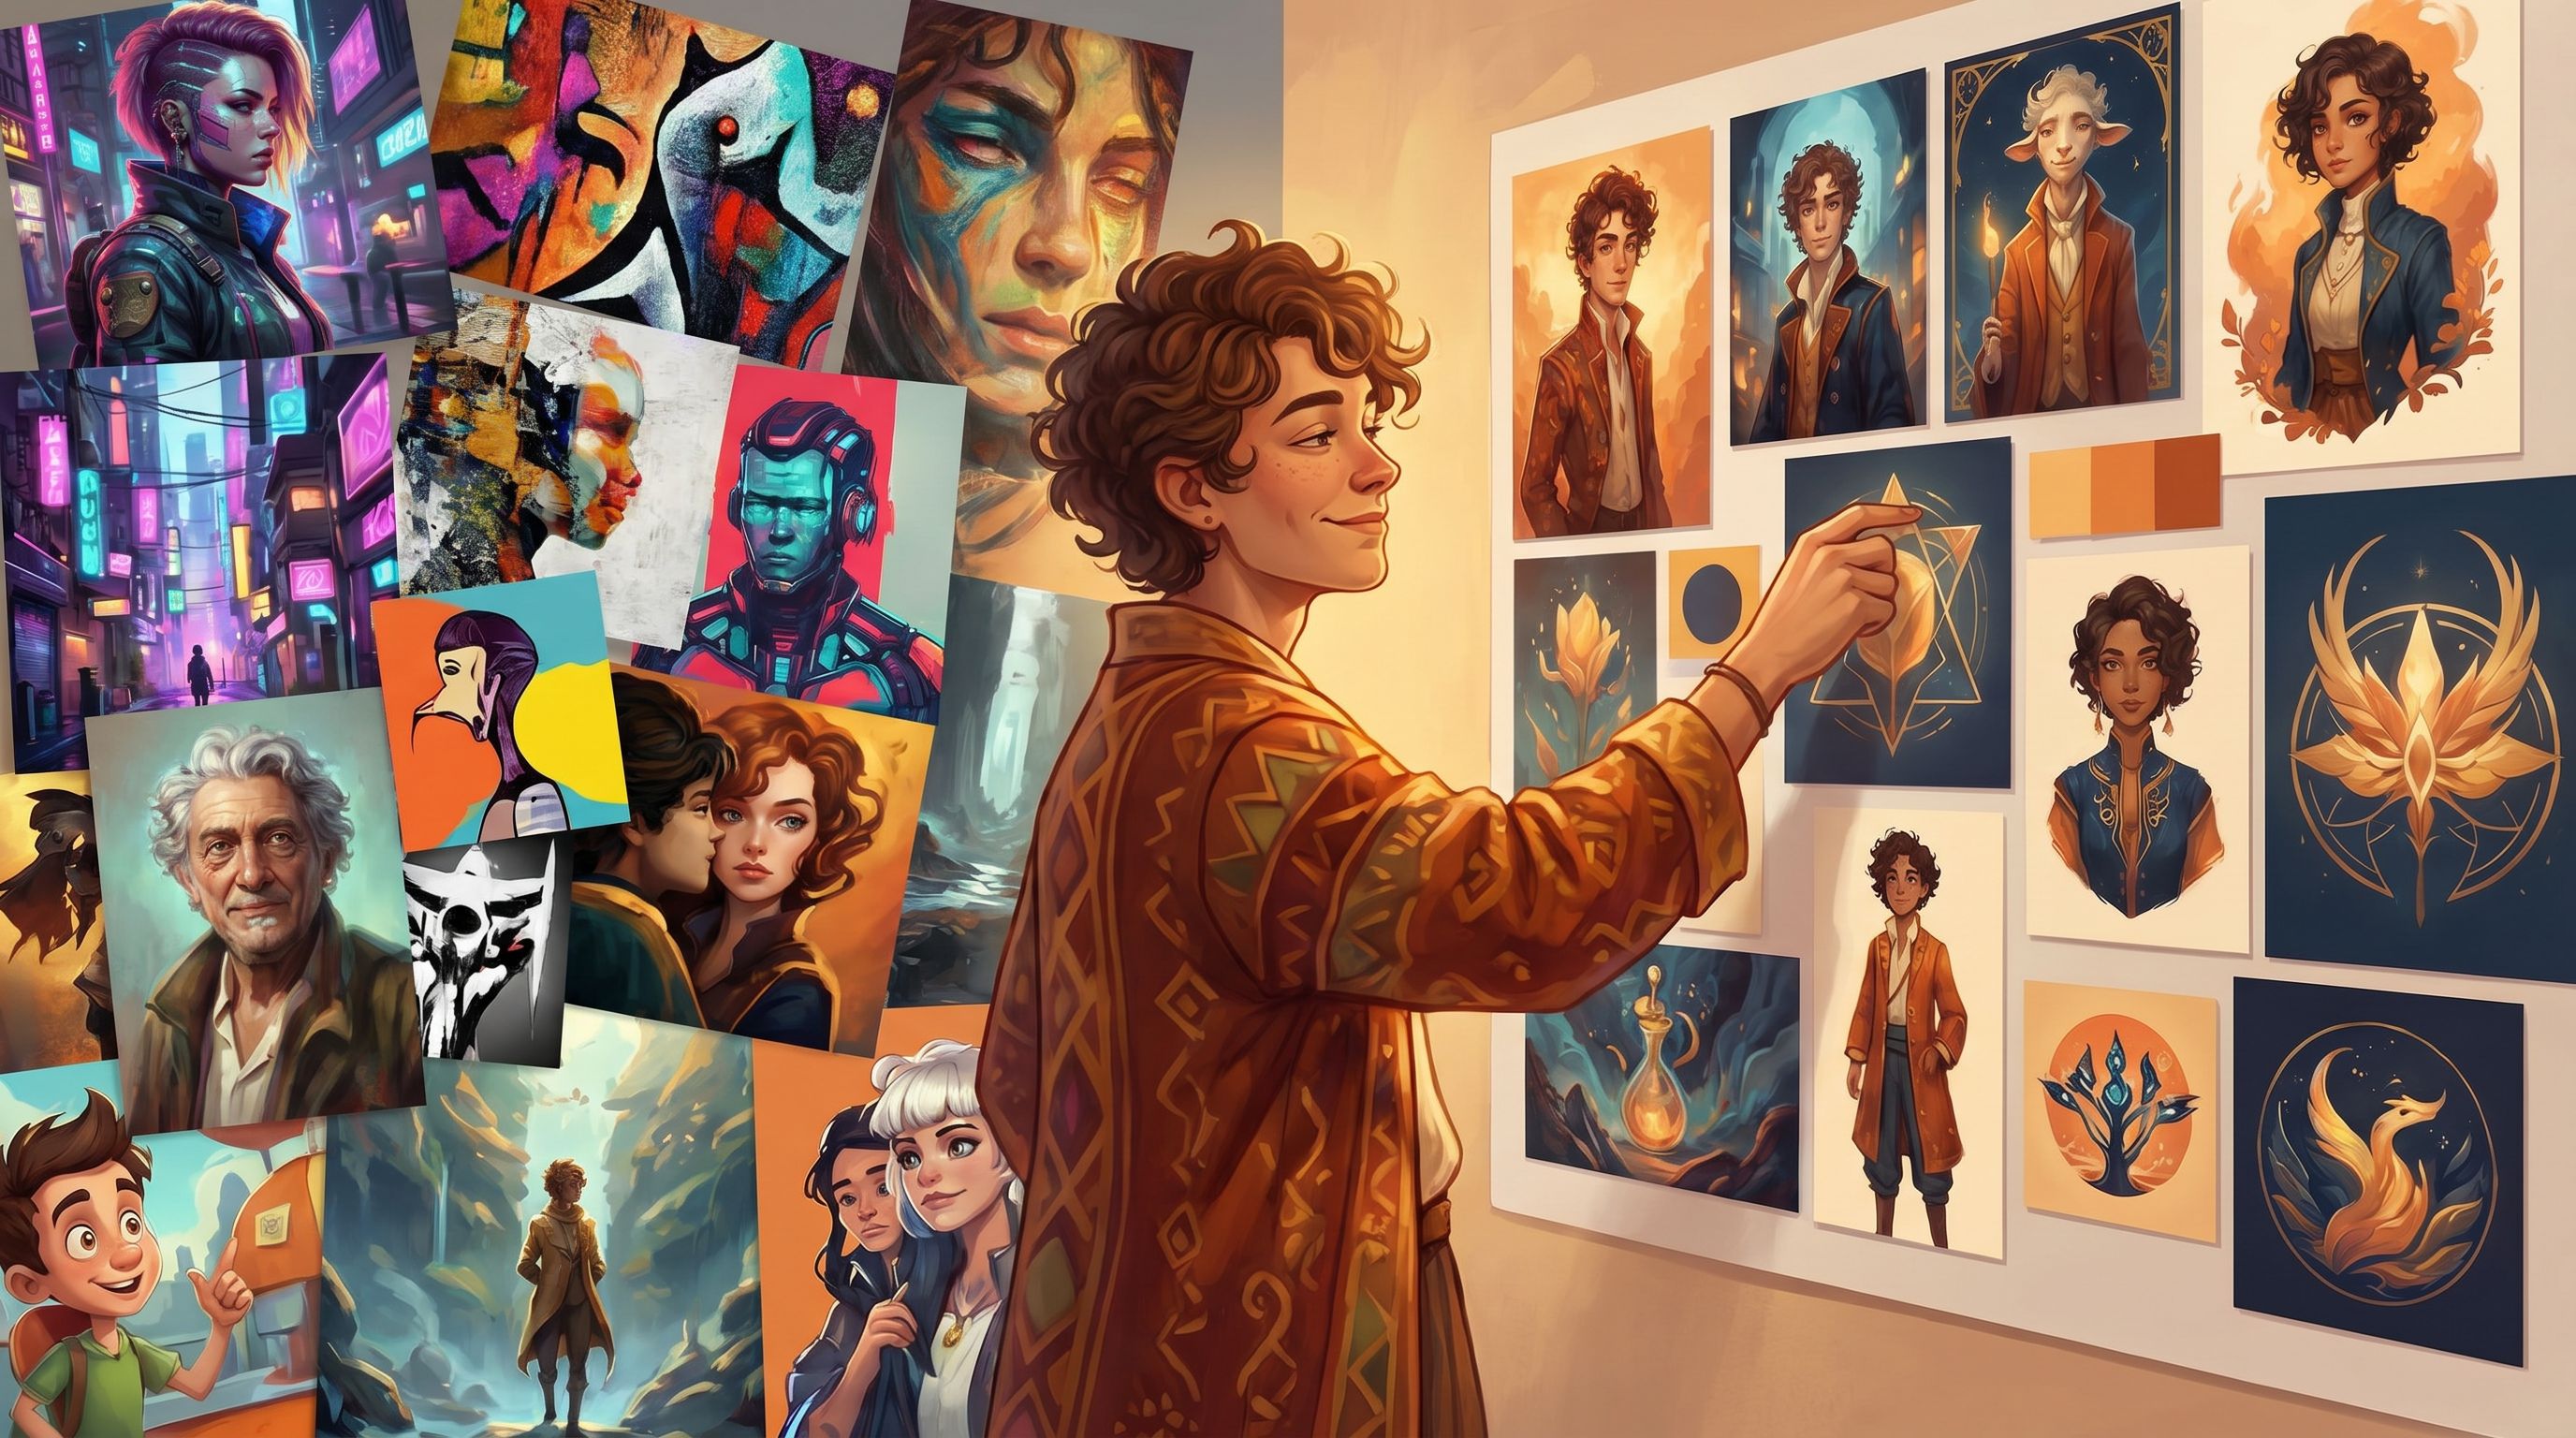
Step 4: Prototype a Style Pass Inside Questas
With your board and Style Spec ready, it’s time to move from static inspiration to interactive reality.
1. Pick a Thin Slice of Your Quest
Rather than styling the entire story at once, choose:
- 1 opening scene
- 1 mid-quest turning point
- 1 late-game consequence scene
This trio gives you a sense of how your style behaves across different emotional beats and locations.
2. Generate “Anchor Images” for Each Scene
For each of the three scenes:
- Write a short scene description (2–3 sentences) focused on what the player should feel.
- Draft a prompt that combines:
- The scene specifics
- Your Style Spec (copy-pasted, then lightly trimmed)
- Generate multiple variations and pick one “anchor image” per scene that best matches your mission.
These anchor images become the visual canon of your quest. When you later generate close-ups, alternate angles, or micro-videos, you’ll reference these anchors to keep things aligned.
If you’re planning to use micro-video moments for pacing, you can extend this process with the techniques in Storyboard to Screen: Using AI-Generated Micro-Video to Pace Tension and Reveal in Your Questas.
3. Drop Anchors into Your Questas Graph
Inside Questas:
- Attach each anchor image to its corresponding node
- Add a short note with the prompt + style spec used
- Tag the node with labels like
STYLE-ANCHORorCANON-VISUAL
Now, anyone who collaborates with you—writers, facilitators, subject-matter experts—can see what “on-style” looks like before they request or generate new media.
Step 5: Use Style Boards to Coordinate Teams
Style boards shine even brighter when you’re not building alone.
If you’re working with a distributed team—something we explored deeply in The Collaborative Quest Room: How Distributed Teams Co‑Write, Co‑Prompt, and Co‑Playtest Questas in Real Time—your board becomes the shared language that keeps everyone pulling in the same visual direction.
Practical Collaboration Patterns
1. Style Check-Ins Before Branching Sprees
Before a co-writing session:
- Review the board together for 5–10 minutes
- Call out 2–3 reference images as “this is exactly our world”
- Agree on any updates to the Style Spec
This small ritual dramatically reduces off-style branches and rework.
2. Prompt Library Linked to the Board
Create a shared doc or Questas note where you:
- Paste your Style Spec at the top
- Add a handful of approved prompt snippets:
soft cinematic documentary still, muted blues and warm ambers, gentle film grain, indirect lighting, medium shotwide establishing shot, office interior, warm desk lamps and cool monitor glow, subtle reflections on glass, no extreme angles
Teammates can remix these snippets instead of starting from scratch, which keeps outputs more consistent.
3. Visual QA as Part of Playtesting
During playtests, ask a few targeted questions:
- “Did any scenes feel like they came from a different story visually?”
- “Where did the visuals feel strongest or weakest?”
- “If you had to describe the look of this world in three words, what would they be?”
Compare those answers to your Style Spec. If players say “cartoony” and your spec says “grounded realism,” you know you’ve got drift to correct.
Step 6: Keep the Style Board Alive as the World Evolves
Your first style board is not sacred. As you build, you’ll discover:
- Certain palettes don’t read well on mobile
- Characters look too similar in low-contrast scenes
- That “gritty film grain” you loved becomes visual noise when players are reading dense text
Treat the board as a living artifact, not a one-time deliverable.
When to Update the Board
Consider revisiting and adjusting the board when:
- You add a new major location type (e.g., moving from office interiors to outdoor night scenes)
- You introduce a new primary character archetype (e.g., a mentor, antagonist, or comic relief)
- You notice consistent player confusion or fatigue tied to specific visuals
For each update:
- Add 3–5 new reference images that better match what’s working.
- Remove or gray out older references that no longer fit.
- Update the Style Spec and prompt library accordingly.
Over time, your board becomes a visual history of the world’s evolution—and a resource you can reuse when you spin off sequels or related Questas.
Advanced Moves: Style Boards for Branches, Not Just Worlds
Once you’re comfortable with a world-level style board, you can get more granular.
1. Micro-Boards for Key Branch Families
Some branches benefit from a slightly different visual flavor while still living inside the same overall style. For example:
- “Optimistic” paths might lean into brighter lighting and cleaner compositions
- “Risky” or “shadow” paths might introduce stronger contrast and tighter framing
Create micro-boards with 6–10 images each that show how your base style bends for these moods without breaking.
Then, in your prompts, you can reference:
base style spec + optimistic micro-board keywordsbase style spec + shadow-path micro-board keywords
This gives players a subliminal sense that their choices are steering not just the plot, but the visual weather of the world.
2. Style Boards as Research Tools
Style boards can also help you understand your audience’s visual preferences before you commit to a full build.
For example, you could:
- Create 2–3 alternate boards for the same narrative concept (e.g., “graphic novel noir,” “grounded docudrama,” “stylized low-poly 3D”).
- Turn them into a tiny, branching “style test” quest where players choose which version they’d rather explore.
This pairs beautifully with the techniques in Branching Narratives for Brand Research: Let Customers ‘Choose Their Own Pain Points’ Before You Build (/branching-narratives-for-brand-research-let-customers-choose-th), but applied to aesthetics instead of features.
Bringing It All Together
Let’s recap the journey from moodboard to mission:
-
Clarify your mission.
Decide who the world is for, what they should feel, and what constraints matter. -
Assemble a focused AI style board.
20–40 reference images, grouped by environment, characters, color/light, and UI. -
Distill a written Style Spec.
A compact description of overall look, palette, lighting, character treatment, camera, and anti-goals. -
Generate anchor images and wire them into Questas.
Use your spec to create a few canonical images and attach them to key nodes. -
Use the board to align collaborators.
Share the board, maintain a prompt library, and bake visual QA into playtests. -
Evolve the board as you learn.
Update references and specs as you see what works in real play. -
Experiment with micro-boards and style tests.
Let branches and players themselves shape the final look of your world.
When you work this way, AI stops feeling like a slot machine and starts feeling like a camera crew you can actually direct.
Your Next Step: Turn One Idea Into a Boarded World
If you’re building with Questas already—or thinking about your first project—here’s a concrete way to start this week:
- Pick one quest idea you’re excited about.
- Write a three-sentence mission paragraph for its world.
- Spend 45 minutes gathering 20–30 reference images that match that mission.
- Draft a one-page Style Spec and paste it into your Questas project notes.
- Generate three anchor images and attach them to your opening, mid, and late scenes.
That’s it. You don’t need a full script or a finished branching map to start. Once your style is locked in, every narrative decision you make will feel more grounded—and every AI-generated visual will have a clear job to do.
Adventure awaits. Give your next Questas world a look that’s as intentional as its choices, and see how much more immersive your stories can become.