Accessibility-First Quest Design: Building Questas That Welcome Every Player

Interactive stories are supposed to be invitations. But for too many players, that invitation quietly assumes perfect vision, fast reading, precise motor control, strong hearing, and neurotypical attention.
If your quest only works for that narrow slice of people, it’s not just excluding potential players—it’s also limiting your story. Accessibility-first design doesn’t water an experience down; it makes it richer, clearer, and more replayable for everyone.
In this post, we’ll look at how to approach accessibility as a core design principle when you’re building interactive stories on platforms like Questas, not as a checklist you bolt on at the end.
Why Accessibility Belongs at the Center of Quest Design
Accessibility is often framed as a compliance box or a “nice-to-have.” For interactive, branching stories, it’s much more than that.
Who benefits when you design accessibly?
Accessibility-first design supports:
- Players with visual impairments (blind, low-vision, color-blind)
- Players with hearing impairments
- Players with cognitive or learning differences (ADHD, dyslexia, autism, memory challenges)
- Players with motor impairments (limited mobility, tremors, one-handed play)
- Players in constrained environments (no headphones, small screens, spotty connections)
- Players using translation tools or reading in a second language
In practice, that means:
- More people can start your quest.
- More people can finish your quest.
- More people can recommend your quest.
And just as important: accessibility work tends to improve clarity, pacing, and feedback—the same qualities that make a quest feel polished.
If you’ve read our post on The Minimal Viable Quest, you know that constraint often makes design better. Accessibility is a powerful kind of constraint: it forces you to be deliberate about every scene, choice, and visual.
Start With People, Not Checklists
Before you tweak settings in Questas, ground yourself in who you’re designing for.
Define your core players
You don’t need a 40-page research report, but you do need a point of view. Try this quick exercise:
- Write 2–3 short player profiles.
- Example: “Jordan, 16, plays on a phone, often on the bus, sometimes with spotty Wi‑Fi, has ADHD.”
- Example: “Sam, 35, blind, uses a screen reader on a laptop, loves narrative games.”
- Note accessibility-relevant traits for each:
- Screen size, input method (mouse, keyboard, touch)
- Audio access (headphones vs speakers vs silent)
- Reading comfort (font size, language level, attention span)
- Pick one ‘stress case’—someone for whom your current default design would be hardest.
You can go deeper by turning those profiles into playable scenarios. Our post on Designing ‘Playable Personas’ walks through how to do that using Questas itself.
Now, hold these people in mind as you make every design decision.
Make Navigation Predictable and Forgiving
If players can’t move through your quest confidently, nothing else matters.
Keep interaction patterns consistent
Across your quest:
- Use a consistent layout for choices.
- Example: primary path on top, alternatives below; or “safer” choices on the left, “riskier” on the right.
- Place navigation controls in the same spots.
- Back, forward, and menu elements should not jump around between scenes.
- Avoid hidden interactions (e.g., “you have to click this tiny icon in the corner to proceed”) as the only way to advance.
Support keyboard and screen-reader flows
When you’re structuring scenes in Questas:
- Order interactive elements logically. Think: scene title → body text → choices → secondary links.
- Use clear labels for buttons and links. Instead of “Continue,” use “Continue to the rooftop confrontation” so assistive tech can convey context.
- Avoid relying solely on hover states or micro-animations to indicate what’s clickable.
Build in safety nets
Make it hard for a single mis-tap or mis-click to ruin the experience:
- Offer confirmation for destructive actions (e.g., resetting progress, skipping a chapter).
- Consider “Back” or “Rewind” options at key moments, especially in learning or training quests.
- If you’re building complex systems (factions, meters, etc.), take a look at how we frame state and feedback in No-Code, All Systems and adapt those ideas with accessibility in mind.

Design Text That’s Easy to Read and Remember
Text is the backbone of most quests. If reading your story is tiring or confusing, players will quietly drop out.
Write for clarity, not cleverness
Aim for:
- Short paragraphs. 1–4 sentences each.
- Plain language first. Use simple verbs and concrete nouns; save specialized terms for when they’re truly needed.
- Early context. Make it obvious who the player is, where they are, and what’s at stake within the first few scenes.
When you’re writing choices:
- Lead with the action.
- Instead of: “You recall a rumor about the old library and wonder if it might hold answers.”
- Try: “Go to the old library to search for answers.”
- Avoid double negatives and trick wording. They’re especially punishing for players with cognitive or language-processing differences.
Structure content for skimming
Support players who dip in and out, or who have limited focus windows:
- Use descriptive headings and subheadings in longer scenes.
- Highlight key terms with bold sparingly.
- Use bulleted lists for instructions, inventories, or recaps.
- Add short recaps when players re-enter a branch: “Previously, you chose to trust the stranger and follow them into the tunnels…”
Respect visual comfort
Where your toolset allows it (and Questas is evolving here):
- Favor high contrast between text and background.
- Avoid long stretches of centered text; left-aligned is easier to track.
- Keep line length reasonable—on desktop, aim for roughly 50–80 characters per line.
If your audience includes dyslexic readers, consider:
- Avoiding text over busy images.
- Breaking complex information into stepwise sequences instead of dense paragraphs.
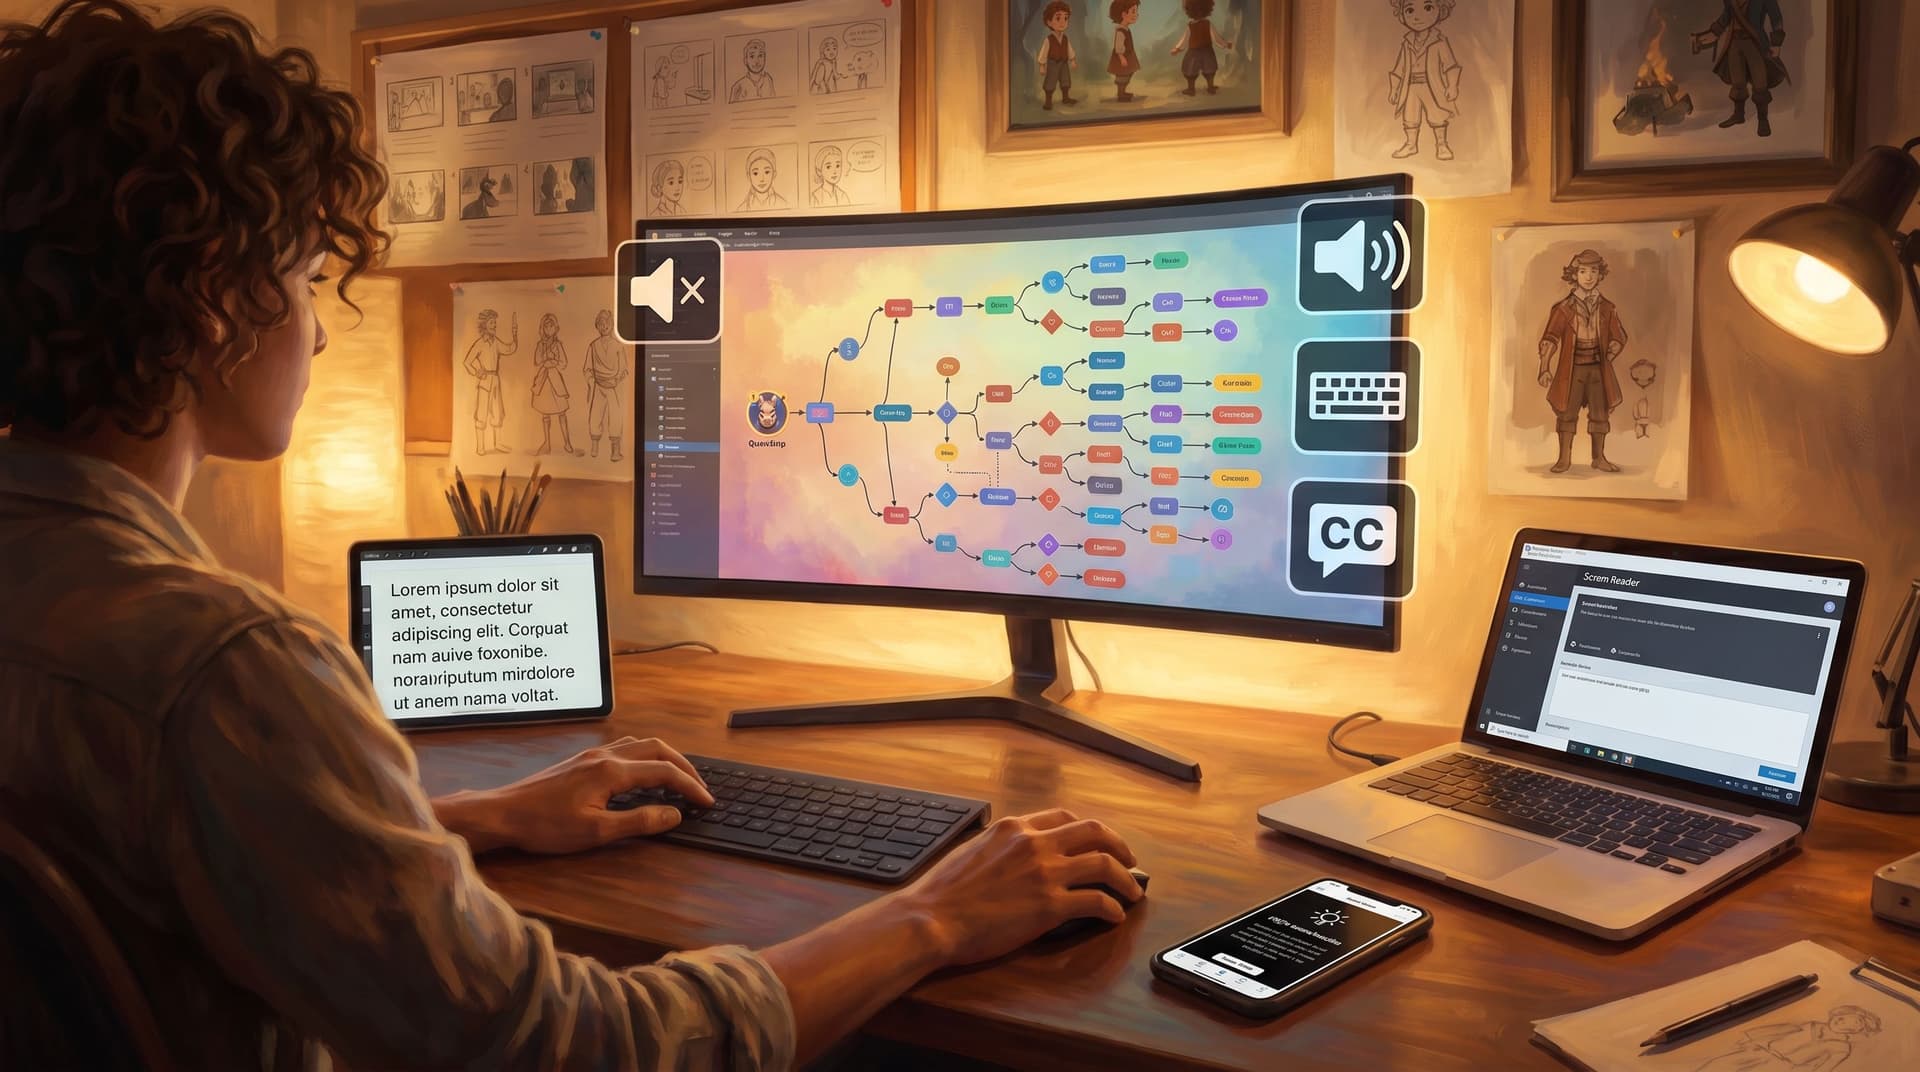
Use Visuals to Support, Not Replace, Understanding
AI-generated images and video are a core part of Questas. They can either reinforce your story for more players—or quietly lock some of them out.
Treat images as companions to text
For each scene, ask:
- If this image didn’t load, would the player still understand what’s happening?
- If the player could only hear a screen reader description of this scene, would they still grasp the key choice?
Good patterns:
- Use visuals to clarify spatial relationships (where characters and objects are).
- Use character close-ups to reinforce emotion, not to introduce critical information that isn’t in text.
- Keep UI and symbols consistent across images (e.g., the same emblem always means the same faction).
Write meaningful alt descriptions
If your quest will be consumed with assistive tech or in contexts where images don’t always load, invest in alt text:
- Describe what matters for the story, not every pixel.
- Include mood and key actions: “A worried engineer stands in a dim control room, red warning lights blinking on the reactor panel.”
- Avoid “image of” or “picture of”—go straight to the content.
For AI-generated micro-video, apply the same principle: summarize what the motion conveys (e.g., “The elevator doors shudder and jam halfway, sparks flickering from the ceiling panel”). Our post Storyboard to Screen digs into pacing; here, you’re applying that thinking with accessibility in mind.
Audio, Video, and Motion Without Exclusion
Sound and motion can make your quest feel alive—but they can also become barriers.
Make audio optional and legible
If you include voiceover, ambient sound, or music:
- Never require sound to understand core story beats or choices.
- Provide captions or transcripts for voice content.
- Offer volume controls or a clear way to mute audio.
- Avoid sudden loud sounds, especially in training or classroom contexts.
Use motion thoughtfully
Micro-animations and video can guide attention, but they can also trigger motion sensitivity or distraction.
- Avoid auto-playing long or looping video without user control.
- For critical motion moments (like a quick micro-video before a big choice):
- Give a clear visual cue that something is about to play.
- Allow the player to replay or skip.
- Keep background animations subtle and slow, or provide a way to disable them.
Calibrate Cognitive Load at Every Choice
Branching stories are inherently demanding: players must track context, imagine consequences, and make decisions. Accessibility-first design respects limited cognitive bandwidth.
Limit choices, increase depth
More options aren’t always better. Often, 2–3 well-framed choices are more engaging and accessible than 5–6 nuanced variants.
Ask yourself:
- Can I merge similar choices without losing meaning?
- Does each option represent a distinct strategy or value, not just a small flavor tweak?
This is where the discipline of the Minimal Viable Quest shines again: fewer, sharper decisions that still reveal a lot about the player.
Separate reading from deciding
When possible:
- Present scene text first, then choices with a small visual or textual divider.
- Avoid burying choices in the middle of paragraphs.
- For complex branches, offer a brief summary above the choices: “You can confront the captain, sabotage the ship, or try to escape quietly.”
Pace complexity over time
Especially for learning, training, or scenario-planning quests:
- Start with simpler, lower-stakes decisions.
- Introduce one new mechanic or concept at a time.
- Provide lightweight reminders of earlier decisions when they echo later: “Because you shared your research earlier, the council is more inclined to trust you now.”
Test With Real Players—And Listen to the Edge Cases
You can’t design an accessible quest purely in your own head. You need feedback, especially from players whose needs differ from yours.
Recruit diverse playtesters
When you share early builds:
- Explicitly invite players who use screen readers, keyboard navigation, or alternative input devices.
- Ask educators, L&D teams, or community organizers if they know players with different cognitive and sensory profiles who might be willing to test.
Ask the right questions
Instead of “Did you like it?” ask:
- “Where did you feel lost or stuck?”
- “Did any part of the interface feel hard to use?”
- “Was there a moment where you wanted more time, more context, or a way to pause?”
- “If you use any assistive tools, did anything break or fight with them?”
Capture both qualitative notes and behavioral signals (where people drop off, which branches they avoid). For guidance on what to measure without drowning in data, see From Playtest Notes to Narrative Analytics.
Iterate visibly
If you’re releasing quests in public or to a recurring audience:
- Share changelogs that include accessibility improvements.
- Let players know you’re actively seeking accessibility feedback and where to send it.
- Treat accessibility bugs with the same seriousness as story-breaking bugs.
Building Accessibility Into Your Questas Workflow
Accessibility becomes much easier when it’s part of your standard process on Questas, not an afterthought.
Before you build
- Define player profiles, including at least one stress case.
- Decide on content guidelines: reading level, max choices per node, preferred contrast and layout patterns.
- Sketch your branching structure and mark:
- High-stakes decisions
- Scenes where you plan to use intensive visuals or motion
While you build
For each scene:
- Check: Can this be understood via text alone?
- Write or plan alt descriptions for key images.
- Keep choices distinct, clear, and limited.
- Maintain consistent navigation patterns.
For each new visual or audio element:
- Ask: What does this add for players who can see/hear it?
- Then ask: What happens to players who can’t? and adjust accordingly.
Before you share
Run a quick accessibility pass:
- Navigate a build using only keyboard.
- Play through with audio muted.
- Skim scenes as if you were dropping in mid-story—do recaps and headings help you reorient?
- Ask at least one person outside your team to do a short playtest and narrate their experience.
Document what you learn so the next quest starts from a stronger baseline.
Wrapping Up: Accessibility as Craft, Not Constraint
Accessibility-first quest design isn’t about limiting your creativity. It’s about:
- Clarifying your story. If a scene is confusing for a dyslexic reader or a player using a screen reader, it’s probably confusing for many others.
- Expanding your audience. More people can play, replay, and share your quests.
- Future-proofing your work. As platforms like Questas evolve with more accessibility features, your stories will be ready to take advantage of them.
When you design quests that welcome every player, you’re not just “doing the right thing.” You’re making better adventures.
Your Next Step
Don’t wait for a perfect spec or a full accessibility audit.
Choose one of these starting moves and commit to it for your next quest:
- Redesign one existing scene to be fully understandable with text alone, then layer visuals and audio on top.
- Limit your next choice point to three options, each written in clear, action-first language.
- Run a 30-minute accessibility playtest with someone whose needs differ from yours, and ship at least one improvement based on what you learn.
Then, open up Questas, sketch a small branching story, and build it with accessibility at the center from the first node.
Adventure awaits—and this time, everyone gets to come along.