The Visual Remix: Using Questas to Turn Existing Slide Decks, PDFs, and Wikis into AI-Illustrated Story Hubs

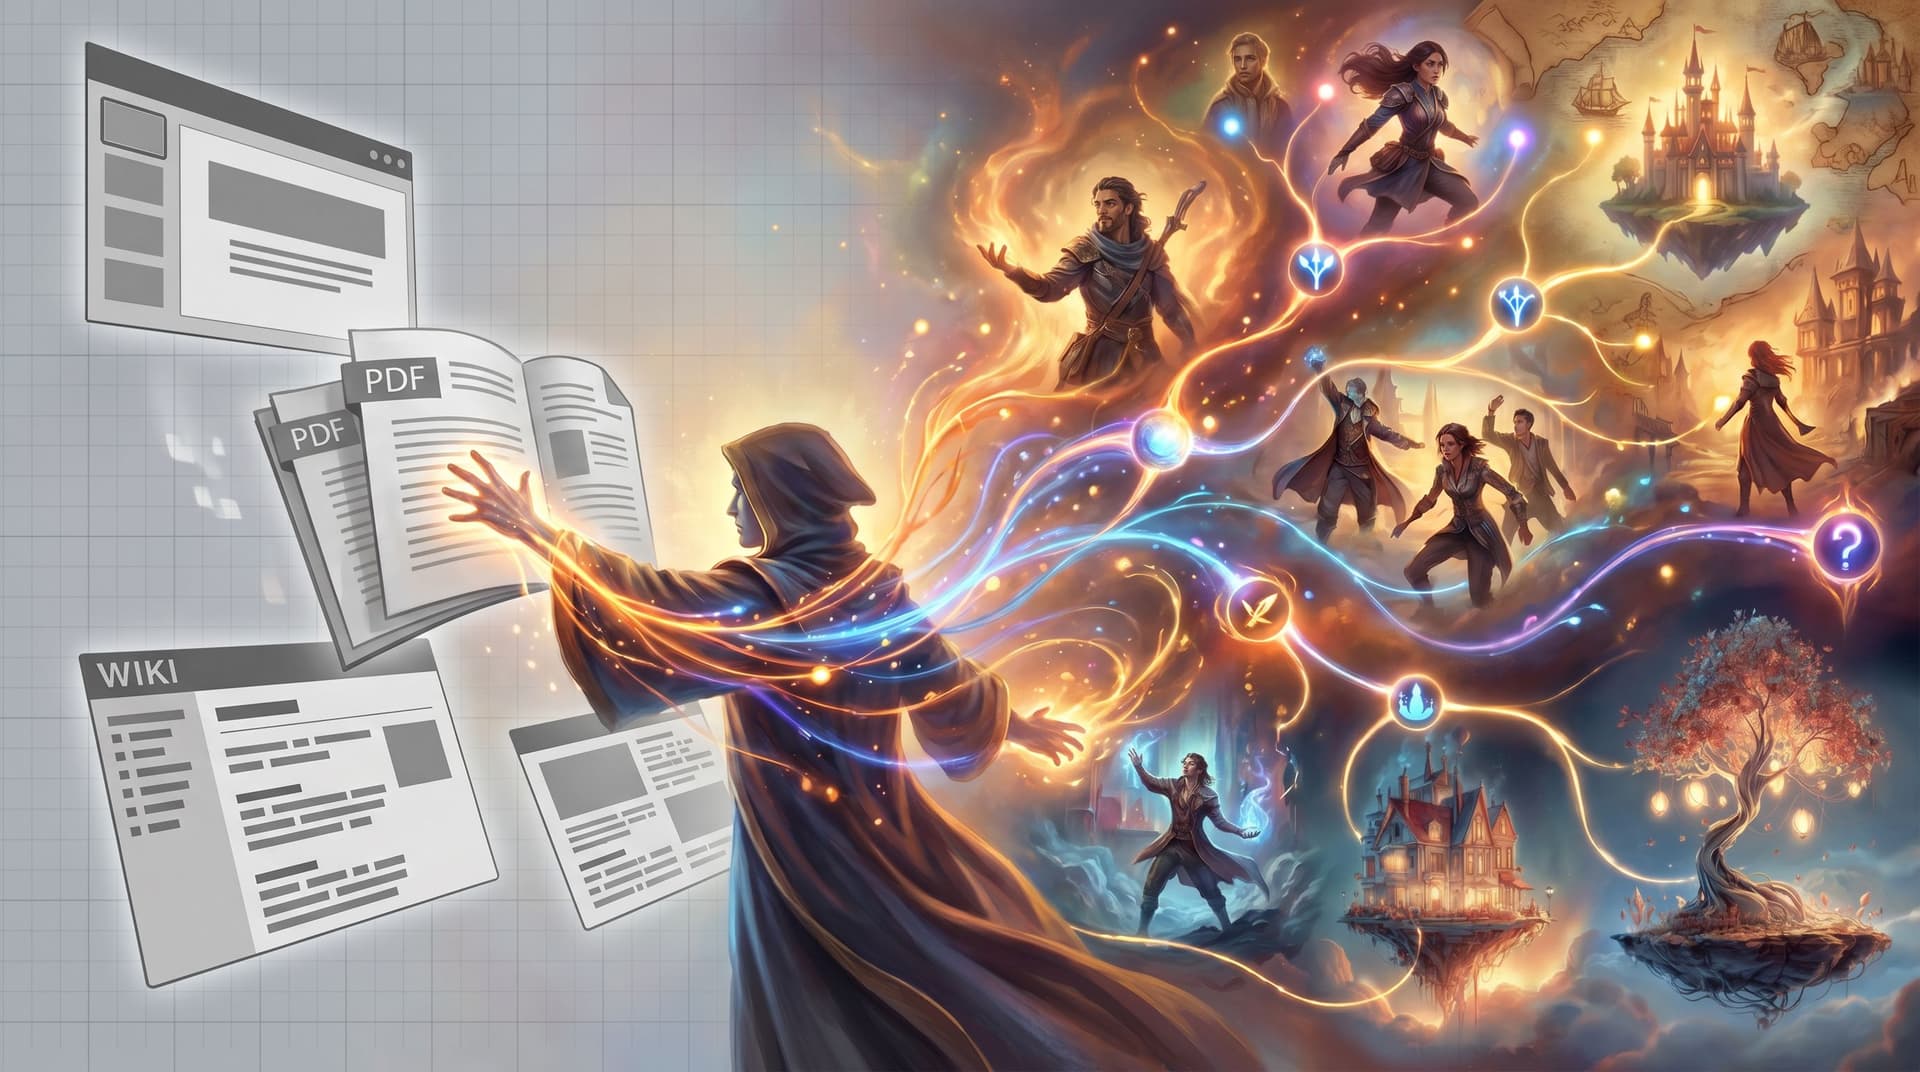
Your org is already full of stories.
They’re just trapped in the wrong format.
Slide decks that only make sense when someone is presenting. PDFs that get skimmed once and forgotten. Wikis that read like filing cabinets instead of worlds you can step into.
The opportunity isn’t to create more content. It’s to remix what you already have into interactive, visual story hubs—experiences people can actually play.
That’s where Questas comes in: a visual, no-code platform for building branching, choose-your-own-adventure stories powered by AI-generated images and video. Instead of starting from a blank page, you can use your existing decks, documents, and knowledge bases as raw material for rich, replayable narratives.
This post walks through how to do that—step by step.
Why Static Docs Struggle (and Story Hubs Win)
Most teams already feel the pain of static formats:
- Slide decks: Great when a charismatic presenter is in the room; confusing when opened cold.
- PDFs and reports: Dense, linear, and hard to navigate when different readers care about different sections.
- Wikis and knowledge bases: Comprehensive, but overwhelming; people rarely know where to start or what matters for their situation.
Interactive story hubs built with Questas solve a different problem:
- Nonlinear by design – People can follow the paths that match their questions, role, or risk tolerance.
- Decision-centric – Instead of passively reading, they make choices and see consequences.
- Visually anchored – AI-generated images and micro-video turn abstract ideas into scenes, characters, and worlds.
- Measurable – You can see which branches people explore, where they stall, and what confuses them.
If you’ve read our post on turning research decks into interactive story experiences, you’ve already seen how powerful it is when a “dead” document becomes something people can play through instead of endure.
Step 1: Choose the Right Source Material
Not every document wants to be a story hub. The best candidates share a few traits:
-
Multiple perspectives or scenarios
- Market research decks with different segments and strategies
- Policy docs with “if X, then Y” conditions
- Training manuals with common mistakes and edge cases
-
Clear stakes or outcomes
- Onboarding guides where choices affect success or risk
- Safety procedures where missteps have consequences
- Product wikis where configuration choices shape user experience
-
Existing narrative hints
- Case studies
- User journeys
- Incident postmortems
Look for materials where people already ask, “But what if we did it this way instead?” Those are begging to become branching paths in Questas.
Quick filter to pick your first remix project:
- Can someone make at least three meaningful decisions based on the content?
- Would different roles (e.g., sales vs. product vs. leadership) want different paths through it?
- Do you already have visuals, metaphors, or characters in the material (personas, archetypes, diagrams)?
If you can answer “yes” to at least two of these, you’ve got a strong candidate.
Step 2: Map the Hidden Story Inside Your Deck, PDF, or Wiki
Before you touch AI prompts or visuals, you need the story spine.
Take your source material and do a fast, rough pass to extract:
-
Starting situation
- Where is the player at the beginning?
- What do they know, and what’s at stake?
-
Key decision points
- Where does your content imply a fork in the road?
- Example: “If the customer is price-sensitive, consider plan B” → that’s a choice.
-
Consequences and outcomes
- What happens if someone follows the “recommended path” vs. the risky one?
- Where do best practices, warnings, or caveats appear?
-
Roles or personas
- Who are the main characters? (User personas, internal roles, external partners.)
- Which decisions look different from each role’s point of view?
A simple way to do this:
- Print or duplicate the deck/doc.
- Highlight decisions in one color.
- Highlight consequences in another.
- Jot the implied scene in the margin (e.g., “Customer call,” “Warehouse floor,” “Boardroom review”).
You’re not rewriting yet—you’re surfacing the story that’s already hiding in the material.
If you want a deeper primer on getting your narrative foundations in shape before touching prompts, our post on designing strong scenes before you open an AI tool pairs nicely with this step.
Step 3: Chunk Content into Playable Scenes
In Questas, you’ll be working with scenes connected by choices.
Turn your source material into a scene list:
-
Scene 1 – Onboarding / Cold Open
Set the context. Who is the player? What’s the situation? What decision is coming? -
Scene 2 – First Fork
Present a real trade-off. Tie each option directly to sections of your deck or wiki. -
Scene 3+ – Consequence Paths
For each major branch, create 2–4 scenes that show what happens next. -
Final Scenes – Outcomes & Reflection
Show the result of the path taken, then surface the “lesson” or insight from your original material.
A practical pattern to start with:
3 x 3 structure
- 3 major decision points
- 3–4 scenes between each
- Total: 9–12 scenes, enough for depth without scope creep
This maps surprisingly well to a medium-sized slide deck or a focused wiki topic.

Step 4: Bring Scenes into Questas and Wire the Branches
Now you’re ready to move into the editor.
- Create a new quest in Questas.
- Add scenes for each chunk you identified.
- Paste and adapt text from your source material:
- Convert bullet lists into dialogue, inner monologue, or narrated description.
- Turn “recommendations” into outcomes the player can experience.
- Add choices at the end of relevant scenes:
- Keep options short, concrete, and distinct.
- Tie each choice back to a specific slide, section, or wiki page.
Example: From slide to choice
- Original slide: “For price-sensitive SMBs, lead with the Essentials plan and highlight quick time-to-value.”
- In your quest scene:
- Setup: “You’re on a call with a 10-person startup worried about burn rate.”
- Choices:
- “Pitch the Essentials plan as the safest, fastest path.”
- “Push the Pro plan, emphasizing long-term savings.”
- “Offer a custom discount on the Enterprise plan.”
Behind the scenes, each branch can pull in relevant content from your deck or wiki and dramatize it.
Step 5: Use AI Visuals to Turn Abstract Slides into Concrete Worlds
This is where your static materials become story hubs instead of reference docs.
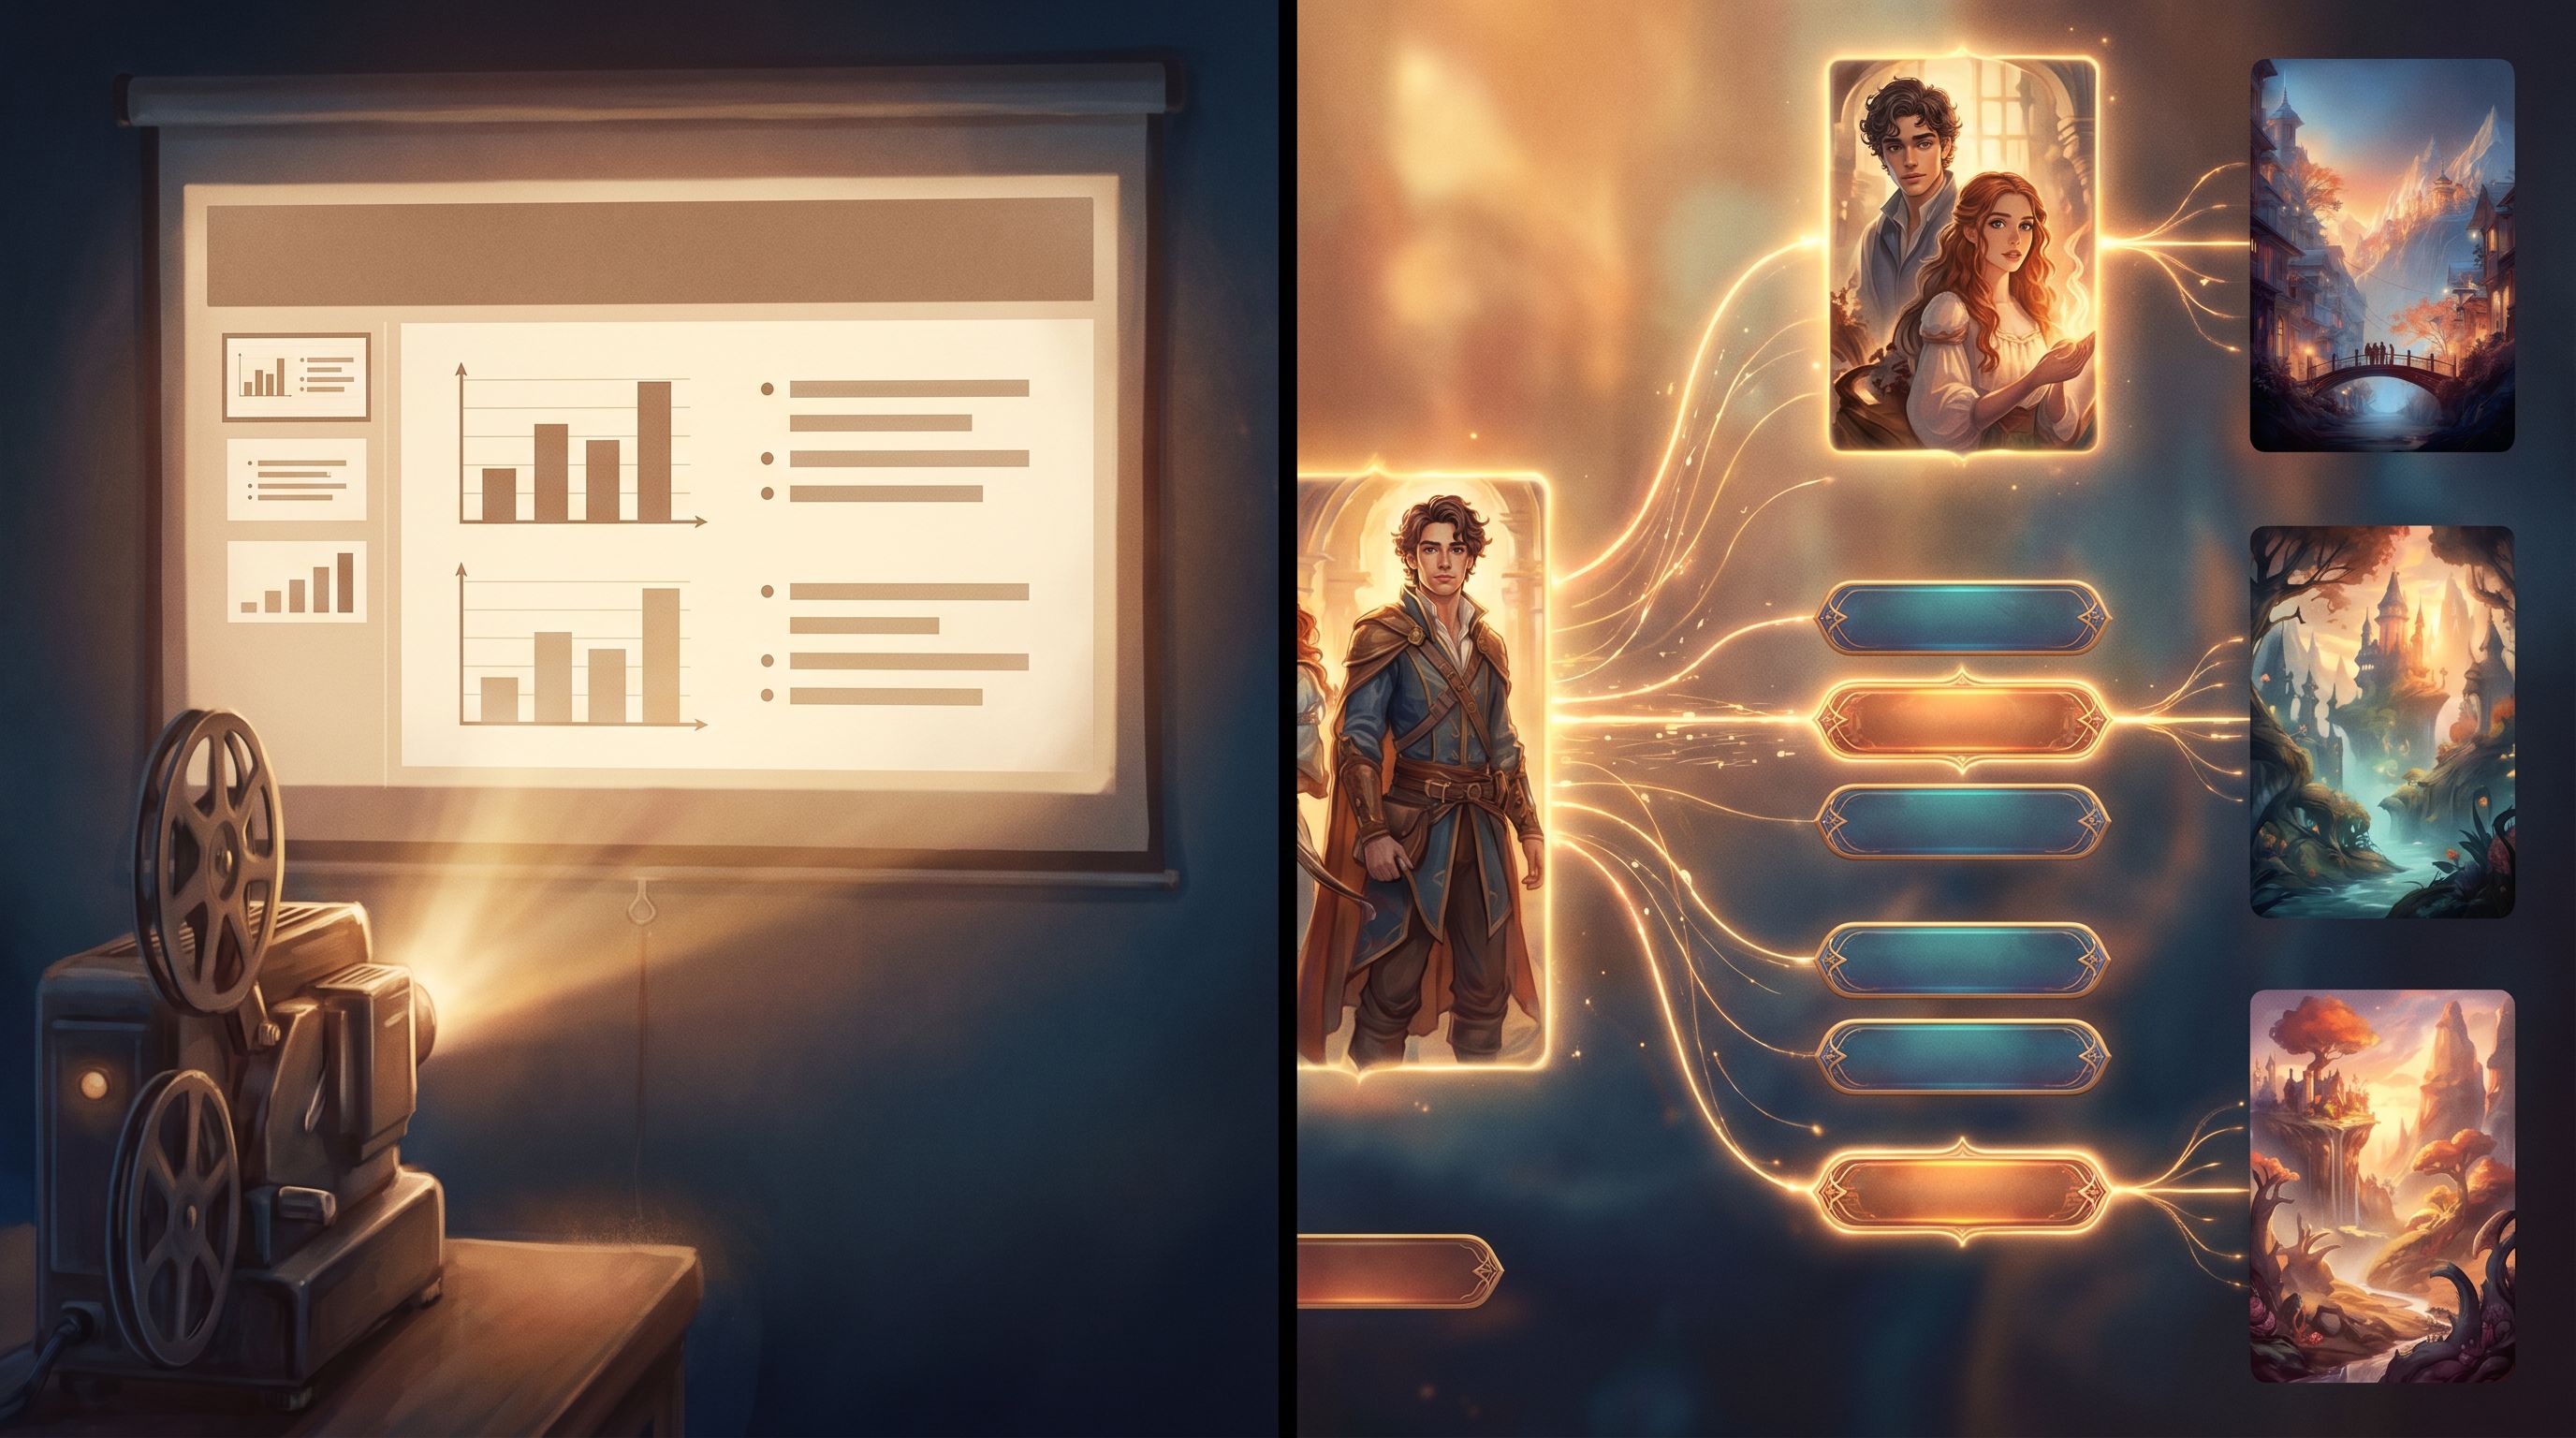
In Questas, you can generate AI images and micro-video for each scene. The goal isn’t just to decorate; it’s to encode meaning in visuals:
-
Personas become characters
Your “Operations Olivia” slide turns into a recurring character whose expressions and environments change based on the player’s decisions. -
Frameworks become locations
A 2x2 matrix on a slide becomes a literal crossroads, with paths leading to each quadrant. -
Risks become visual tension
A compliance warning becomes a dimly lit server room with red alerts flashing on screens.
Practical visual tactics
-
Anchor each scene with a clear visual metaphor
Ask: “If this slide were a movie still, what would we see?” -
Keep visual style consistent
Use a shared style description in your prompts (e.g., “clean isometric illustration, limited color palette, soft lighting”).
For longer series or multiple hubs in the same universe, consider building a reusable visual system—our post on scalable prompt libraries goes deep on this. -
Use micro-video for key inflection points
Short loops of motion can emphasize a turning point: a graph dipping, a door closing, a crowd reacting.
You don’t need an illustration degree. You need a clear sense of what the player should feel in each scene—then you translate that into prompts.
Step 6: Turn a Single Remix into a Navigable Story Hub
Once you’ve built one interactive path from your deck, PDF, or wiki topic, you can scale it into a hub:
-
Multiple entry points
Create different “intro scenes” for different roles (e.g., manager, frontline staff, executive) that all lead into the same underlying content, but with tailored framing. -
Linked scenarios
Let one quest branch unlock another. For example:- Finish “Pricing Strategy 101” → unlock “Handling Discount Requests.”
- Complete “Security Basics” → unlock “Incident Response Drill.”
-
Embedded references back to source docs
Add optional links or “Read the full policy” buttons for players who want to dive deeper into the original wiki or PDF.
Over time, your hub becomes:
- The living front door to material that used to sit buried in folders.
- A way to align training, strategy, and communication around shared scenarios instead of scattered slides.
If you’re working with a team, this is also where collaborative workflows shine. For more on co-writing, co-prompting, and co-playtesting these hubs with others, check out how we approach shared builds in collaborative quest rooms.
Step 7: Playtest, Measure, and Iterate
A story hub isn’t “done” when the last scene is wired—it’s done when players can navigate it without you.
Use Questas to:
-
Run lightweight playtests
- Ask a few people from your target audience to play through.
- Watch where they hesitate, skim, or get confused.
-
Track key signals
- Which branches are most popular?
- Where do players drop off?
- Which endings do they reach most often?
-
Refine content and visuals
- Shorten scenes where people rush.
- Add clarifying images where decisions feel abstract.
- Re-balance choices if everyone picks the same “obvious” answer.
If you want a deeper dive on what to measure (and what to ignore) in early builds, our post on narrative analytics for Questas prototypes is a helpful companion.
Real-World Remix Ideas You Can Build This Month
To spark ideas, here are a few concrete patterns teams are using:
-
Sales enablement hub
Turn your product decks, objection-handling sheets, and pricing matrices into a set of branching “customer call” scenarios. -
Policy and compliance hub
Remix your HR handbook and security policies into playable situations: “What do you do when you spot a suspicious email?” or “How do you handle a gray-area expense?” -
Strategy and scenario planning hub
Convert your annual planning decks and risk registers into futures you can actually step into—similar to what we explore in our post on playable futures, but driven directly by your existing docs. -
Onboarding and role shadowing hub
Use your onboarding wiki and SOPs to build a day-in-the-life quest for each key role, letting new hires experience decisions before they make them on the job.
You don’t need to boil the ocean. Pick one slice of your existing content and prove to yourself—and your stakeholders—that a visual remix can unlock far more engagement and insight than the original format ever did.
Bringing It All Together
Turning slide decks, PDFs, and wikis into AI-illustrated story hubs is less about technology and more about reframing:
- You’re not “adding gamification” to documents. You’re revealing the decisions and consequences they were always about.
- You’re not starting from scratch. You’re remixing assets you already have into a format people actually want to spend time with.
- You’re not becoming a game studio. You’re using Questas’ visual, no-code editor—and its AI image and video tools—to do what would have taken a team of specialists a few years ago.
The workflow, in short:
- Pick a doc with real stakes and multiple paths.
- Map the hidden story: situations, decisions, consequences, roles.
- Chunk into scenes and wire them in Questas.
- Layer in AI-generated visuals that make abstract ideas tangible.
- Grow a single scenario into a navigable hub of related experiences.
- Playtest, measure, and iterate.
Do that a few times, and your “documentation” stops being a graveyard of files and starts feeling like a living, explorable world.
Your Next Step
You likely already have the raw material for a powerful story hub sitting in a shared drive or wiki right now.
Choose one:
- A slide deck you’re tired of presenting live.
- A PDF nobody reads past page five.
- A wiki page that everyone bookmarks but few truly understand.
Then:
- Spend 30 minutes highlighting decisions, consequences, and roles.
- Create a new quest in Questas.
- Build just three scenes and one branching choice based on that material.
That’s it. Don’t worry about perfection or full coverage yet. Prove the remix on a tiny scale. Once you see your static content come alive—with choices, visuals, and real player reactions—it’s hard to go back.
Your stories are already written. It’s time to let people play them.