Story First, Prompt Second: Designing Strong Questas Scenes Before You Touch an AI Tool

If you’ve ever stared at an empty prompt box, trying to wrangle the “perfect” AI request for an image or a chunk of dialogue, you already know the trap: it’s easy to start designing for the tool instead of for the story.
When you’re building interactive experiences in Questas, the temptation is even stronger. You’ve got branching paths, AI-generated images and videos, and a visual, no‑code editor that makes it feel like you can do anything. But the projects that actually land with players—the ones people replay, share, and remember—almost always start the same way:
The story is clear before the prompt is written.
This post is about how to do that on purpose.
We’ll walk through a practical, scene‑by‑scene workflow you can use to design strong Questas nodes before you touch an AI tool—so when you finally open that prompt box, you’re not guessing. You’re translating.
Why Story-First Scenes Make Better Questas
Starting with prompts feels efficient. Starting with scenes is effective.
Here’s what changes when you commit to story first, prompt second:
-
Your choices feel meaningful, not decorative.
When you define what’s at stake in a scene before you think about visuals, every branch has a reason to exist. -
Your AI prompts get sharper (and faster).
Instead of “fantasy city at night,” you’re asking for “overhead shot of a rain‑slick, neon‑lit market alley where a lone courier hesitates at a fork in the path.” You know what matters. -
Your world stays consistent.
You’ve already decided tone, point of view, and key motifs. Tools like Questas and your AI image generator become ways to express that world, not improvise it from scratch every time. -
You avoid the ‘AI wrote this’ feeling.
Players can tell when a story was reverse‑engineered from whatever the model happened to output. Story‑first scenes give you a spine the AI can’t knock out of alignment.
If you’re curious about flipping the order in the opposite direction—letting visuals lead your imagination—check out our companion piece, AI‑First Worldbuilding: Letting Images, Not Outlines, Lead Your Next Interactive Quest. Here, we’re focusing on the opposite muscle: building such a strong narrative skeleton that any AI tool you use simply snaps into place.
Step 1: Define the Scene’s Job in One Sentence
Before you open Questas, ask a simple question:
What is this scene for?
Every node in a branching story should have a clear job. Common “jobs” include:
- Introduce a new character
- Force a tough decision
- Reveal a secret or twist
- Escalate tension or risk
- Offer recovery, reflection, or downtime
- Teach/assess a specific skill (for training stories)
Write a one‑sentence job description for each planned scene. Examples:
- “This scene forces the trainee to choose between escalating to security or attempting de‑escalation themselves.”
- “This scene reveals that the friendly guide has been lying about the map.”
- “This scene lets the museum visitor decide which wing to explore next based on their interests.”
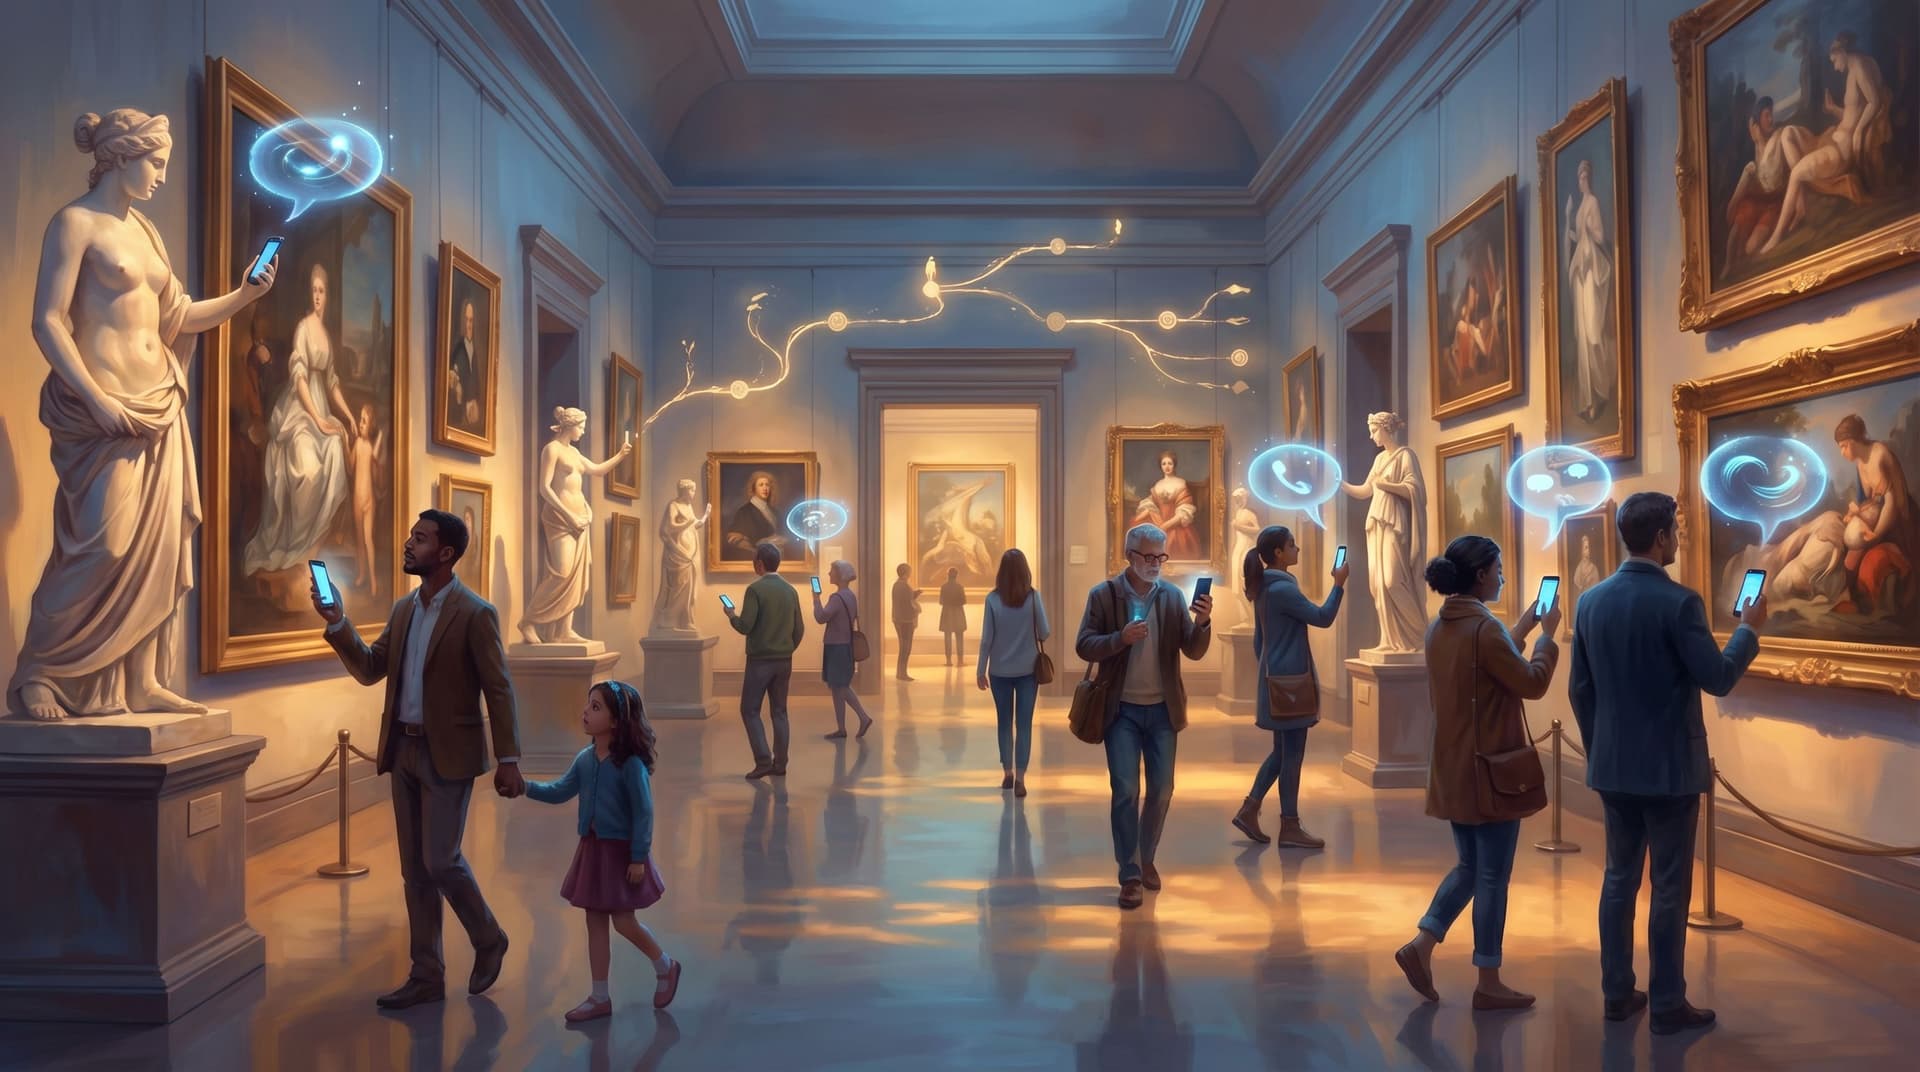
If you’re working on location‑based experiences—like galleries, campuses, or historical sites—this mindset pairs well with how we approach branching tours in Interactive Museum Guides: Turning Exhibits, Tours, and Timelines into Location-Based Questas.
Checklist before moving on:
- [ ] I can describe the purpose of this scene in one sentence.
- [ ] That purpose connects clearly to what came before and what might come after.
Only once you have that nailed do you earn the right to think about visuals.
Step 2: Anchor the Player’s POV and Emotional State
AI tools are good at vibes—but they can’t infer your player’s inner life. That’s your job.
For each scene, define two things:
-
Point of view (POV)
- Who are we right now? (Same protagonist? Different perspective?)
- What can we see, hear, and know in this moment?
-
Emotional state
- What is the dominant feeling the player should have here? (Tension, curiosity, guilt, relief?)
- How does that emotion change by the end of the scene, depending on their choice?
Write this down in a small “director’s note” for yourself:
POV: First‑person sales rep in a high‑stakes negotiation. Emotion: anxious but determined; by the end, they should feel either empowered (if they hold the line) or uneasy (if they cave on price).
This note will shape:
- The wording of your choices
- The pacing and length of your text
- The framing of your AI visuals (close‑ups vs. wide shots, lighting, color palette)
Without this, you’ll get technically competent images and dialogue that don’t feel like the same story.
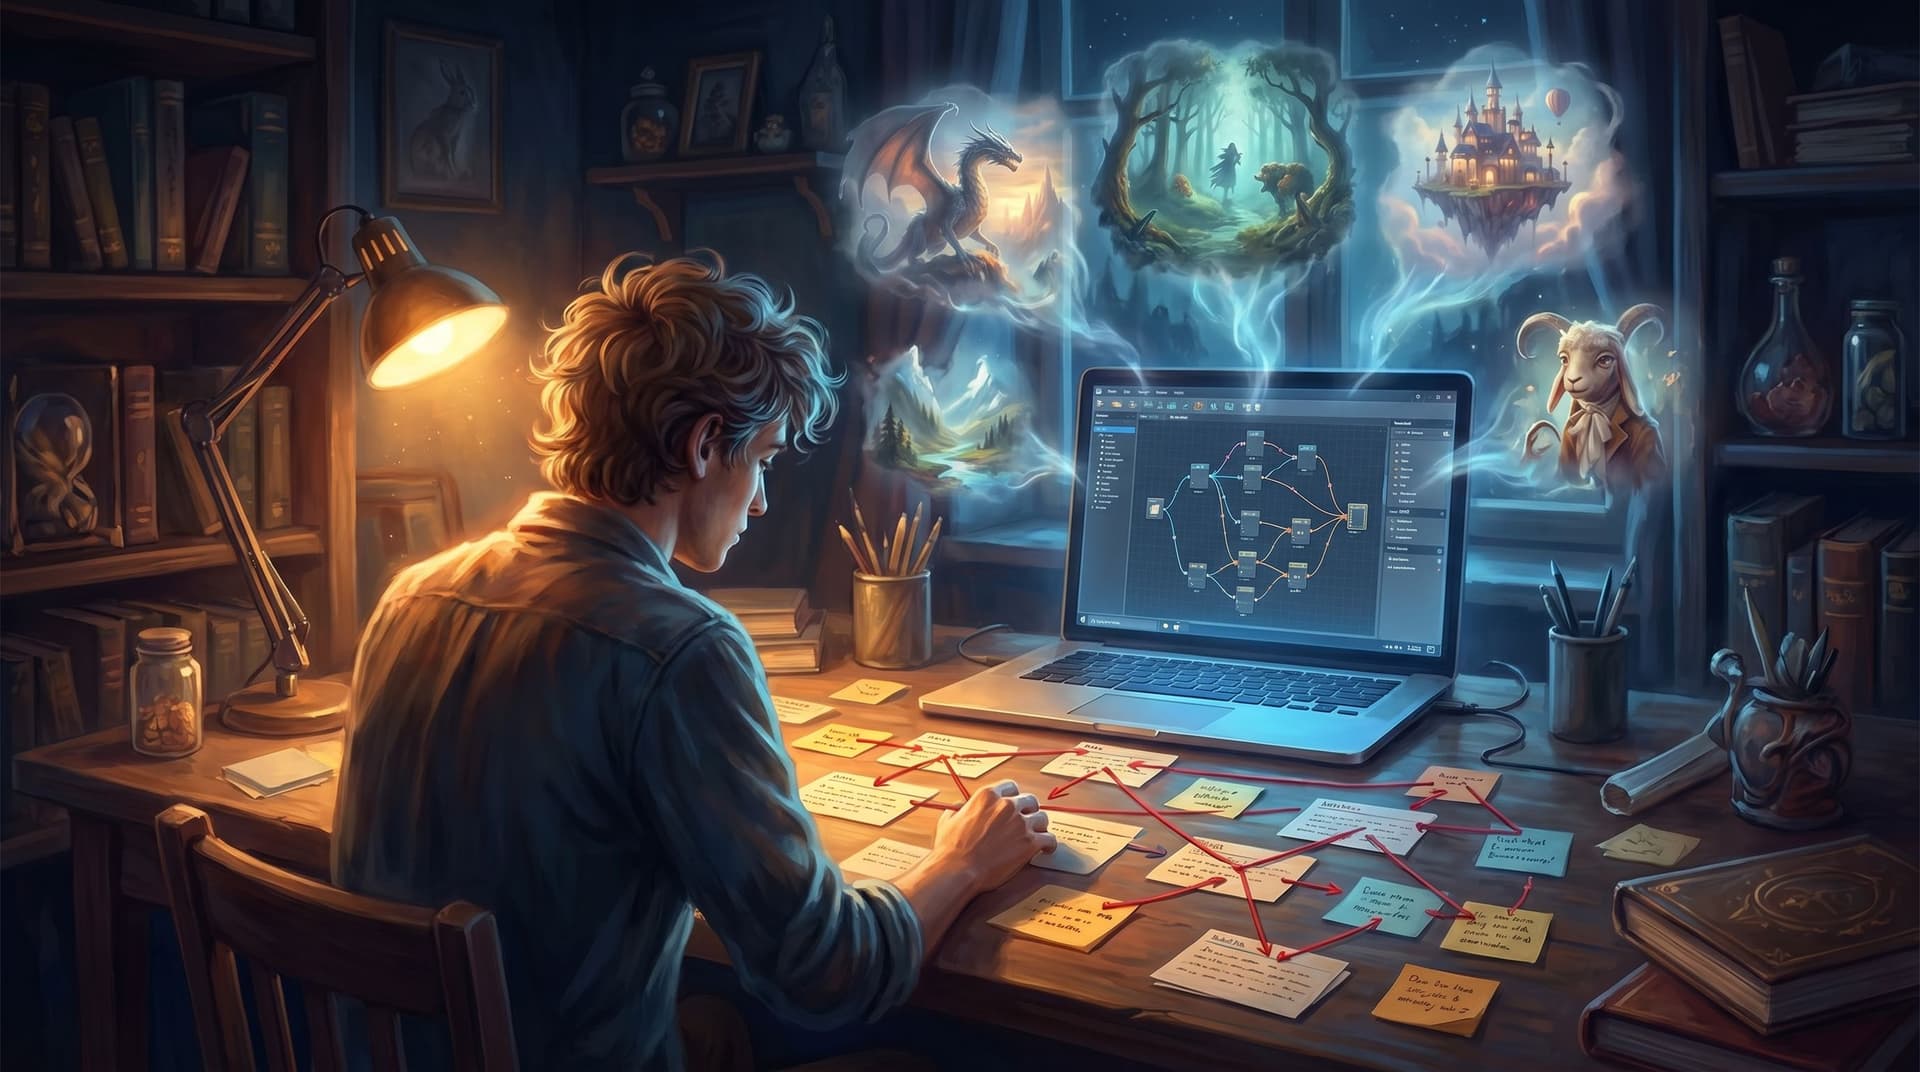
Step 3: Sketch the Micro-Arc Inside the Scene
Even tiny scenes can have a beginning, middle, and end. Think of each node in Questas as a micro‑arc:
- Set-up – Where are we? What just happened? What’s the immediate tension?
- Beat(s) – Small moments that raise questions or pressure.
- Fork – The concrete decision the player must make.
- Immediate consequence – What do they see or feel right away after choosing?
You don’t have to write full prose yet. Bullet points are enough:
- Set‑up: Late‑night lab; alarm blaring; backup generators flicker.
- Beat: Technician yells that the reactor core is overheating.
- Beat: Control panel shows two failing systems; no time for both.
- Fork: Divert power to cooling (protects equipment) or to containment (protects people nearby).
- Immediate consequence: Lights stabilize in one area while warning lights intensify in the other.
This structure is especially powerful for training or safety scenarios—something we dive deeper into in Branching Narratives for Health and Safety: Turning Procedures and Protocols into Rehearsable Questas Scenarios.
Once you can see the micro‑arc, you’ll know what your AI visuals need to show: not just “a lab,” but a lab at a specific moment in a rising crisis.
Step 4: Decide What Must Stay Offscreen
AI tools tempt you to show everything. That’s a recipe for cluttered scenes and overwhelmed players.
Before you think about prompts, decide:
-
What is implied instead of shown?
Maybe we hear the riot outside but never see it. Maybe we only see the mentor’s reaction, not the full disaster. -
What is saved for a later reveal?
If the twist is that the “ally” is actually corporate surveillance, don’t ask your image model for a frame that spoils it in scene one. -
What belongs in text vs. visuals?
- Use text for inner thoughts, subtle motivations, and nuanced rules.
- Use visuals for location, mood, and big emotional beats.
A quick exercise:
For this scene, list 3 things the player should definitely see, and 3 things they should only sense or suspect.
Example (sales training scenario):
- Must see: the client’s body language, the cluttered conference room, the projected pricing slide.
- Implied: tension between two client stakeholders, pressure from your manager over chat, the end‑of‑quarter deadline.
When you later write prompts, you’ll avoid overloading the frame with every idea you’ve had. Instead, you’ll target what actually moves the scene’s job forward.
Step 5: Lock in the Choice Design Before Any Prompting
Strong interactive scenes live or die on their choices—not their adjectives.
Before you open an AI tool, design your choices with intention:
-
Name the underlying dilemma.
- “Safety vs. speed”
- “Loyalty vs. ambition”
- “Short‑term win vs. long‑term trust”
-
Draft 2–3 options that are:
- Plausible – A real person might pick any of them.
- Distinct – They reflect different values or strategies, not just different wording.
- Legible – The player can predict the type of outcome, even if not the exact details.
-
Avoid these common traps:
- One obviously “correct” option and two joke answers.
- Hidden information that makes players feel tricked.
- Choices that sound different but lead to the same consequence.
Example (moral gray scenario):
The rebel leader asks if you’ll leak the documents.
- “Leak them anonymously tonight, before the vote.”
- “Hold them back and try to negotiate a quieter deal.”
- “Refuse to leak; warn the official privately instead.”
Once your choices are solid, then you can think about how visuals, text, and sound reinforce the weight of that decision. If you want to go deeper on ethically messy decisions, see Writing Moral Gray Areas: Designing Ambiguous Choices That Still Feel Fair in Questas.
Step 6: Write a “Scene Spec” You Can Hand to Any Tool
At this point, you’re ready to touch AI—but don’t start with a prompt. Start with a scene spec: a compact, structured description of the node you’re about to build in Questas.
A lightweight spec might include:
- Scene ID / title – For your own tracking.
- Job – The one‑sentence purpose you defined earlier.
- POV & emotion – Who we are; what we should feel.
- Location & time – Enough detail to ground visuals.
- Key beats – The micro‑arc bullet points.
- Choice list – Final wording of options.
- Immediate outcomes – 1–2 sentences per branch.
Example spec:
Scene ID: Lab‑03 – “Overload”
Job: Force the player to prioritize between protecting equipment or nearby staff during a reactor incident.
POV & Emotion: First‑person shift supervisor; overwhelmed but responsible; tension should spike, then settle into uneasy resolve.
Location & Time: Small control room, 2am, harsh fluorescent lights, alarm klaxons, status monitors flickering red.
Beats: Alarm escalates; technician reports dual system failure; you scan panel and realize you can only save one system.
Choices:
- Divert power to cooling (protecting equipment, risking radiation leak).
- Divert power to containment (protecting people, sacrificing the reactor).
Immediate Outcomes:- Cooling systems roar to life; temperature readings drop, but containment warnings flash red.
- Containment fields stabilize; the room goes quiet as the reactor powers down for good.
With this spec in hand, you can now:
- Ask a text model to draft the scene’s narration.
- Ask an image model for 2–3 variations of the control room at this exact moment.
- Drop everything into Questas’ visual editor and wire up the branches.
The key is that the tool is filling in details inside a frame you already control.

Step 7: Use AI as an Iteration Partner, Not a Story Engine
Once your scene specs exist, AI becomes dramatically more useful—and safer to use.
Here are a few targeted ways to bring it in after the story work:
-
Punch up, don’t invent.
Feed your drafted narration into a model and ask for lighter edits: tighter pacing, stronger verbs, clearer sensory detail—without changing the underlying beats. -
Generate variations on a single moment.
If your spec calls for “the same conference room, but later, after a tense argument,” your prompts can focus on small shifts: lighting, posture, props. That keeps your story coherent across branches. -
Ask for alt phrasings of choices.
When a decision is clear in your head but clumsy on the page, have AI propose alternative wordings while you keep the underlying dilemma intact. -
Prototype quickly, then curate.
Use AI to explore three or four possible visual takes on a scene, then pick the one that best serves your original job statement.
This is the same philosophy we explore in AI as Co‑Writer, Not Ghostwriter: Collaborative Writing Workflows for Complex Questas Plots: AI is there to accelerate a human vision, not replace it.
Step 8: Playtest the Story, Not the Prompts
When you share an early build with playtesters, resist the urge to ask, “Do you like the images?” first.
Instead, focus on story‑first questions:
- Where did you feel most engaged or curious?
- Where did you feel confused about what was happening or what you were choosing?
- Were there any choices that felt fake, unfair, or meaningless?
- Did any scenes feel redundant or skippable?
Only after you’ve tuned the underlying scenes should you refine prompts based on feedback like:
- “I imagined this room darker/more crowded.”
- “I thought the mentor would look older/more tired here.”
Because you built your nodes on clear specs, adjusting a prompt or swapping an image won’t break the story. You can iterate visually without rewriting your entire branching structure.
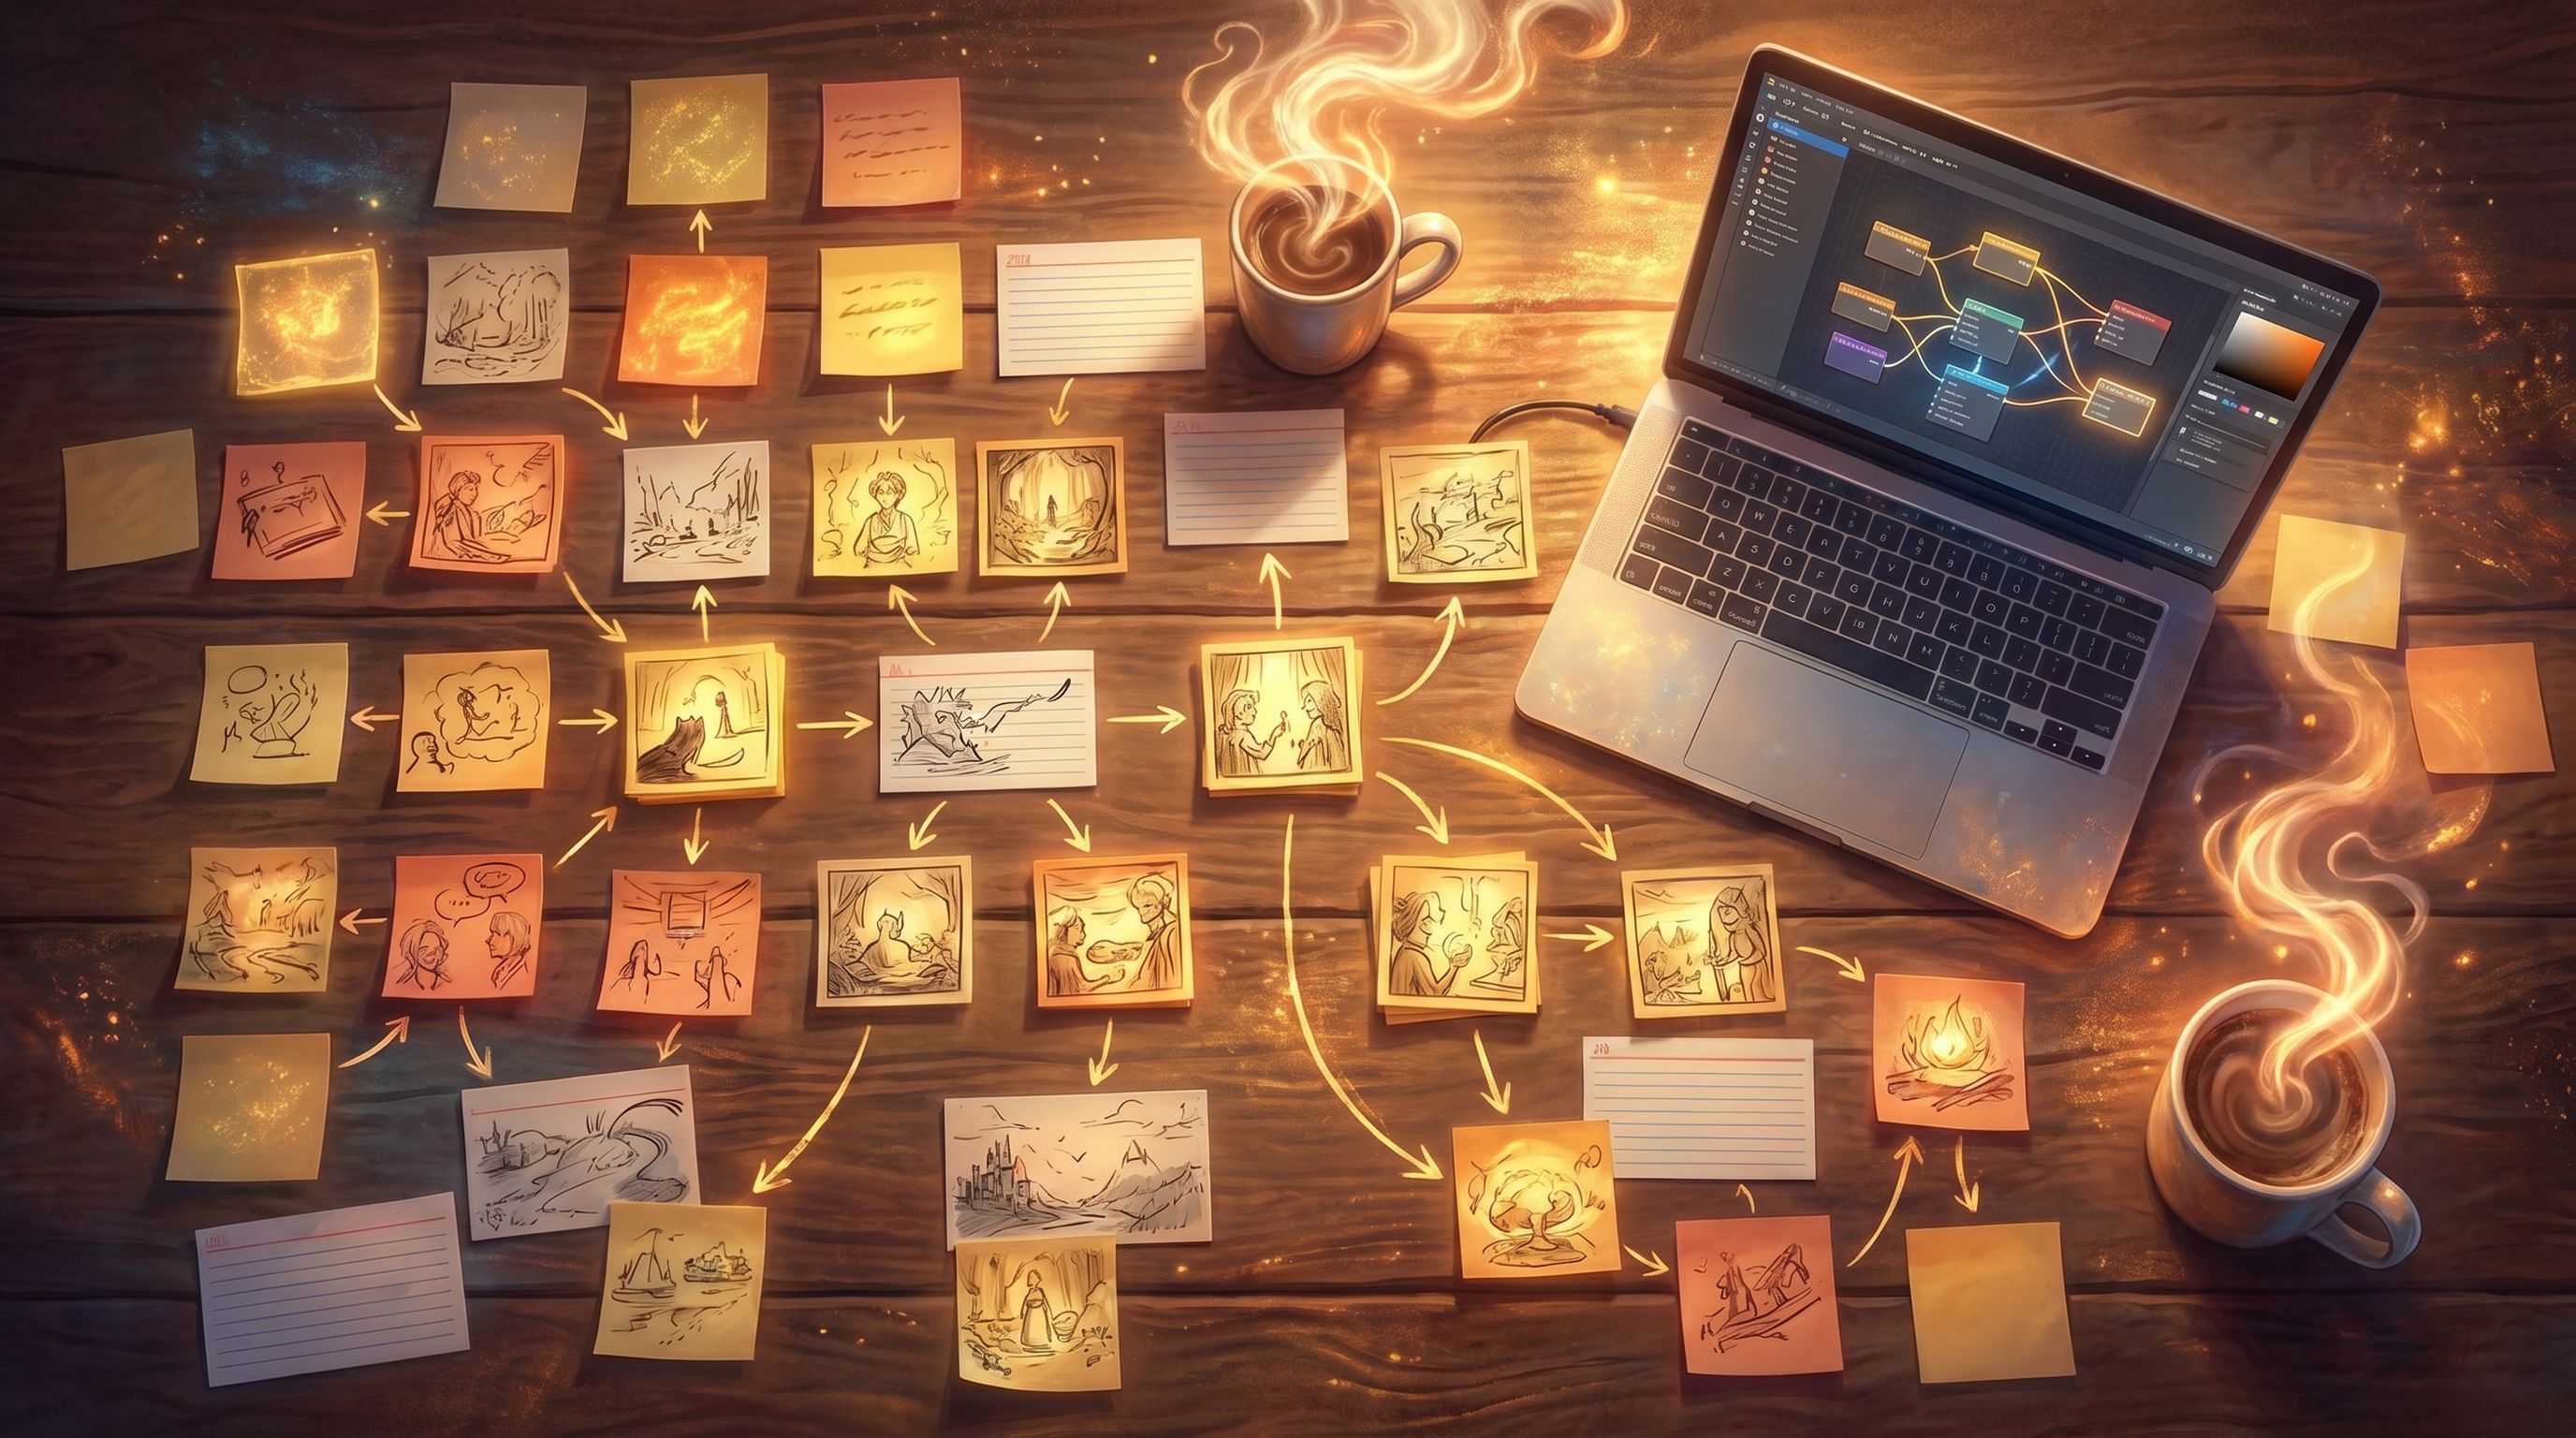
Putting It All Together: A Story-First Workflow in Questas
Here’s a condensed workflow you can use for your next project in Questas:
-
Outline your core path in plain language.
Don’t think about branches yet—just the key turning points. -
Identify your must‑have scenes.
Each one gets a one‑sentence job description. -
For each scene, write a spec:
- Job
- POV & emotion
- Location & time
- Micro‑arc beats
- Choices & immediate outcomes
-
Only now, open Questas.
- Create nodes that mirror your specs.
- Wire up branches according to your micro‑arcs.
- Keep text simple on the first pass.
-
Bring in AI tools scene by scene.
- Generate images that match your specs.
- Refine narration with targeted prompts.
- Ensure consistency across branches.
-
Playtest, adjust, repeat.
- Fix story issues first, prompts second.
- Use AI to patch gaps and polish, not to re‑architect.
If you like working in focused bursts, you can combine this approach with the rapid prototyping rhythm from The One-Evening Story Sprint: Shipping a Complete Questas Prototype from Blank Page to Playtest. Story‑first specs make it much easier to ship something coherent in a single session.
Summary: Why Story First, Prompt Second Works
Designing strong scenes before you touch an AI tool gives you:
- Clear purpose for every node – No more filler screens or arbitrary branches.
- Stronger emotional throughlines – POV and feelings are intentional, not accidental.
- Sharper, more efficient prompts – You know exactly what each image or paragraph needs to do.
- More coherent worlds – Visuals and text feel like they belong to the same story.
- Safer collaboration with AI – Tools amplify your design instead of quietly steering it.
In short: you stop fighting your tools and start directing them.
Your Next Step: Build One Story-First Scene
You don’t need a whole saga to feel the difference. Try this:
- Pick a single moment you want players to experience—a tough decision, a reveal, a quiet character beat.
- Write a one‑page scene spec using the structure above.
- Open Questas and build just that one node from your spec.
- Only then, add a single AI‑generated image or short video that matches what you already decided.
Notice how much easier prompting feels when the story is already doing the heavy lifting.
Your adventures don’t start in a prompt box. They start with a clear moment, a real decision, and a player who cares what happens next.
Design that first—and let the AI follow.