Interactive Museum Guides: Turning Exhibits, Tours, and Timelines into Location-Based Questas

Museum visitors are already doing something very close to interactive storytelling.
They wander, double back, follow their curiosity, skip whole sections, and linger at one unexpected object. Research suggests the average museum visit is just over two hours, and more than 70% of visitors will engage with interactive elements when they’re available.(zipdo.co) That’s a branching narrative hiding in plain sight.
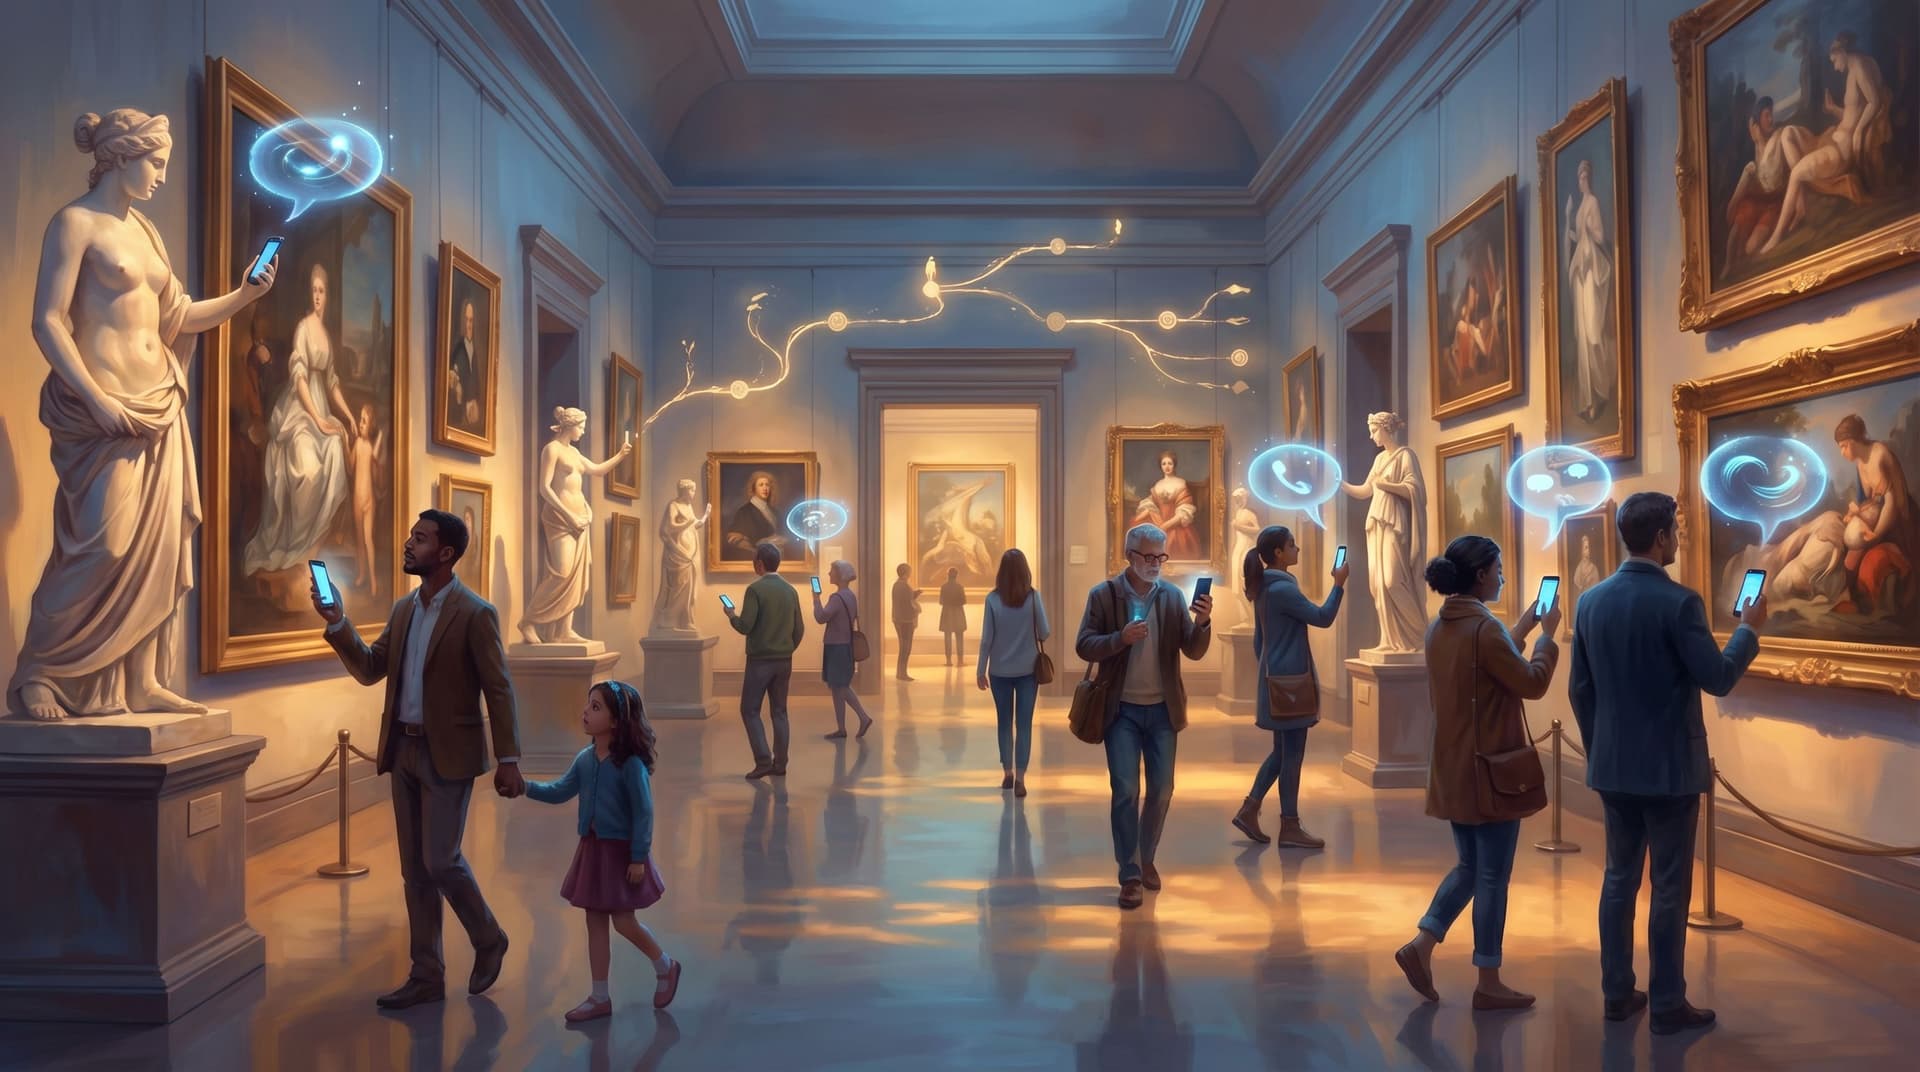
Location‑based interactive guides are what happen when you stop fighting that behavior and start designing for it.
Instead of a linear audio tour or a static app, you give visitors a story that responds to where they are, what they choose, and how much time they have—powered by their own phone, with no app download required.
This is where platforms like Questas shine: they let you turn exhibits, tours, and timelines into playable, location‑aware adventures with AI‑generated visuals and branching paths, without a dev team.
Why Location‑Based Interactive Guides Matter Now
Most museums already know traditional guides have limits:
- Fewer than 3% of visitors download institution‑specific museum apps, even though over 90% bring smartphones.(nubart.eu)
- Yet around 40–45% of visitors do use some kind of audio or digital guide when it’s easy to access—especially younger audiences.(zipdo.co)
- Institutions that extend interactive content to visitors’ own phones via web links report significantly higher satisfaction and engagement compared to display‑only setups.(halloffamewall.com)
So the appetite is there; the friction is the problem.
Branching, browser‑based guides solve a few key issues at once:
1. They match how people actually move.
Visitors don’t follow a perfect route. A location‑aware Questas story can:
- Trigger scenes when someone enters a gallery or approaches a key object.
- Offer “side quests” if a visitor detours into a different wing.
- Let people jump timelines—"Skip to the Cold War section"—without losing context.
2. They make choice feel meaningful, not overwhelming.
Instead of a wall of text or a 30‑stop audio track, visitors see a few clear options at each point:
- “Follow the artist’s personal story.”
- “Focus on technique and materials.”
- “Explore the politics around this work.”
Every tap is a choice that shapes their visit.
3. They unlock new kinds of stories.
Location‑based branching lets you:
- Turn a history gallery into a playable what‑if scenario (e.g., alternative decisions in a revolution).
- Run a murder mystery or spy hunt that threads through multiple floors.(en.wikipedia.org)
- Let visitors follow different historical figures through the same timeline.
If you’re curious about how branching nonfiction timelines work, we go deep on that in AI Storyboarding for Nonfiction: Mapping Real Events into Branching Questas Timelines.
4. They’re easier to maintain than custom apps.
A web‑based guide built in Questas can be updated like a website:
- Swap images or videos when an exhibition changes.
- Add new branches for school groups or special events.
- Localize scenes for different languages without re‑shipping an app.

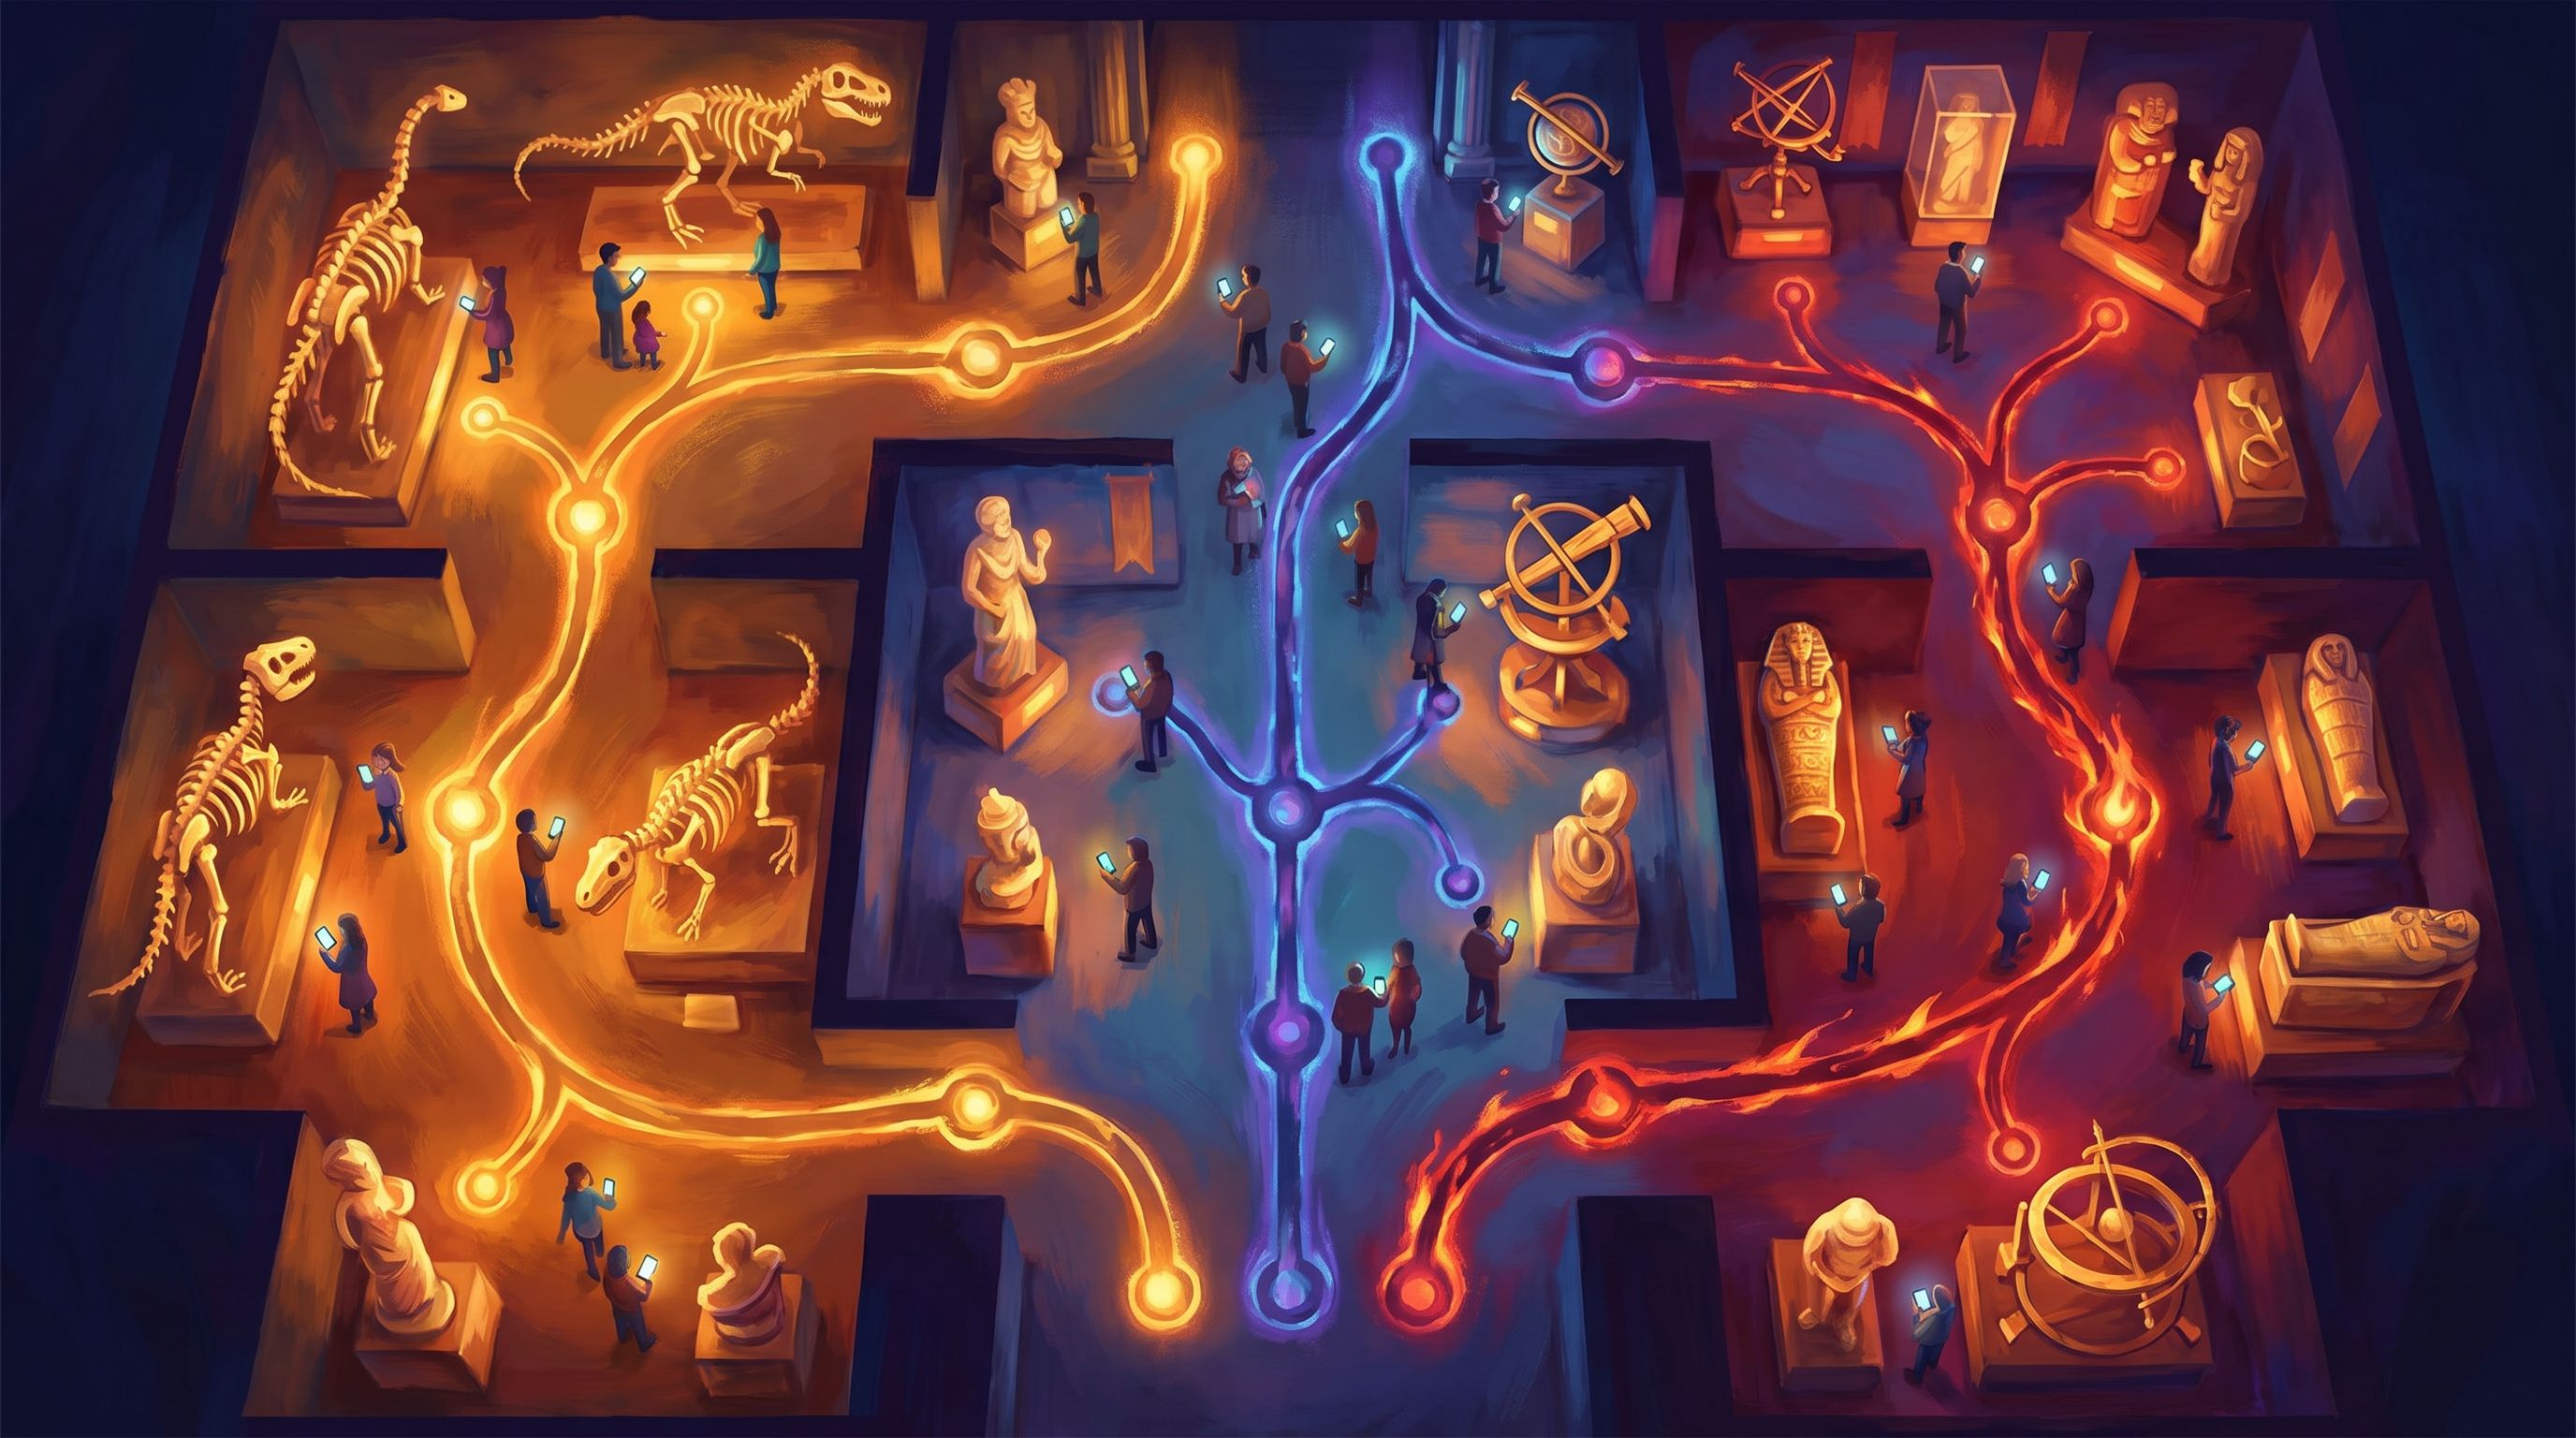
From Gallery to Quest: Core Design Patterns
Let’s break down how to think about exhibits, tours, and timelines as location‑based Questas.
1. Exhibits → Scenes and Micro‑Choices
Start small. Treat each key exhibit or cluster as a scene with one or two meaningful branches.
For a single object (say, an ancient helmet):
- Entry node: A short hook that appears when the visitor scans a QR code or enters the gallery.
- Branch options:
- “Follow the soldier who wore this.”
- “See how it was made.”
- “Compare it to modern protective gear.”
- Outcome: Each branch leads to a short sequence (2–4 nodes) with its own mini‑payoff—an image, a reveal, a question.
Design tips:
- Keep each branch short and replayable. People are standing, walking, wrangling kids. Aim for 30–90 seconds per micro‑story.
- Use AI visuals to zoom in. In AI as Location Scout: Rapidly Prototyping Believable Worlds and Setpieces for Your Questas, we talk about using AI images to create close‑ups, cross‑sections, and reconstructions that aren’t possible in the case itself.
- End with a prompt to look again. E.g., “Now, look at the dents along the rim. What do you notice?” This keeps attention on the physical object, not just the screen.
2. Tours → Routes and Roles
Traditional tours are one route. In a location‑based Questas guide, you can offer multiple routes through the same space.
Common patterns:
- By interest:
- “Art & Emotion” (focus on personal stories)
- “Science & Technique”
- “Debates & Controversies”
- By time budget:
- “45‑Minute Highlights”
- “90‑Minute Deep Dive”
- “Family Adventure Path”
- By role:
- “Curator’s Cut” — insider decisions and tradeoffs.
- “Collector’s Hunt” — focus on provenance and market.
- “Time Traveler” — what‑if choices at key historical forks.
In Questas, these become starting nodes that gate which branches are visible, so the same physical stops can support very different experiences.
3. Timelines → Forking Histories
Timelines are already structured like stories: events, causes, consequences. Branching design lets visitors play those events.
For a war, policy change, or social movement:
- Pick 3–5 decision points. These are your big branching moments.
- At each point, give visitors a choice aligned with real historical debates:
- “Sign the treaty now” vs. “Hold out for better terms.”
- “Invest in infrastructure” vs. “Prioritize military spending.”
- Show plausible consequences based on historical scholarship, then reconnect or diverge as needed.
This is exactly the kind of structure we unpack in Interactive Thought Experiments: Turning ‘What If?’ Questions into Playable Questas Scenarios.
You can still anchor visitors in the real timeline—use color, labels, or icons to distinguish “what actually happened” from “what you chose.”
Making It Location‑Based: Practical Options
Once you’ve mapped scenes and branches, you need a way to connect them to the physical space.
Here are three common approaches, all compatible with a web‑based platform like Questas:
1. QR Codes at Key Points
The simplest option:
- Place QR codes on labels, at gallery entrances, or on printed maps.
- Each QR opens a specific node in your Questas story.
Pros:
- Extremely low cost.
- Works with any smartphone camera, no app required.
- Easy to update where each code points.
Cons:
- Requires visitors to actively scan.
- Harder to do “surprise” triggers as people move.
2. Web Links on a Mobile‑Friendly Map
Create a mobile map (or use your existing site) with tappable hotspots:
- Each hotspot launches a scene tied to that gallery or object.
- Visitors can plan their path and jump between areas.
This pairs well with micro‑quests: short stories that can be played in any order.
3. Beacons or Wi‑Fi‑Based Triggers
If your institution already experiments with Bluetooth beacons or Wi‑Fi analytics, you can:
- Trigger certain scenes when someone enters a zone.(arxiv.org)
- Offer optional “nearby quests” when they pause in one area.
This requires more infrastructure, but you don’t need to bake the logic into a native app. You can still use Questas as the storytelling layer and have your tech team or vendor handle the triggers.
Designing for Real Visitors, Not Ideal Ones
A beautiful branching map is only half the job. The other half is designing for how people actually behave on site.
Start with Three Audiences
Most museums see some mix of:
- First‑timers – Want highlights, orientation, and a sense of “I saw the important stuff.”
- Enthusiasts – Already know the basics; crave depth, behind‑the‑scenes details, and obscure connections.
- Families and school groups – Need clear goals, short segments, and social interaction.
For each group, ask:
- What’s their very first decision in the story?
- How much time and cognitive load can you realistically ask for?
- What would make them feel successful by the end?
Then reflect those answers directly in your starting nodes and labels.
Embrace Short, Layered Content
On a phone, in a gallery, attention is fragile. A good pattern for Questas museum scenes:
- Hook (1–2 sentences) – A question, a mystery, or a surprising fact.
- Core content (80–150 words) – Supported by one strong AI image or short clip.
- Choice (2–3 options) – Each clearly labeled with what it offers: “Hear from the artist,” “See the restoration process,” “Skip ahead.”
If you want to go deeper on structuring adaptive paths so no one gets stuck or overwhelmed, Adaptive Difficulty in Interactive Stories: Using Soft Gates, Hints, and Optional Paths in Your Questas has patterns you can reuse.
Keep Eyes on the Objects, Not Just the Screen
The goal isn’t to replace the gallery; it’s to reframe it.
Add gentle physical prompts inside your nodes:
- “Take three steps back and notice how the composition changes.”
- “Look for the smallest object in this case. Tap when you’ve found it.”
- “Turn to your left—do you see the related piece?”
These cues, combined with AI‑generated close‑ups and reconstructions, can create the feeling of a guided, cinematic walkthrough without headsets or custom hardware.
Building a Location‑Based Questas Guide: A Step‑by‑Step Blueprint
Here’s a concrete workflow you can follow for your first pilot.
Step 1: Choose a Contained Scope
Pick one of:
- A single gallery with 10–20 objects.
- A temporary exhibition.
- A “highlights” path with 8–12 stops.
You’re aiming for something that can be fully play‑tested in under an hour.
Step 2: Map Your Anchor Points
Walk the space and list:
- Stops you want in the story (objects, rooms, views).
- Decision points where visitors choose between directions or themes.
- Natural breakpoints (benches, exits, elevators) where you can offer wrap‑ups or alternate routes.
These become your nodes in Questas.
Step 3: Draft the Core Path First
Before adding branches, write a single “golden path” that:
- Hits all essential content you want every visitor to see.
- Takes 30–45 minutes to complete.
- Works even if someone never takes an optional side quest.
Then, layer in:
- Optional side branches for deeper dives.
- Role‑based variants (e.g., first‑person narration from a historical figure).(tandfonline.com)
Step 4: Generate and Refine Visuals
Use AI image and video generation (built into Questas or external tools) to create:
- Establishing shots of each gallery or key object.
- Close‑ups or x‑ray views that visitors can’t get in person.
- Stylized flashbacks or speculative scenes for what‑if branches.
If you’re worried about consistency—same character, same style across dozens of scenes—AI Style Chains: Keeping Characters, Locations, and Props Consistent Across a Questas Series walks through concrete techniques.
Step 5: Connect to Location
Decide how visitors will enter the story:
- At the entrance:
- A single QR code that opens the experience and lets them choose route/role.
- A short “how this works” scene with accessibility options (text‑only, high‑contrast, captions).
- At each stop:
- Additional QR codes or short URLs that jump into the relevant node if someone joins mid‑way.
If you’re experimenting with beacons or AR, you can layer those triggers on top later—start with the simplest viable setup.
Step 6: Playtest on Real Visitors
Before a full launch, run at least 2–3 small pilots:
- Invite a mix of staff, volunteers, and visitors who match your target audience.
- Give them a specific time budget (e.g., 30 minutes).
- Watch where they hesitate, ignore options, or get lost.
Key questions afterward:
- Did the story help or hinder their connection to the objects?
- Where did they feel rushed or overloaded?
- Which choices felt exciting vs. trivial?
Then iterate: shorten nodes, simplify choices, and adjust the physical prompts.
Beyond the Pilot: Data, Iteration, and New Formats
Once your first location‑based Questas guide is live, you can start treating it as a living system.
Read the Branches Like a Visitor Map
Because every choice is logged, you can see:
- Which branches are most popular.
- Where visitors tend to drop off.
- How different starting routes perform.
Combine this with your existing visitor analytics (dwell time, heatmaps, feedback forms) to refine both the story and the physical layout. Studies at institutions like the British Museum show that combining behavioral data with guide usage can significantly improve flow and experience design.(arxiv.org)
Spin Off New Experiences from the Same Content
Once you’ve built a robust branching story, you can:
- Run facilitated group sessions where a guide or educator drives the choices on a shared screen—building on ideas from The Multiplayer Question: Turning Single-Player Questas Stories into Shared, Facilitated, and Asynchronous Experiences.
- Create school‑specific variants with different pacing and reflection questions.
- Offer remote “shadow tours” where people follow the same branching path online, paired with virtual galleries or tools like Google Arts & Culture.(en.wikipedia.org)
Tie into Membership, Donations, and Programming
You can close certain branches with:
- Invitations to related lectures or workshops.
- Links to deeper online exhibits.
- Soft prompts for membership or donations tied to specific stories visitors just experienced.
Because Questas is web‑based, these calls‑to‑action can be updated as your programming changes, without touching the underlying story structure.
Bringing It All Together
Location‑based interactive guides aren’t just a tech upgrade. They’re a storytelling shift.
Instead of asking visitors to follow one prescribed route, you:
- Treat the museum as a branching storyworld.
- Let people choose their own mix of depth, pace, and perspective.
- Use AI‑generated visuals and no‑code tools to keep the experience fresh without massive budgets.
Platforms like Questas make this practical for institutions of all sizes: you can prototype a pilot in weeks, test it with real visitors, and grow it into a core part of how your museum tells stories—on site and online.
Where to Start Next
If this has your wheels turning, here’s a concrete first move you can take this month:
- Pick one gallery or temporary exhibition.
- List 8–12 key stops and 3–5 big decisions you’d love visitors to grapple with.
- Open Questas and sketch a simple branching map: one core route, a couple of optional side paths.
- Generate placeholder visuals for each node using AI, just enough to test the feel.
- Print a single QR code at the gallery entrance and invite a handful of visitors or colleagues to try the prototype.
You don’t need indoor GPS, AR headsets, or a custom app to begin.
You just need one story, one space, and the willingness to let your visitors turn your exhibits, tours, and timelines into an adventure they can actually play.
If you’re ready to experiment, open Questas, choose a favorite gallery, and build your first location‑based quest. Adventure awaits—in your own museum halls.