AI-First Worldbuilding: Letting Images, Not Outlines, Lead Your Next Interactive Quest

Most interactive creators were trained to start with structure:
- Outline the plot.
- Map the branches.
- Add visuals at the end.
That method works—but it also quietly limits you. Your worlds end up shaped by what you can plan in a spreadsheet, not by what you can see and feel on the screen.
An AI‑first approach to worldbuilding flips that sequence: you start with images, moods, and locations, then let those visuals pull the story out of you. When you’re building in a visual, no‑code platform like Questas, that shift can make your interactive stories more surprising, cohesive, and much faster to prototype.
This post is a deep dive into what happens when you let AI‑generated visuals lead your next branching adventure—and how to do it without losing narrative control.
Why Let Images Lead Your Storyworld?
When you generate visuals before you lock in your outline, a few powerful things happen:
1. You discover worlds you wouldn’t have outlined.
Text-first planning tends to follow your existing habits and influences. Visual-first exploration pushes you into:
- Unfamiliar genres (“What if this negotiation training happened in a floating market city?”)
- Hybrid tones (cozy horror, optimistic cyberpunk, pastoral sci‑fi)
- Locations you’d never have written from scratch (a flooded library, a sky‑temple built around a crashed satellite)
2. You get instant constraints—in a good way.
Each image is a commitment: a place, a character, a prop. Those constraints:
- Suggest specific choices players could make in that space
- Anchor your branching paths in concrete details
- Reduce decision fatigue (“What happens next?” becomes “What could realistically happen in this room?”)
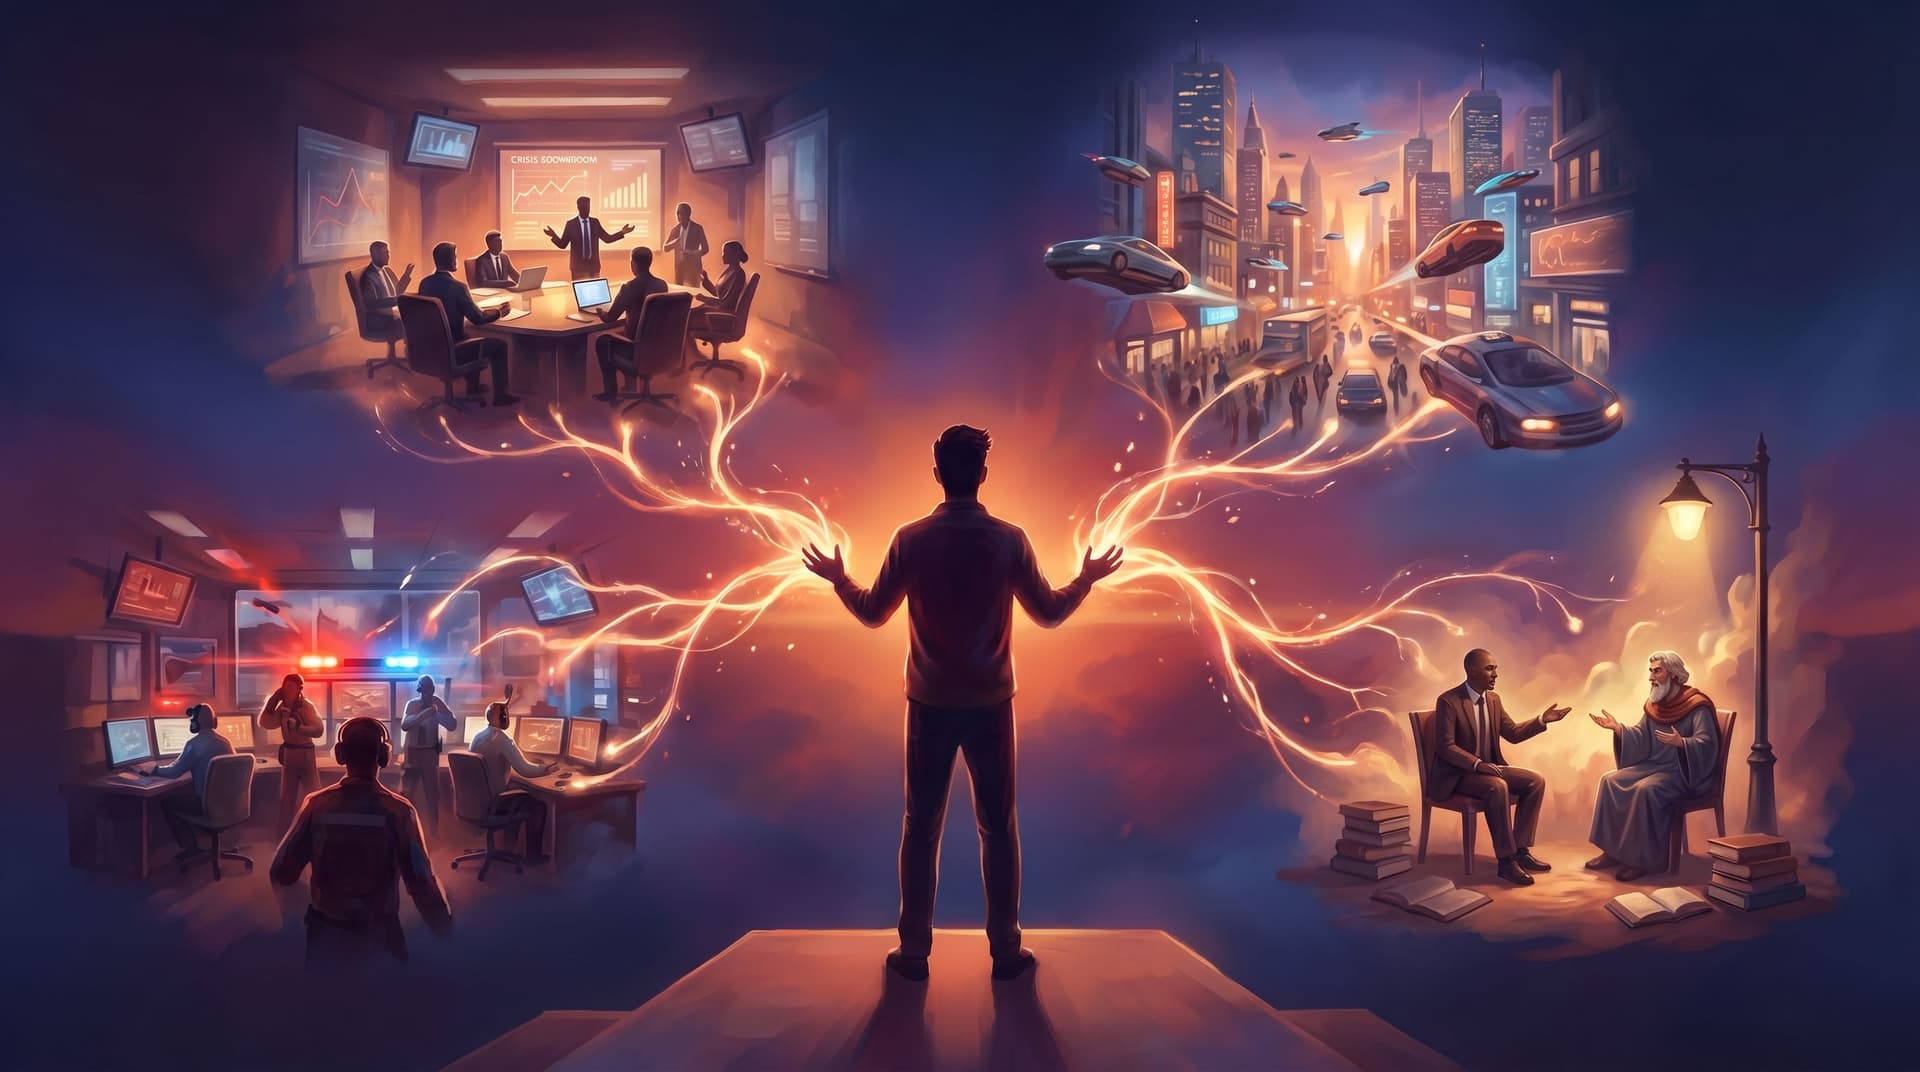
3. You think like a director, not just a writer.
When your node grid in Questas is filled with AI images and videos, you naturally start asking:
- Where does the camera sit when the player decides?
- What should they notice before they read a line of text?
- How does this shot echo or contrast with the last one?
If you want to go deeper on that mindset, we unpack practical framing techniques in Writing with the Camera in Mind: Cinematic Techniques for Framing AI Images in Your Questas Scenes.
4. You lower the barrier to experimentation.
Early visuals make it easier to:
- Share half‑baked ideas with collaborators or stakeholders
- Run quick playtests with a rough but evocative prototype
- Kill weak directions before you’ve written 5,000 words
Instead of painstakingly outlining 40 nodes, you can generate 10–15 strong visual anchors, drop them into Questas, and immediately feel which ones have story gravity.
A Visual-First Workflow for Your Next Questas
Let’s walk through a practical, repeatable workflow for AI‑first worldbuilding that you can use for:
- Fictional quests (fantasy sagas, mysteries, sci‑fi campaigns)
- Training scenarios (compliance, sales, leadership)
- Brand narratives and interactive explainers
We’ll assume you’re building inside Questas, but the principles apply broadly.
Step 1: Define a North Star, Not an Outline
You still need some guidance before you start generating images. Keep it simple:
- Audience – Who is this for? (e.g., new managers, sales reps, teen readers, onboarding employees)
- Core tension – What’s the central dilemma or pressure? (e.g., protect the colony vs. protect your career; ship fast vs. ship safely)
- Format – Roughly how long? Micro‑quest, 10–20 nodes, or a full series?
Write a 2–3 sentence “north star” that you can glance at while you explore visuals. Example:
A mid‑level engineer on a remote orbital station must decide how far to bend protocol when a mysterious signal threatens both safety and schedule. Built as a 20‑node branching scenario for leadership training.
That’s enough to keep your visual exploration pointed without locking down plot.
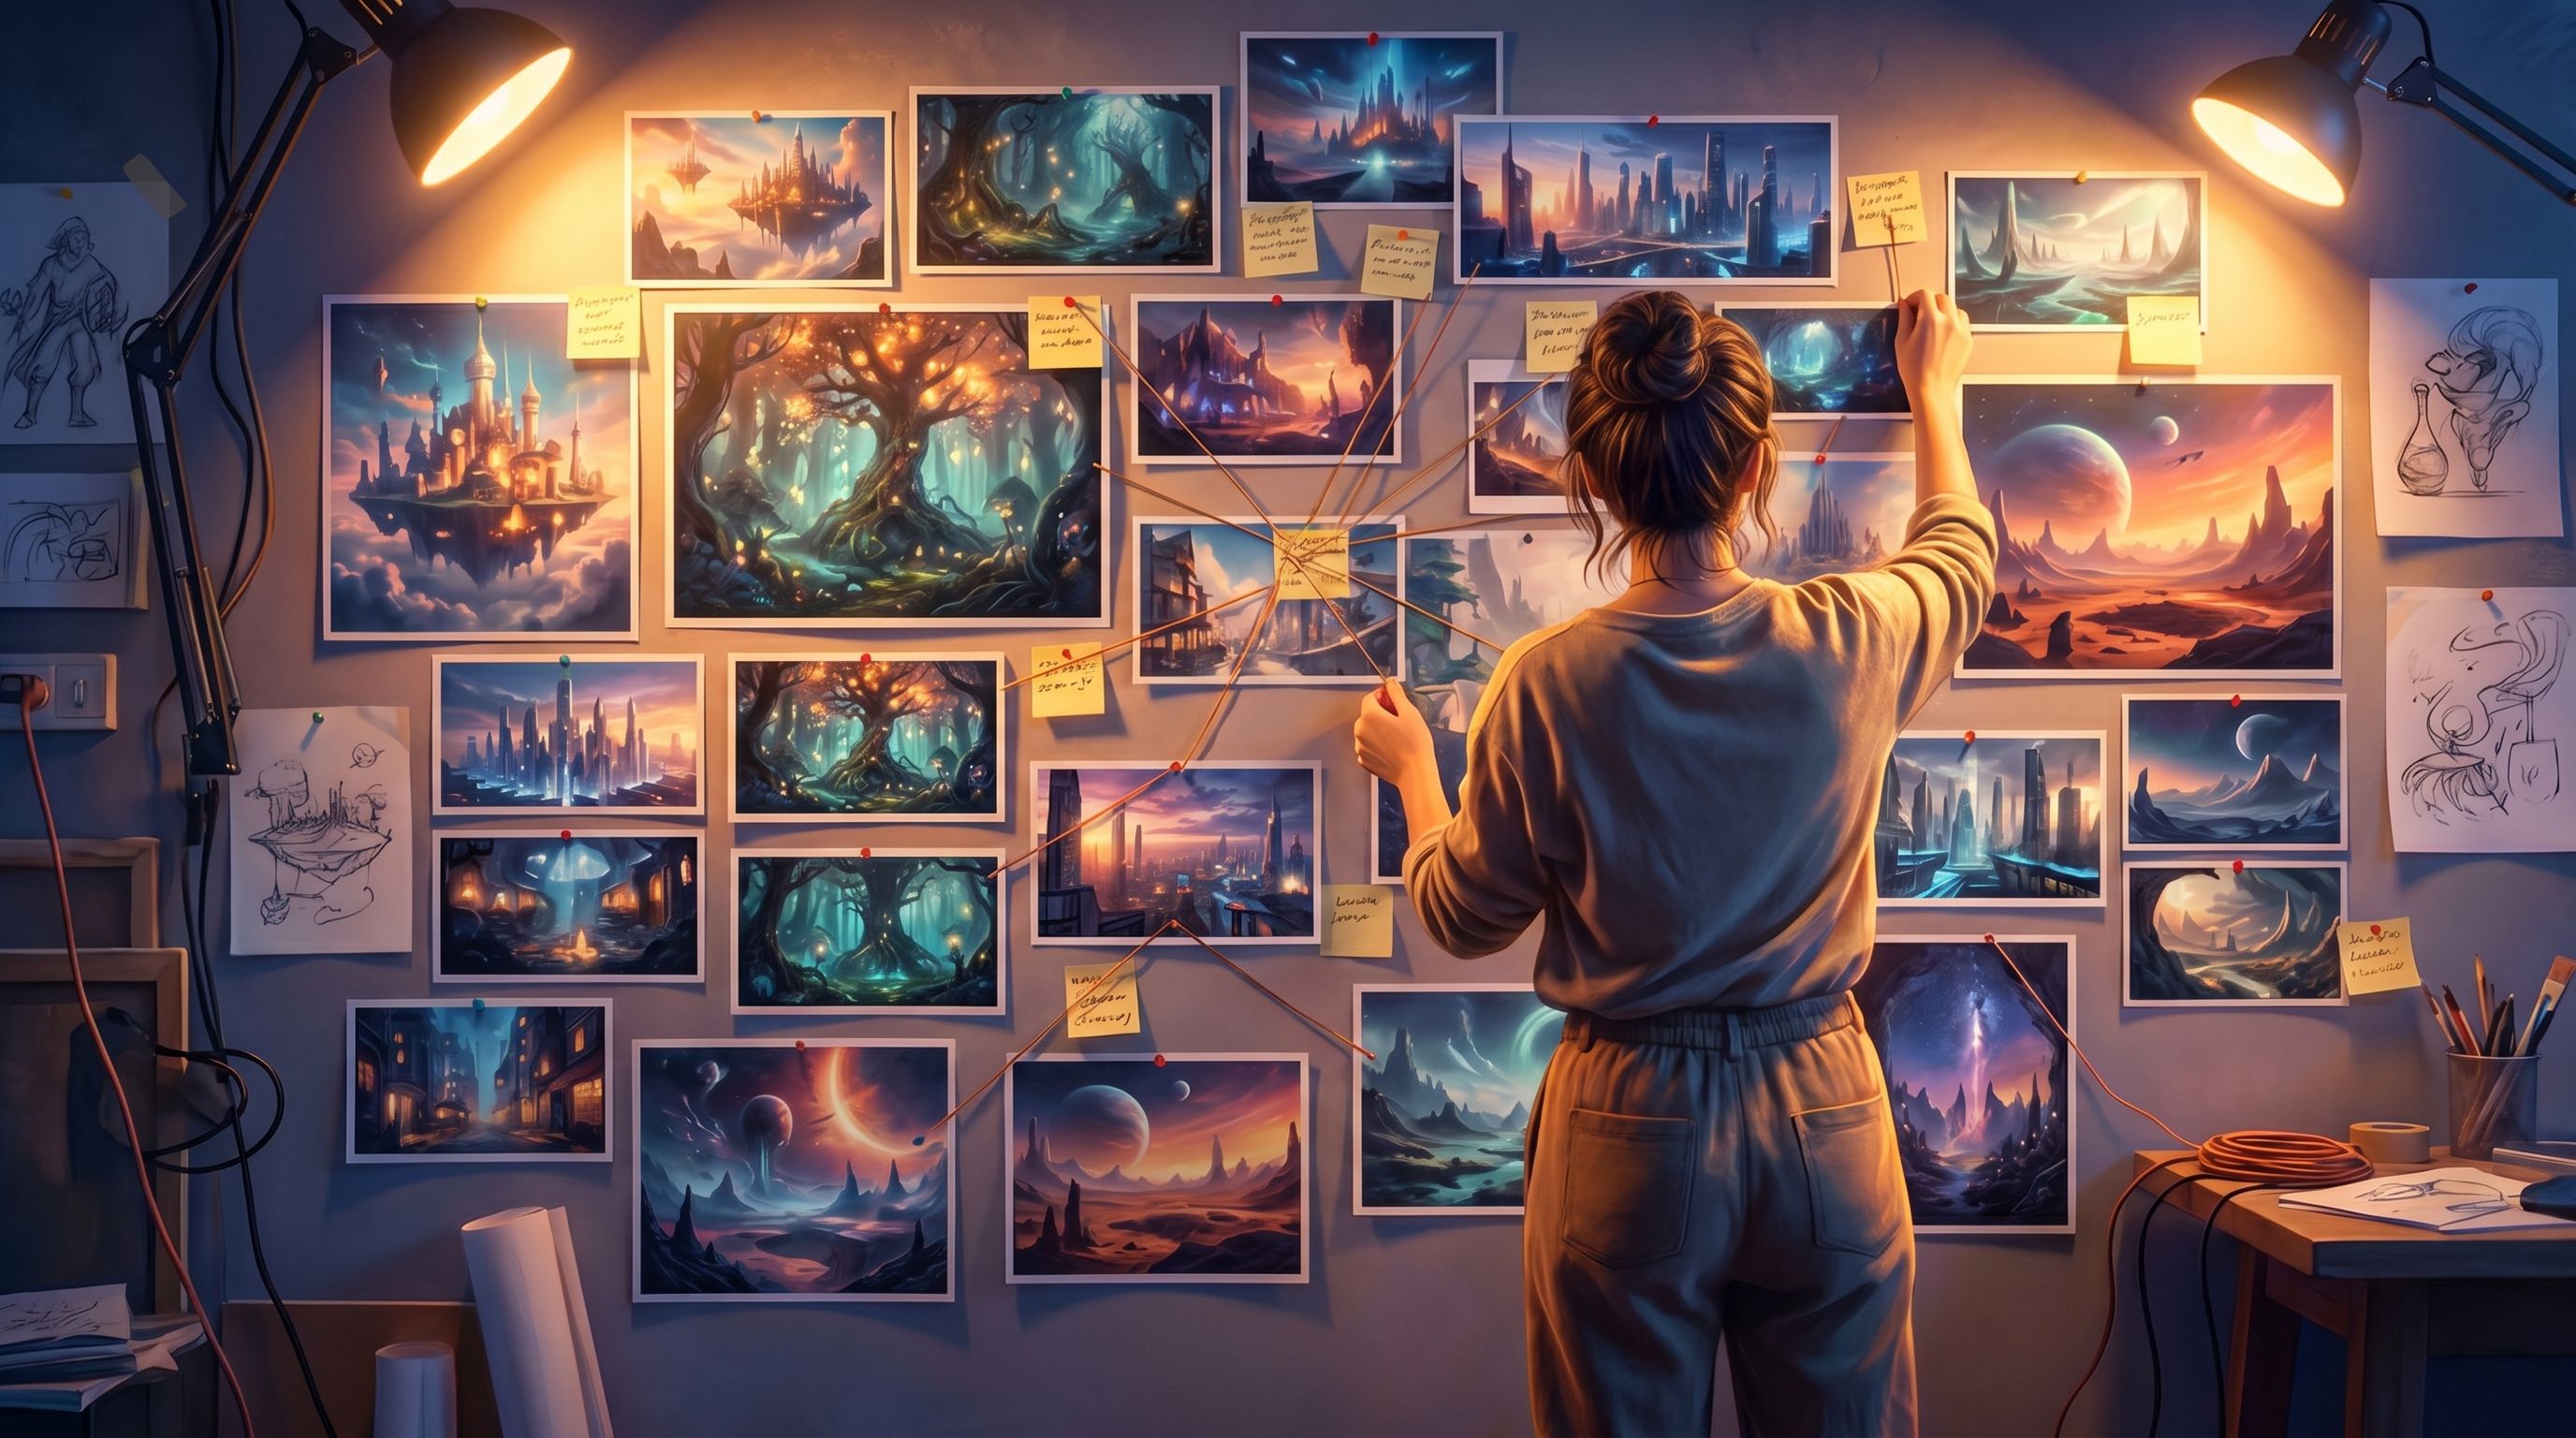
Step 2: Generate a Palette of Key Locations
Locations are the backbone of an AI‑first quest. Start there.
- Brainstorm 5–10 potential spaces that fit your north star. Think in contrasts:
- Crowded vs. lonely
- Safe vs. exposed
- Official vs. off‑limits
- For each, write a short visual prompt that includes:
- Physical description (architecture, scale, materials)
- Lighting and mood
- Time of day or weather (even indoors—think “fluorescent midnight” vs. “sun‑washed morning”)
- Style anchor (graphic novel, cinematic realism, watercolor, etc.)
- Use your preferred AI image tool (e.g., DALL·E, Midjourney, Stable Diffusion) to generate 3–4 variations per location.
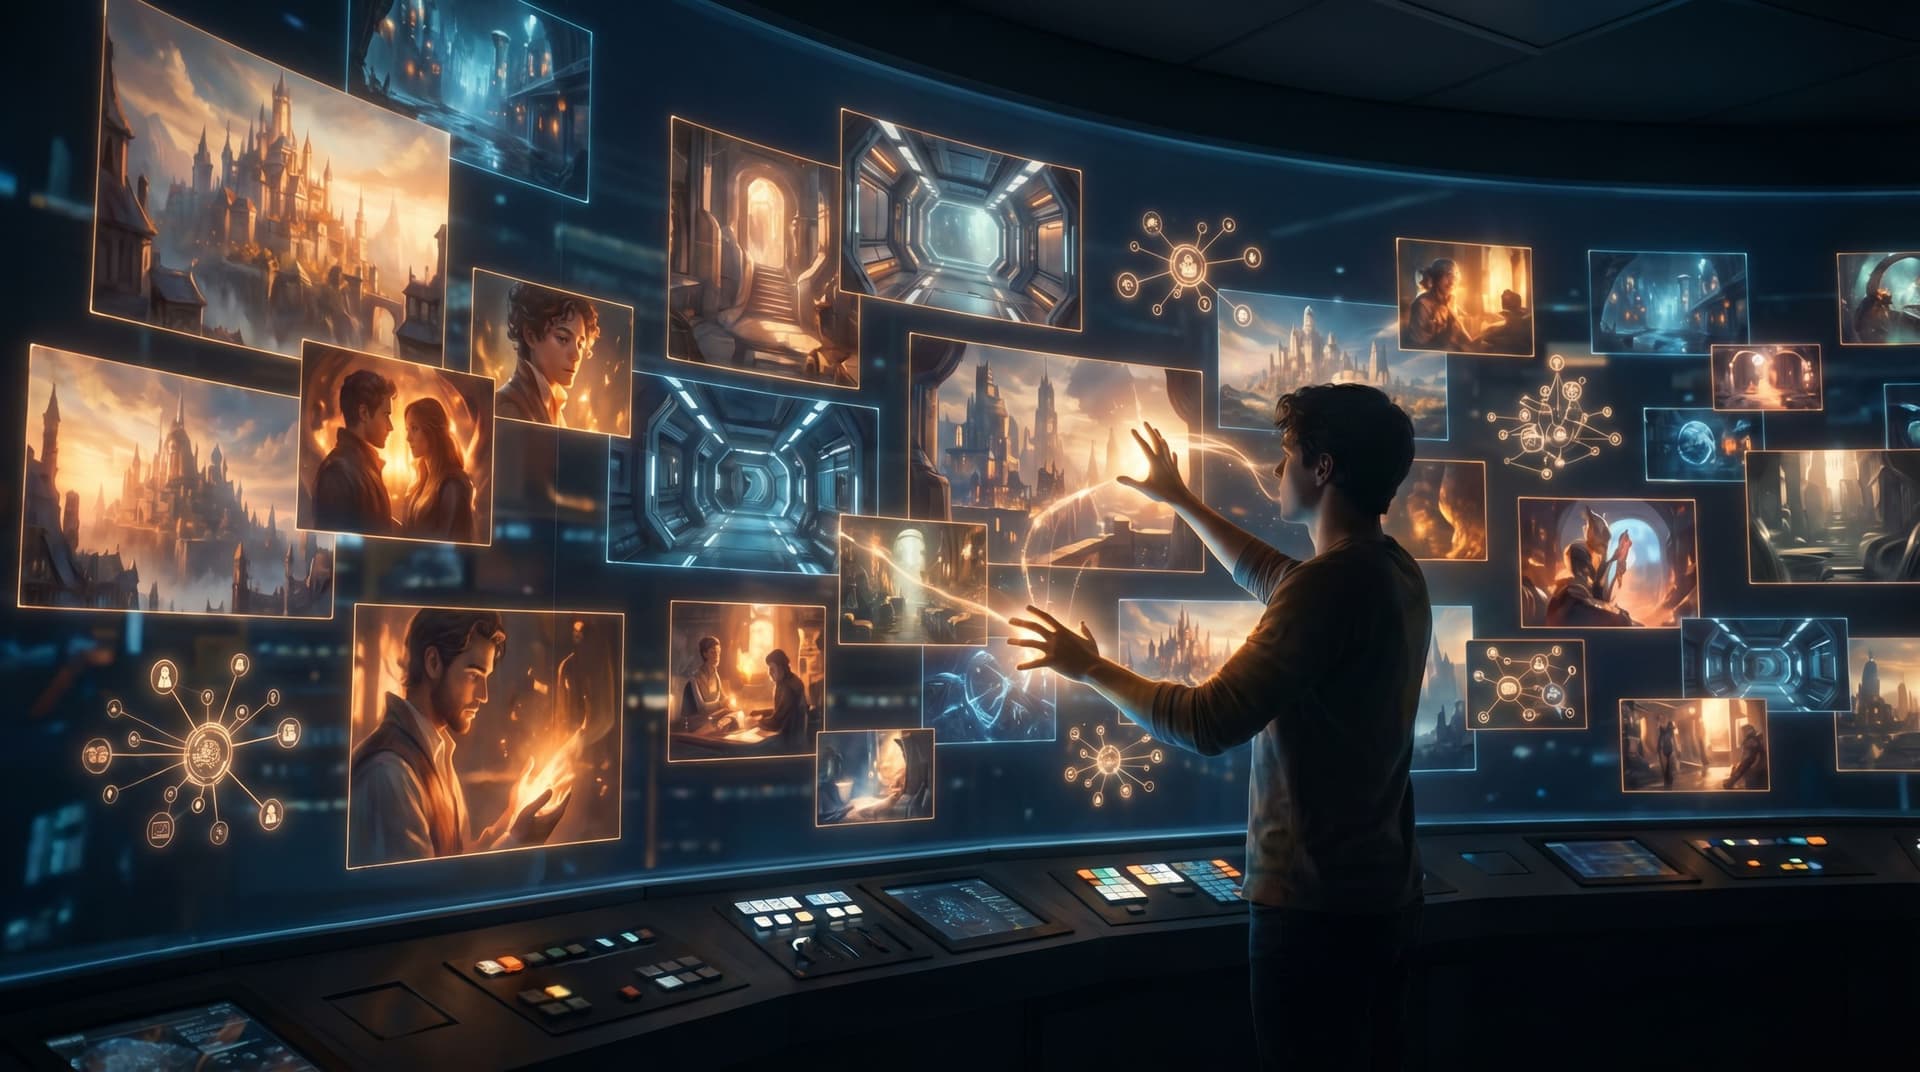
Drop your favorite images into a new project in Questas as empty scene nodes. Don’t worry about text yet; you’re building a visual map.
As you look at your wall of locations, ask:
- Which spaces feel like natural decision points?
- Which ones create contrast if placed back‑to‑back?
- Which ones feel like climaxes vs. quiet interludes?
Circle 6–8 locations that feel indispensable. Those will likely become your major nodes.
Step 3: Let Characters Emerge from the Places
Instead of inventing characters in a vacuum, pull them out of your locations.
For each key location image, ask:
- Who obviously belongs here? (guards, technicians, elders, customers)
- Who doesn’t belong here but might appear anyway? (a lost child in a boardroom, a rebel in a gala)
- Who has the power in this space? Who has none?
Then:
- Generate 2–3 character images per location with prompts that reference the space’s style and mood.
- Aim for visual consistency across your cast (shared color motifs, outfits, or design language).
If you’re planning a series, you can layer in techniques from AI Style Chains: Keeping Characters, Locations, and Props Consistent Across a Questas Series. - Attach each character image to the relevant scene nodes in Questas—either as inline images or background art.
Now you have:
- A network of locations
- A cast that “lives” in those spaces
You still haven’t written full prose, but your world is already taking shape.
Step 4: Turn Visual Contrasts into Story Beats
Here’s where AI‑first worldbuilding really starts to sing: you can build arcs by juxtaposing images.
Look for strong contrasts:
- Bright, open plaza → cramped, dim maintenance tunnel
- Polished executive suite → messy back‑office breakroom
- Heroic, centered portrait of a leader → later image of the same person small and off‑balance
Use those contrasts to define your major beats:
- Entry – Where does the player first “enter” the world? Pick an image that’s welcoming but slightly unsettling.
- First fork – Which image best embodies the first real tradeoff or dilemma? Place it 2–3 nodes in.
- Midpoint reversal – Which pair of images, back‑to‑back, would make a player think, “Wait, this is not the story I thought I was in”?
- Climaxes – Which images feel like emotional or tactical peaks?
- Aftermaths – Which quieter images feel like consequences or epilogues?
In Questas, arrange your visual nodes roughly along these beats. Don’t worry if branches are messy; you’re sculpting flow through shots, not filling in every line yet.
Writing Into the Image, Not Around It
Once you have a visual backbone, it’s time to add text. The key is to let the image do as much work as possible.
Focus the Player’s Eye
Before you write a single line of description, ask:
- What’s the first thing I want the player to notice?
- What detail matters for the upcoming decision?
Then use your opening sentence or two to:
- Name the crucial element the image already shows (“The reactor’s coolant gauge twitches at the red line.”)
- Clarify anything the image can’t convey on its own (time pressure, social stakes, rules of the world)
Avoid re‑describing everything in the picture. Instead, think of your text as:
Caption + context + choice.
Let Choices Mirror the Visual Space
Great interactive nodes often feel like “Where do you move the camera next?”
Use the image to inspire choices like:
- Spatial moves – “Slip through the service hatch” vs. “Walk openly down the main corridor”
- Social focus – “Back the security chief” vs. “Side with the technician in the corner”
- Object interactions – “Pull the emergency lever” vs. “Remote into the console”
If you’re working on training or decision rehearsal, this is where scenario design intersects with visuals. For a deeper dive on starting from real‑world decisions, see Scenario-First Story Design: Building Training Questas That Start with Real-World Decisions.
Use Images to Carry Tone and Subtext
Because the image already sets mood, your prose can be leaner and more specific:
-
Instead of: “It’s a dark and ominous hallway…”
Try: “You realize the motion sensors are off. Someone wanted this corridor blind.” -
Instead of: “The boardroom feels tense and formal…”
Try: “No one touches the untouched pastries in the center of the table.”
You’re trusting the image to handle the vibe while your text handles meaning and stakes.

Branching from Visual Cues Instead of Abstract Logic
Traditional outlining often starts with logic trees:
- If the player did X and Y, unlock Z.
- Track variables A, B, C.
Those systems are powerful (and Questas supports them visually), but when you start from images you can design branches that feel more organic.
Let Recurring Visuals Represent Hidden Meters
Instead of only tracking numbers under the hood, use recurring visual motifs:
- A character’s uniform gathers more medals or stains depending on previous choices.
- A city skyline gains or loses lights as stability increases or crumbles.
- A personal workspace becomes tidier or more chaotic over time.
You can still implement the underlying logic using the techniques from No-Code, All Systems: Building Reputation, Factions, and Hidden Meters in Questas Without a Dev Team. But you’re designing those systems with visual metaphors first.
Use Visual “Echoes” to Make Choices Feel Weighty
Players feel the impact of decisions when they see echoes:
- A side character you saved in an early, low‑stakes scene appears later in a critical image—standing between you and danger.
- A room you trashed in a moment of panic shows up again, still damaged, changing how a negotiation plays out.
When you plan your quest visually, you can literally drag earlier images into later nodes and tweak them (lighting, angle, props) to create that echo.
Design Failure as a Different Shot, Not Just a Dead End
Instead of a generic “Game Over” screen, let failure branches end on:
- A haunting wide shot (the empty training floor where no one responded in time)
- A quiet personal moment (your protagonist alone in the breakroom, replaying their mistake)
Those images make retries feel meaningful, not punitive—and they’re especially powerful in learning and practice scenarios, like health and safety or sales training.
Collaborating and Playtesting with Visual-First Prototypes
One of the biggest advantages of AI‑first worldbuilding is how quickly you can get to something showable.
Share a Visual Walkthrough Early
Once you have:
- 8–15 location images
- A handful of character shots
- Rough text on your main nodes
…you can already:
- Run a live session where you click through the quest and narrate aloud
- Ask a stakeholder, “Where would you expect a choice here?”
- Collect notes on pacing, clarity, and tone before you polish copy
If you’re designing group experiences, you can pair this approach with the ideas in The Multiplayer Question: Turning Single-Player Questas Stories into Shared, Facilitated, and Asynchronous Experiences to test how your world holds up with multiple players discussing each branch.
Use Images as Prompts for AI-Assisted Writing
Once your structure feels solid, you can bring AI text models into the loop as co‑writers:
- Feed each scene’s image description and current draft into an AI assistant.
- Ask it to propose alternate phrasings, sharper choices, or localized variants.
Keep yourself firmly in the editor’s seat—curating, cutting, and rewriting. If you want more structure around that collaboration, check out the workflows in AI as Co‑Writer, Not Ghostwriter: Collaborative Writing Workflows for Complex Questas Plots (slug listed above in your library).
Common Pitfalls (and How to Avoid Them)
AI‑first worldbuilding is powerful, but it comes with traps. A few to watch for:
1. Visual overload
If every node has three competing animations and five images, players tune out. Use visuals strategically:
- One strong image per node beats a collage of noise.
- Save motion (video, subtle animations) for major beats.
For more on using visuals responsibly, see AI Visual Etiquette: Avoiding Tropes, Stereotypes, and Overload in Image-Heavy Questas Stories in your post library.
2. Style drift
Mixing too many art styles can make your world feel incoherent.
- Pick 1–2 style anchors (e.g., painterly sci‑fi realism + diegetic UI overlays) and stick to them.
- Use consistent aspect ratios and color palettes.
3. Letting the image dictate everything
AI images are suggestions, not commandments. If a generated visual contradicts your north star or your ethics, regenerate or edit it. You’re still the director.
4. Forgetting accessibility and performance
Image‑heavy quests should still be usable by:
- Players on slower connections (optimize file sizes, use thumbnails)
- Screen reader users (alt text that conveys key information)
- Color‑blind players (don’t rely solely on color to signal state)
Questas makes it easy to manage media across nodes, but thoughtful design is on you.
Bringing It All Together
Letting images lead your interactive quest doesn’t mean abandoning craft. It means:
- Using AI visuals to discover worlds you wouldn’t have outlined
- Turning locations and characters into anchors for branching structure
- Writing text that plays to the strengths of each image
- Designing systems and consequences that echo visually, not just numerically
- Collaborating and iterating on a visual prototype long before your story is “done”
The result is a storyworld that feels less like a flowchart and more like a place players can actually visit—whether you’re building a fantasy epic, a sales objection simulator, or a playable brand investigation.
Summary
- Traditional outline‑first workflows can box your imagination into what fits neatly in a tree diagram.
- AI‑first worldbuilding starts with locations, characters, and visual contrasts, then lets the story grow out of those anchors.
- In Questas, you can:
- Generate a palette of key locations and characters
- Arrange them into a visual backbone of major beats
- Write lean, focused text that amplifies what the image already conveys
- Use recurring visuals and echoes to represent hidden systems and consequences
- Visual‑first prototypes are easier to share, test, and iterate—especially for collaborative or facilitated experiences.
- With a bit of discipline around style, accessibility, and narrative intent, AI‑led visuals become a creative constraint, not a distraction.
Your Next Step
If you’ve been waiting to start your next interactive story until you had the “perfect” outline, try flipping the script.
- Pick a simple north star: a core tension, an audience, a rough length.
- Generate 8–12 images for locations that could exist in that world.
- Drop them into a new Questas project as empty nodes.
- Rearrange them until a sequence starts to suggest itself.
- Write just one scene that leans into its image—and add two meaningful choices.
You don’t need a 40‑node blueprint to begin. You just need one strong image, one moment of tension, and the curiosity to see where that world wants to go.
Adventure awaits. Let your visuals open the door—and let your story follow.