AI Style Chains: Keeping Characters, Locations, and Props Consistent Across a Questas Series

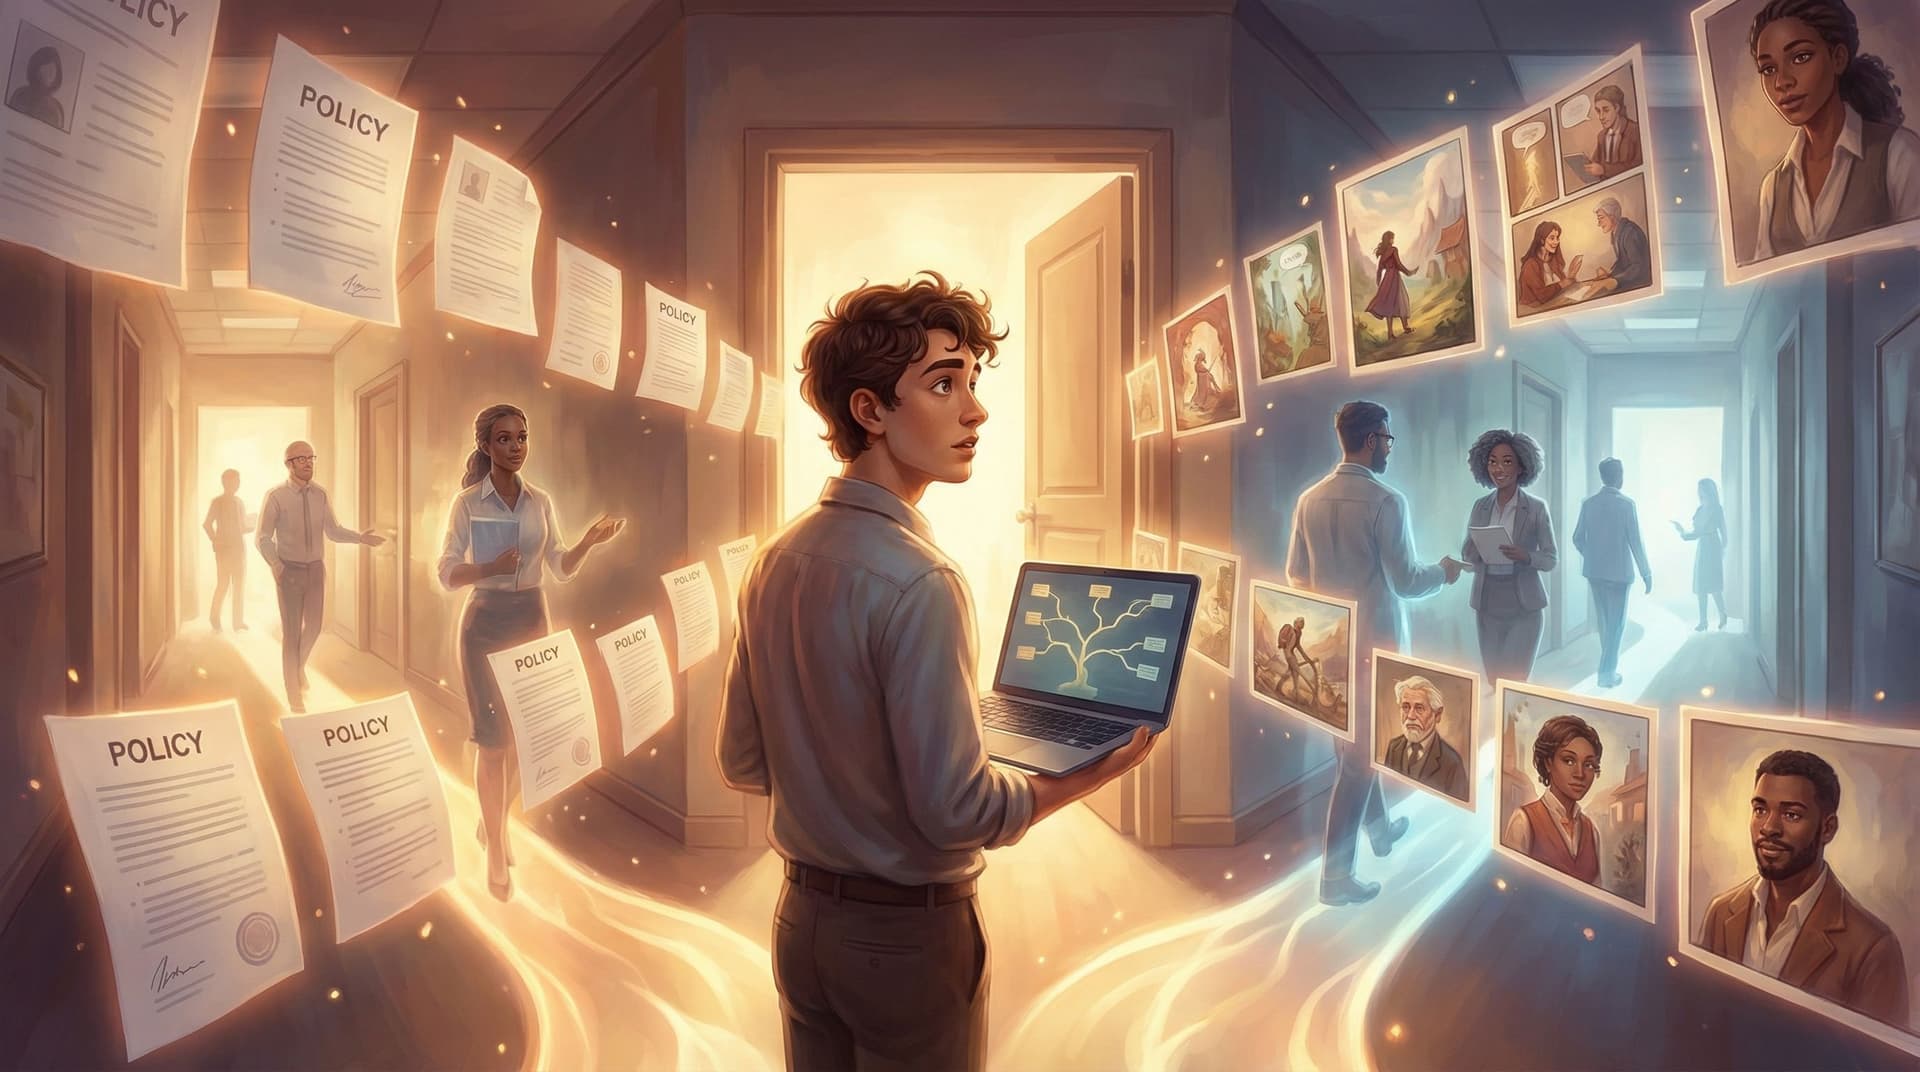
If you’ve ever fallen in love with a character in episode one of your interactive story, only to have them “recast” three scenes later by a slightly confused AI image model, you know the problem we’re tackling here.
Consistency is what makes a storyworld feel real. When your detective’s trench coat keeps changing color, the city skyline morphs every chapter, or a crucial artifact looks different in each scene, players feel the seams. They stop believing and start noticing the tool.
AI style chains are your antidote.
On a platform like Questas, where you’re building branching, visual stories without code, style chains are the invisible spine that keeps your characters, locations, and props recognizable across episodes, spin‑offs, and sequels.
This post is a deep dive into how to design and maintain those chains so your whole Questas series feels like one coherent universe—not a collage of almost‑matching images.
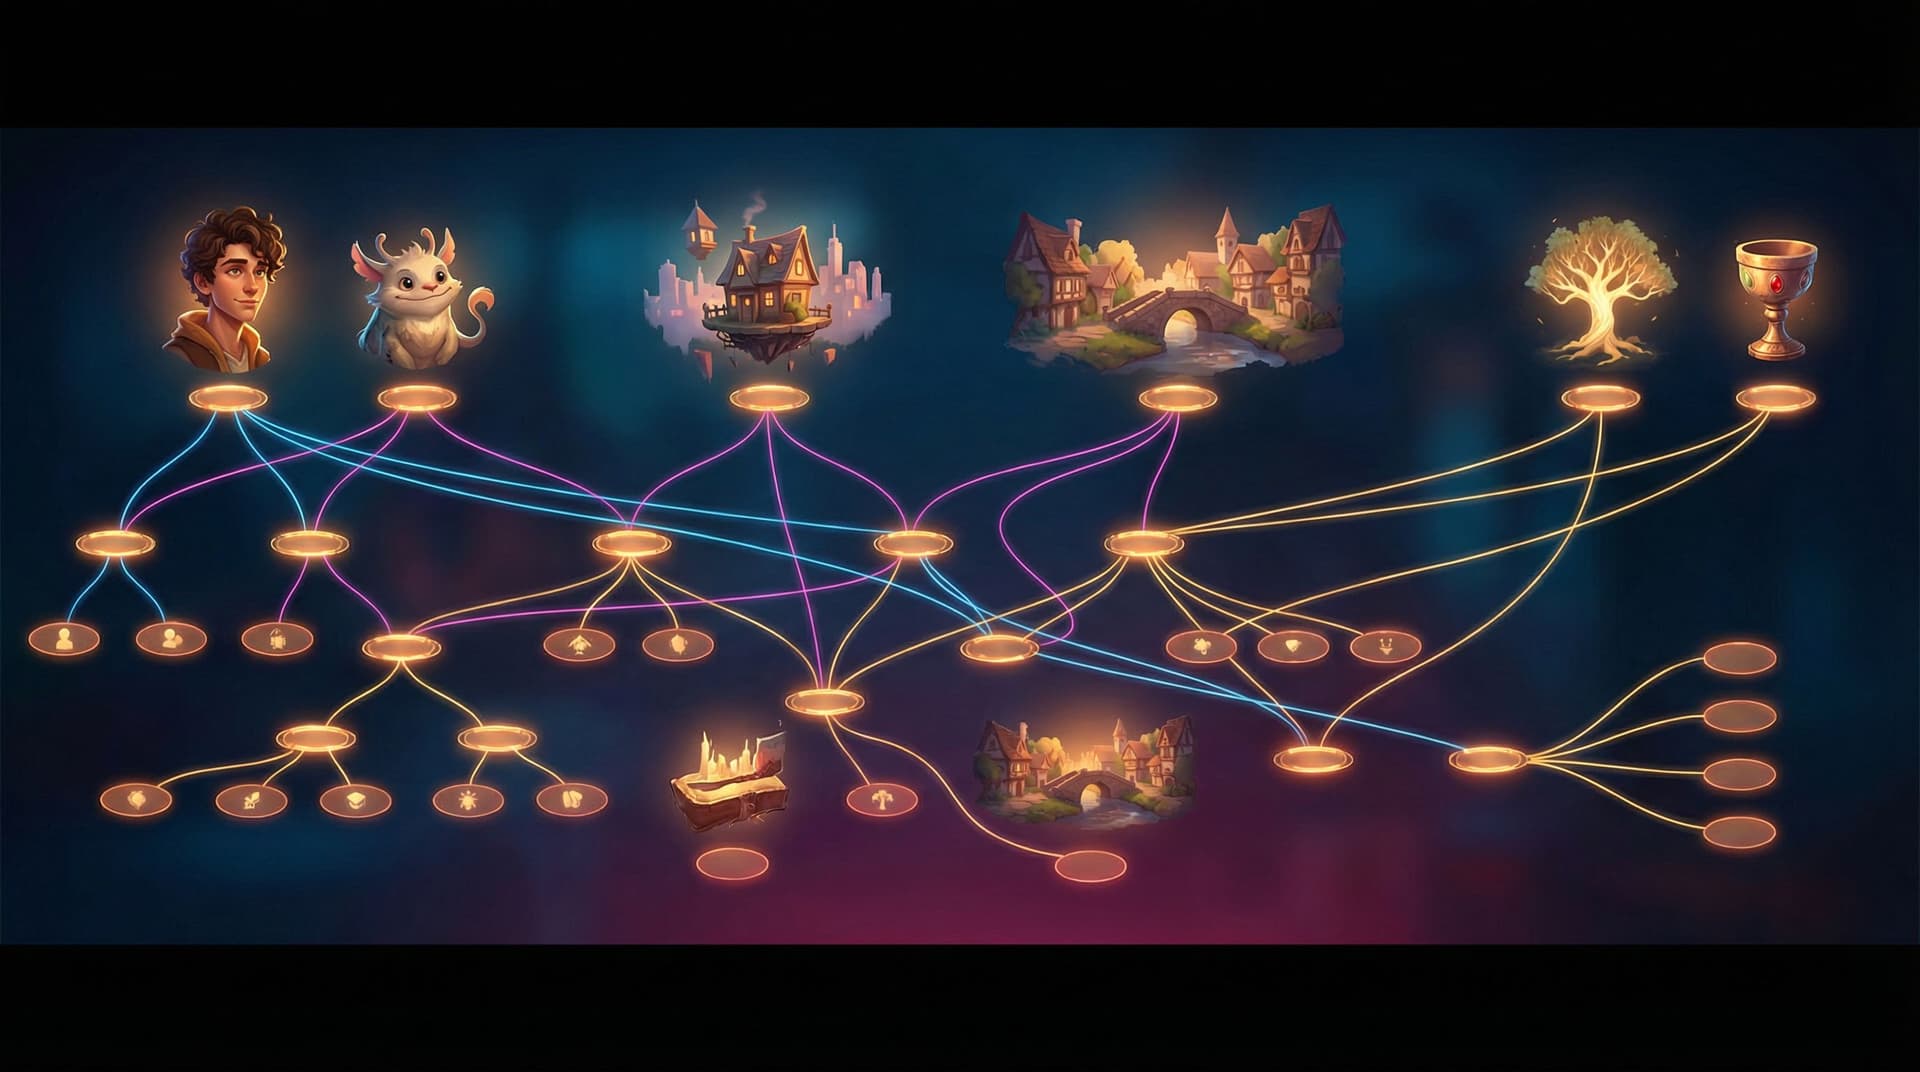
What Are “AI Style Chains,” Really?
Think of an AI style chain as a repeatable recipe for how something should look across your storyworld:
- A character (their face, body type, clothing, posture, vibe)
- A location (architecture, lighting, color palette, time of day)
- A prop (shape, material, scale, signature details)
- Or even a shot type (cinematic framing, lens, camera angle)
Each chain is made up of:
- A stable prompt core – the non‑negotiable details that must stay the same.
- Optional modifiers – scene‑specific flourishes you can swap in and out.
- Reference images or shots – visual anchors that “remind” the model what you mean.
Inside Questas, those chains show up as reusable prompt templates + reference media that you attach to scenes, branches, and whole episodes. You’re not re‑inventing your hero every time; you’re re‑using the same DNA with small variations.
Why this matters for interactive stories:
- Players build mental models. They recognize characters at a glance and carry emotional history from one branch to another.
- Continuity supports replayability. When endings diverge wildly but the world looks cohesive, replays feel like alternate timelines, not unrelated stories.
- Production becomes scalable. You can generate dozens (or hundreds) of scenes without micromanaging every single prompt.
If you’re already thinking about continuity at the story level, you may also want to explore how a living lore system supports that in From Lore Bible to Living Wiki: Using Questas to Maintain Continuity Across Expanding Story Universes.
The Three Pillars of Visual Consistency
When creators complain about “AI inconsistency,” it usually comes from one of three places.
1. Characters: The Recasting Problem
Your protagonist should be instantly recognizable, even if:
- They change outfits
- The lighting shifts
- You jump between timelines or branches
To get there, you need to lock in:
- Face and body template – age range, body type, skin tone, facial structure, hair texture and style.
- Signature elements – a scar, glasses, a particular jacket, tattoos, jewelry.
- Emotional range – how they look angry vs. relieved vs. devastated, while still clearly being the same person.
2. Locations: The Teleporting City
If your “neon‑soaked cyberpunk market” sometimes looks like a medieval bazaar and sometimes like a suburban mall, players will feel unmoored.
You want:
- Stable architecture and geography – recurring buildings, landmarks, street layouts.
- A defined lighting mood – foggy dawn, golden hour, harsh fluorescent, flickering neon.
- Color palette rules – e.g., “cool blues and magentas with warm accents.”
3. Props: The Shapeshifting MacGuffin
Key objects—artifacts, weapons, devices, documents—carry narrative weight. If the “crystal compass” looks like a glass orb in one scene and a brass pocket watch in another, the stakes blur.
You need:
- Clear silhouette – what shape it cuts against the background.
- Material and texture – polished steel, cracked stone, shimmering energy.
- Scale and handling – how big it is in a character’s hand or relative to their body.
Step One: Build a Visual Bible Before You Build Scenes
It’s tempting to dive straight into scene generation. Instead, treat your first session in Questas like a casting and location scout.
A. Design Your Core Ensemble
Start by creating character style sheets:
-
Write a tight visual prompt for each character.
- Include: age, build, skin tone, hair, clothing style, signature items, general vibe.
- Avoid: vague adjectives like “beautiful” or “cool” with no specifics.
-
Generate a small batch of images per character.
- Pick 2–3 that feel “canon.”
- Save them as reference images inside your Questas project.
-
Lock in a naming convention.
- Example:
CHAR_Maya_LeadDetective_v1for the prompt template. - This makes it easy to reuse across episodes and branches.
- Example:
If you’re thinking about ensembles that can carry across multiple stories, you’ll find useful patterns in AI as Casting Director: Designing Reusable Character Ensembles for Multiple Questas Stories.
B. Establish Key Locations
For each recurring location, create a location card with:
- A stable prompt core, e.g.:
rain-soaked neo-noir alleyway, narrow, cluttered with flickering neon signs in Japanese and English, reflective puddles, overhead cables, cinematic lighting, 35mm film look - One or two “master shots.” These become your anchor images.
- Notes on time-of-day and weather variants.
Instead of rewriting the whole prompt, you’ll add small modifiers:at sunrise,during heavy snowfall,in a blackout lit only by neon signs.
C. Define Hero Props
Pick the objects that matter most to your plot:
- The artifact everyone is chasing
- The device that enables time‑travel or memory scans
- The letter, contract, or map that changes everything
For each, write:
- A precise description (shape, materials, symbols, wear and tear).
- One “hero shot” where the prop is clearly visible.
- Usage context – who usually holds it, how it’s stored, what environment it appears in.
Store all of this in a visual bible attached to your Questas project—either directly in the platform’s notes/metadata or in a simple doc that lives alongside it.
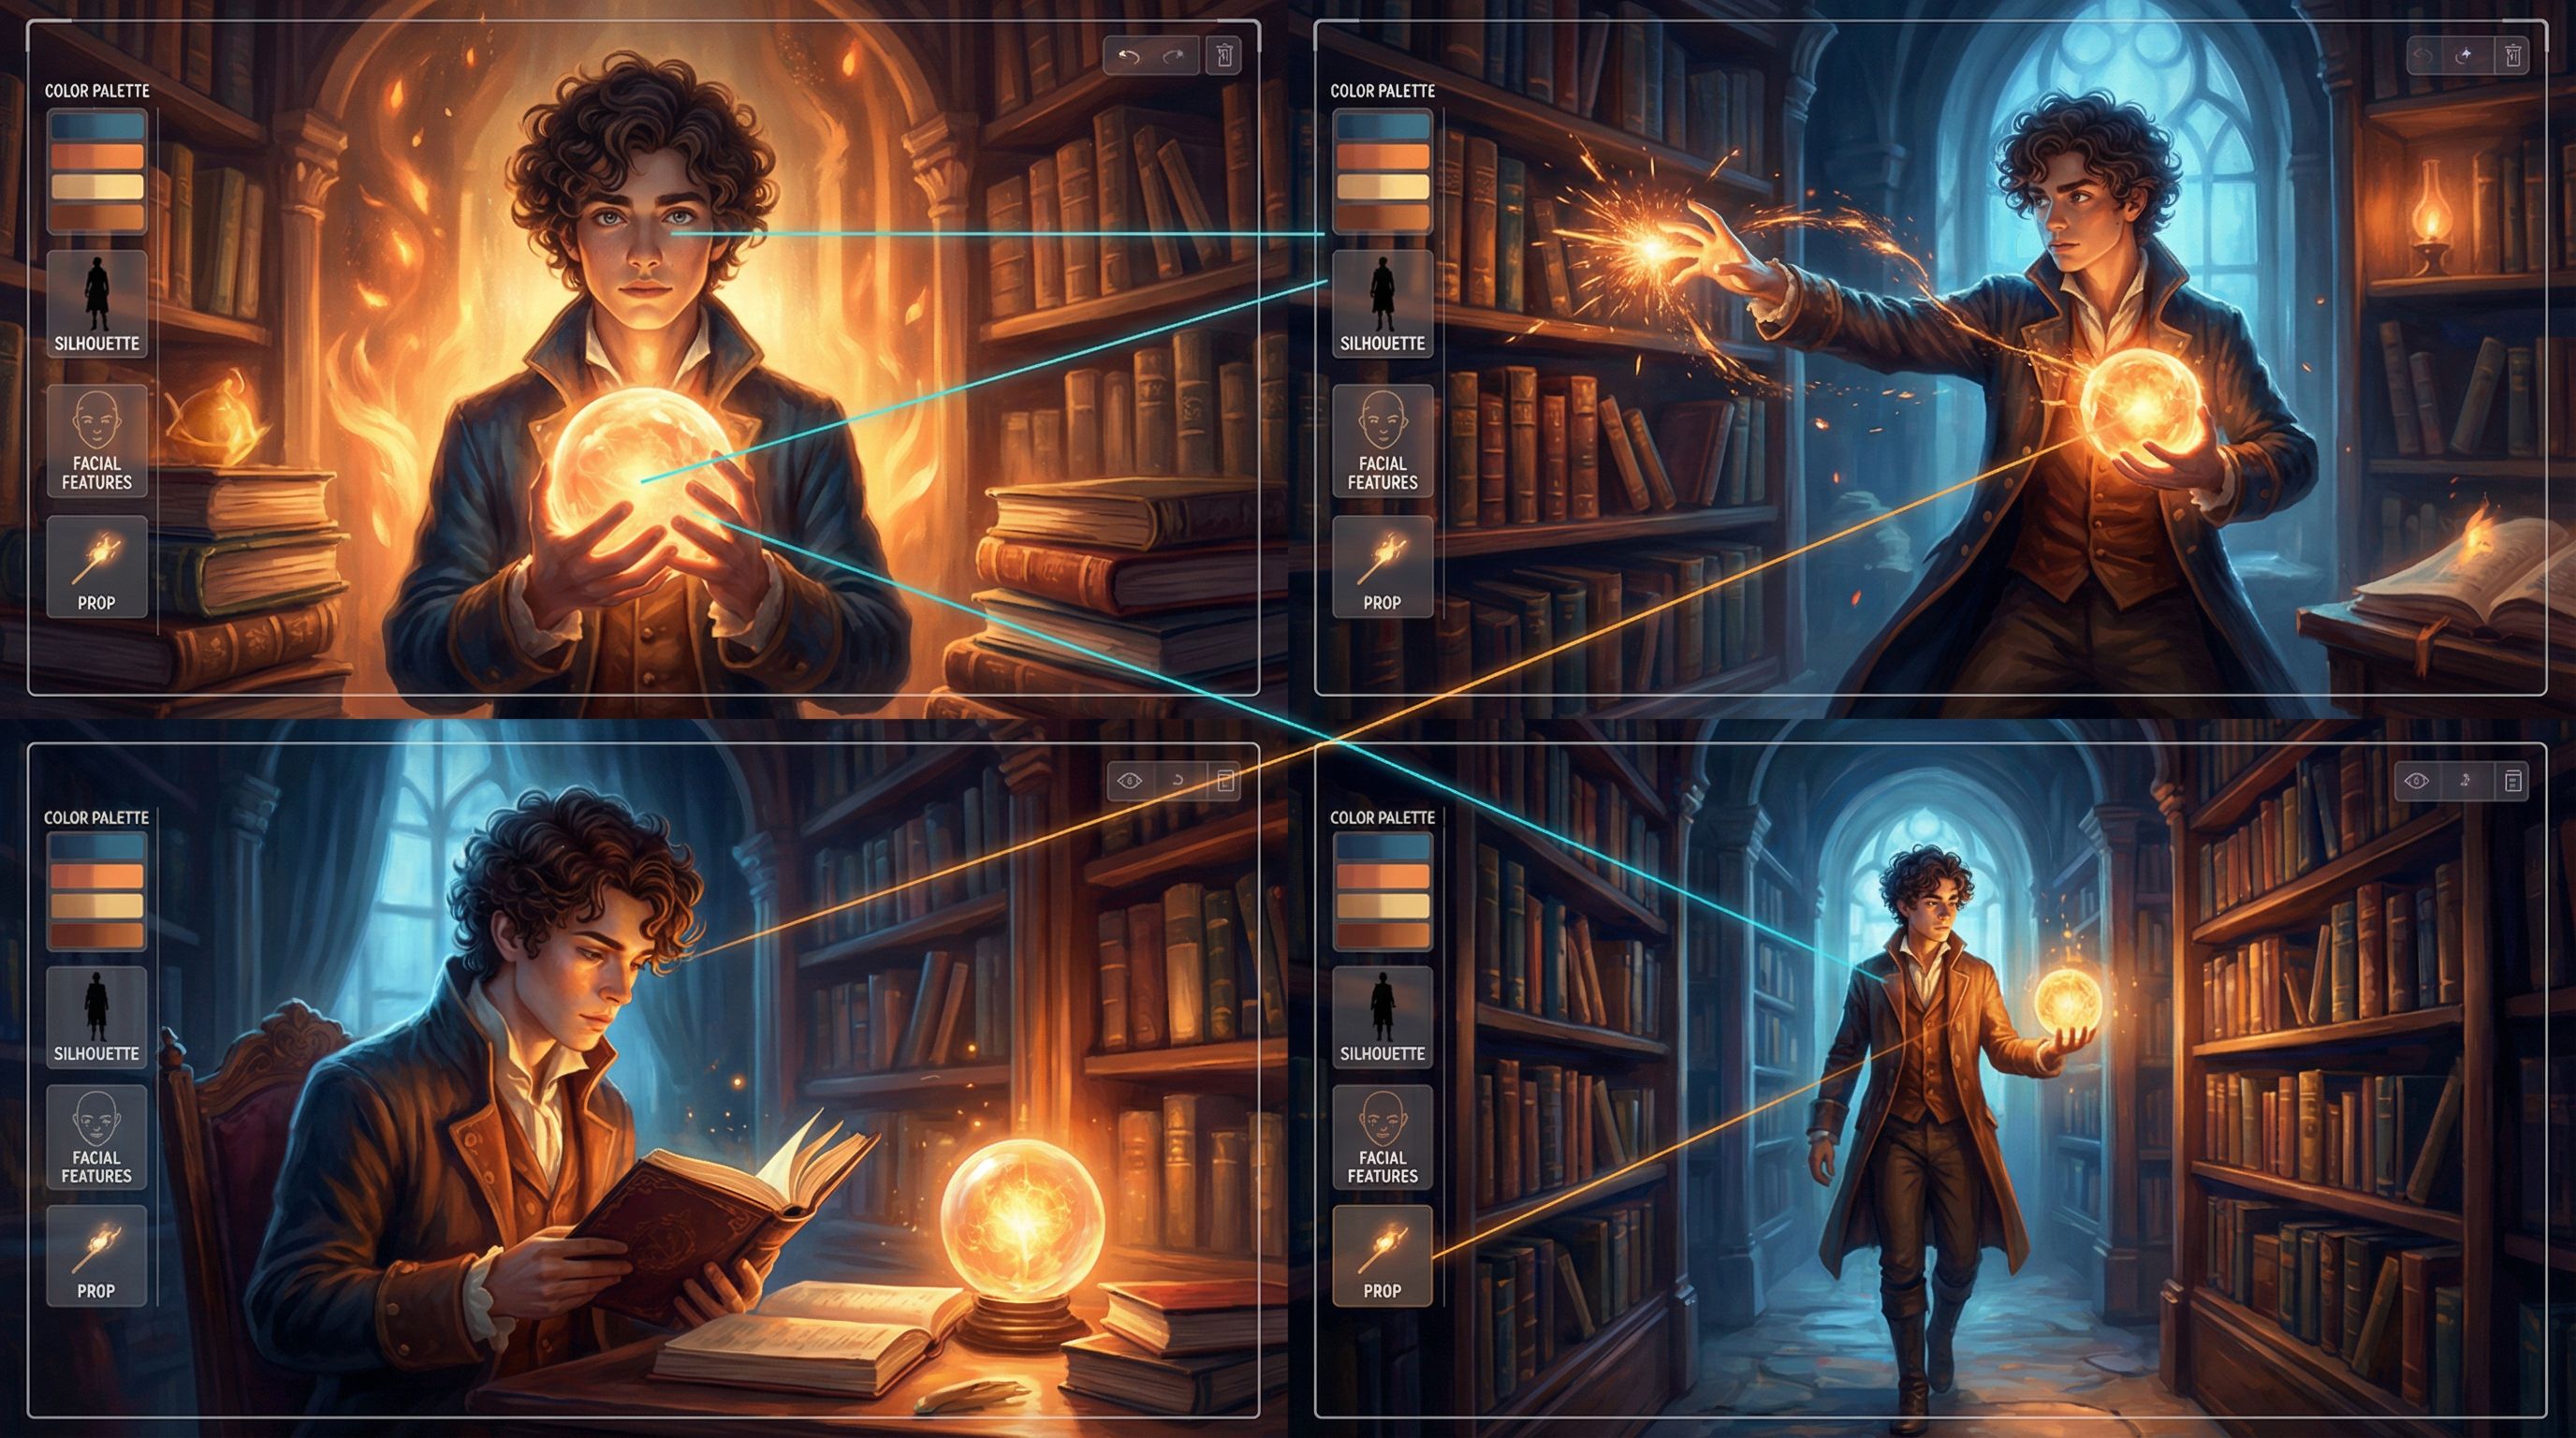
Step Two: Turn Descriptions into Reusable Prompt Templates
Once you’ve done your scouting, you’re ready to turn those notes into style chains.
A. Separate “Core” from “Context”
Every prompt should have:
- Core (unchanging) – identity, key visual traits, palette, recurring details.
- Context (changeable) – pose, emotion, action, camera angle, scene‑specific lighting.
Example for a character:
- Core:
30s Black woman detective, short coiled hair, sharp cheekbones, worn leather trench coat, subtle nose ring, tired but determined eyes, grounded realism, muted teal and amber palette - Context modifiers:
close-up, rain streaking down window behind her, looking suspiciously at off-screen figure
or
medium shot, standing in cluttered evidence room, pinboard with red string behind her, late-night fluorescent lighting
In Questas, you can store the core as a base style and then layer context modifiers per scene.
B. Use Reference Images Strategically
Reference images are powerful, but over‑reliance can backfire if you:
- Feed wildly different references into the same scene
- Mix aspect ratios and compositions without guidance
Better pattern:
- One primary reference per character or location in a scene.
- Keep aspect ratios consistent (e.g., 16:9 for cinematic scenes, 1:1 for character portraits).
- Use text prompts to adjust mood and action rather than swapping references constantly.
C. Lock in Global Style Choices
Decide early on:
- Rendering style: painterly, anime, graphic novel, photo‑real, low‑poly, etc.
- Camera language: handheld, tripod‑steady, wide‑angle, telephoto.
- Texture and grain: clean digital, film grain, halftone, watercolor wash.
These become part of your series‑level style chain—applied to nearly every image unless there’s a deliberate reason to break the rule (e.g., dream sequences, flashbacks).
For more on thinking like a director while you prompt, check out Writing with the Camera in Mind: Cinematic Techniques for Framing AI Images in Your Questas Scenes.

Step Three: Bake Style Chains into Your Questas Workflow
A style chain only works if it’s used consistently. That means integrating it into how you actually build.
A. Start from Templates, Not Blank Prompts
When you create a new scene in Questas:
- Choose the relevant style templates (character, location, prop) from your library.
- Add only the minimal context modifiers needed for this moment.
- Preview and adjust with small, deliberate edits rather than rewriting from scratch.
This shifts your mindset from “generate something new” to “generate a new instance of something established.”
B. Use Node Tags and Metadata
As your branching structure grows, it’s easy to lose track of which scenes feature which elements. Use:
- Tags like
CHAR_Maya,LOC_Alley,PROP_Compasson nodes. - Short notes in each node: which prompt template and reference image were used.
This makes it trivial to:
- Batch‑update prompts if you refine a character design.
- Audit a whole branch for visual continuity.
C. Standardize Aspect Ratios and Shot Types Per Node Type
Decide rules such as:
- Dialogue‑heavy scenes: medium shots, 16:9.
- Choice points: wider environmental shots to show options.
- Key emotional beats: close‑ups or extreme close‑ups.
Then, document those rules in your visual bible and apply them consistently in Questas. Your story will feel more like a cohesive series and less like a random gallery of cool images.
Step Four: Managing Change Across a Series
No matter how well you plan, you’ll want to evolve your visuals over time—especially across seasons or major arcs.
A. Version Your Style Chains
Instead of silently swapping prompts mid‑series, version them:
CHAR_Maya_v1– Season 1: rookie detective.CHAR_Maya_v2– Season 2: promoted, new haircut, updated wardrobe.
Document the narrative reason for each change. That way, if a Season 2 scene accidentally pulls a Season 1 style, you’ll catch it.
B. Use Diegetic Explanations for Big Shifts
If you deliberately change the look of a location or prop, tie it to the story:
- The city is rebuilding after a disaster.
- The artifact has awakened and changed form.
- The office has undergone a rebrand or renovation.
Because you’re working in an interactive medium, you can even branch on these changes: one path preserves the old look, another reveals the transformation.
C. Maintain a “Continuity Checklist” for Each Release
Before you ship a new episode or series:
- Scan all scenes featuring each main character. Do they look like the same person across branches?
- Walk through recurring locations in order. Does the lighting, architecture, and palette feel coherent?
- Check every hero prop appearance. Is the silhouette and scale consistent?
A 20–30 minute continuity pass can save you hours of patching later.
Avoiding Common Visual Pitfalls
Even experienced creators run into a few recurring traps. Here’s how to sidestep them.
Overloaded Prompts
Stuffing every detail into one mega‑prompt often leads to muddy, inconsistent results.
Do instead:
- Keep the core concise and clear.
- Move secondary details into context modifiers or separate templates.
Style Drift Across Collaborators
If multiple writers or artists are building in the same Questas project, small differences in wording can snowball.
Do instead:
- Share the same visual bible and templates.
- Agree on a small set of approved style chains per character/location.
If you’re collaborating closely with AI on the writing side as well, you might pair these practices with workflows from AI as Co‑Writer, Not Ghostwriter: Collaborative Writing Workflows for Complex Questas Plots (/ai-as-cowriter-not-ghostwriter-collaborative-writing-workflows).
Visual Tropes and Stereotypes
AI models are trained on messy human data. If you’re not careful, you can accidentally reinforce harmful clichés.
Do instead:
- Be intentional about representation in your style chains.
- Avoid defaulting to stereotypical clothing, body types, or settings for specific roles.
- Regularly audit your visuals for patterns you didn’t mean to encode.
For a deeper dive into this, see AI Visual Etiquette: Avoiding Tropes, Stereotypes, and Overload in Image-Heavy Questas Stories.
Bringing It All Together: Style Chains as Storytelling Tools
AI style chains aren’t just a production hack. They’re a storytelling tool.
When your visuals are consistent:
- Character arcs land harder. You can see the same face endure different outcomes across branches.
- Themes feel more intentional. Recurring colors, props, and locations become visual motifs.
- Players trust the world. They stop questioning whether an image “belongs” and focus on the choices they’re making.
And because Questas gives you a visual, no‑code canvas for both branching structure and AI media, you don’t need a game studio to pull this off. You need a clear visual bible, a handful of well‑designed style chains, and the discipline to use them.
Quick Recap
If you skimmed, here’s the essence:
- Define before you generate. Cast your characters, scout your locations, and design hero props before building scenes.
- Separate core from context. Keep identity and style stable; vary pose, emotion, and lighting per scene.
- Template everything. Turn your best prompts and reference images into reusable style chains in Questas.
- Track usage. Use tags, metadata, and versioning so you always know which chain you’re invoking.
- Evolve intentionally. When visuals change, tie it to the story and version your chains.
- Audit for continuity and ethics. Run a visual pass for consistency and watch for unintentional tropes.
Your Next Move
If you’re already building in Questas, your next step is simple:
- Pick one ongoing or planned series.
- Create a mini visual bible for just:
- 2 main characters
- 1 recurring location
- 1 key prop
- Turn those into style chain templates inside your project.
- Regenerate a handful of existing scenes using the new chains and compare.
You’ll feel the difference immediately. The world tightens. Characters feel like themselves. Props stop shapeshifting.
And once you’ve seen what a small amount of visual discipline can do for one storyline, you’ll be ready to scale that approach across your entire Adventure Awaits! universe.
Start small, standardize what works, and let your style chains quietly hold your storyworld together while your players explore every branch.