AI as Location Scout: Rapidly Prototyping Believable Worlds and Setpieces for Your Questas


When you think about building an interactive story, you probably picture characters and choices first. But what actually makes your adventure feel real are the places: the creaking space station corridor, the neon‑washed alley, the HR manager’s cramped office before a tough conversation.
Those locations don’t just decorate your story—they drive it. And that’s where AI can quietly become your best location scout.
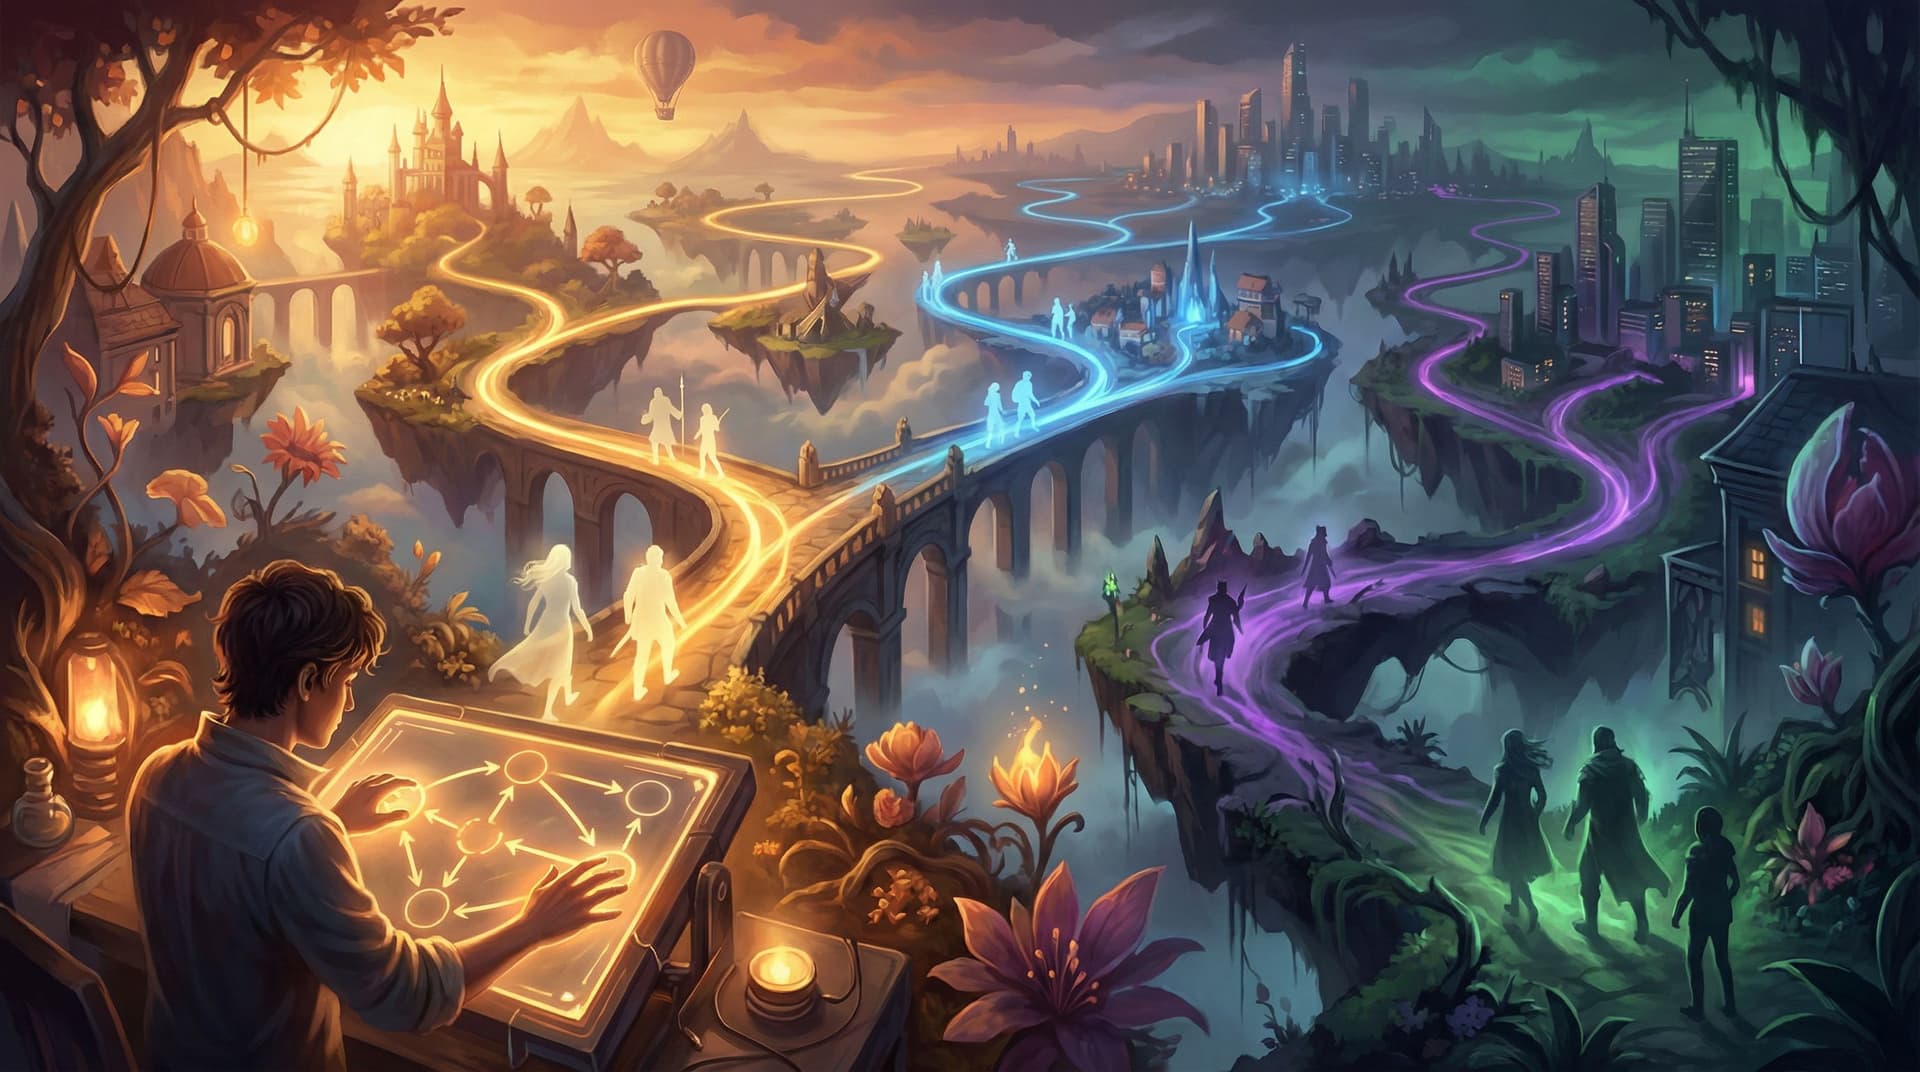
With platforms like Questas, you’re not just writing scenes; you’re designing playable worlds. AI image and video generation turns that worldbuilding into something you can iterate on in hours instead of weeks—if you learn to use it like a scout, not a slot machine.
This post is a practical guide to doing exactly that: using AI to rapidly prototype believable worlds and setpieces that feel coherent, reusable, and deeply tied to player choices.
Why Locations Matter More Than You Think
Before we get tactical, it’s worth grounding why you should care about locations at all.
Believable locations:
- Anchor player expectations. A cluttered detective’s office signals a different tone and set of choices than a gleaming corporate boardroom.
- Carry emotional weight. Returning to the same hallway after a betrayal feels different than visiting it for the first time.
- Make branches legible. If each branch leads to a distinct place—with its own look and feel—players better understand how their decisions shape the journey.
- Turn abstract concepts into concrete experiences. A “performance review framework” is abstract. Sitting in a virtual meeting room choosing how to respond to your manager is visceral.
If you want a deeper dive into how visuals support worldbuilding across many scenes, check out Beyond DALL·E and Midjourney: Evaluating AI Art Tools for Building Rich Questas Worlds. It pairs nicely with what we’ll cover here.
Think Like a Location Scout, Not a Prompt Goblin
A real-world location scout doesn’t start by snapping random photos. They start with:
- The story beats they need to support
- The mood and genre
- The logistics: where characters enter, exit, hide, confront, or discover things
You can bring that same discipline into your Questas projects.
Step 1: Define Your “Location Spine”
Before you open any AI tool, list 5–10 core locations that your story truly depends on.
Ask:
- Where do the most important decisions happen?
Boardroom, rooftop, interrogation room, forest clearing, training simulator, etc. - Where do players return to?
A home base, a hub, a recurring office, a central plaza. - Where does the story change direction?
The first crime scene, the border checkpoint, the moment they cross the threshold into the dungeon.
You don’t need every alley and side room yet—just the spine.
Then, for each location, write a one‑sentence “job description”:
- “The rooftop garden where alliances are forged and broken at night.”
- “The cramped compliance office where employees decide whether to report a violation.”
- “The neon ramen bar that serves as the hub between missions.”
These job descriptions will guide your prompts and your branching.
Step 2: Choose a Visual Language That Fits Your Use Case
Your locations should feel like they belong to the same story. That means:
- Consistent medium: 3D render, painterly, graphic novel, watercolor, photorealistic, etc.
- Consistent camera work: mostly wide shots vs. intimate close‑ups.
- Consistent color logic: cold for corporate scenes, warm for safe spaces, saturated for magical moments.
If you’re planning a multi‑episode series or a large training program, pair this with AI Style Chains: Keeping Characters, Locations, and Props Consistent Across a Questas Series. That post walks through building reusable style recipes you can apply to every new location.
Building a Location in Layers: From Sketch to Playable Setpiece
Instead of trying to get a “perfect” image in one shot, treat each location like a layered prototype.
Layer 1: Establish the Room (or Space)
Your first goal is readability, not detail.
Focus prompts on:
- Type of space: office, alley, throne room, break room, training dojo, call center floor.
- Layout: long corridor, circular chamber, cramped cubicles, open-plan with glass walls.
- Primary mood: tense, cozy, sterile, ominous, hopeful.
Example prompt structure:
“Wide shot of a [type of room], [layout description], [lighting], [mood], [visual style].”
Once you have a clear layout, ask:
- Can a player instantly tell where they are and what might happen here?
- Is there a clear sense of entrances/exits, focal points, and areas of interest?
If not, tweak layout words before worrying about props.
Layer 2: Add Story‑Specific Details
Next, bake in the clues and storytelling hooks.
Think in categories:
- Props that matter to choices: contract folders, magical artifacts, surveillance monitors, training dummies, whiteboards full of sticky notes.
- Status signals: luxury furniture vs. folding chairs, clutter vs. minimalist, high‑end tech vs. outdated hardware.
- Cultural context: signage language, decor traditions, clothing on background characters.
Update your prompt:
“Wide shot of a cramped HR office with two mismatched chairs facing a desk stacked with performance review folders, soft afternoon light, tense mood, semi‑realistic illustration.”
Use this iteration to embed everything the player needs to feel the stakes of upcoming choices.
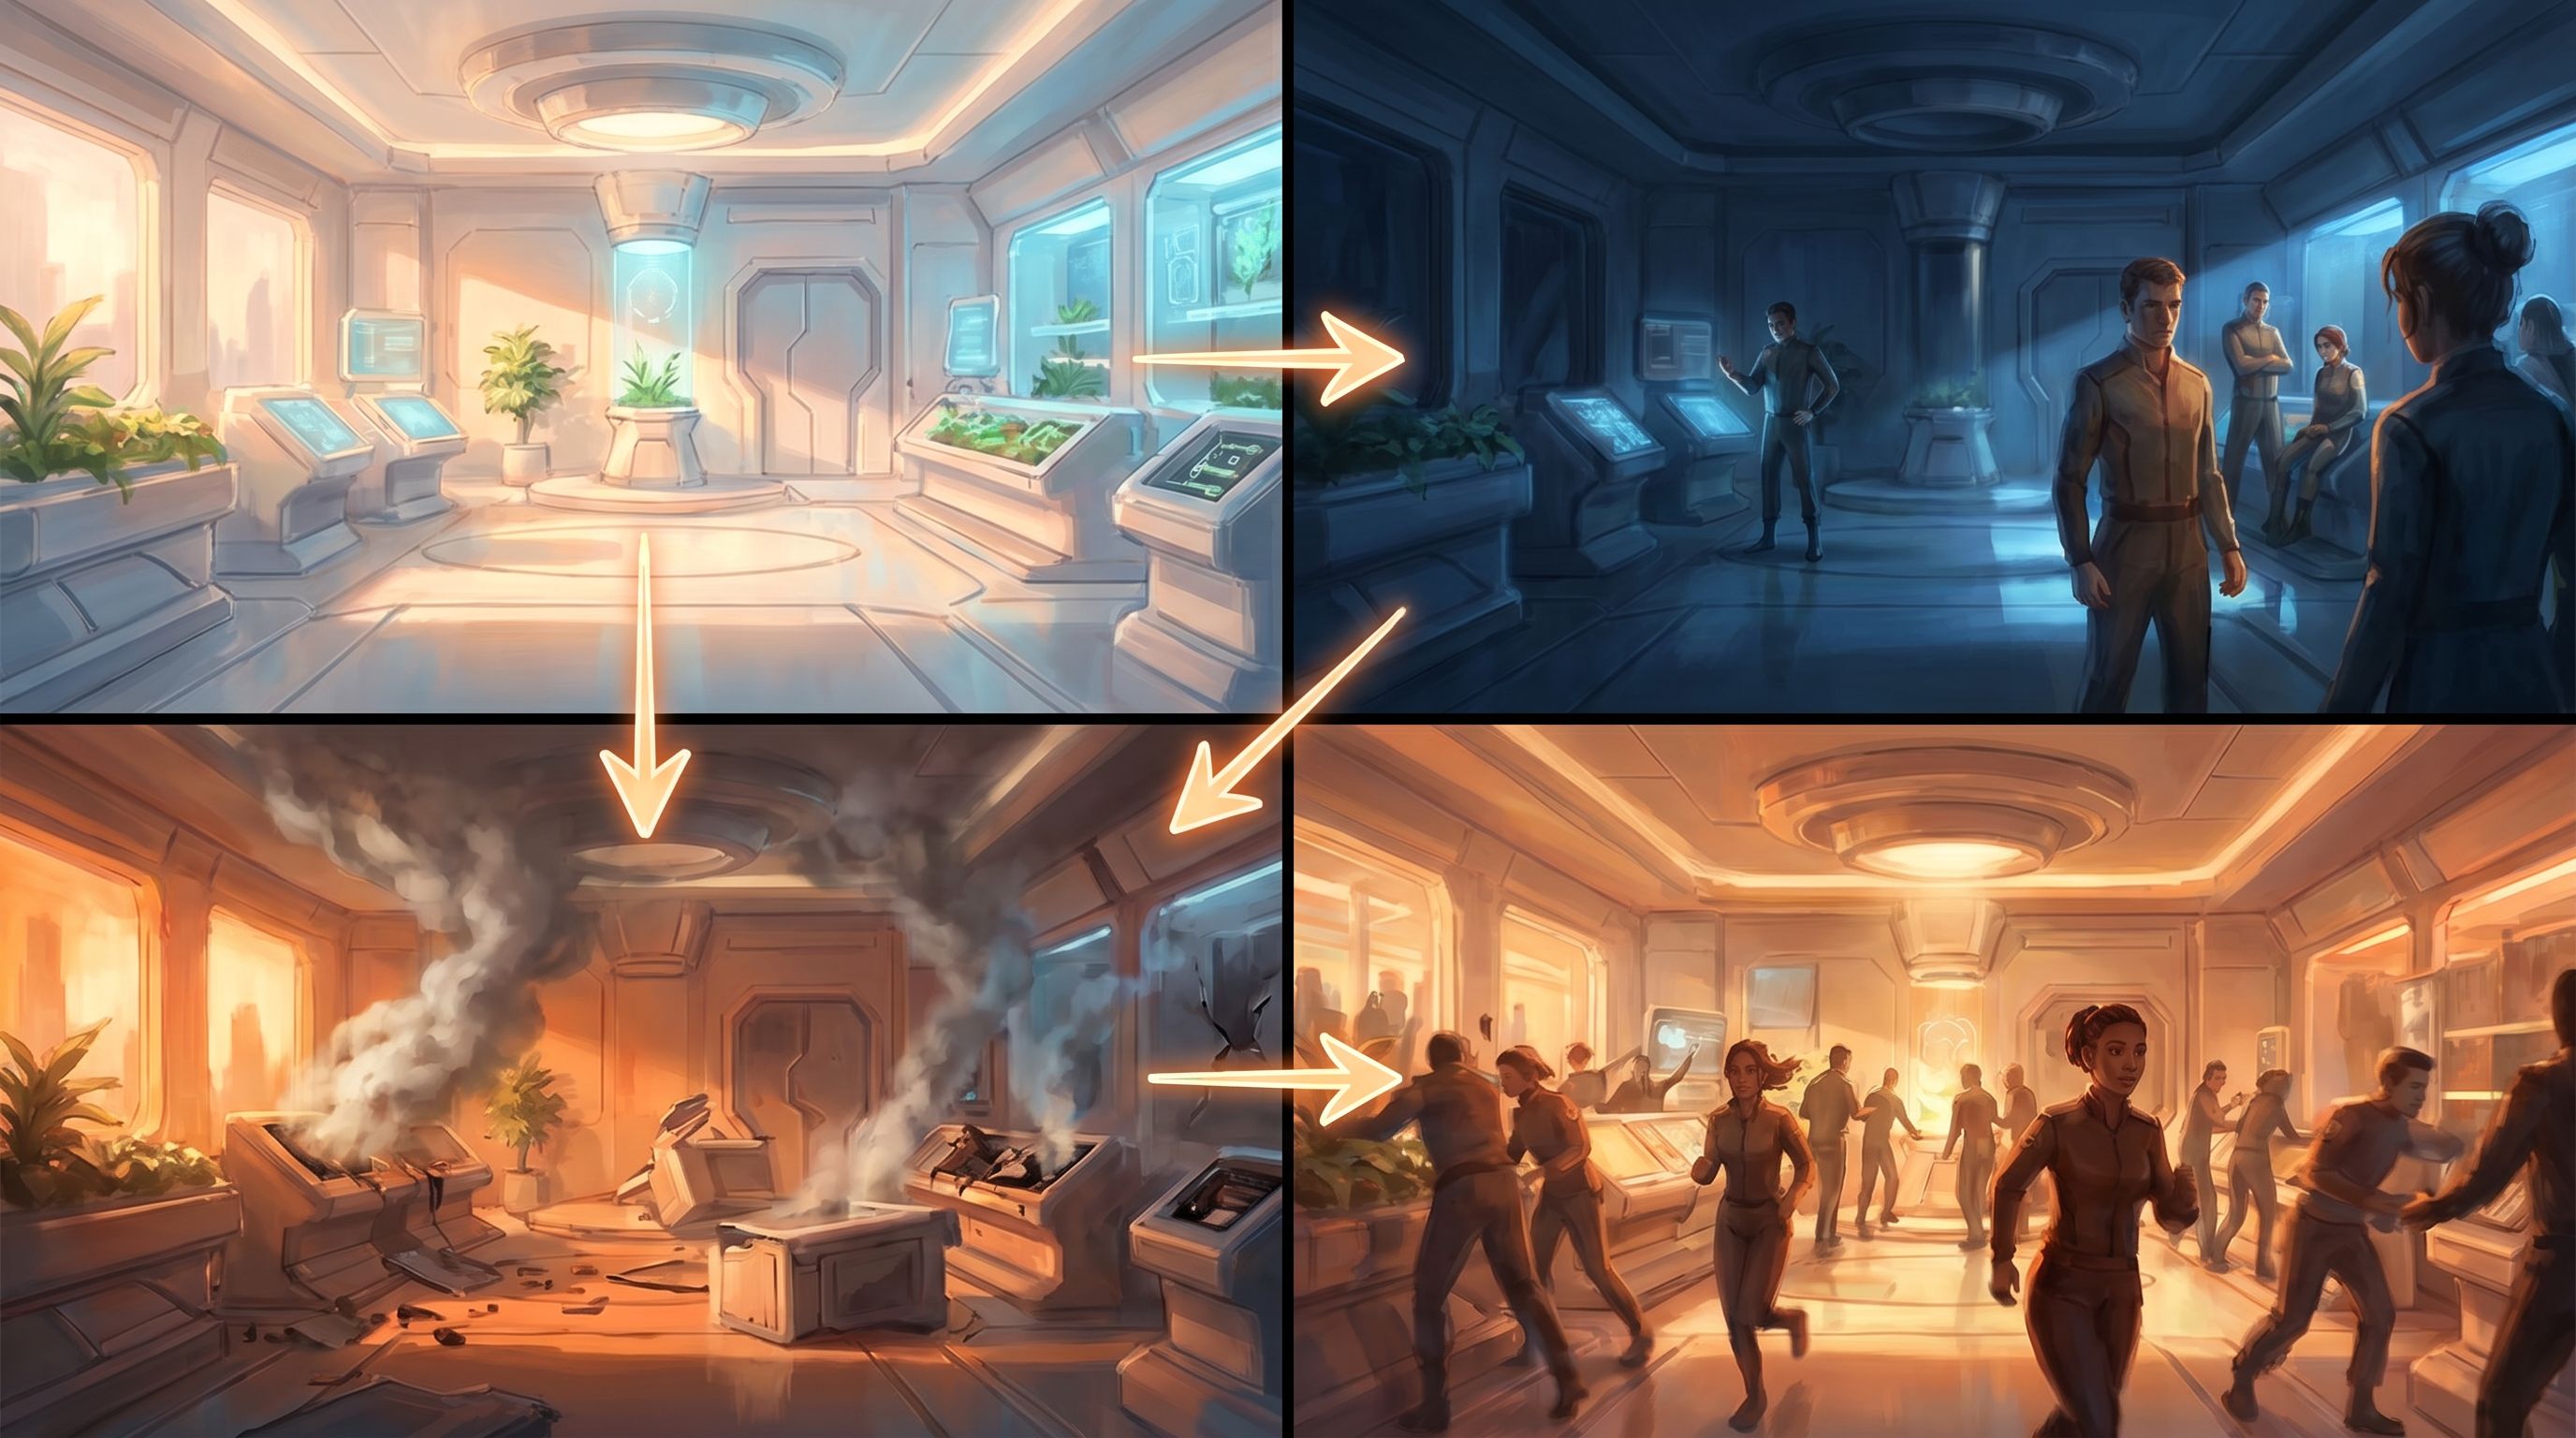
Layer 3: Tune for Branches and Reuse
A great setpiece isn’t one‑and‑done. It’s reusable:
- The same office during daylight vs. late at night.
- The training room before and after a disastrous exercise.
- The alley empty, then later crowded with bystanders and police tape.
Once you like your base scene, create variants:
- Lighting shifts: dawn, noon, dusk, midnight.
- Population changes: empty, one key character, full crowd.
- State changes: clean vs. damaged, orderly vs. chaotic.
These variants become visual anchors for different branches in your Questas node map.
Mapping Locations to Your Questas Structure
Once you’ve got a handful of strong locations, it’s time to wire them into your story graph.
Use Locations as Structural “Beats”
In the Questas editor, think of locations as recurring nodes or clusters, not single one‑off images.
For example:
- Hub location:
A central bar, office, or command room players visit between missions or chapters. - Decision arenas:
Spaces where key choices always happen—interrogation room, boardroom, council chamber. - Climaxes:
A rooftop, courtroom, final dungeon chamber, or virtual arena.
You might:
- Create a location tag or naming convention in your node titles (e.g.,
HUB: Ramen Bar – First Visit,HUB: Ramen Bar – After Betrayal). - Reuse the same base image with slight variations to signal story progress.
This keeps your world coherent and makes your graph easier to navigate.
Design “Location Arcs,” Not Just Story Arcs
Ask how each key location changes over time:
- The training room starts pristine, then gains scorch marks, broken equipment, and caution tape as players make mistakes.
- The sales war room goes from empty whiteboard to walls covered in sticky notes, deal statuses, and competitor logos.
- The fantasy village square shifts from festival decorations to boarded‑up windows after an attack.
You can prototype these arcs quickly with AI:
- Generate the baseline.
- Prompt variants that reflect each major story event.
- Map those variants to the branches where those events happen.
If you’re building training or workplace scenarios, Scenario-First Story Design: Building Training Questas That Start with Real-World Decisions is a great companion read—it helps you identify the key decision moments that should drive those location arcs.
Practical Prompt Patterns for Strong Setpieces
Here are some reusable prompt templates you can adapt to your favorite AI image tool.
1. The High‑Stakes Meeting Room
Use for: negotiations, performance reviews, disciplinary conversations, board decisions.
Prompt pattern:
“Medium‑wide shot of a [size] meeting room with [table description] and [number] chairs, [view out the window or lack of windows], [lighting], subtle details like [props that hint at stakes], [visual style].”
Example:
“Medium‑wide shot of a small meeting room with a cheap rectangular table and three plastic chairs, no windows, harsh fluorescent lighting, subtle details like a stack of HR forms and a box of tissues on the table, semi‑realistic illustration.”
2. The Investigative Hub
Use for: detectives, journalists, product teams, researchers.
Prompt pattern:
“Wide shot of a cluttered workspace with [key surfaces] covered in [evidence/notes/diagrams], walls pinned with [photos/maps], screens showing [data or feeds], [lighting], [mood], [style].”
Example:
“Wide shot of a cluttered newsroom corner with desks covered in printed articles and sticky notes, wall pinned with a big investigation board of photos and red string, multiple monitors showing news feeds, warm desk lamp lighting against a dark room, gritty graphic novel style.”
3. The Training Arena
Use for: sales roleplays, HR practice conversations, compliance drills, combat simulations.
Prompt pattern:
“Wide shot of a [type] training space with [equipment or furniture], clear central area where people would stand or practice, [observers or cameras], [lighting], [style].”
Example:
“Wide shot of a modern call center training space with rows of empty desks and headsets, a central area with two chairs facing each other for roleplay, a large screen on the wall showing a customer satisfaction dashboard, bright even lighting, clean corporate illustration style.”

Playtesting Your Worlds Like a Director
Once your locations are wired into Questas, it’s time to see if they work.
Run a “Location-Only” Playthrough
Before obsessing over line edits, do a pass where you:
- Click through your story focusing almost entirely on visual flow.
- Ask: Does each transition between locations make sense emotionally and logically?
- Note any jarring jumps where the setting doesn’t match the text or the stakes.
Questions to check:
- Does the tone of the image match the tone of the moment?
- Are there visual callbacks that reward attentive players (e.g., a prop that reappears)?
- Do returning locations feel evolved, not copy‑pasted?
Invite Testers to “Walk the Set”
Share an early version with a few trusted testers and give them a specific brief:
“Ignore the exact wording for now. Just tell me where the places feel confusing, inconsistent, or emotionally off.”
Ask them:
- Which locations felt most memorable and why?
- Where did they lose track of where they were?
- Which locations would they like to revisit with different choices?
Use that feedback to:
- Merge redundant locations.
- Clarify confusing spaces (e.g., adjust camera angle or layout).
- Add variants where emotional beats need more contrast.
Using AI Locations Beyond Fiction
AI‑assisted location scouting isn’t just for fantasy epics or sci‑fi heists. It’s incredibly useful in more grounded Questas use cases:
-
Product marketing:
Visualize different customer environments—home office vs. factory floor vs. hospital ward—and let prospects “test‑drive” your product in each. See Branching Narratives for Product Marketing: Let Prospects ‘Test-Drive’ Your Value Prop in Questas for concrete patterns. -
HR and onboarding:
Turn policies into playable journeys across meeting rooms, Slack channels, and shop floors instead of walls of text. -
Sales enablement:
Let reps rehearse objections in varied environments: Zoom calls, conference booths, C‑suite offices. -
Education and training:
Represent labs, field sites, historical locations, or simulated control rooms your learners might never visit in person.
In each case, locations help learners and players transfer what they see in Questas back into their real contexts.
Quick Checklist: Is Your World Ready?
Before you hit publish, run through this:
Location coverage
- [ ] I’ve identified 5–10 core locations that carry most of my story.
- [ ] Each major decision happens in a clearly defined space.
Visual coherence
- [ ] My locations share a consistent medium, mood, and approximate style.
- [ ] Returning locations have visual variants that reflect story changes.
Story integration
- [ ] Props and details in each location support the choices and stakes.
- [ ] My node titles or tags make it easy to see where each scene takes place.
Playtest feedback
- [ ] I’ve done a location‑only playthrough of my Questas story.
- [ ] At least one tester has walked the set and given me location‑focused feedback.
If you can check most of these boxes, you’re well on your way to a world that feels intentional rather than random.
Wrapping Up
AI can absolutely churn out infinite backdrops—but that’s not the point. Used well, it becomes your location scout, production designer, and storyboard artist rolled into one, helping you:
- Discover the right spaces for your story’s biggest decisions
- Iterate on mood, layout, and props in hours, not weeks
- Keep locations coherent across branches and episodes
- Make your Questas stories feel grounded, memorable, and replayable
The magic happens when you stop treating images as decoration and start treating locations as core story systems.
Your Next Step
Don’t try to redesign an entire universe at once. Instead:
- Pick one story idea you’ve been sitting on—fiction, training, sales, onboarding, anything.
- List 5 core locations it truly needs.
- For each one, write a one‑sentence job description and generate one baseline image and one variant.
- Drop those into a tiny Questas prototype—just a handful of nodes—and share it with one friend or colleague.
By the end of an evening, you’ll have something concrete: a playable slice of a world that feels real enough to explore.
From there, you’re not staring at a blank page anymore. You’re walking your own set, deciding what to shoot next.
Adventure awaits—go scout your first world.