The New Visual Writer’s Room: Building a Shared Prompt, Style, and Canon Bible for Questas Teams


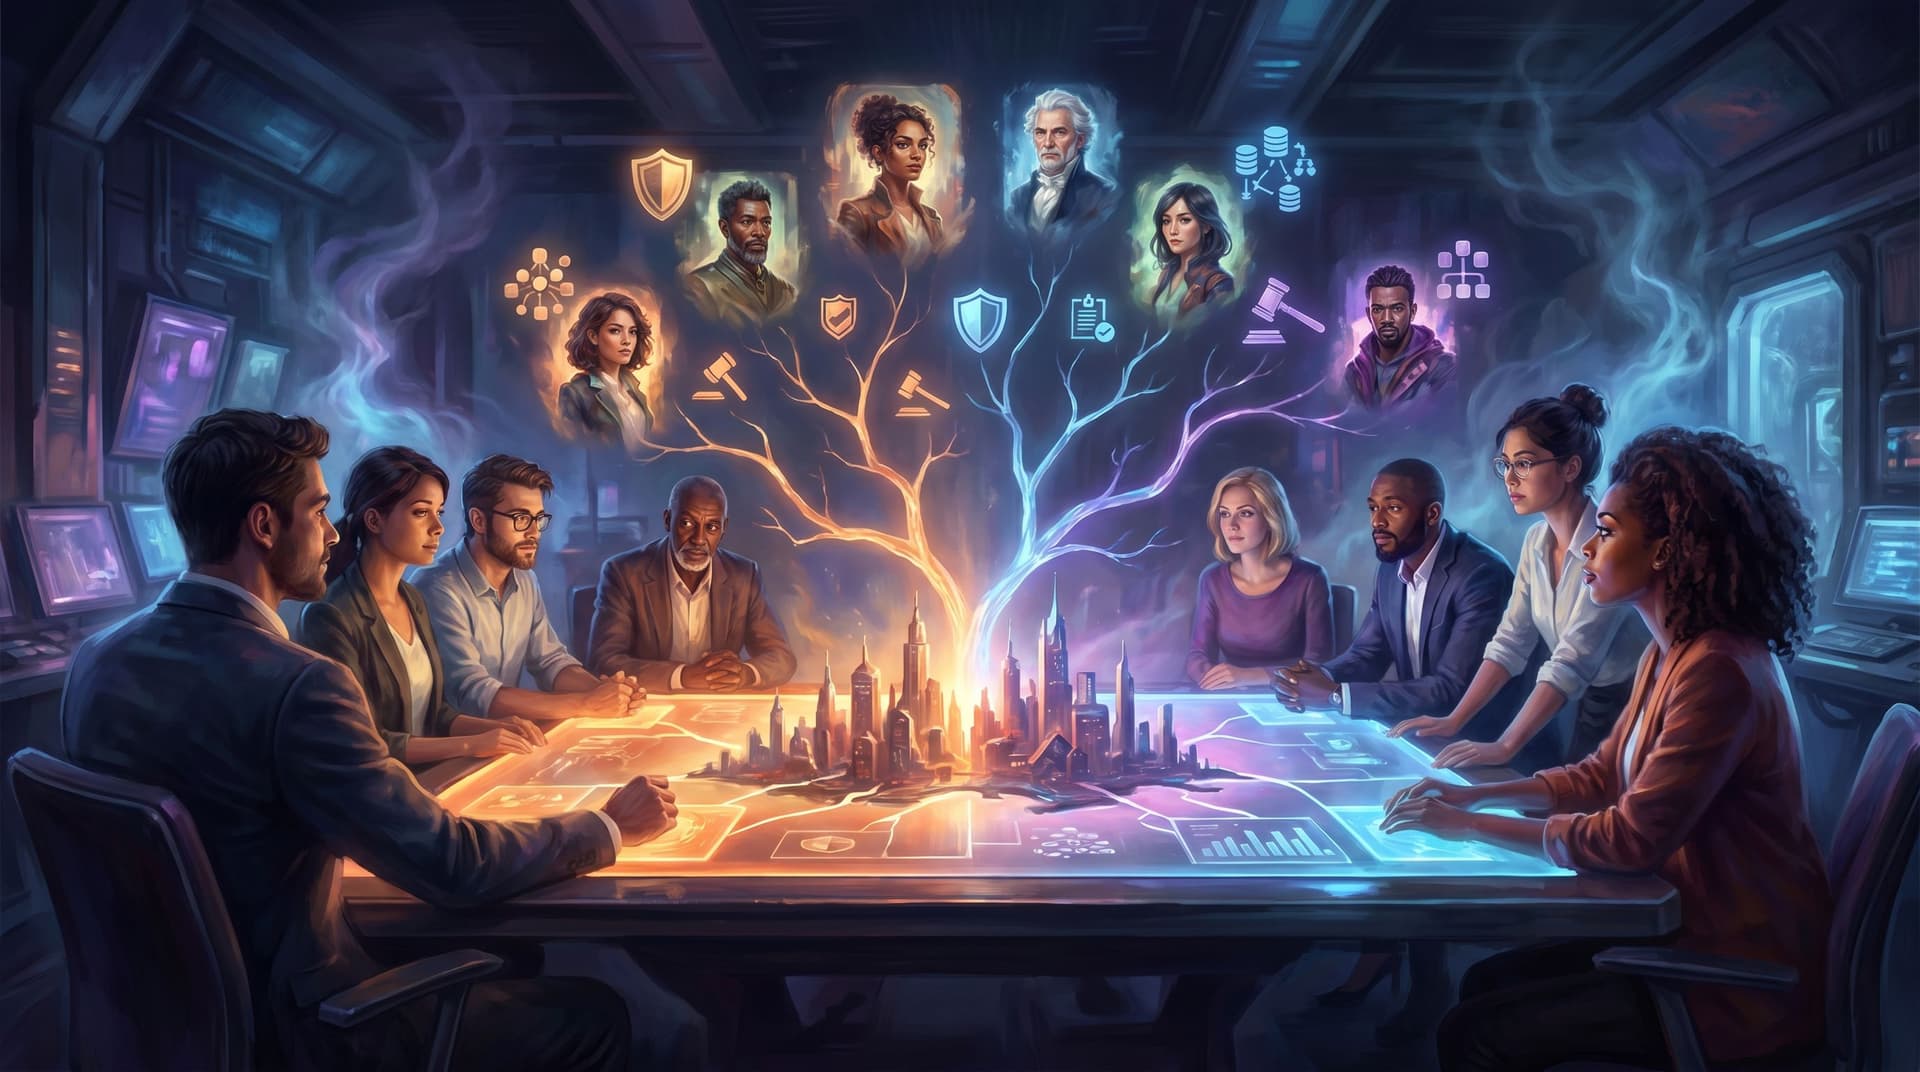
When you move from solo tinkering to a true team build on Questas, everything changes.
Suddenly, it’s not just your vision of a character, a city, or a crisis scenario. You’ve got:
- Multiple writers drafting branches.
- Facilitators and SMEs tweaking outcomes.
- Visual folks dialing in AI prompts for images and video.
- Stakeholders who care about accuracy, ethics, and brand.
Without a shared source of truth, your storyworld can start to fracture:
- The same mentor character looks like three different people.
- A key location jumps between art styles from scene to scene.
- Tone whiplash: one branch is snarky satire; another reads like corporate policy.
- AI outputs drift into bias or content you never intended.
That’s where a shared prompt, style, and canon bible becomes your secret weapon—a living, visual writer’s room your whole team can lean on while building in Questas.
This post is about how to build that system so it’s:
- Practical enough to actually use.
- Specific enough to keep visuals and tone consistent.
- Flexible enough to evolve as your quest grows.
Why a Shared Bible Matters for Visual, Branching Stories
Traditional TV writers’ rooms have show bibles: documents that define the world, characters, rules, and tone. In a visual, AI-assisted, branching environment, you need that and more.
1. Consistency Across Dozens of Paths
Branching stories multiply everything:
- More scenes.
- More combinations of characters.
- More edge cases.
A shared bible keeps your world coherent even when players take wildly different routes. They should feel like they’re exploring one unified universe, not hopping between unrelated experiments.
2. Faster, Cleaner Collaboration
When everyone is aligned on prompts, style, and canon:
- New team members ramp faster.
- Visuals don’t need endless rounds of “closer… but not quite.”
- Writers can trust that a character’s backstory or a policy rule won’t be contradicted three scenes later.
This is especially important if you’re working in a distributed setup or running a live collaborative quest room. If you haven’t explored that model yet, you might like to read about how teams co‑write and co‑prompt together in The Collaborative Quest Room: How Distributed Teams Co‑Write, Co‑Prompt, and Co‑Playtest Questas in Real Time.
3. Guardrails for Ethics and Safety
When AI is helping generate content, you’re not just asking, “Is this cool?” You’re also asking:
- Is this fair?
- Is this safe for our audience?
- Does this reinforce or challenge harmful tropes?
Your bible is where you codify those answers. It should work hand‑in‑hand with any guardrails you’ve already defined for your world. If you’re still figuring that out, check out Ethical AI Worldbuilding: Setting Guardrails for Safer, Fairer Questas Story Universes.
4. Visual Systems That Scale
AI images and video are powerful—but also fickle. A tiny prompt change can flip:
- Lighting and color palette.
- Character age and body type.
- The entire mood of a scene.
A shared visual system (prompts, reference shots, style constraints) keeps your world visually stable as you add episodes, branches, or spin‑off quests. For a deep dive on this, see From Style Guide to Shot List: Building Reusable Visual Systems for Ongoing Questas Series.
The Three Pillars of Your Questas Writer’s Room Bible
Think of your bible as three intertwined layers:
- Prompt Bible – The language and patterns you use to talk to AI.
- Style Bible – The look, feel, and tone of your world.
- Canon Bible – The facts, rules, and “what’s true” in your universe.
We’ll walk through how to build each one, then show how to stitch them together into a shared system your team can actually maintain.

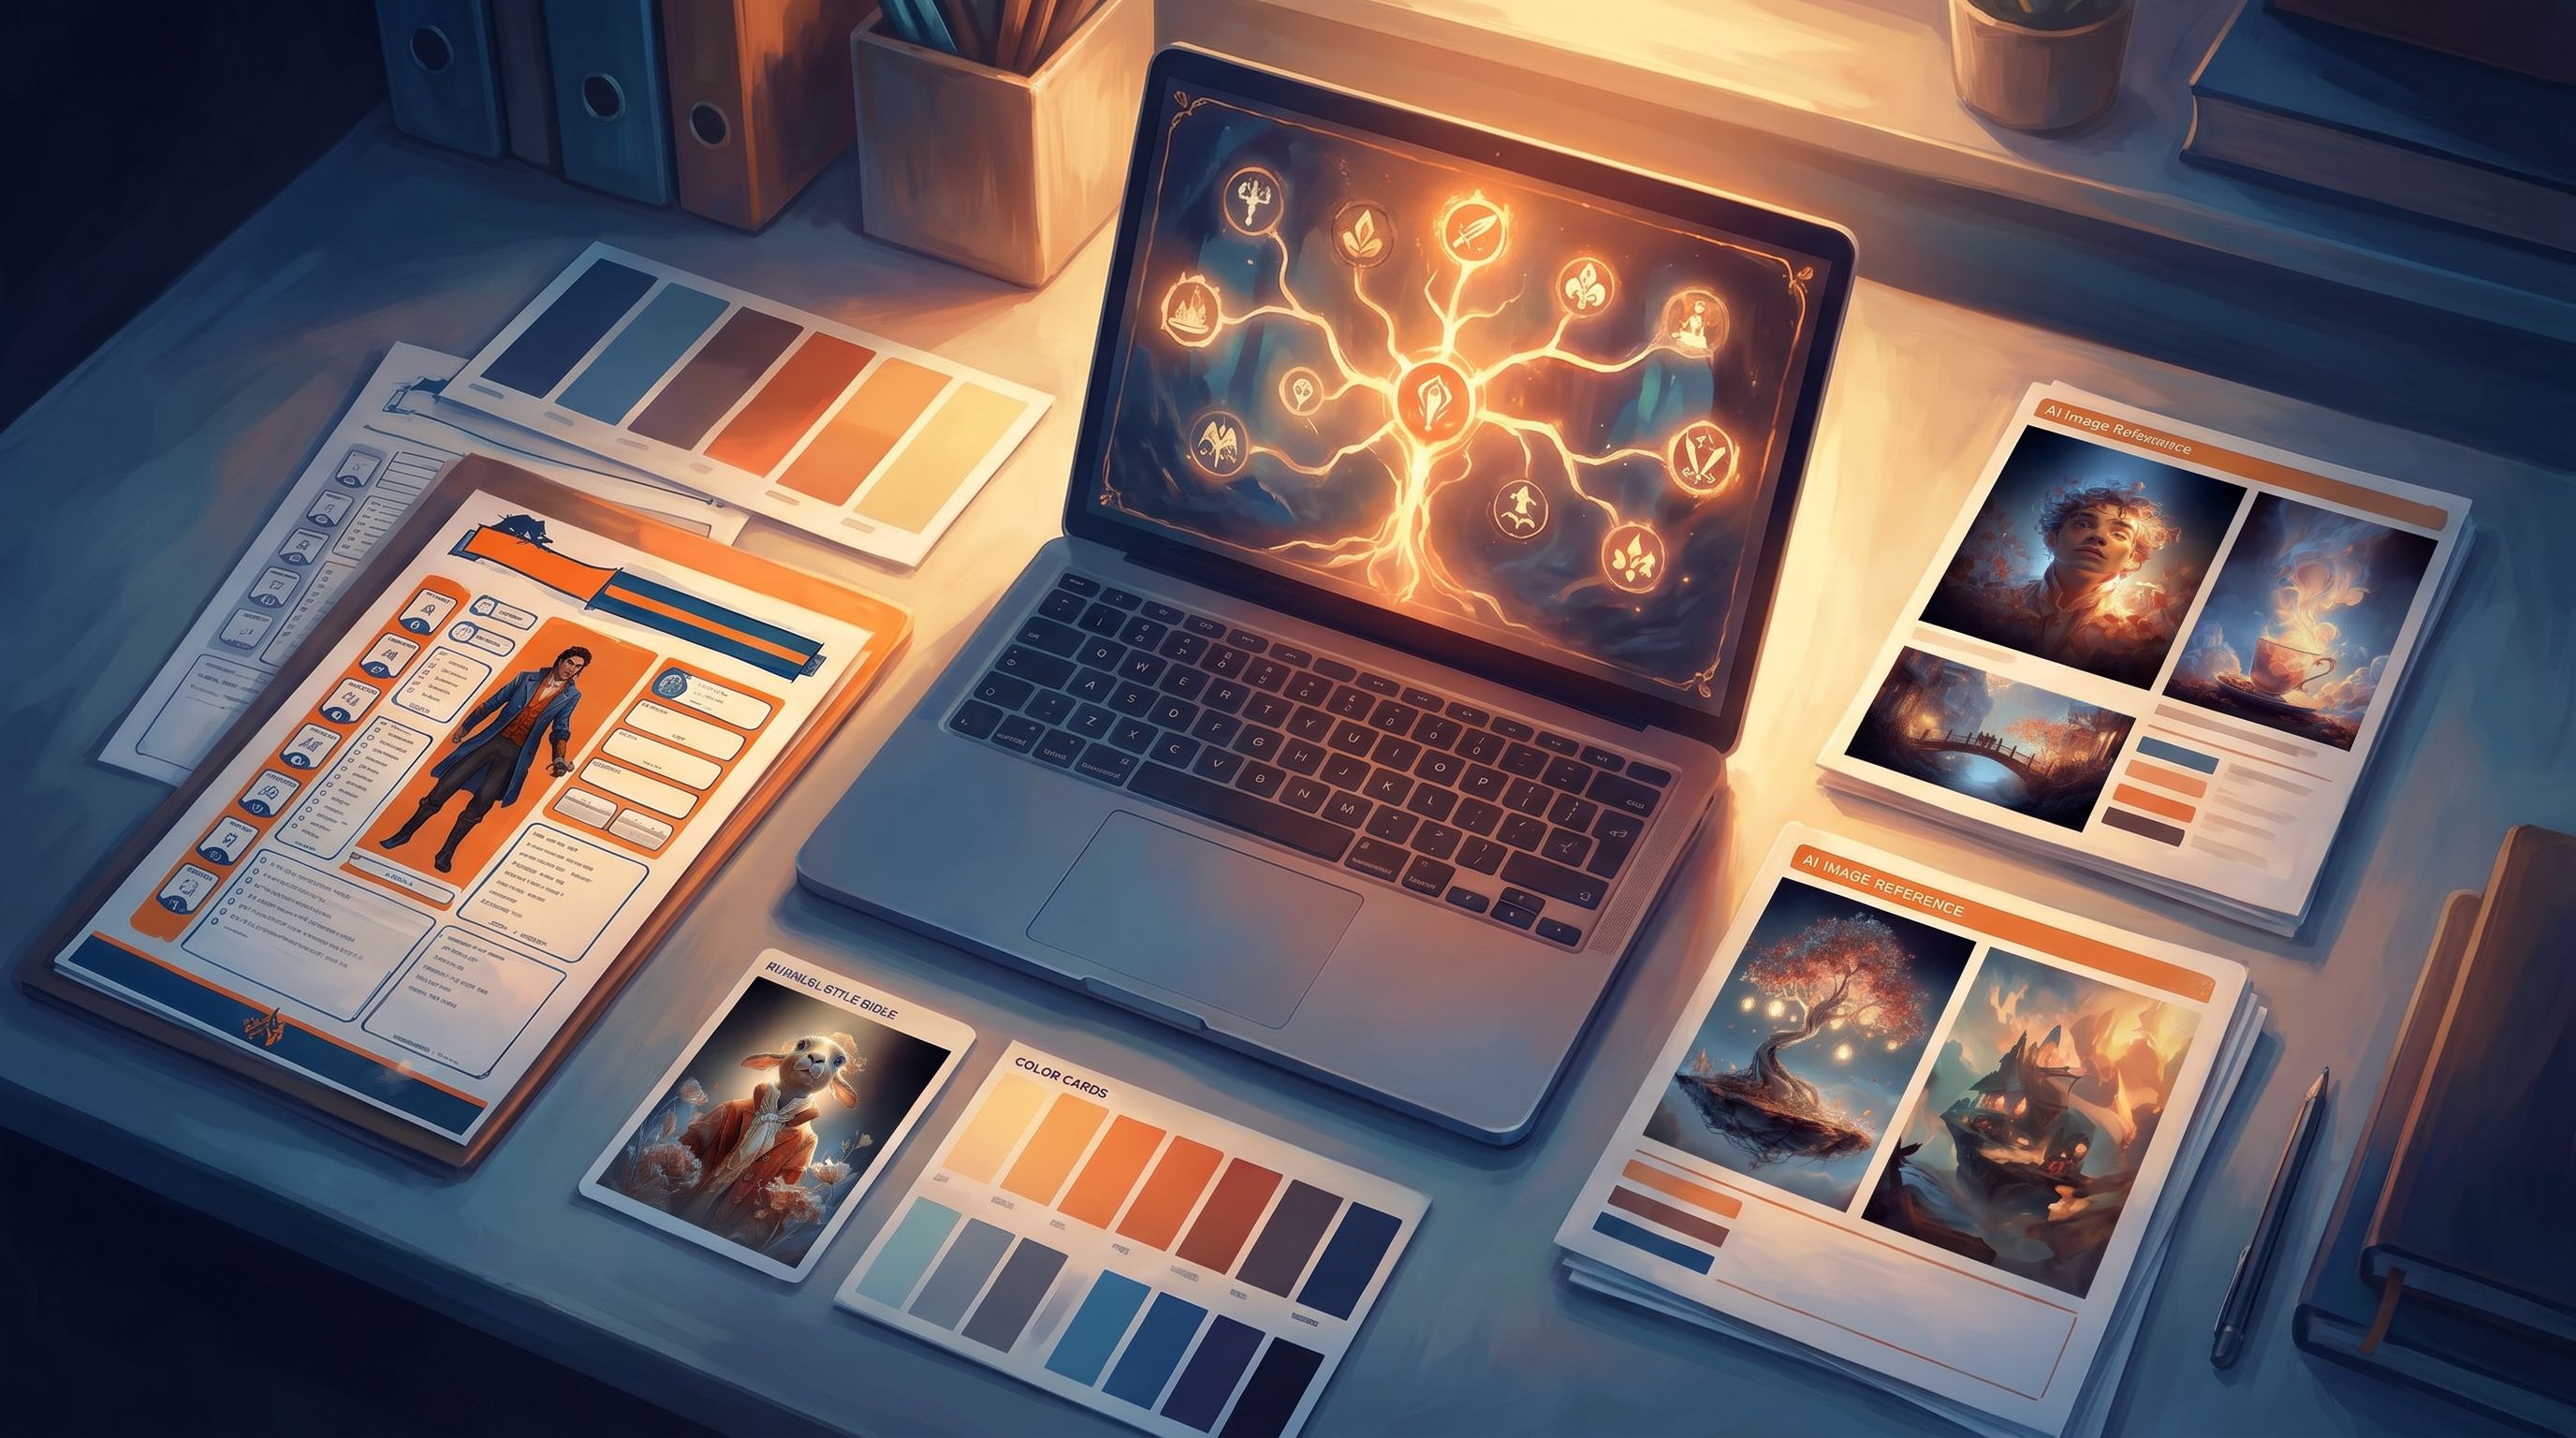
1. Building Your Prompt Bible
Your prompt bible is the set of reusable patterns you use when talking to AI—especially for images and micro‑video inside Questas.
You’re aiming for:
- Templates, not one‑off prompts.
- Parameters, not vibes.
- Examples, not theory.
Step 1: Standardize Your Prompt Structure
Pick a default structure for your visual prompts and write it down. For example:
[Subject] + [Action] + [Environment] + [Camera / Composition] + [Lighting] + [Style tags] + [Mood / Color palette]
Then give concrete examples:
-
Character close‑up template
Medium close-up of [character name], [age], [distinctive traits], [emotion] in [location], cinematic lighting, shallow depth of field, [style reference], cohesive color palette of [colors]. -
Establishing shot template
Wide shot of [location] at [time of day], showing [key landmarks], [crowd density], [weather], shot from [camera angle], consistent with [series style], subtle atmospheric effects.
Encourage everyone on the team to start from these templates and only tweak the variables.
Step 2: Lock in Naming Conventions
AI tools respond better when you’re specific and consistent:
- Use stable character names in prompts:
"Dr. Amara Chen"instead of just"scientist". - Add anchor traits every time:
"Dr. Amara Chen, mid‑40s, close‑cropped hair, dark green blazer, calm but intense gaze". - For locations, repeat signature details:
"neon‑lit market alley with hanging lanterns and rain‑slick cobblestones".
Document these as “prompt anchors” in your bible so people don’t reinvent them.
Step 3: Define Do’s and Don’ts
Write down what your prompts should and shouldn’t do:
-
Do
- Specify diversity goals: e.g., “cast of characters reflects a mix of genders, ages, body types, and ethnic backgrounds.”
- Call out accessibility: “avoid tiny illegible UI text,” “clear visual contrast for low‑vision players.”
- Use neutral or respectful descriptors for sensitive topics.
-
Don’t
- Use appearance as shorthand for morality (e.g., “scarred villain,” “greedy‑looking banker”).
- Lean on stereotypes when describing professions, cultures, or neighborhoods.
- Ask for graphic violence, sexualized minors, or anything beyond your content rating.
This section should echo and reinforce your ethical guidelines from your broader worldbuilding work.
Step 4: Capture “Best Of” Prompt Examples
As you build, you’ll stumble into prompts that just work.
When that happens:
- Paste the final prompt into your bible.
- Add a thumbnail or link to the resulting image.
- Annotate why it worked: “great facial consistency,” “lighting matches our core palette,” “reads clearly on mobile.”
Over time, this becomes a prompt library your whole team can draw from.
2. Designing Your Style Bible
Your style bible defines the overall visual and tonal identity of your quest or series.
Where the prompt bible is about how you talk to AI, the style bible is about what you’re aiming for.
Step 1: Choose a Primary Visual Mode
Decide on the core look of your world:
- Illustrated vs. photoreal.
- 2D comic‑style vs. painterly concept art vs. stylized 3D.
- Bright, saturated color vs. muted, grounded palettes.
Document this choice clearly. For example:
"We’re aiming for semi‑realistic illustration with soft brushwork, slightly exaggerated expressions, and a warm, cinematic color palette. Think ‘animated prestige drama’ rather than ‘Saturday morning cartoon’ or full photorealism."
Step 2: Build a Style Board
Before you generate hundreds of assets, generate a small, curated set of reference images that nail your intended look:
- 3–5 key locations in your signature style.
- 3–5 main characters in a few emotions and poses.
- 2–3 UI or HUD elements if your story involves interfaces.
Capture them in your bible with:
- The exact prompt used.
- Notes on what’s “non‑negotiable” (e.g., color palette, line weight, level of detail).
This becomes your visual north star. You can evolve it later, but it’s your starting contract with yourself.
If you want a deeper process for turning style boards into production‑ready systems, see From Moodboard to Mission: Using AI Style Boards to Lock In the Look of Your Next Questas World.
Step 3: Define Tone and Voice
Visual style is only half the story. Your narrative voice needs the same clarity:
- Is the narrator visible or invisible?
- Do characters speak in natural dialogue or heightened, theatrical lines?
- How much humor do you allow? How dark can things get?
Create a short “voice grid” in your bible:
- Formality: Casual / Conversational / Professional / Academic.
- Humor: None / Light / Wry / Broad.
- Tension: Low‑stakes / Moderate / High‑stakes.
- Audience age: Kids / Teens / Adults / Mixed.
Pair each axis with a few sample paragraphs that everyone can reference.
Step 4: Specify Motion and Media Rules
Because Questas supports both images and video, decide:
- When do you use static images vs. micro‑video?
e.g., “Images for dialogue scenes, micro‑video for big reveals or branch outcomes.” - Do you want subtle motion (camera pans, flickering lights) or bold animation?
- Any file size or duration constraints for performance.
Write these into the bible so your media feels purposeful, not random.
3. Defining Your Canon Bible
Your canon bible is the record of what’s true in your world—both fictional facts and, for training or simulation quests, real‑world rules.
Without it, you’ll constantly run into continuity errors:
- “Wait, is this policy actually allowed?”
- “Didn’t we say this city was coastal, not inland?”
- “I thought this character already knew that secret.”
Step 1: Start with the Big Buckets
Create sections for:
- World / Setting – geography, history, tech level, magic or systems.
- Characters – bios, relationships, secrets, growth arcs.
- Systems & Rules – laws, policies, magic systems, game mechanics.
- Timelines – key events, both past and present.
Each section should have a short overview plus structured entries (tables, bullet lists) for quick scanning.
Step 2: Track Player‑Facing vs. Hidden Canon
Some facts are visible to players; others are behind the curtain:
- Player‑facing: “The city’s water supply is failing due to aging pipes.”
- Hidden: “The real cause is corporate sabotage; only revealed in deep branches.”
Mark each entry with tags like:
PLAYER KNOWS BY DEFAULTREVEAL IN LATE BRANCHESNEVER STATED, ONLY IMPLIED
This helps writers keep secrets consistent across branches.
Step 3: Align Canon with Learning or Business Goals
If your quest is used for training, research, or strategy (e.g., a crisis simulation or sales enablement), your canon bible should explicitly connect to real‑world objectives:
- Which behaviors are you trying to encourage or measure?
- Which policies are non‑negotiable vs. flexible?
- Which edge cases must appear somewhere in the branches?
This is also where you can cross‑reference more specialized builds, like turning policies into sandboxes or crisis playbooks into simulations, as explored in posts like From Worldbuilding Docs to Playable Sandbox or From Escape Rooms to Escape Routes.
Step 4: Version and Change‑Log Your Canon
Canon drifts over time. That’s normal. What matters is tracking it.
- Add a changelog section: “v1.2 – Adjusted policy on data retention; updated branches 3B and 4C.”
- Note which quests or episodes are bound to which canon version.
- When you retcon something, document why and what needs to be updated.
This is especially helpful when you’re running long‑running series or multiple spin‑offs in the same universe.
Making the Bible Usable: Workflow, Tools, and Rituals
A beautiful bible that nobody opens is just lore fanfic.
To make your shared writer’s room real, you need workflow:
1. Choose a Home and Keep It Lightweight
Pick a tool your team already uses comfortably:
- A shared doc or wiki (Notion, Confluence, Google Docs).
- A lightweight design system tool if you’re visually inclined (Figma, Miro).
Organize it with:
- A one‑page overview for new collaborators.
- Separate tabs/sections for Prompt, Style, and Canon.
- A clear table of contents with anchors.
2. Bake It into Your Questas Build Process
Tie bible usage to specific steps:
- Before outlining: Writers skim the canon overview and tone examples.
- Before generating visuals: Artists check the style board and prompt templates.
- Before publishing: Someone runs a “bible pass” to catch inconsistencies.
You can even add checkboxes to your build checklist:
- [ ] Character prompts use approved anchor traits.
- [ ] Visuals match style board references.
- [ ] Canon tags respected (no premature reveals).
3. Run Regular “Bible Review” Sessions
Every few weeks, host a short session (30–45 minutes):
- Review a few recent scenes or player replays from Questas.
- Note where visuals or tone drifted.
- Decide whether to:
- Update the bible to reflect a new, better direction, or
- Tighten prompts and guidelines to avoid that drift.
This creates a healthy feedback loop between what you intended and what players are actually seeing. For more on using screenshots and replays as fuel for refinement, see The Visual Feedback Loop: Using Player Screenshots and Replays to Iteratively Refine Your Questas Worlds.
4. Empower “Lore Keepers” and “Prompt Librarians”
Instead of making the bible everyone’s job (which often means it’s no one’s job), assign:
- A lore keeper – responsible for canon accuracy and updates.
- A prompt librarian – curates best prompts, maintains style consistency.
They don’t own creativity; they own coherence.
5. Start Small, Then Deepen
You don’t need a 60‑page show bible on day one.
Start with:
- 1 page of style references.
- 1 page of prompt templates.
- 1 page of core canon (world, main characters, key rules).
Then, as you build more quests or expand your universe, add:
- More detailed character sheets.
- Edge‑case policy notes.
- Advanced prompt patterns for tricky visuals.
Putting It All Together: A Sample Structure
Here’s a concrete outline you can copy and adapt for your team.
Home / Overview (1 page)
- One‑paragraph pitch for the world or series.
- Target audience and primary goals.
- Quick links to Prompt, Style, Canon sections.
Prompt Bible
- Prompt structure templates (character, location, action scene, UI).
- Naming conventions and anchor traits.
- Do’s and Don’ts for ethical, inclusive prompting.
- Best‑of prompt examples with thumbnails.
Style Bible
- Visual mode statement (illustrated vs. photoreal, etc.).
- Style board: key locations, main characters, UI.
- Tone and voice grid with examples.
- Motion/media rules for images vs. micro‑video.
Canon Bible
- World / setting overview.
- Character directory with tags (role, arc, secrets).
- Systems & rules (laws, policies, magic, mechanics).
- Timeline of major events.
- Canon tags (player‑facing vs. hidden) and changelog.
Governance & Workflow
- Roles: lore keeper, prompt librarian, approvers.
- How and when to propose changes.
- Links to active Questas projects using this bible.
Summary
A shared prompt, style, and canon bible is your team’s visual writer’s room in a box. It:
- Keeps branching stories coherent across dozens of paths.
- Speeds up collaboration by giving everyone the same playbook.
- Reduces ethical and tonal misfires by making guardrails explicit.
- Turns AI prompts from chaotic one‑offs into a reusable, evolving system.
You don’t need to build it all at once. Start with a few pages that capture how you want your world to look, sound, and behave, then refine it as you ship more quests and watch how players actually move through them.
Your Next Step
Open a blank doc, title it “[Your Project Name] – Questas Writer’s Room Bible,” and:
- Draft one paragraph that defines your world and tone.
- Add two or three prompt templates you want everyone to use.
- Paste in three of your favorite images from previous Questas experiments and note what you like about them.
Share that doc with your team before you build your next quest. Treat it as a living artifact, not a finished manual.
If you’re ready to see how this looks in practice, log into Questas, spin up a small 5‑scene experiment, and use your new bible as the guide. You’ll feel the difference the moment your team starts building from the same shared vision.