Beyond Text Prompts: Designing Visual-First Story Seeds That Practically Write Themselves in Questas

If you’ve ever opened an AI tool, typed a prompt like “a cyberpunk city at night”, and then stared at the result thinking, “Okay… now what?”, this post is for you.
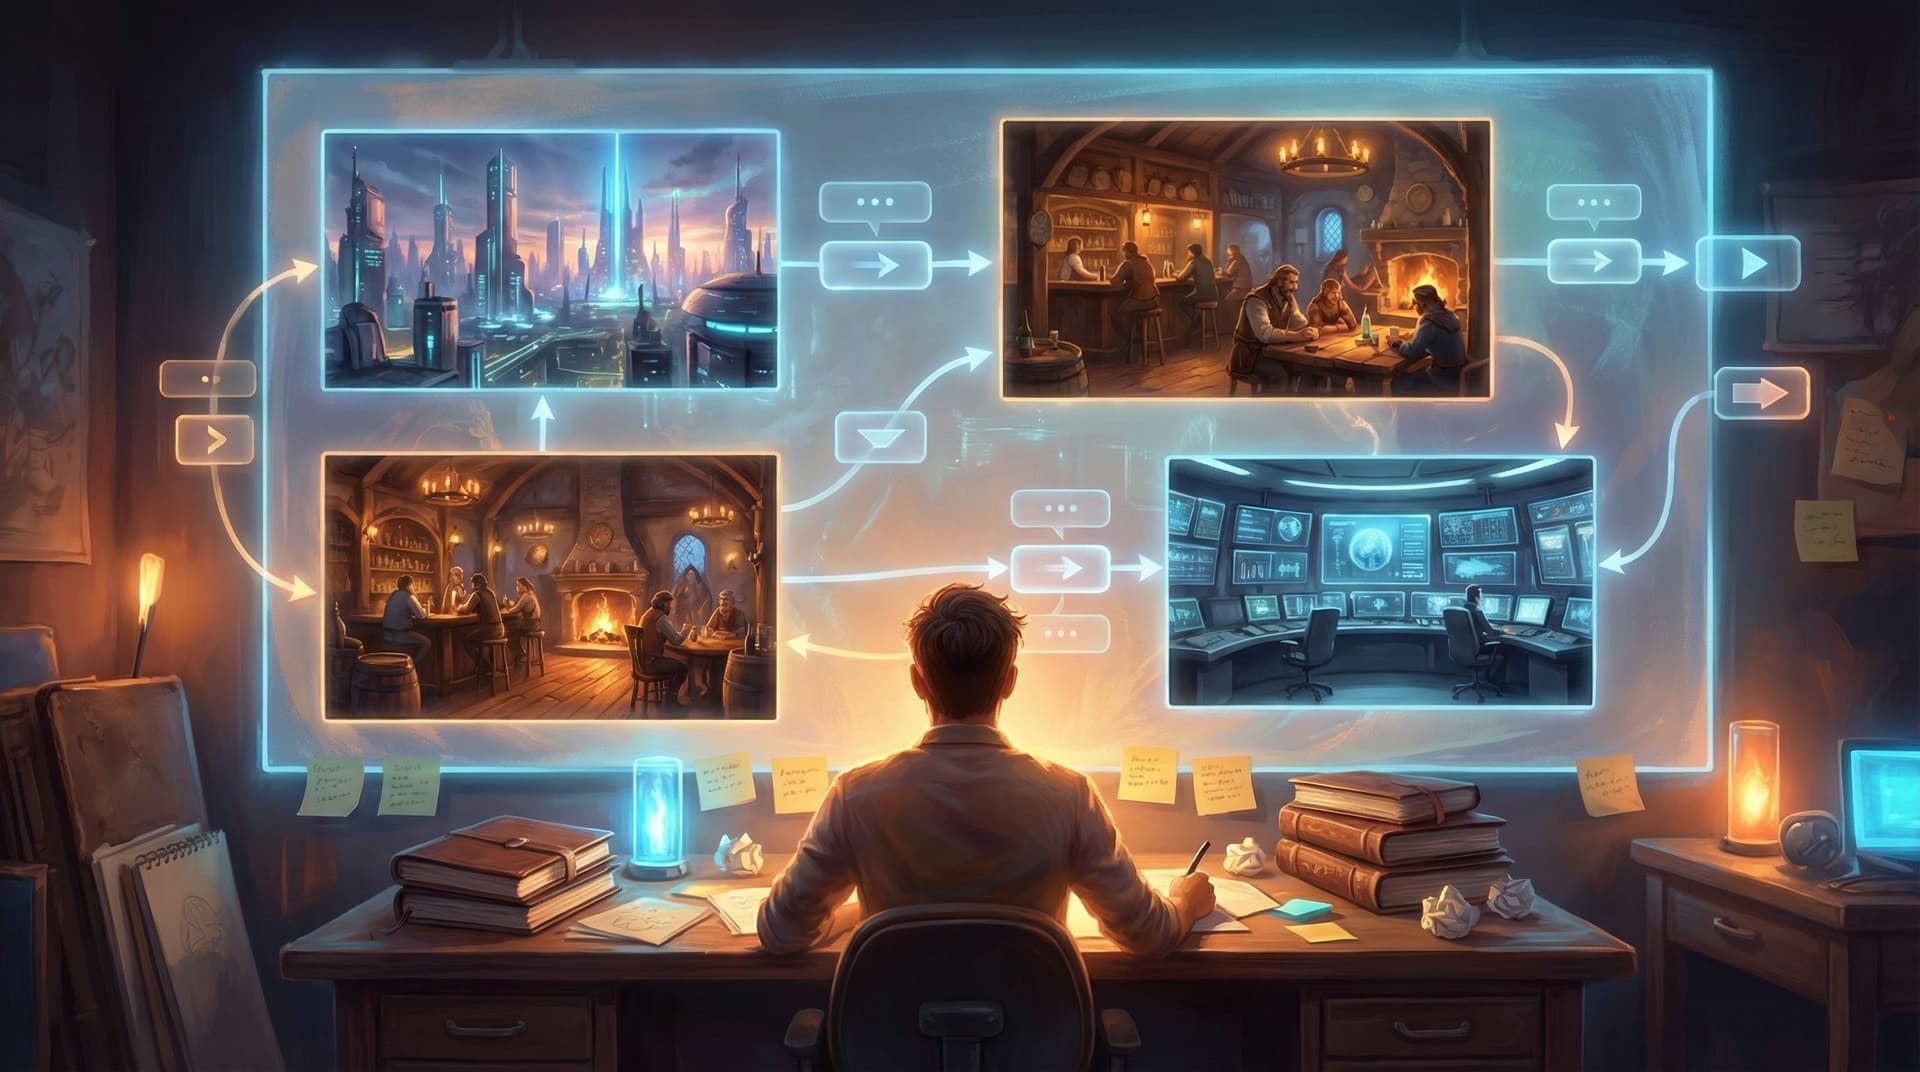
Most creators still treat visuals as decoration: you write the story, then you “add images.” But when you’re building interactive adventures in a visual, no‑code platform like Questas, that order is backwards.
Visuals can be the story. Or at least, they can be the seed that makes the story almost inevitable.
This article is about how to design visual‑first story seeds—small, potent clusters of images, moods, and spatial relationships that:
- Suggest characters and conflicts without paragraphs of exposition
- Reveal natural decision points and branches
- Give your AI co‑writers something concrete to build on
- Practically “write themselves” once you drop them into Questas’ visual editor
Instead of wrestling with blank pages and vague prompts, you’ll learn to compose scenes like a storyboard director, then let your text and choices grow out of what you can already see.
Why Start With Visuals Instead of Text?
Text-first workflows often break down in branching narratives:
- You write a big lore doc.
- You outline branches in a separate tool.
- You bolt on AI images at the end.
The result?
- Choice fatigue: too many similar branches that feel interchangeable.
- Visual inconsistency: different art styles or character designs across paths.
- Flat pacing: scenes that read the same regardless of the choice that led there.
A visual‑first approach flips that:
-
You anchor everything in a few strong images.
Not just “pretty art,” but compositions that imply relationships, stakes, and tension. -
You let visuals dictate where choices belong.
If the scene looks like a crossroads, a confrontation, or a puzzle, it probably is. -
You get built‑in coherence.
When you design a visual system for your world up front, every branch still feels like it belongs to the same story. If you want to go deeper on that, check out how to build visual systems in From Style Transfer to Story Consistency: Advanced AI Visual Workflows for Questas Creators. -
You reduce writing overhead.
A strong image carries exposition for you. You can write less, say more, and move players into choices faster.
For a platform like Questas—where scenes, choices, and AI‑generated media all live in a visual canvas—this shift is huge. You’re not “adding images to a story.” You’re growing a story out of images.
What Is a Visual-First Story Seed?
Think of a story seed as a tiny, self-contained packet of:
- Setting – where are we, and what’s the vibe?
- Tension – what feels off, unresolved, or about to change?
- Agency – where could the player act or decide?
A visual‑first story seed is that packet expressed primarily through images and spatial layout rather than paragraphs.
Instead of writing:
You’re a courier in a flooded city. The water is up to your knees, and you’re carrying a mysterious locked case…
You design an image like:
- Low‑angle shot from behind a hooded courier
- Neon reflections in knee‑deep water
- A metal case clutched to their chest, glowing faintly at the latch
- Two alleyways ahead: one lit in red, one in cold blue
From that single image, you can already feel:
- Who you are
- What matters (the case)
- Where a choice belongs (red alley vs. blue alley)
That’s a visual‑first story seed: a scene that forces questions just by looking at it.
Step 1: Choose a Visual Premise, Not a Plot
Instead of starting with “a detective mystery” or “a fantasy heist,” start with a visual premise:
A crowded space, one wrong thing.
A quiet space, one missing thing.
Two spaces, one character caught between them.
Some reliable visual premises for Questas stories:
-
Thresholds and doorways
- A character silhouetted in a doorway between light and shadow
- An airlock with warning lights, frost on the window, shapes moving outside
-
Control rooms and dashboards
- A cluttered control panel with three glowing buttons, one cracked
- A war room table covered in holographic maps with one blinking hot zone
-
Crowds and outliers
- A crowd of people all facing one way, one person turned the opposite direction
- A busy trading floor where one desk is powered down and abandoned
-
Ruins and relics
- A collapsed library with a single intact shelf lit by a beam of light
- A crashed spacecraft with one escape pod intact, hatch half‑open
Pick one premise and commit to it. Your first 3–5 scenes in Questas will all explore variations on that visual idea. Plot details can come later.
Step 2: Compose Images That Contain Natural Choices
A lot of AI prompts describe things (“a castle,” “a dragon”) instead of relationships (“you and the dragon,” “you and the locked gate”). Story seeds need the latter.
When you design prompts for your first scenes, build in visible forks—places where a player could plausibly act.
Ask yourself in each image:
-
What is the player clearly aware of?
- Can they see the danger?
- Can they see multiple paths?
- Can they see what’s at stake (a person, object, timer, scoreboard)?
-
What are at least two plausible actions?
- Talk vs. run
- Save X vs. save Y
- Investigate vs. ignore
- Left vs. right
-
How can I encode those options visually?
- Different colored doors
- Two characters in opposing body language
- A safe path and a risky shortcut
- A helpful tool just out of reach
Prompt Patterns That Help
When you’re generating AI images to use inside Questas, try prompt structures like:
-
“A tense standoff between [character A] and [character B] in [location], with [object] clearly between them, cinematic lighting, wide shot.”
→ Choice: side with A, side with B, grab the object. -
“A narrow corridor that splits into two visually distinct paths: [path 1 detail] and [path 2 detail], camera placed behind the player character.”
→ Choice: which path do you take? -
“A cluttered workbench covered in tools and documents, with three items clearly highlighted: [item 1], [item 2], [item 3], top‑down view.”
→ Choice: which item do you inspect or take?
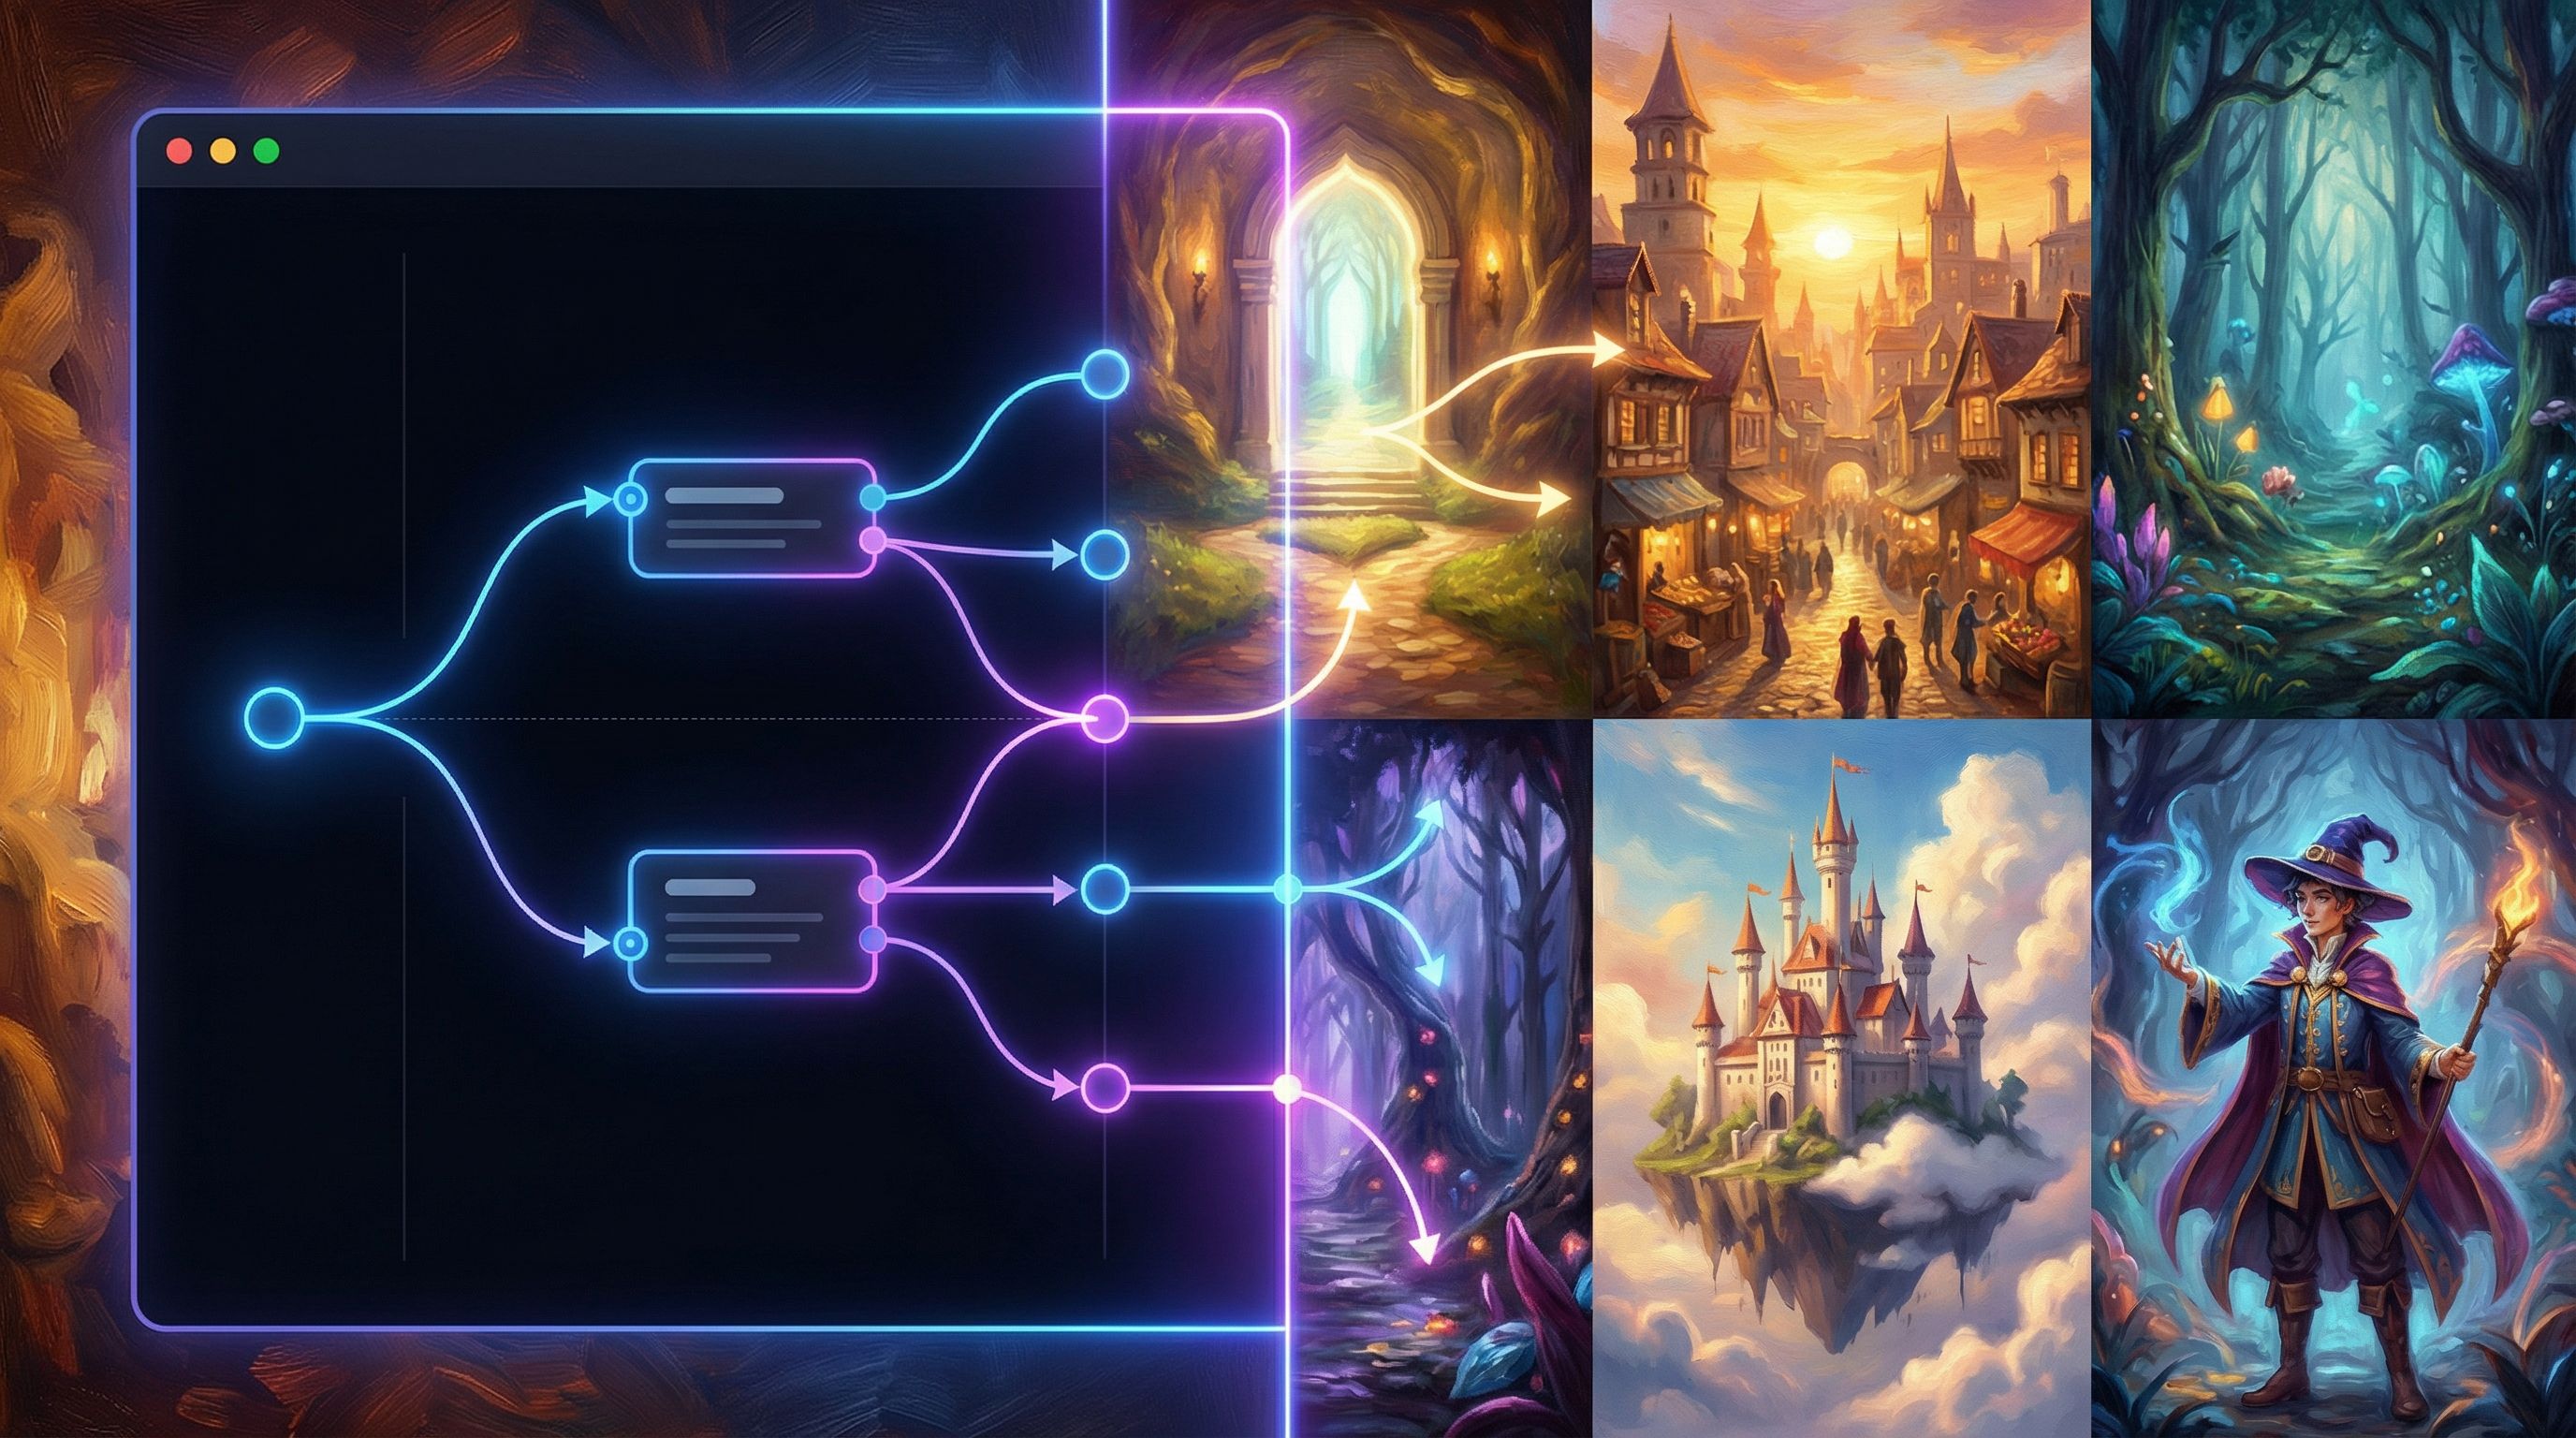
Each of these images already contains affordances—visual invitations to act. In Questas, those affordances become your choice buttons.
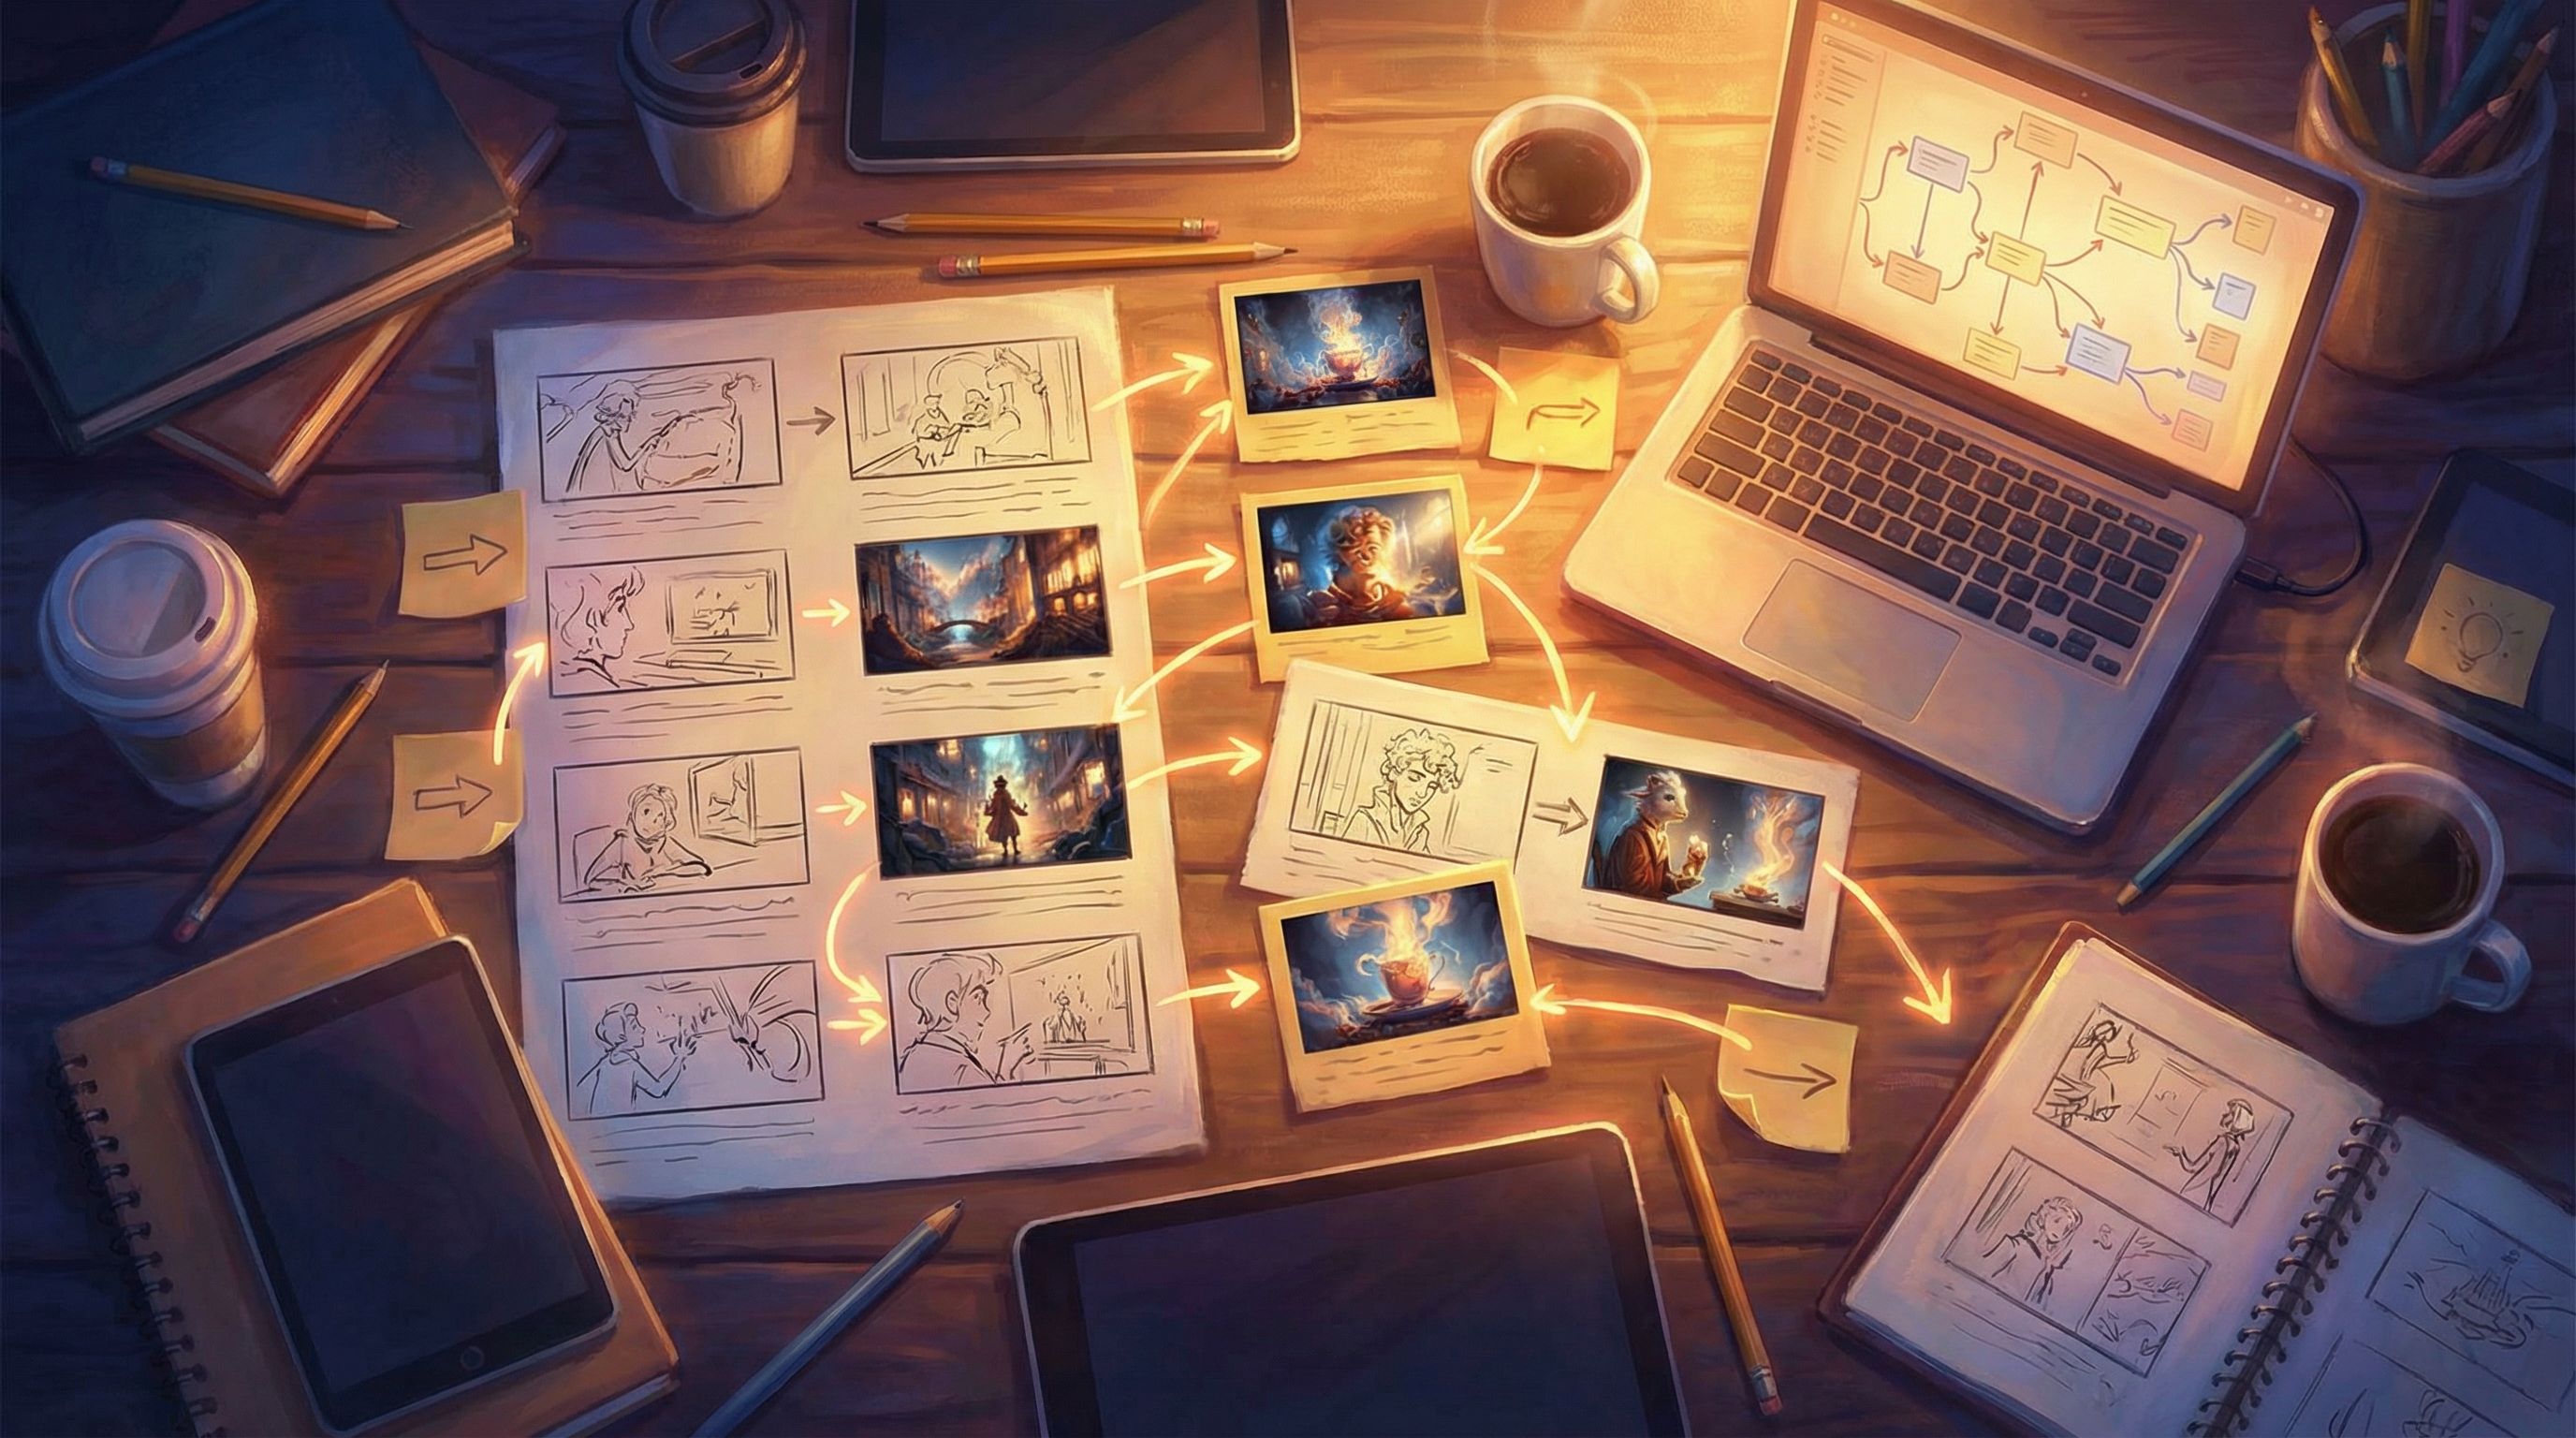
Step 3: Map Visual Seeds into the Questas Canvas
Once you have 3–7 strong images, it’s time to drop them into Questas and turn them from vibes into structure.
Start With a Mini “Spine”
-
Create 3 core scenes in a straight line:
- Opening tension (where are we, what feels wrong?)
- First fork (a clear decision point)
- Immediate consequence (a short, punchy payoff)
-
Attach your images to these scenes.
Don’t write big paragraphs yet. Use 1–3 lines of text per scene to:- Clarify what the player sees
- Name key objects or characters
- Frame the decision (“You can follow the guard, or slip into the archives.”)
-
Add 2–3 choices to the fork scene.
For each choice:- Duplicate or slightly vary the base image (e.g., same room, different focus)
- Create a new scene node and connect it visually in the canvas
You now have a micro‑quest: enough to test the premise without overcommitting. If you want a compact, production‑ready workflow for doing this in a single day, the post Branching Narratives for Busy Teams: Shipping a Complete Questas Experience in One Workday pairs nicely with this visual‑first approach.
Let the Canvas Suggest the Next Branches
With your initial nodes laid out, zoom out in the Questas editor and look at the spatial pattern:
-
Are some branches too short compared to others?
→ Add 1–2 more scenes using the same visual premise (more doors, more dashboards, more thresholds) instead of inventing new settings. -
Is there a visually central scene that everything flows through?
→ Treat it like a hub: a control room, tavern, or HQ players revisit. -
Do you have room for a surprising “drop” or fail state?
→ Use a darker or more chaotic variation of your base image and branch into it as a consequence. For more on using visuals to show consequences, see Visual Fail States: Using AI Imagery to Signal Risk, Reward, and Consequences in Questas.
The point isn’t to engineer the perfect tree on the first pass. It’s to let the spatial layout and images nudge you toward where branches want to grow.
Step 4: Use AI as a Visual-Text Translator, Not a Story Oracle
Once your visual spine exists, then you invite text‑generation into the process. But instead of prompting from scratch, you feed it your visuals and layout decisions.
For each scene in Questas:
-
Describe the image in 3–5 bullet points.
- Who is visible?
- What objects matter?
- What’s the emotional tone?
- Where are the exits or options?
-
Ask your AI assistant to draft 2–3 versions of micro‑copy based on those bullets:
- A tight version (1–2 sentences)
- A descriptive version (a short paragraph)
- A dialogue‑heavy version (mostly character voices)
-
Choose the style that best matches the function of the scene:
- Fast decision scenes → tight copy
- Exposition or emotional beats → descriptive or dialogue
-
Generate choice labels that match what’s visible.
If the image shows a red door and a blue door, avoid abstract labels like “Take the safe path.” Use concrete, visual language:- “Slip through the red‑lit alley”
- “Head down the cold, blue corridor”
This way, AI isn’t hallucinating a story out of nowhere; it’s translating what’s already on screen into words. That dramatically reduces incoherence and keeps your branches anchored to the same visual truth.
Step 5: Build Reusable Visual Patterns, Not One-Off Scenes
The real power move is to design visual patterns you can reuse across stories:
- Decision Chambers – rooms or spaces where important choices always happen
- Consequence Frames – a particular camera angle or color palette that signals success, failure, or “soft fail”
- Hub Scenes – visually distinct locations players return to between branches
In Questas, you can turn these into templates or duplicate scenes, swapping out only the specific objects or characters while keeping:
- The same camera angle
- The same lighting style
- The same UI layout around the image
Over time, you’ll build a personal library of:
- “Interrogation room” scenes
- “Crossroads” scenes
- “Aftermath” scenes
- “Briefing” scenes
Drop any new premise into those patterns, and you’ve got a story seed that already knows how to branch.
If you’re interested in scaling this into a full narrative system, No-Code Narrative Systems: Designing Reusable Templates and Story Blueprints in Questas goes deeper into turning these patterns into a repeatable toolkit.
Step 6: Test the Seed as an Experience, Not Just a Draft
A story seed “practically writes itself” only if it actually plays well for real people. Before you expand it into a huge saga:
-
Publish a tiny, 5–10 minute version of your quest in Questas.
-
Ask 3–5 people (ideally your target audience) to play it once without guidance.
-
Observe or ask:
- Where did they hesitate?
- Where did they skim?
- Where did they say “oh, cool” or lean in?
-
Adjust visuals first, text second.
If a choice isn’t obvious, try:- Re‑framing the image (zoom in or out)
- Adding or removing visible objects
- Changing lighting or color to highlight the important path
-
Only then tweak the copy or add more branches.
If you’re working as part of a product or training team, you can even run live playtests of these seeds with stakeholders to see how they react before you invest in full production. The post From Sprints to Stand-Ups: How Product Teams Run Live Playtests of Questas Prototypes with Stakeholders walks through that workflow.
Putting It All Together: A Repeatable Visual-First Workflow
Here’s a compact loop you can reuse for every new Questas project:
-
Pick a visual premise.
Thresholds, control rooms, crowds, ruins, or another repeatable motif. -
Generate 3–7 images that clearly show:
- A character or point of view
- At least two possible actions
- A visible stake or tension
-
Drop them into the Questas canvas as 3–5 scenes in a simple spine:
- Opening → Fork → Consequence (→ Optional return to hub)
-
Use AI to translate each image into minimal, purposeful copy.
Start with bullets, then expand. -
Add 2–3 choices per fork that mirror what’s clearly visible on screen.
-
Playtest the seed with a handful of people.
Fix confusion via visual tweaks first, then copy. -
Scale via visual patterns and templates.
Reuse your most successful compositions as decision chambers, hubs, and consequence frames in future quests.
Do this a few times and you’ll notice something: you stop dreading “writing a whole story” and start looking forward to designing the next image set. The words and branches follow.
Summary
Visual‑first story seeds are a way to:
- Turn AI imagery into story structure, not just decoration
- Anchor your branching narratives in coherent, reusable visual patterns
- Use Questas’s visual editor as a storyboard, not just a container for text
- Collaborate with AI as a translator of what’s on screen, instead of a chaotic story oracle
By choosing a strong visual premise, composing images that contain natural choices, mapping them into the Questas canvas, and then layering in text and branches, you create experiences that feel intentional and alive—even when they were prototyped quickly.
Ready to Design Your First Visual-First Seed?
You don’t need a 30‑page outline or a fully realized universe to begin. You just need:
- One strong visual premise
- A handful of AI‑generated images
- The willingness to let those images lead
Open Questas, create a new project, and:
- Generate or upload 3 images that share a clear visual idea.
- Drop them into the canvas as 3 scenes: start, choice, consequence.
- Write no more than 3 lines of text per scene.
- Add 2–3 choices where the image obviously suggests them.
- Share the link with one friend or teammate and watch how they move.
That’s it—that’s your first visual‑first story seed.
From there, you can grow it into a full quest, a training scenario, a marketing experience, or a playable prototype. Adventure doesn’t start with a paragraph. It starts with a picture.
Go make yours.