Branching Narratives for Busy Teams: Shipping a Complete Questas Experience in One Workday


If you work on a product, learning, or marketing team, you probably know this feeling:
- Someone says, “We should make this interactive.”
- Heads nod. Everyone agrees it would be powerful.
- The idea quietly dies in a backlog because “we don’t have the time or resources.”
This post is about breaking that pattern.
With the right constraints and a clear workflow, a small team can ship a complete, polished, branching experience in a single workday using Questas. Not a prototype you’ll “finish later.” A real, shareable experience that teaches, persuades, or delights your audience.
We’ll walk through how to scope, design, build, and launch in roughly 6–8 hours—without code, without a production studio, and without burning everyone out.
Why “One-Day Quests” Matter for Teams
Interactive, branching stories aren’t just for entertainment. Teams are already using them to:
- Onboard new users with story-driven walkthroughs
- Train support agents on realistic scenarios
- Walk prospects through narrative funnels instead of static decks
- Prototype product flows before engineering commits to them
The problem is rarely belief (“this would be cool”); it’s bandwidth.
Designing a one-day build around Questas solves several real constraints:
- You can align fast. A one-day project fits into a single sprint, workshop, or offsite.
- You get something playable. Instead of another Miro board, you have a link people can click through.
- You de-risk bigger investments. Once stakeholders see a working experience, it’s easier to justify deeper series, campaigns, or training programs.
- You build a reusable pattern. After you’ve done one one‑day quest, the next ones are faster.
If you’ve read our post on low-scope builds, you’ve seen how a weekend is enough for solo creators to ship something meaningful. For teams, that same principle scales into a workday. (For more on right-sizing scope, check out Low-Lift, High-Impact: Weekend Questas Projects for Writers, Educators, and Marketers.)
The One-Day Blueprint at a Glance
Here’s the high-level structure we’ll use for a workday build:
- Hour 0–1: Align on purpose, player, and constraints
- Hour 1–2: Sketch the core branches on paper (or a whiteboard)
- Hour 2–3: Build the spine in Questas (no polish yet)
- Hour 3–5: Layer in AI-generated visuals and key decision moments
- Hour 5–6: Add feedback, soft fails, and basic analytics
- Hour 6–7: Playtest, tighten copy, and cut scope
- Hour 7–8: Package, share, and capture learnings
You can compress or stretch these depending on your team size, but the structure is designed to keep you away from perfectionism and in the realm of “shipped today.”
Let’s break each phase down.
Step 1: Define a Tiny, Real Outcome (Hour 0–1)
The difference between a one-day win and a three-month saga is decided in the first hour.
Gather the 2–5 people who will actually work on this (PM, designer, subject-matter expert, marketer, or trainer) and answer three questions on a shared doc or whiteboard.
1. Who is this for?
Be specific. Instead of “new users,” try:
- “New self-serve signups who just hit the dashboard for the first time.”
- “Support agents in their first 30 days.”
- “Prospects who attended our webinar but haven’t booked a demo.”
This helps you make sharp decisions about tone, complexity, and length.
2. What should they be able to do or feel by the end?
Pick one primary outcome:
- Understand which plan is right for them
- Practice handling a tricky customer conversation
- See how a new feature would change their workflow
- Experience the emotional stakes of a policy decision
Branching narratives are powerful for behavior and mindset shifts. If you’re working on policy, social impact, or culture change, you might enjoy Branching Narratives for Change-Making: Using Questas to Prototype Policies, Futures, and Social Impact Campaigns for deeper inspiration.
3. What’s our maximum scope?
Impose constraints upfront:
- Max scenes: 12–16 total
- Max decision points: 4–6
- Max distinct endings: 3–4
- Max media per scene: 1 image or short clip
Write these numbers down. They are your guardrails for the day.
If you can’t describe your quest in one sentence and a simple tree (start → 2–3 key decisions → 3–4 endings), it’s too big for a single workday.
Step 2: Rough Out the Branches Offline (Hour 1–2)
Before you open any tools, sketch.
Use sticky notes, index cards, or a simple diagram tool. You’re aiming for:
- One starting scene: sets context and stakes.
- Two or three major decision moments: each with 2–3 options.
- A small set of endings: success, partial success, failure (or variants of those).
Think in beats, not paragraphs:
- Scene 1: You’re a new PM joining a high-stakes incident call.
- Choice 1: Do you ask for a summary, dive into logs, or stay quiet?
- Scene 2A/B/C: Consequences of that choice.
- Choice 2: Decide whether to roll back, hotfix, or message customers.
- Endings: Incident resolved with trust gained; resolved but trust damaged; incident worsens; etc.
Label each scene with:
- A short title (e.g., “The First Question,” “The Customer Email,” “The Postmortem”)
- A one-line summary
- The choice that leads to it
This keeps you moving quickly once you’re in the Questas editor.

Step 3: Build the Bare-Bones Spine in Questas (Hour 2–3)
Now it’s time to move into the platform.
1. Create scenes first, text second
In the visual editor:
- Add all your scene nodes using the titles from your sketch.
- Connect them with branches that mirror your paper diagram.
- Use placeholder copy like “Choice A → Scene 3A” if needed.
The goal is to get a playable skeleton where you can click from start to each ending, even if the text is rough.
2. Write lean, purposeful copy
Once the structure is in place, go back and:
- Draft 2–4 short paragraphs per scene.
- End each decision scene with clear, concise options (ideally 2–3).
- Front-load key information so skimmers still understand what’s going on.
For more ideas on pacing and keeping people clicking through longer experiences, you might later explore From Branches to Beats: Using Story Rhythm to Keep Players Clicking in Long Questas—but for a one-day build, think “tight and focused” over “epic and sprawling.”
3. Lock the structure
Once the spine is working, freeze your structure for the day. No new branches, no extra endings. Any new ideas get parked in a “V2” doc.
Step 4: Add AI Visuals Where They Matter Most (Hour 3–5)
Visuals are where Questas shines—but they can also eat your time if you’re not careful. The trick is to be strategic, not exhaustive.
Prioritize visual moments
Focus your AI-generated images or video on:
- Opening scene – sets tone and context.
- Major decision points – highlight stakes and contrast options.
- Key consequences or fail states – show what changed.
- Endings – give each ending a distinct visual identity.
Not every scene needs a bespoke masterpiece. Some can reuse a style or composition with subtle variations.
Use consistent prompts and styles
To keep your one-day build from feeling like a collage of mismatched art styles:
- Decide on a single art direction (e.g., “semi-realistic, soft lighting, cool blues” or “flat illustration, bold outlines, warm palette”).
- Reuse key prompt phrases across scenes (same character descriptors, same setting keywords).
- Save “hero” prompts in a shared doc so teammates can quickly generate aligned visuals.
If you want to go deeper on this for future projects, bookmark From Style Transfer to Story Consistency: Advanced AI Visual Workflows for Questas Creators.
Visual fail states and soft fails
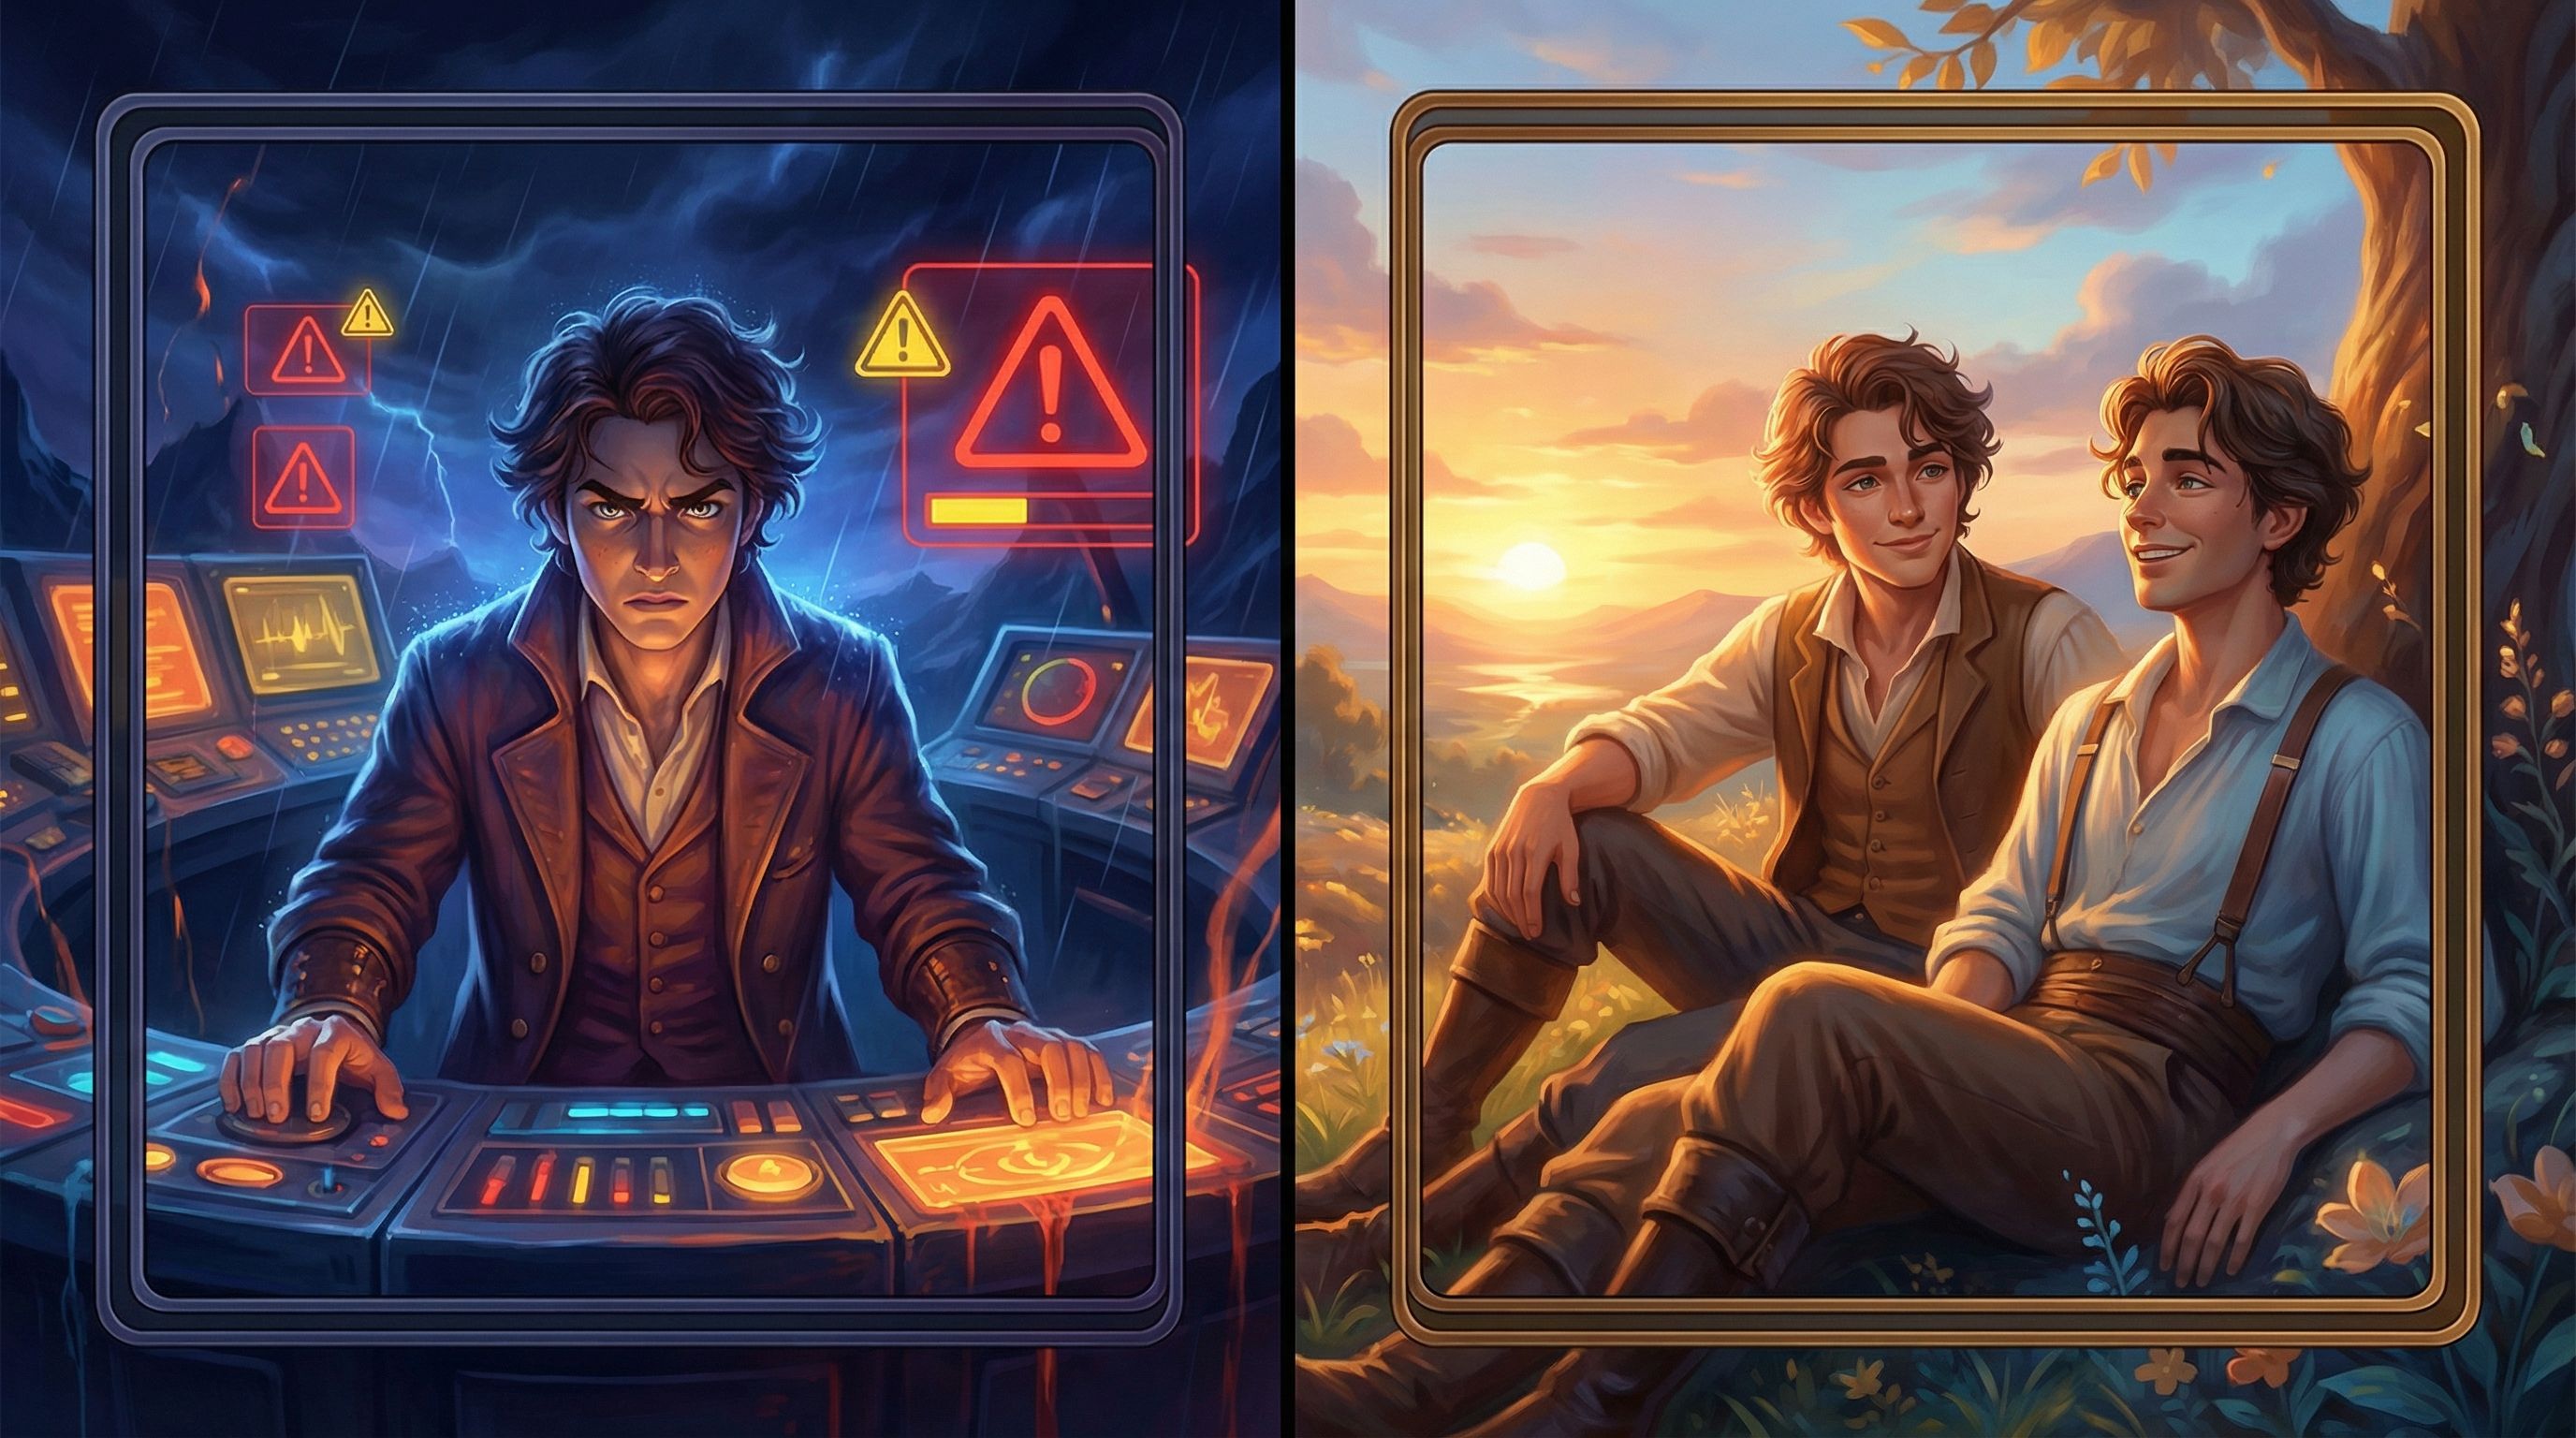
Even in a one-day build, you can use visuals to:
- Telegraph risk (e.g., darker lighting, red accents, cluttered UI).
- Highlight reward (e.g., brighter scenes, open space, relaxed body language).
- Show soft fails—where something goes wrong but the story continues.
This kind of visual signaling makes choices feel weighty without needing pages of text. For a deeper dive, see Visual Fail States: Using AI Imagery to Signal Risk, Reward, and Consequences in Questas.
Step 5: Embed Feedback, Recovery, and Light Analytics (Hour 5–6)
Once the core story and visuals are in place, you’re ready to add the elements that make this useful for your team and your audience.
1. Immediate feedback on choices
For each major decision:
- Provide short, clear feedback in the following scene.
- Highlight what went well and what could have gone differently.
- Avoid pure “Game Over” moments; instead, use soft fails that teach and redirect.
Example (for a training scenario):
- Instead of: “You failed the customer. Try again.”
- Try: “The customer feels brushed off and escalates to your manager. You’ve technically solved the issue, but trust has eroded. Next time, consider acknowledging their frustration before jumping to the fix.”
2. Recovery paths
Even in a small quest, allow players to:
- Backtrack one step after a tough outcome.
- Unlock a “better” path if they’ve seen a fail state.
- See alternate endings on replay without redoing everything.
This keeps experimentation safe and encourages replays—especially useful if your goal is learning or alignment.
3. Basic measurement
You don’t need a full analytics overhaul for a one-day build, but you do want to answer:
- Which choices are most popular?
- Where do people drop off?
- How often do players reach each ending?
Set up light tracking (whether inside Questas or via your analytics stack) so you can review behavior later. This will inform how you iterate on the experience or design the next one.
For a deeper framework on what to measure and why, see Beyond Click-Throughs: Measuring Learning, Alignment, and Engagement in Narrative Experiences Like Questas in your reading queue.
Step 6: Playtest, Polish, and Cut (Hour 6–7)
This is where your one-day build becomes something you’re proud to share.
1. Internal playtest
Grab 2–3 people who weren’t in the build room:
- Ask them to play through once without explanation.
- Watch where they hesitate, skim, or get confused.
- Note any choices they ignore.
Resist the urge to explain the story while they play. Their confusion is data.
2. Tighten language
In a time-boxed edit pass:
- Shorten long paragraphs.
- Make choice labels more concrete and distinct.
- Ensure each ending clearly reflects the path that led there.
Aim for clarity over cleverness. Your players should always understand what they’re choosing and why it matters.
3. Cut to strengthen
If a branch feels thin, repetitive, or confusing—and you don’t have time to fix it—cut it:
- Merge similar endings.
- Remove a decision that doesn’t change much.
- Turn a weak branch into a short detour that rejoins the main path.
Remember: a tight, coherent 10-scene experience is more valuable than a sprawling, uneven 20-scene one.
Step 7: Ship, Share, and Capture What You Learned (Hour 7–8)
You’re almost there. Now you need to make this work visible and usable.
1. Package the experience
Decide how people will encounter your quest:
- Embedded in a help center or LMS
- Linked from a product tour or onboarding email
- Shared in a Slack channel, internal wiki, or training hub
- Used live in workshops or webinars
Write a one-paragraph intro and a simple call-to-action:
“Step into a 10-minute interactive scenario where you’re the incident commander. Make decisions under pressure, see the consequences, and learn best practices along the way.”
2. Set expectations
Busy people are more likely to engage if they know:
- How long it will take (e.g., 7–12 minutes)
- Who it’s for (e.g., “new PMs,” “support leads,” “first-time users”)
- What they’ll get out of it (e.g., “practice tough conversations,” “see which plan fits you best”).
3. Capture feedback and next steps
Add a quick feedback prompt at the end:
- “What did you like most?”
- “What confused you?”
- “What would you change for version 2?”
Then, schedule a short retro with the build team:
- What helped us move fast?
- Where did we get stuck?
- What templates or patterns can we reuse next time?
This is how one successful one-day quest turns into a repeatable practice for your team.
Common Pitfalls (and How to Dodge Them)
Even with a strong plan, a workday build can go sideways. Here’s how to stay on track.
-
Pitfall: Over-scoping the story.
Fix: Lock scene and decision counts in hour one. Enforce them ruthlessly. -
Pitfall: Getting lost in AI art options.
Fix: Choose one visual style and reuse prompts. Limit yourself to one or two generations per scene. -
Pitfall: Writing like documentation, not a story.
Fix: Anchor each scene in a moment: who’s here, what’s happening, what’s at stake? Use dialogue and concrete details. -
Pitfall: Treating failure as a dead end.
Fix: Turn hard fails into soft fails with recovery paths and learning moments. -
Pitfall: Waiting for “perfect” before sharing.
Fix: Commit at the start of the day that you will ship something playable by hour eight—even if it’s labeled “v1.”
Bringing It All Together
A complete, branching Questas experience in one workday is not a stunt. It’s a practical way for busy teams to:
- Turn ideas and flows into something people can actually play.
- Align stakeholders around a concrete, shared experience.
- Teach, persuade, or prototype without waiting for engineering.
The keys are:
- Sharp scope: one audience, one primary outcome, strict limits on scenes and decisions.
- Structure first: map branches on paper, then build the spine in the editor.
- Focused visuals: prioritize key moments and keep style consistent.
- Gentle failure: use soft fails, feedback, and recovery to encourage exploration.
- Deliberate shipping: package, share, and learn—then repeat.
Over time, these one-day quests can become a library of interactive assets: training scenarios, product tours, narrative funnels, and culture stories your organization can reuse and remix.
Your Next Step
If this sparked ideas for your team, don’t let them drift into the backlog.
- Pick a single use case you could realistically tackle in 6–8 hours: a training scenario, a product walkthrough, a narrative funnel, or a policy simulation.
- Block one workday on the calendar with 2–4 collaborators.
- Open Questas, sketch your branches, and commit to shipping a playable v1 before the day ends.
You don’t need more time. You need a smaller quest—and a clear path to build it.
Adventure awaits. Go ship your first one-day quest.