From Static Stories to Living Worlds: Converting Existing Scripts, Novels, and RPG Modules into Questas Adventures

You already have the hard part: a story.
Maybe it’s a finished novella sitting on your hard drive, a film script between drafts, or a beloved tabletop campaign binder that’s more duct tape than cardboard at this point. What you don’t have is the time, budget, or technical team to turn that material into a fully interactive experience.
That’s where Questas changes the equation.
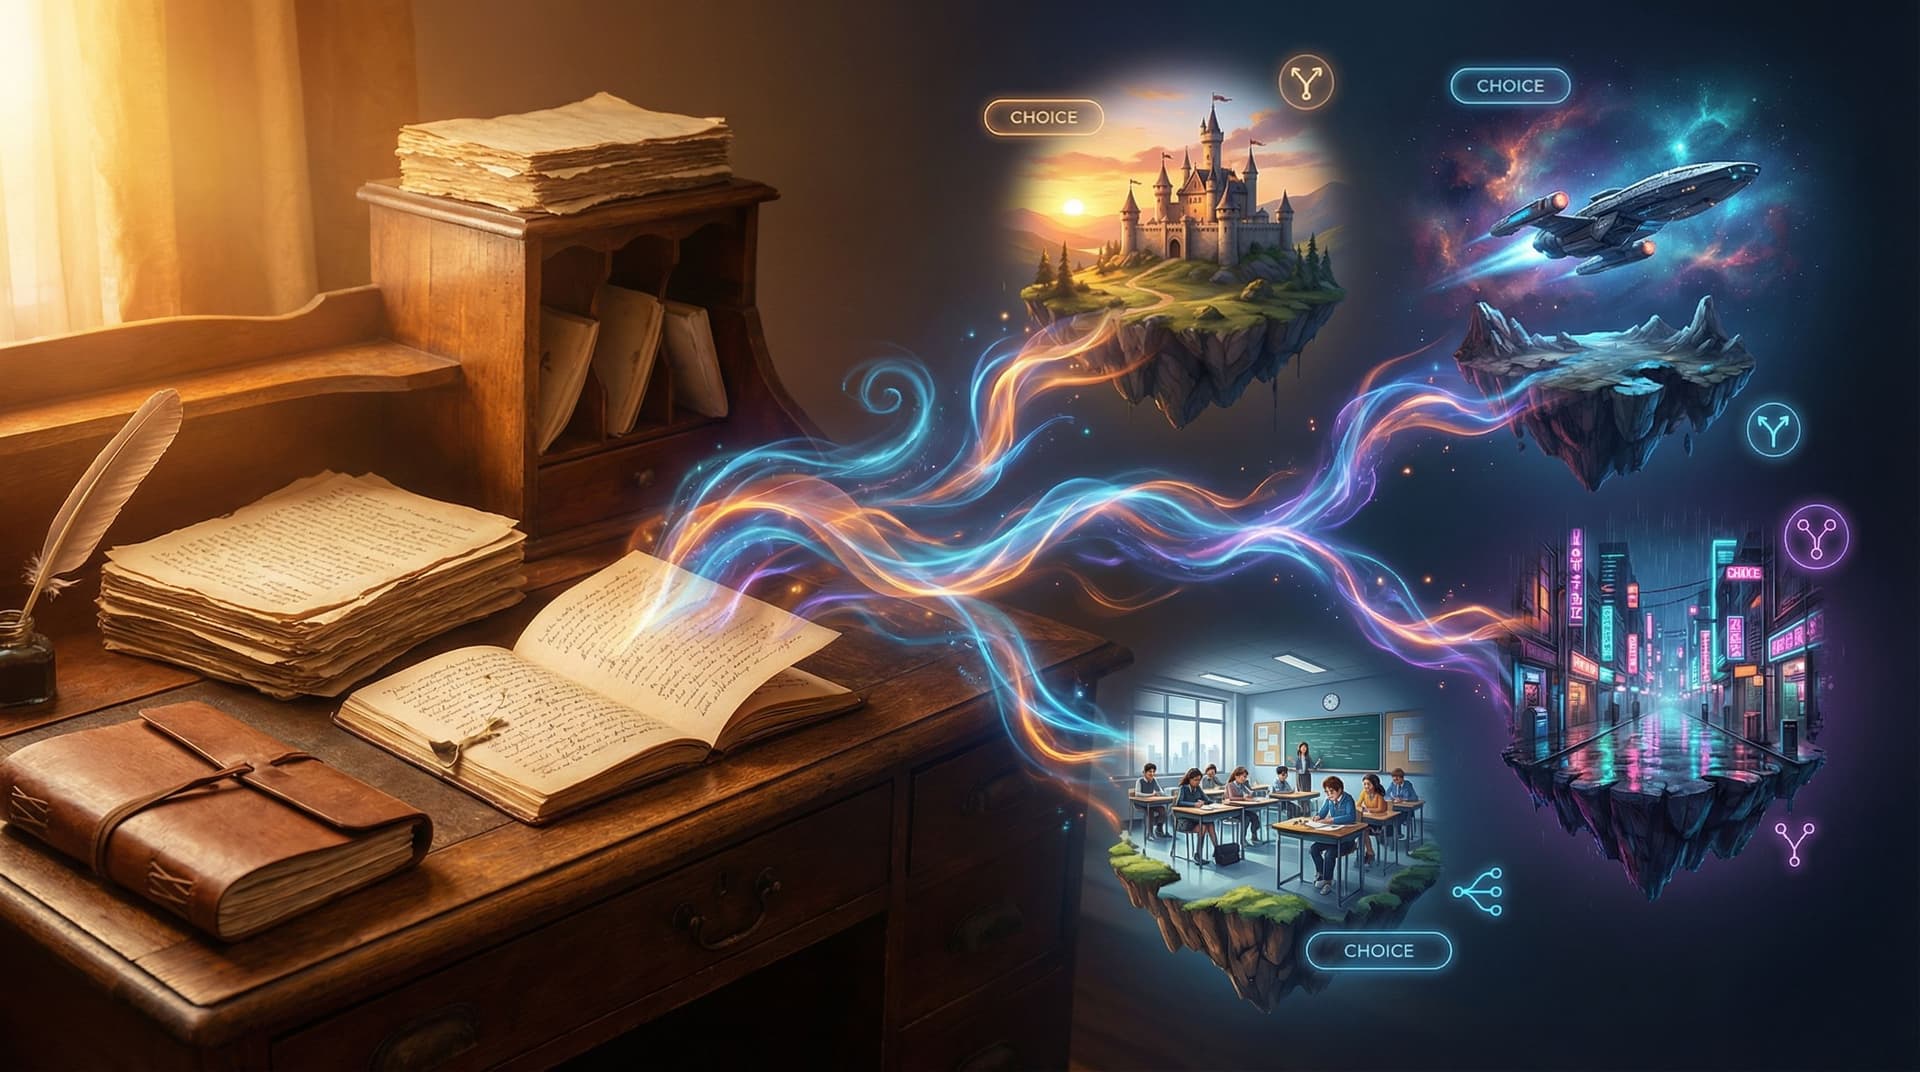
With a visual, no‑code editor and AI‑generated images and video, Questas lets you transform linear stories into branching, replayable adventures—without rewriting everything from scratch or learning to code.
This guide walks you through how to convert existing material—scripts, novels, RPG modules, and more—into rich, choice-driven experiences that feel like living worlds.
Why Converting Existing Stories Matters
Turning your existing work into interactive adventures isn’t just a fun experiment. It can:
1. Extend the life (and reach) of stories you already wrote
That novel that never quite found its audience? As an interactive adventure, it can:
- Reach new readers who prefer playable experiences to plain text.
- Become a lead magnet, portfolio piece, or paid product.
- Support multiple playthroughs instead of a single read.
2. Let your audience co‑create meaning
Linear stories answer, “What happens?”
Interactive stories ask, “What could happen?”
When players choose how to respond, who to trust, or what to risk, they’re not just consuming your story—they’re collaborating with it.
3. Unlock new formats for teaching, training, and marketing
If you’re already using scenarios or case studies in your work, converting them into Questas adventures turns passive content into active practice. For examples of how creators are doing this across industries, see Beyond Fantasy: 10 Unexpected Use Cases for Questas in Business, Training, and Marketing.
4. Reduce creative risk
You don’t have to start from zero. You already know your characters, world, and themes work. Now you’re layering interaction on top, not inventing everything at once.
Step 1: Choose the Right Source Material
Not every story converts equally well into an interactive adventure. Before you open Questas, pick the right candidate.
Great candidates
Look for material that already has:
- Strong, clear stakes – Survival, reputation, love, power, discovery.
- Moments of genuine dilemma – Places where characters could reasonably choose A or B.
- Distinct locations or scenes – Each scene can become a node in your interactive map.
- A protagonist who makes decisions – Passive heroes are harder to adapt.
Examples that work especially well:
- A short story with a tight central conflict.
- A TV pilot script with clear act breaks and turning points.
- A one-shot or mini‑campaign RPG module with branching hooks.
- Training scenarios or case studies with “what would you do?” moments.
Material that may need extra work
You can still adapt these, but expect more restructuring:
- Internal, introspective novels where most action is thinking.
- Highly experimental structures that already bend time and POV.
- Stories with very few decisions (e.g., pure travelogues).
If that’s you, consider starting smaller: adapt a single chapter, scene, or side quest as a pilot adventure before committing to the whole work.
Step 2: Strip Your Story Down to Its Spine
Before you branch, you need a baseline.
Take your script, novel, or module and identify the core linear path—what happens if the player makes the “default” or canonical choices?
Create a one‑page story spine
Summarize your story as a simple sequence of beats:
- Hook – How does the adventure begin? What interrupts normal life?
- Inciting decision – The first moment where the protagonist must act.
- Early complications – Rising tension, small wins, new problems.
- Midpoint shift – A reveal, reversal, or escalation.
- Crisis choice – The hardest decision in the story.
- Climax – The confrontation where stakes pay off.
- Resolution – The new status quo.
Write each beat in 1–3 sentences. This becomes your “golden path”—the version that most closely matches your original work.
You’ll use this spine as the backbone of your Questas project, then grow branches out from key decision points.
Step 3: Find and Amplify Decision Points
Interactive stories live or die on meaningful choice.
Go through your spine and your original text to locate decision moments—places where a reasonable person could act in more than one way.
Common types of decisions:
- Moral choices – Do I protect one person or many? Lie or tell the truth?
- Tactical choices – Sneak in or charge in? Negotiate or fight?
- Relational choices – Who do I side with? Which ally do I trust?
- Resource choices – Spend the rare item now or save it?
- Exploration choices – Which lead, location, or clue do I follow?
For each moment, ask:
What’s the obvious choice? What’s the risky choice? What’s the clever, unexpected choice?
Turn those into 2–3 options per decision node. You can always add more complexity later, but starting with a small, controlled set of branches helps you avoid chaos. For more on keeping complexity under control, check out Branching Without Chaos: Simple Story Mapping Techniques for Complex Questas Narratives.
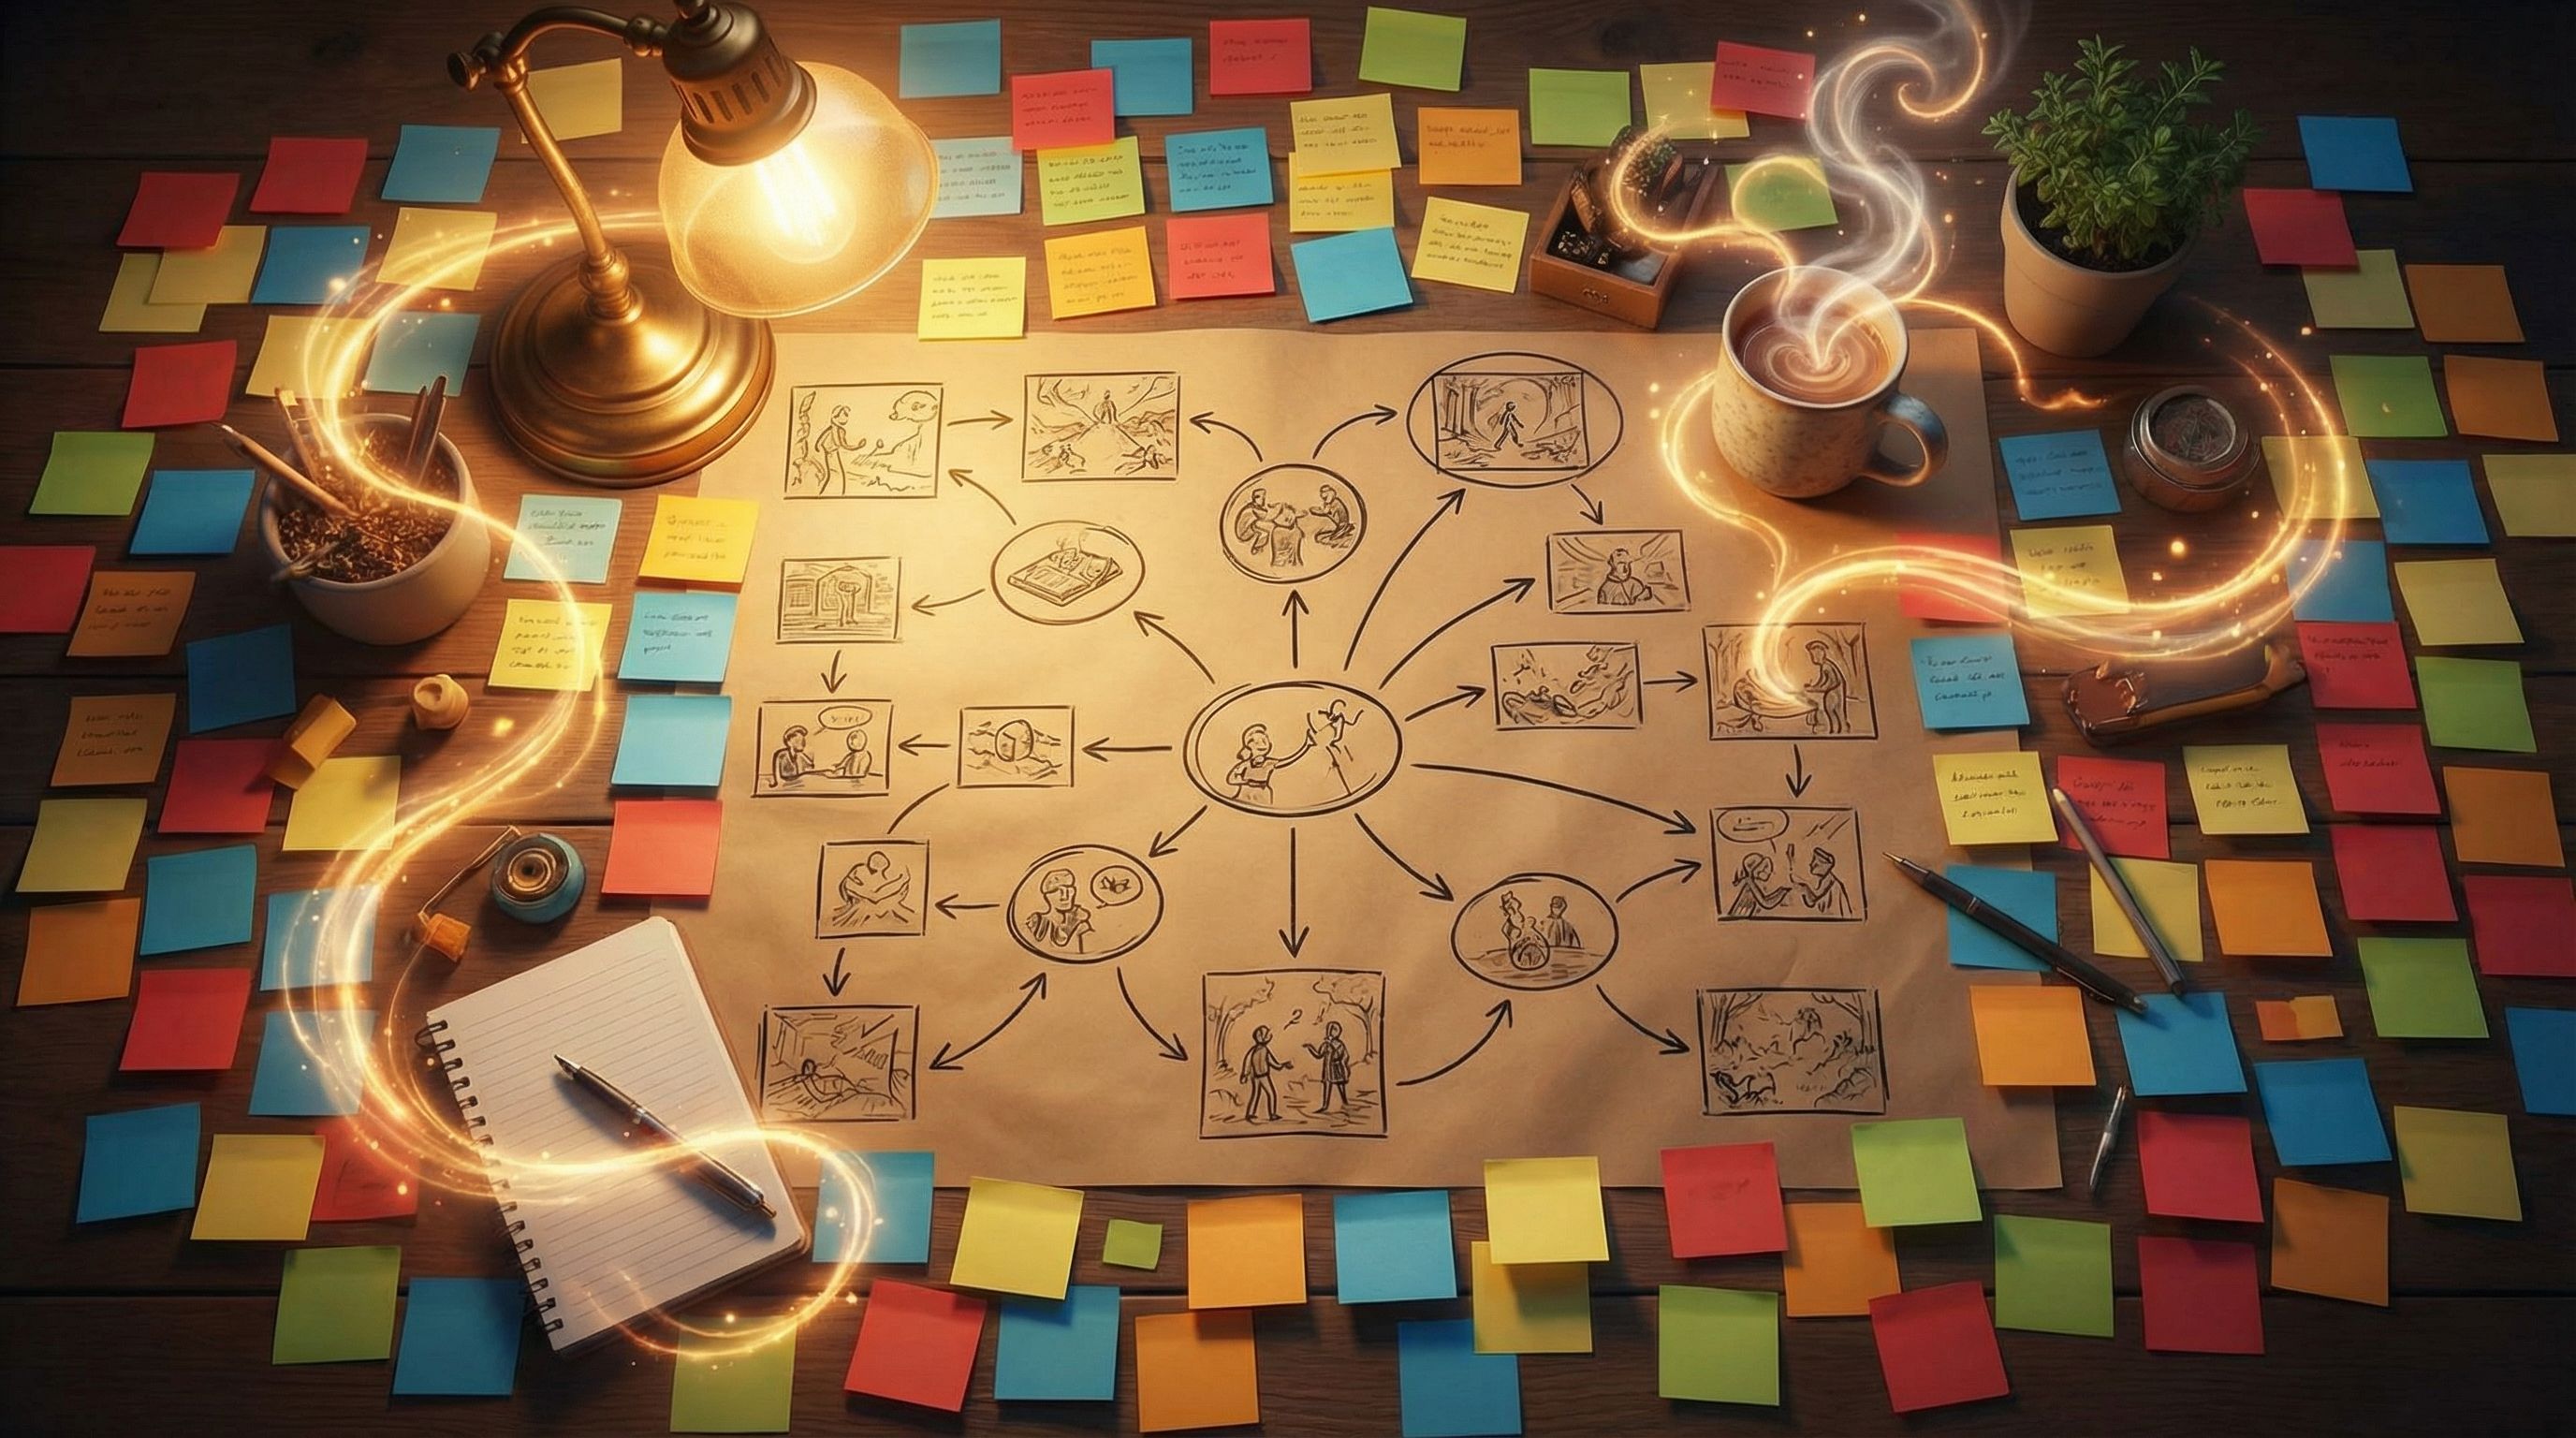
Step 4: Map Your Branches Before You Build
This is where a lot of creators get overwhelmed. The trick is to visualize the branching structure before you touch the editor.
Simple mapping methods
Use whatever you’re comfortable with:
Represent each scene as a node, and each choice as an arrow leading to the next scene.
Label nodes with:
- A short name (e.g.,
Dockside Confrontation). - The story beat (hook, mid, climax, etc.).
- Any conditions (e.g., “only if you saved the merchant”).
Aim for:
- 1–2 major branches off your main spine.
- Converging paths where branches rejoin after a few scenes.
- A handful of distinct endings (3–6 is plenty for a first conversion).
If your map already looks like a spider web, scale back. You can always add more later.
Step 5: Bring Your Story into Questas
Now it’s time to open Questas and start building.
1. Set up your project
- Create a new story and give it a working title (you can rename later).
- Decide on your player perspective: Are they the protagonist from your original work, or a new self‑insert character moving through the same world?
- Import or paste in your core spine scenes as the initial sequence of nodes.
2. Turn scenes into interactive nodes
For each scene from your spine:
- Add the narrative text (adapted from your original). Keep paragraphs short for readability.
- Decide what choices appear at the end of the scene.
- Link each choice to the next scene node according to your map.
You don’t need to make every scene interactive. Mix:
- Story beats (pure narrative).
- Decision beats (where choices appear).
- Outcome beats (short payoffs from a choice before rejoining the main path).
3. Use AI as your adapter, not your replacement
Questas can help you adapt text:
- Shorten long paragraphs into punchier, on‑screen narration.
- Rewrite third‑person prose into second‑person (“you”) for direct immersion.
- Turn expository passages into dialogue or environmental description.
Treat the AI like a script assistant: it proposes drafts, you keep the voice and intent aligned with your original work.
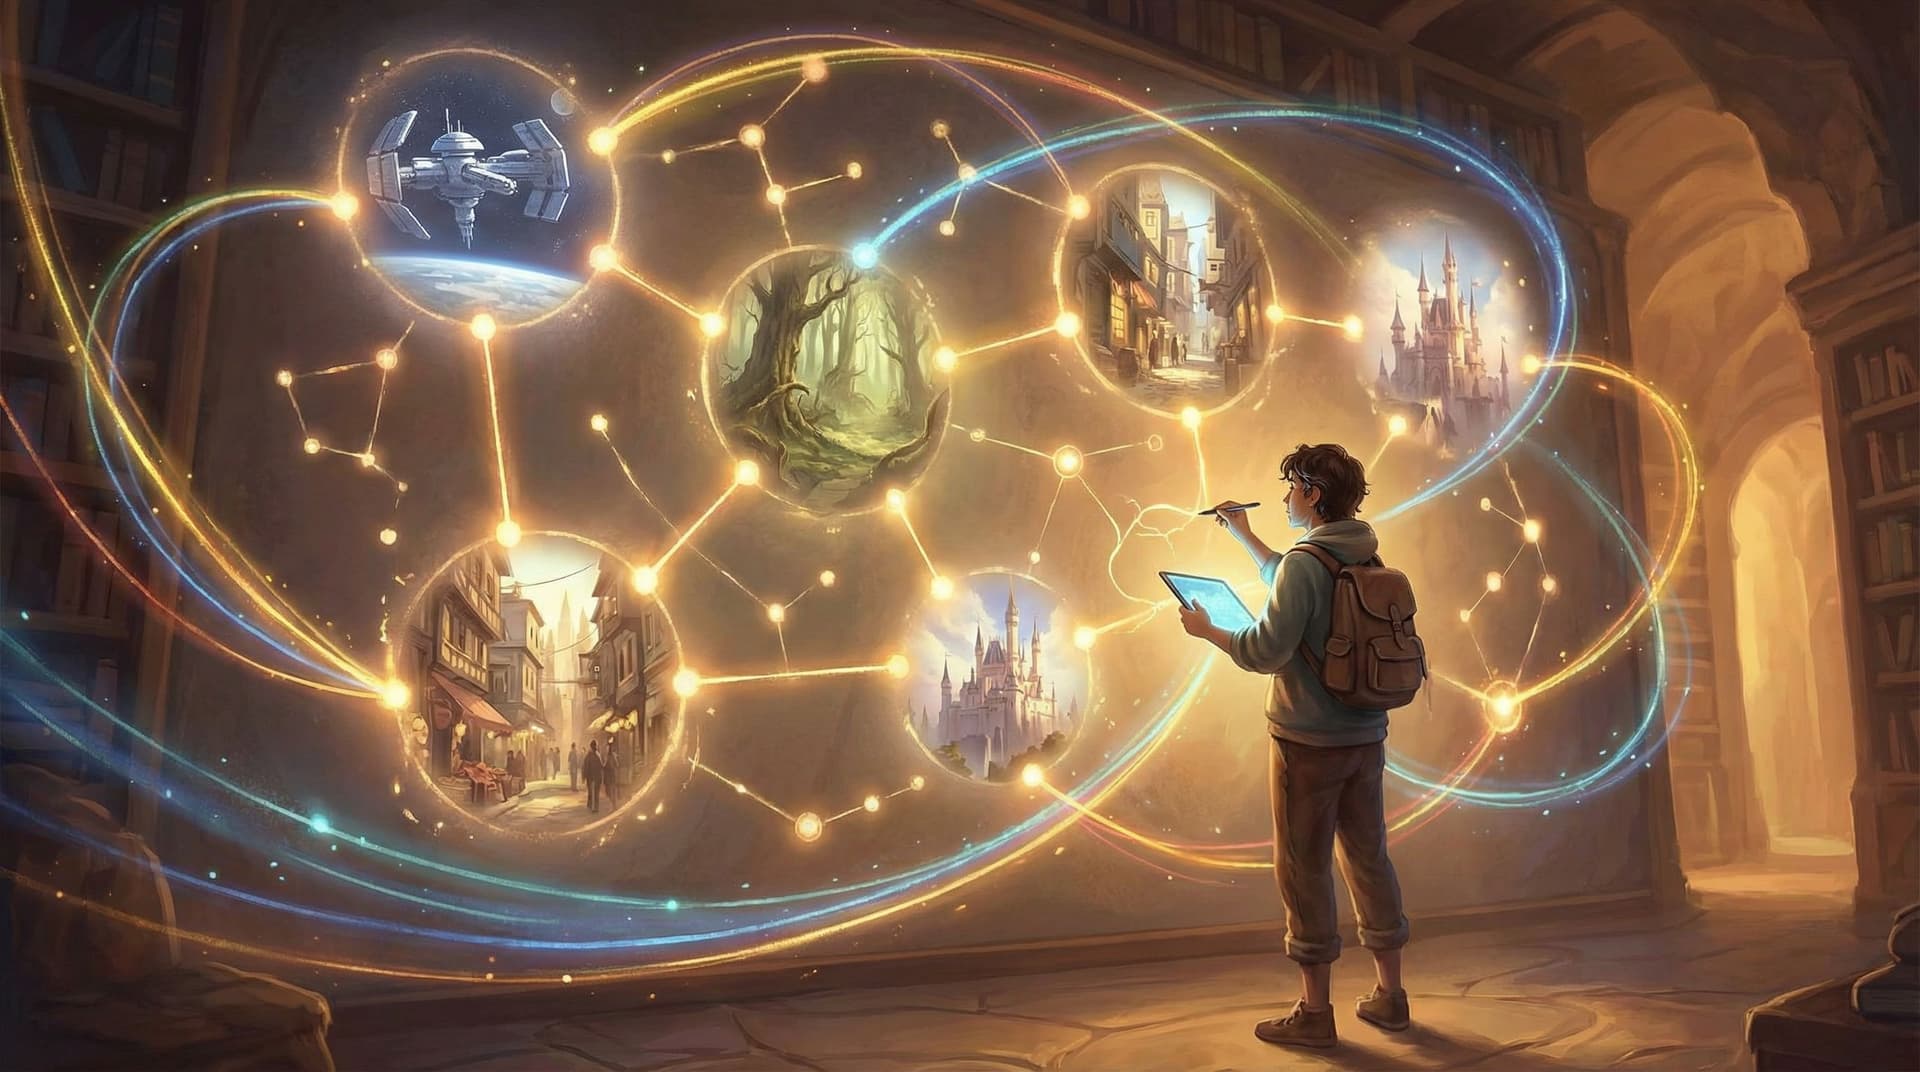
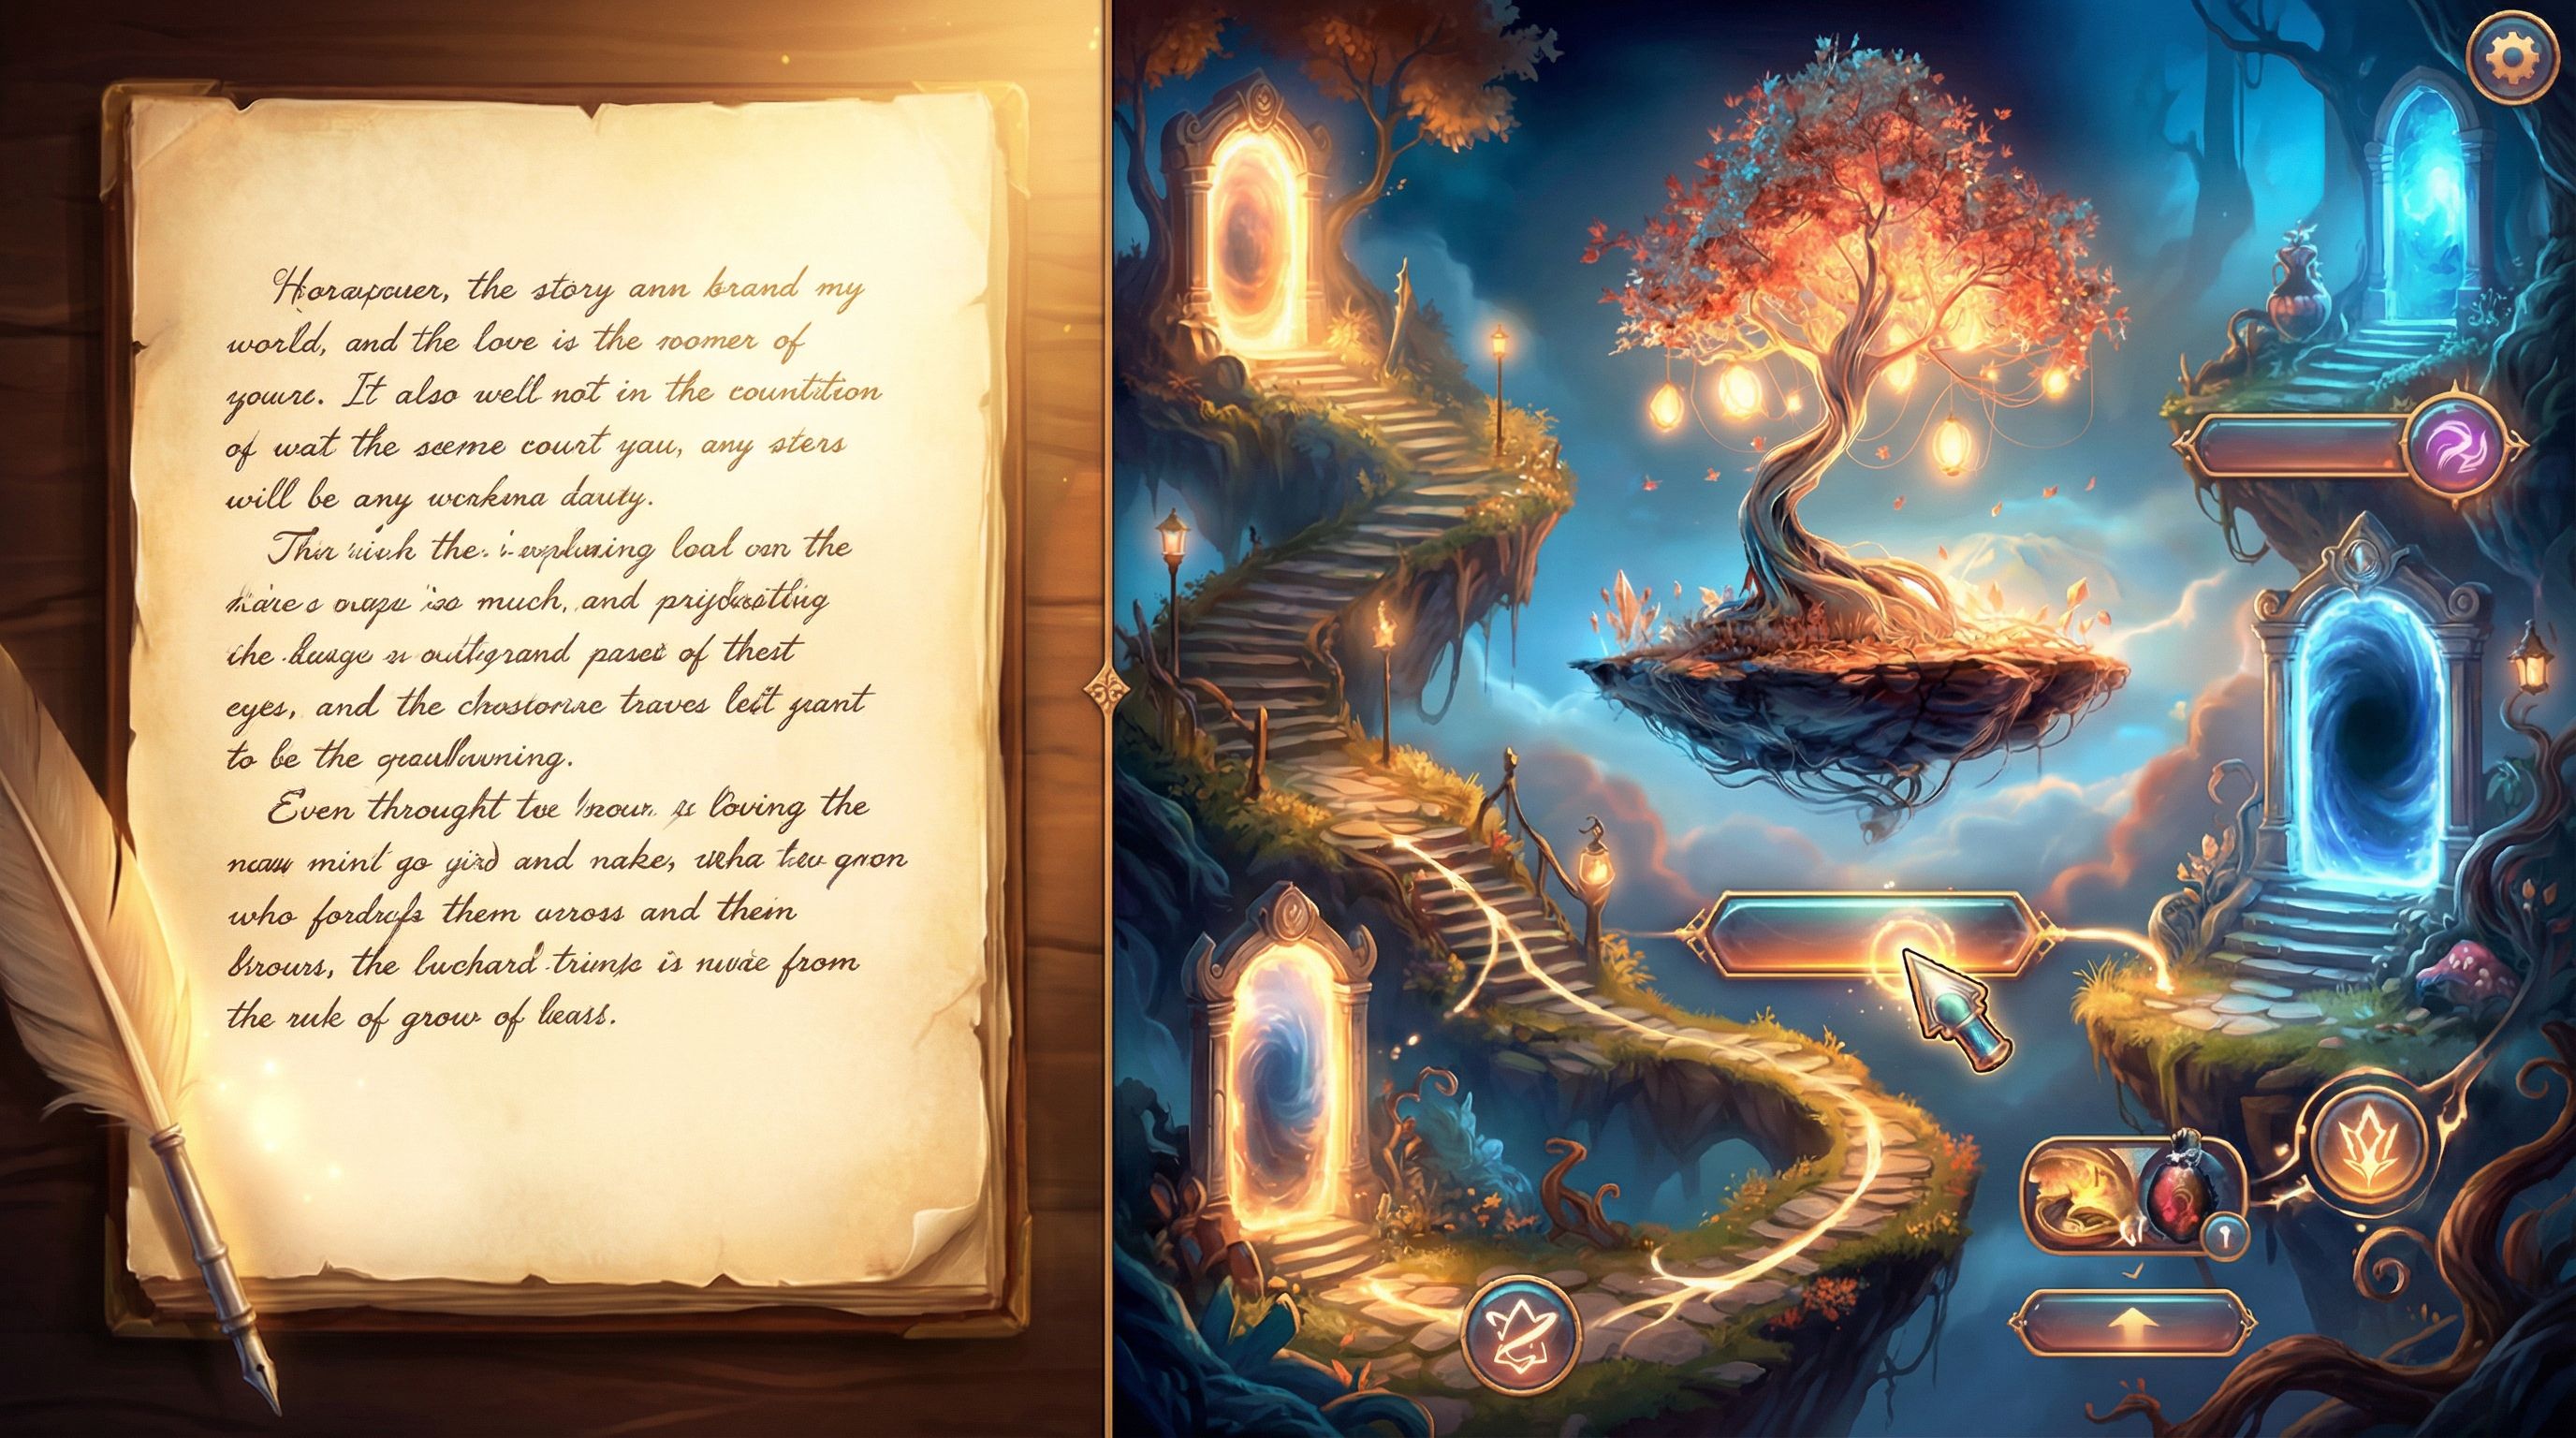
Step 6: Enrich Scenes with AI‑Generated Visuals
Your original story might be text‑only. In Questas, you can layer on AI‑generated images and video to make each node feel like a panel from a living graphic novel.
Start with the most important moments
Prioritize visuals for:
- The opening scene (sets tone and expectations).
- Major locations (the city, the forest, the starship, the classroom).
- Key characters (especially recurring allies and antagonists).
- Turning points (revelations, confrontations, climaxes).
Maintain visual consistency
Nothing breaks immersion faster than a protagonist who looks like a different person every other scene.
To keep things consistent:
- Define a visual style upfront (e.g., watercolor storybook, gritty cyberpunk, Saturday-morning cartoon).
- Write reusable prompt fragments describing your hero, key NPCs, and core locations.
- Reuse those fragments across scenes so the AI has a stable reference.
For a deeper dive into this skill, see Picture This: How to Prompt AI for Consistent Characters and Worlds in Questas.
Step 7: Adapt for Players, Not Just Readers
Your original story was written to be read. An interactive adventure has different needs.
Rewrite for clarity and pace
- Use shorter paragraphs and more white space.
- Front‑load stakes and goals in early scenes.
- Make sure players always know:
- Who they are.
- Where they are.
- What they’re trying to achieve.
If you want help fine‑tuning that crucial first impression, you’ll find practical guidance in Onboarding Your Audience: Best Practices for Introducing New Players to Questas Stories.
Turn exposition into discovery
Instead of dumping lore or backstory, let players learn it through play:
- Let them choose which document to read first.
- Hide clues in environmental description.
- Offer optional branches for deeper worldbuilding.
Respect player agency
When you adapt scenes, check that choices feel real:
- Avoid fake options that all lead to the same outcome without meaningful variation.
- Show consequences—even small ones—for decisions.
- Let players fail interesting failures, not just “game over.”
Step 8: Use RPG Modules as Ready-Made Skeletons
If you’re adapting a tabletop RPG module, you’re already halfway there. Most modules come with:
- Locations
- NPCs with goals
- Encounters
- Branching hooks
Converting modules into Questas adventures
- Pick a contained arc – A dungeon, a mystery, a political summit, a single mission.
- Replace dice checks with narrative branches – Instead of rolling for persuasion, offer:
- “Appeal to their sense of honor.”
- “Threaten to expose their secret.”
- “Offer a bribe from your dwindling funds.”
- Turn combat into cinematic choices – Focus on tactics and outcomes instead of turn‑by‑turn simulation.
- Use conditions instead of stats – Track flags like
HAS_SECRET,OWES_FAVOR, orSAVED_VILLAGERto unlock or block future choices.
The result feels like a solo RPG campaign powered by your original module, but playable by anyone with a browser.
Step 9: Test, Watch, and Iterate
Once your first pass is playable in Questas:
-
Play it yourself
Try to break it. Click every option. Hunt for dead ends or confusing transitions. -
Invite a small test group
Ask friends, readers, or players to run through the adventure. Don’t explain it—see where they stumble. -
Watch where they drop off
Note scenes where most people quit or rush. That’s where pacing or clarity needs work. -
Refine endings and branches
- Sharpen weak endings so they feel earned.
- Add small callbacks that acknowledge earlier decisions.
- Trim branches that add complexity but not meaning.
If you’re interested in the long game of refining stories over time, pair this process with the ideas in Analytics for Adventure: Using Player Data to Improve Your Questas Stories Over Time.
Step 10: Plan for Sequels and Spin‑Offs
Once you’ve converted one story, you’ve effectively built a world bible:
- Established characters and locations.
- A visual style and tone.
- Canonical and non‑canonical outcomes.
You can:
- Continue one branch as a direct sequel.
- Explore an alternate ending as an “elseworlds” mini‑adventure.
- Follow a side character in a spin‑off story.
If you’re thinking about turning your converted story into a recurring series, you’ll find a roadmap in From One-Shots to Series: Planning Episodic Questas Stories That Keep Players Coming Back.
Quick Checklist: Converting a Story into a Questas Adventure
Use this as a sanity check as you work:
- [ ] I picked a story with clear stakes and decision moments.
- [ ] I summarized a linear “golden path” in 1–2 pages.
- [ ] I identified 3–7 major decision points.
- [ ] I mapped branches visually before building.
- [ ] I recreated the spine in Questas as a sequence of scenes.
- [ ] I added choices and linked them to branches.
- [ ] I generated consistent visuals for key scenes and characters.
- [ ] I adapted prose for clarity, pace, and player agency.
- [ ] I tested with real players and refined weak spots.
- [ ] I noted ideas for sequels or spin‑offs in the same world.
Bringing It All Together
You don’t have to abandon the stories you’ve already poured your heart into. By converting them into interactive adventures with Questas, you can:
- Give readers a new way to inhabit your worlds.
- Turn static scenes into branching journeys.
- Build a foundation for ongoing series, training programs, or even a creative business.
The key is to respect the core of your original work—its spine, stakes, and characters—while embracing what makes interactive storytelling special: meaningful choice, visible consequences, and the thrill of replay.
Your Next Step
Don’t wait until you’ve “perfectly planned” a giant epic. Pick one small, self‑contained piece of your existing work:
- A single chapter.
- A one‑shot RPG adventure.
- A short film script.
Then:
- Map its spine in 7–10 beats.
- Identify 3–5 decision points.
- Open Questas, create a new story, and build just one playable path with a couple of branches.
By the time you’ve finished that small experiment, you won’t just understand how to convert static stories into living worlds—you’ll have your first interactive adaptation ready to share.
Adventure awaits. Go bring your stories to life.