Narrative Arcs in a Nonlinear World: Structuring Three-Act Stories Inside Questas Branches


Nonlinear stories can feel like a paradox.
You want that satisfying three-act arc—setup, escalation, payoff. But you also want players to wander, backtrack, discover secrets, and make wildly different choices. How do you keep a strong narrative spine when your story looks less like a straight line and more like a web?
That’s exactly where three-act thinking becomes your superpower inside Questas.
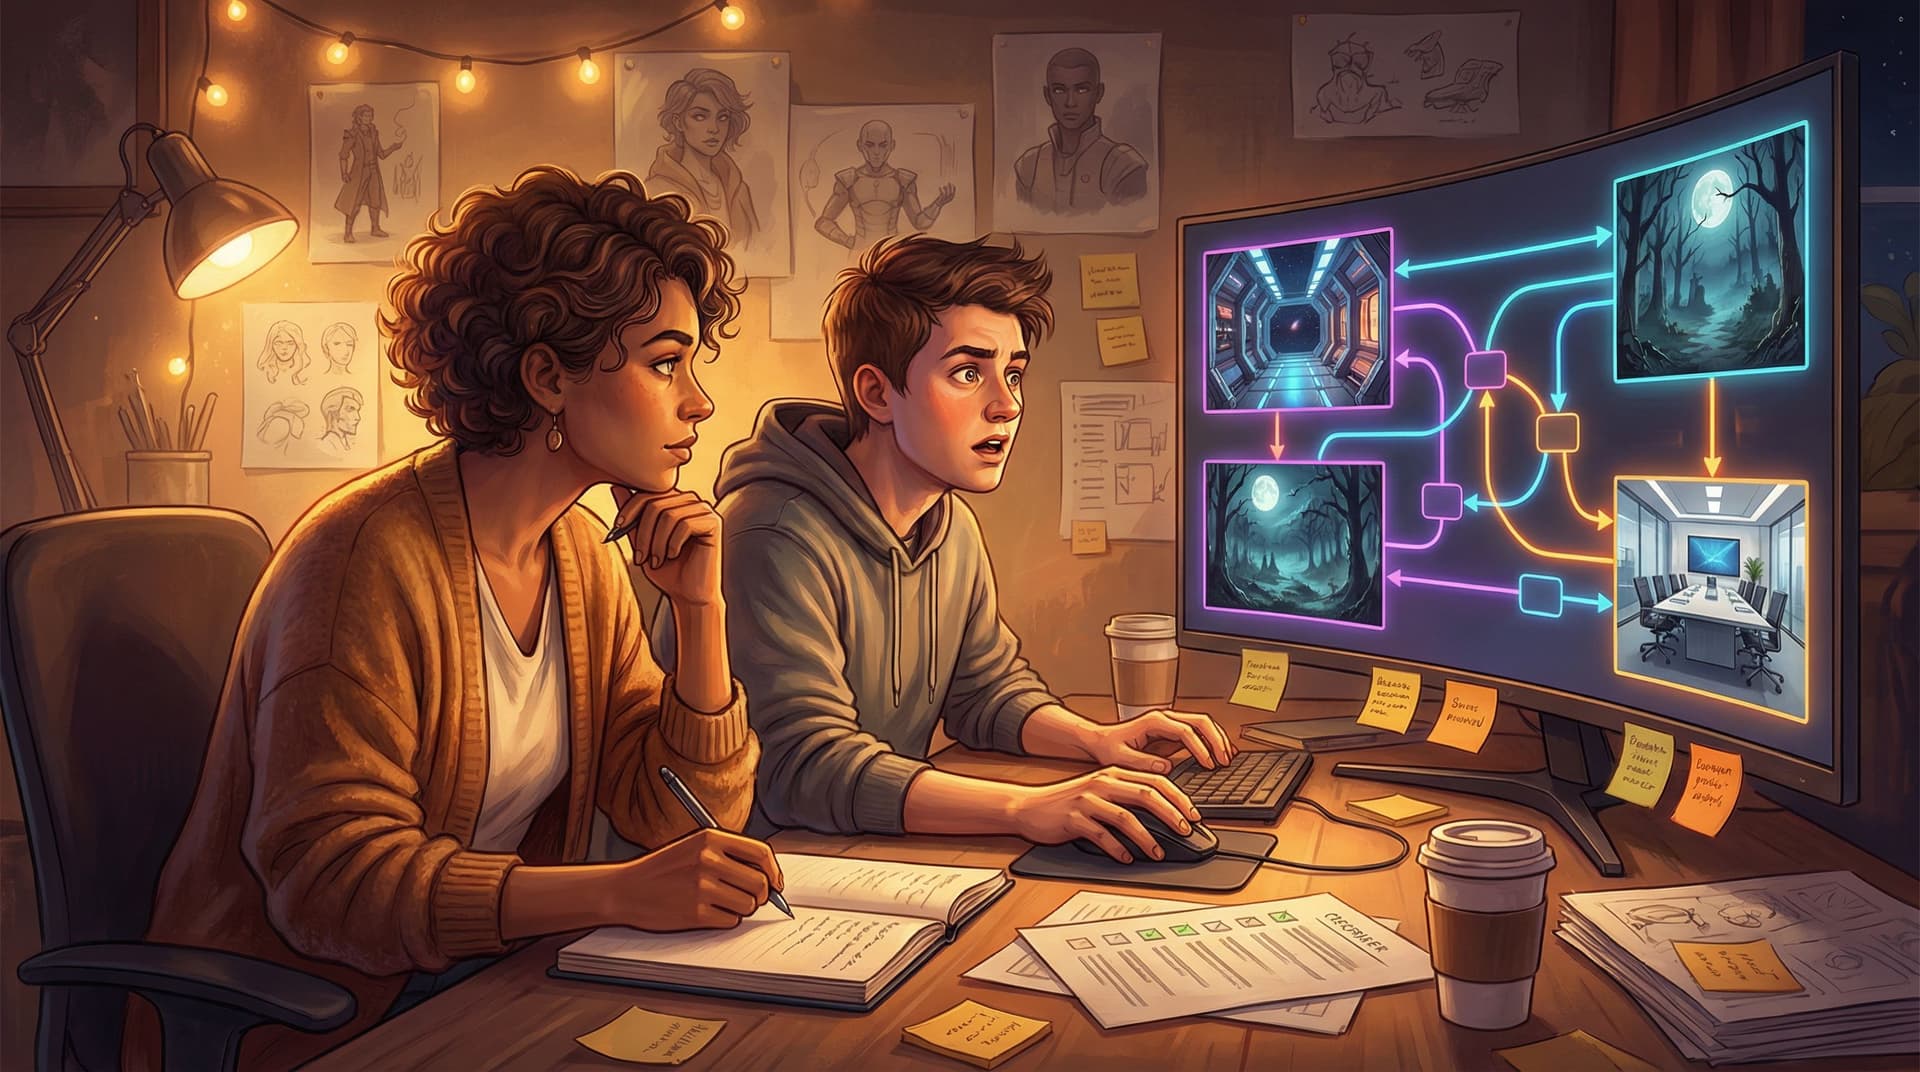
With a visual, no-code editor and AI-generated images and video, Questas makes it easy to add branches. The real craft is using those branches to support a compelling arc instead of diluting it. This post walks through practical ways to embed three-act structure inside your branching design—so every path still feels like a story, not a tour of disconnected scenes.
Why Structure Still Matters When Everything Branches
Branching narratives are systems. They’re alive, replayable, and responsive. But systems without structure quickly turn into:
- Endless middles with no payoff
- Endings that feel random or unearned
- Players asking, “Did I do something wrong?” instead of “I need to try that again.”
A loose, anything-goes tree might feel freeing while you’re building, but it often creates:
- Writer fatigue: You’re constantly inventing new scenes because nothing converges.
- Player confusion: Stakes and goals keep shifting, so choices feel shallow.
- Scope creep: Every new branch demands more art, more text, and more testing.
Three-act structure gives you a shared contract with your players:
- Act I – Setup: Who am I? What’s this world? What do I want?
- Act II – Confrontation: What stands in my way? What choices define me?
- Act III – Resolution: What did it all mean? Do my actions pay off?
When you embed that contract inside your Questas project, even wildly different paths feel like variations on a theme instead of completely different stories.
For a deeper dive into why branching stories are maturing as a medium, check out Branching Narratives in 2026: Trends Shaping the Future of Interactive Fiction and Story Games. It’s a great companion read to this structural guide.
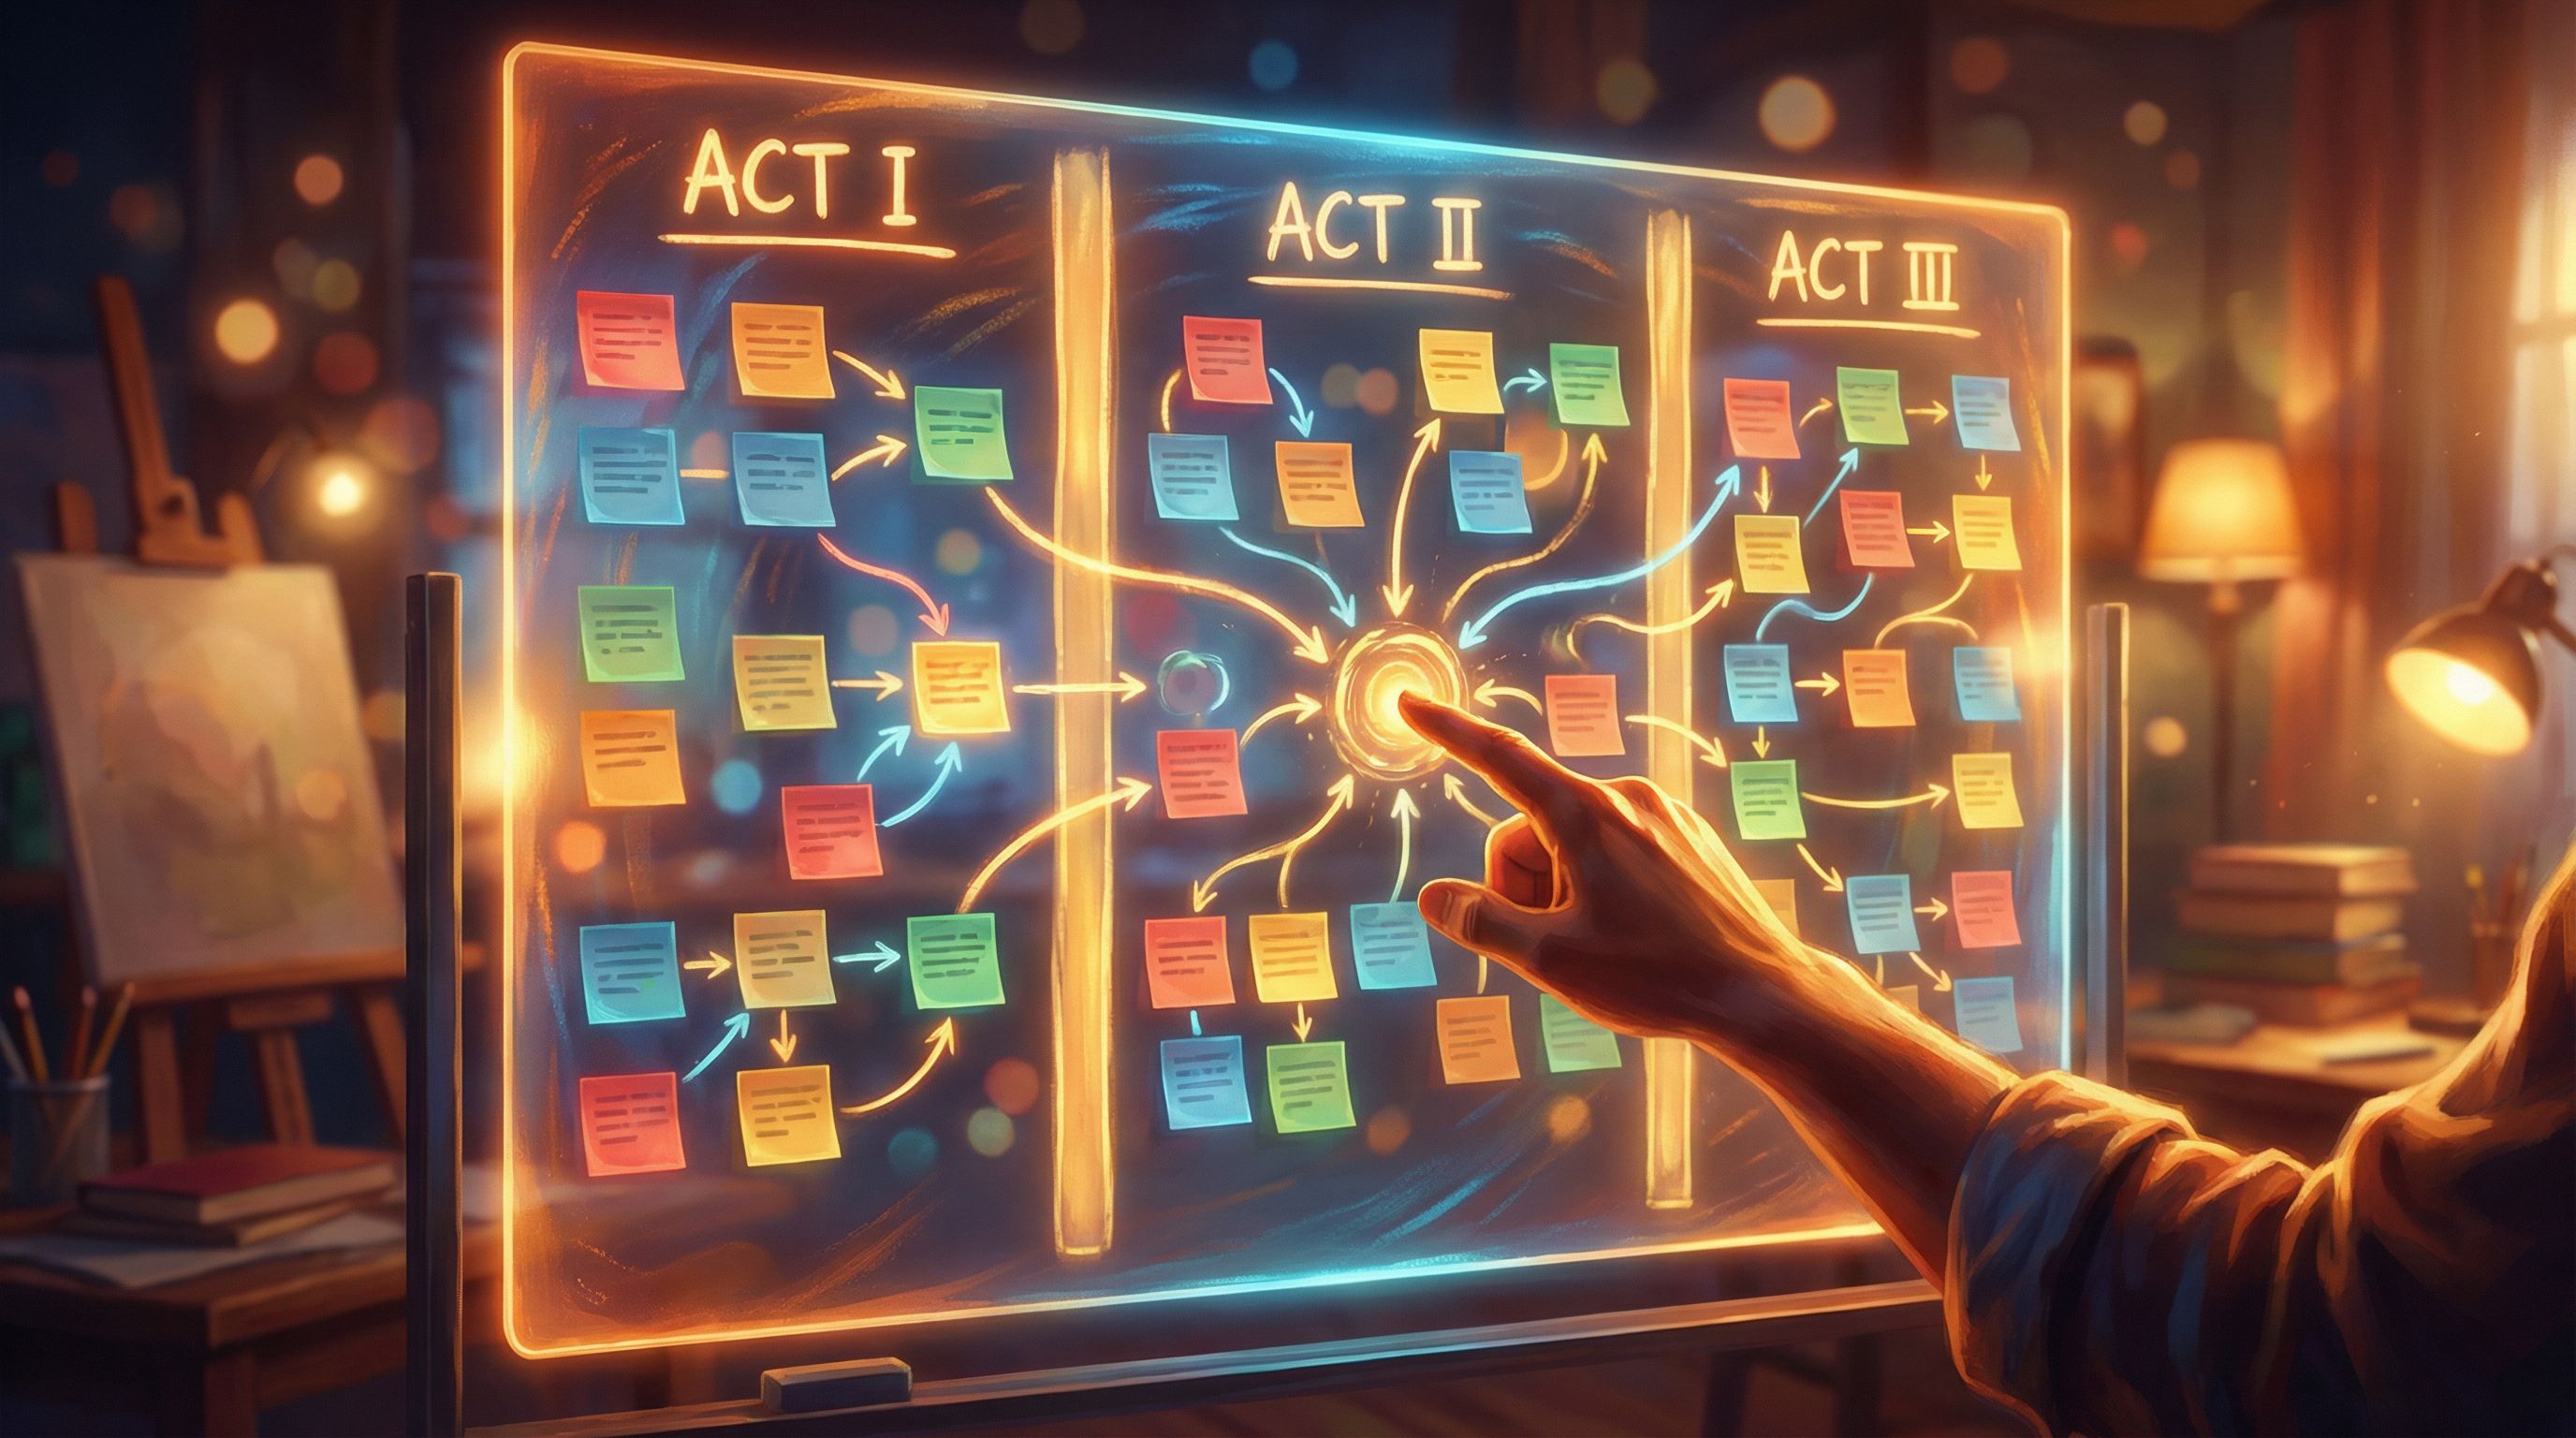
The Core Idea: One Spine, Many Ribs
The secret to three-act structure in a nonlinear story is this:
Your adventure has one main spine, but many ways to travel along it.
Think of your Questas project as a body:
- The spine is your global three-act arc.
- The ribs are branches that angle away, explore, and then (often) reconnect.
Instead of designing a different Act I/II/III for every branch, you:
- Define global turning points that almost every path brushes against.
- Use branches to change how players arrive at those moments and how they feel about them.
In practice, that means:
- A shared inciting incident that kicks off the story.
- A mid-story reversal or revelation most routes eventually encounter.
- A set of resolution clusters (endings) that echo the same core theme in different flavors.
We’ll walk through how to map and build this inside Questas, step by step.
Step 1: Design Your Global Three-Act Arc First (Outside the Editor)
Before you drag a single node in Questas, sketch your three-act arc in the simplest, linear form possible.
Ask yourself:
-
Act I – Setup
- Who is the player-character?
- What’s their normal?
- What event forces them to act (inciting incident)?
- What clear goal or question emerges by the end of Act I?
-
Act II – Confrontation
- What escalating problems stand in the way?
- What’s the midpoint twist or revelation?
- How does the character (or the player’s self-image) change?
-
Act III – Resolution
- What’s the climactic decision or confrontation?
- What’s at stake if they fail or succeed?
- What emotional note do you want most endings to land on?
Write this as 10–20 bullet points, max. If you already think visually, you might enjoy mapping this as panels or beats; our post From Comic Panels to Playable Paths: Turning Visual Storyboards into Questas Adventures shows how to turn those visual beats directly into interactive structure.
At this stage, you are not worrying about branches. You’re answering: If this story were a 20-minute short film, what would happen?
Step 2: Mark Your Non-Negotiable Story Beats
Now take that linear outline and highlight 5–7 non-negotiable beats—the ones that define your story’s identity.
Examples:
- The moment the haunted ship first answers your hail.
- The first time the trainee sees the consequences of a bad safety decision.
- The revelation that the mentor has been lying.
- The final, irreversible choice.
These beats become your anchors in Questas:
- You can add or remove optional scenes around them.
- You can change how players reach them.
- But most satisfying routes should hit most of these points.
In your notes, label each anchor with its act:
- A1-1: Ordinary world
- A1-2: Inciting incident
- A2-1: First major choice with consequences
- A2-2: Midpoint revelation
- A2-3: All-is-lost or crisis
- A3-1: Climax
- A3-2: Aftermath / new normal
You’ll use these labels again once you’re building inside the editor.
Step 3: Translate Anchors into Questas Scenes
Now open Questas and create a bare-bones version of your story that only includes your non-negotiable beats.
- Create one scene node per anchor.
- Connect them in a straight line.
- Add minimal text to each—just enough to understand what happens.
- Use a simple naming convention in your scene titles, like:
A1-1: Dockside RoutineA2-2: The Ship SpeaksA3-1: Cut the Line or Stay Attached
You’ve just built your story spine.
At this point, resist the urge to make it pretty. Don’t worry about AI images, video, or detailed prose yet. You’re proving that your story can stand on its own as a clear, linear arc.
Later, when you start layering in visuals, posts like Show, Don’t Tell: Using AI Images and Short Video Loops to Pace Your Questas Story Beats will help you turn these anchors into powerful, cinematic moments.
Step 4: Add Branches as Variations on Key Beats
Once your spine feels solid, you can start adding branches. Here’s the crucial mindset shift:
Branches are variations on beats, not escapes from them.
Instead of asking, “What totally new thing could happen?” ask:
- What different choice could lead into this same beat with a different emotional tone?
- What extra scene could deepen this beat before we move on?
- What alternate route could skip a minor beat but still reach the next anchor?
Three High-Impact Branch Types
-
Approach Branches
- These change how players arrive at a beat.
- Example: Before the midpoint revelation, players can either:
- Sneak into the archive and find the truth themselves, or
- Be confronted by a side character who reveals it.
- Both routes converge back into the same anchor scene (
A2-2: The Ship Speaks), but players feel different levels of agency and trust.
-
Perspective Branches
- These don’t change plot events, but they change context.
- Example: Players choose which crew member to accompany them.
- With the engineer, they hear a pragmatic, cynical take.
- With the medic, they hear a compassionate, anxious take.
- The next anchor scene is identical in terms of events, but the emotional read shifts.
-
Outcome Branches
- These fork the consequences while preserving the act structure.
- Example: At the Act II climax, a choice determines whether a village is saved or sacrificed.
- Both outcomes still drive toward the Act III confrontation, but the stakes and guilt level change.
In Questas, you can visually see these as small clusters of nodes that converge back into your labeled anchor scenes. This keeps your graph readable and your scope manageable.
Step 5: Build Mini-Arcs Inside Each Act
Three-act structure isn’t just macro. Each act can contain its own mini-arc:
- Act I mini-arc: Curiosity → disruption → commitment.
- Act II mini-arc: Confidence → complication → doubt.
- Act III mini-arc: Risk → climax → transformation.
For each act, design 2–4 choice moments that support that emotional progression.
Example: Act II Mini-Arc in a Training Scenario
Imagine you’re building a safety training adventure in Questas:
- Beat 1 – Confidence: Trainee chooses a seemingly efficient but slightly risky shortcut.
- Beat 2 – Complication: A minor incident occurs. They must decide whether to report it.
- Beat 3 – Doubt: A supervisor questions their judgment, and a larger incident looms.
Branches in this act should:
- Offer tempting shortcuts vs. slower, safer options.
- Surface conflicting incentives (speed, cost, safety, reputation).
- Lead to a crisis that sets up Act III’s big decision.
Designing at this level helps ensure that even if players miss some scenes, they still feel the emotional journey of each act.
Step 6: Align Your Choices with Act Transitions
Act transitions are where players feel the story “click” into a new gear. In a nonlinear structure, you want to anchor those gears to specific choices.
Consider:
-
End of Act I: A point of no return.
- Design a choice where the player must actively commit to the adventure.
- Example: Stay on the safe transport or board the derelict ship.
-
Midpoint (Act II): A revelation that reframes the goal.
- Design a choice that decides how they handle this new truth.
- Example: Expose the company cover-up publicly or gather more proof first.
-
End of Act II: The all-is-lost or crisis.
- Design a choice that seems bad either way, forcing values into the open.
- Example: Save one crew member or many civilians.
-
Act III Climax: The defining decision.
- Design a choice that echoes earlier decisions and themes.
- Example: Trust the AI they’ve been doubting all along, or shut it down.
In Questas, you can:
- Tag or color-code these key choice nodes.
- Write them last, once you understand your themes.
- Reuse visual motifs in AI-generated images or video to signal their importance.
Step 7: Design Ending Clusters, Not Single Endings
Instead of thinking in terms of “the good ending” and “the bad ending,” design clusters of endings that all feel like valid Act III resolutions.
A practical approach:
-
Define 2–4 outcome themes, such as:
- Redemption
- Corruption
- Escape
- Sacrifice
-
For each theme, design multiple variations:
- A short, punchy version for players who took risky shortcuts.
- A longer, reflective version for players who explored more branches.
-
Map which choice patterns tend to lead into each cluster.
In Questas, you can:
- Use variables or flags (if your project uses logic) to track patterns like “mercy vs. ruthlessness” or “rule-following vs. improvisation.”
- Route players to different endings within a cluster based on those patterns.
The result is a set of finales that all feel like Act III, but still reward different playstyles.
For even more replay value, pair this with the techniques from Replay Value by Design: How to Plan Secrets, Unlockables, and Hidden Paths in Questas.
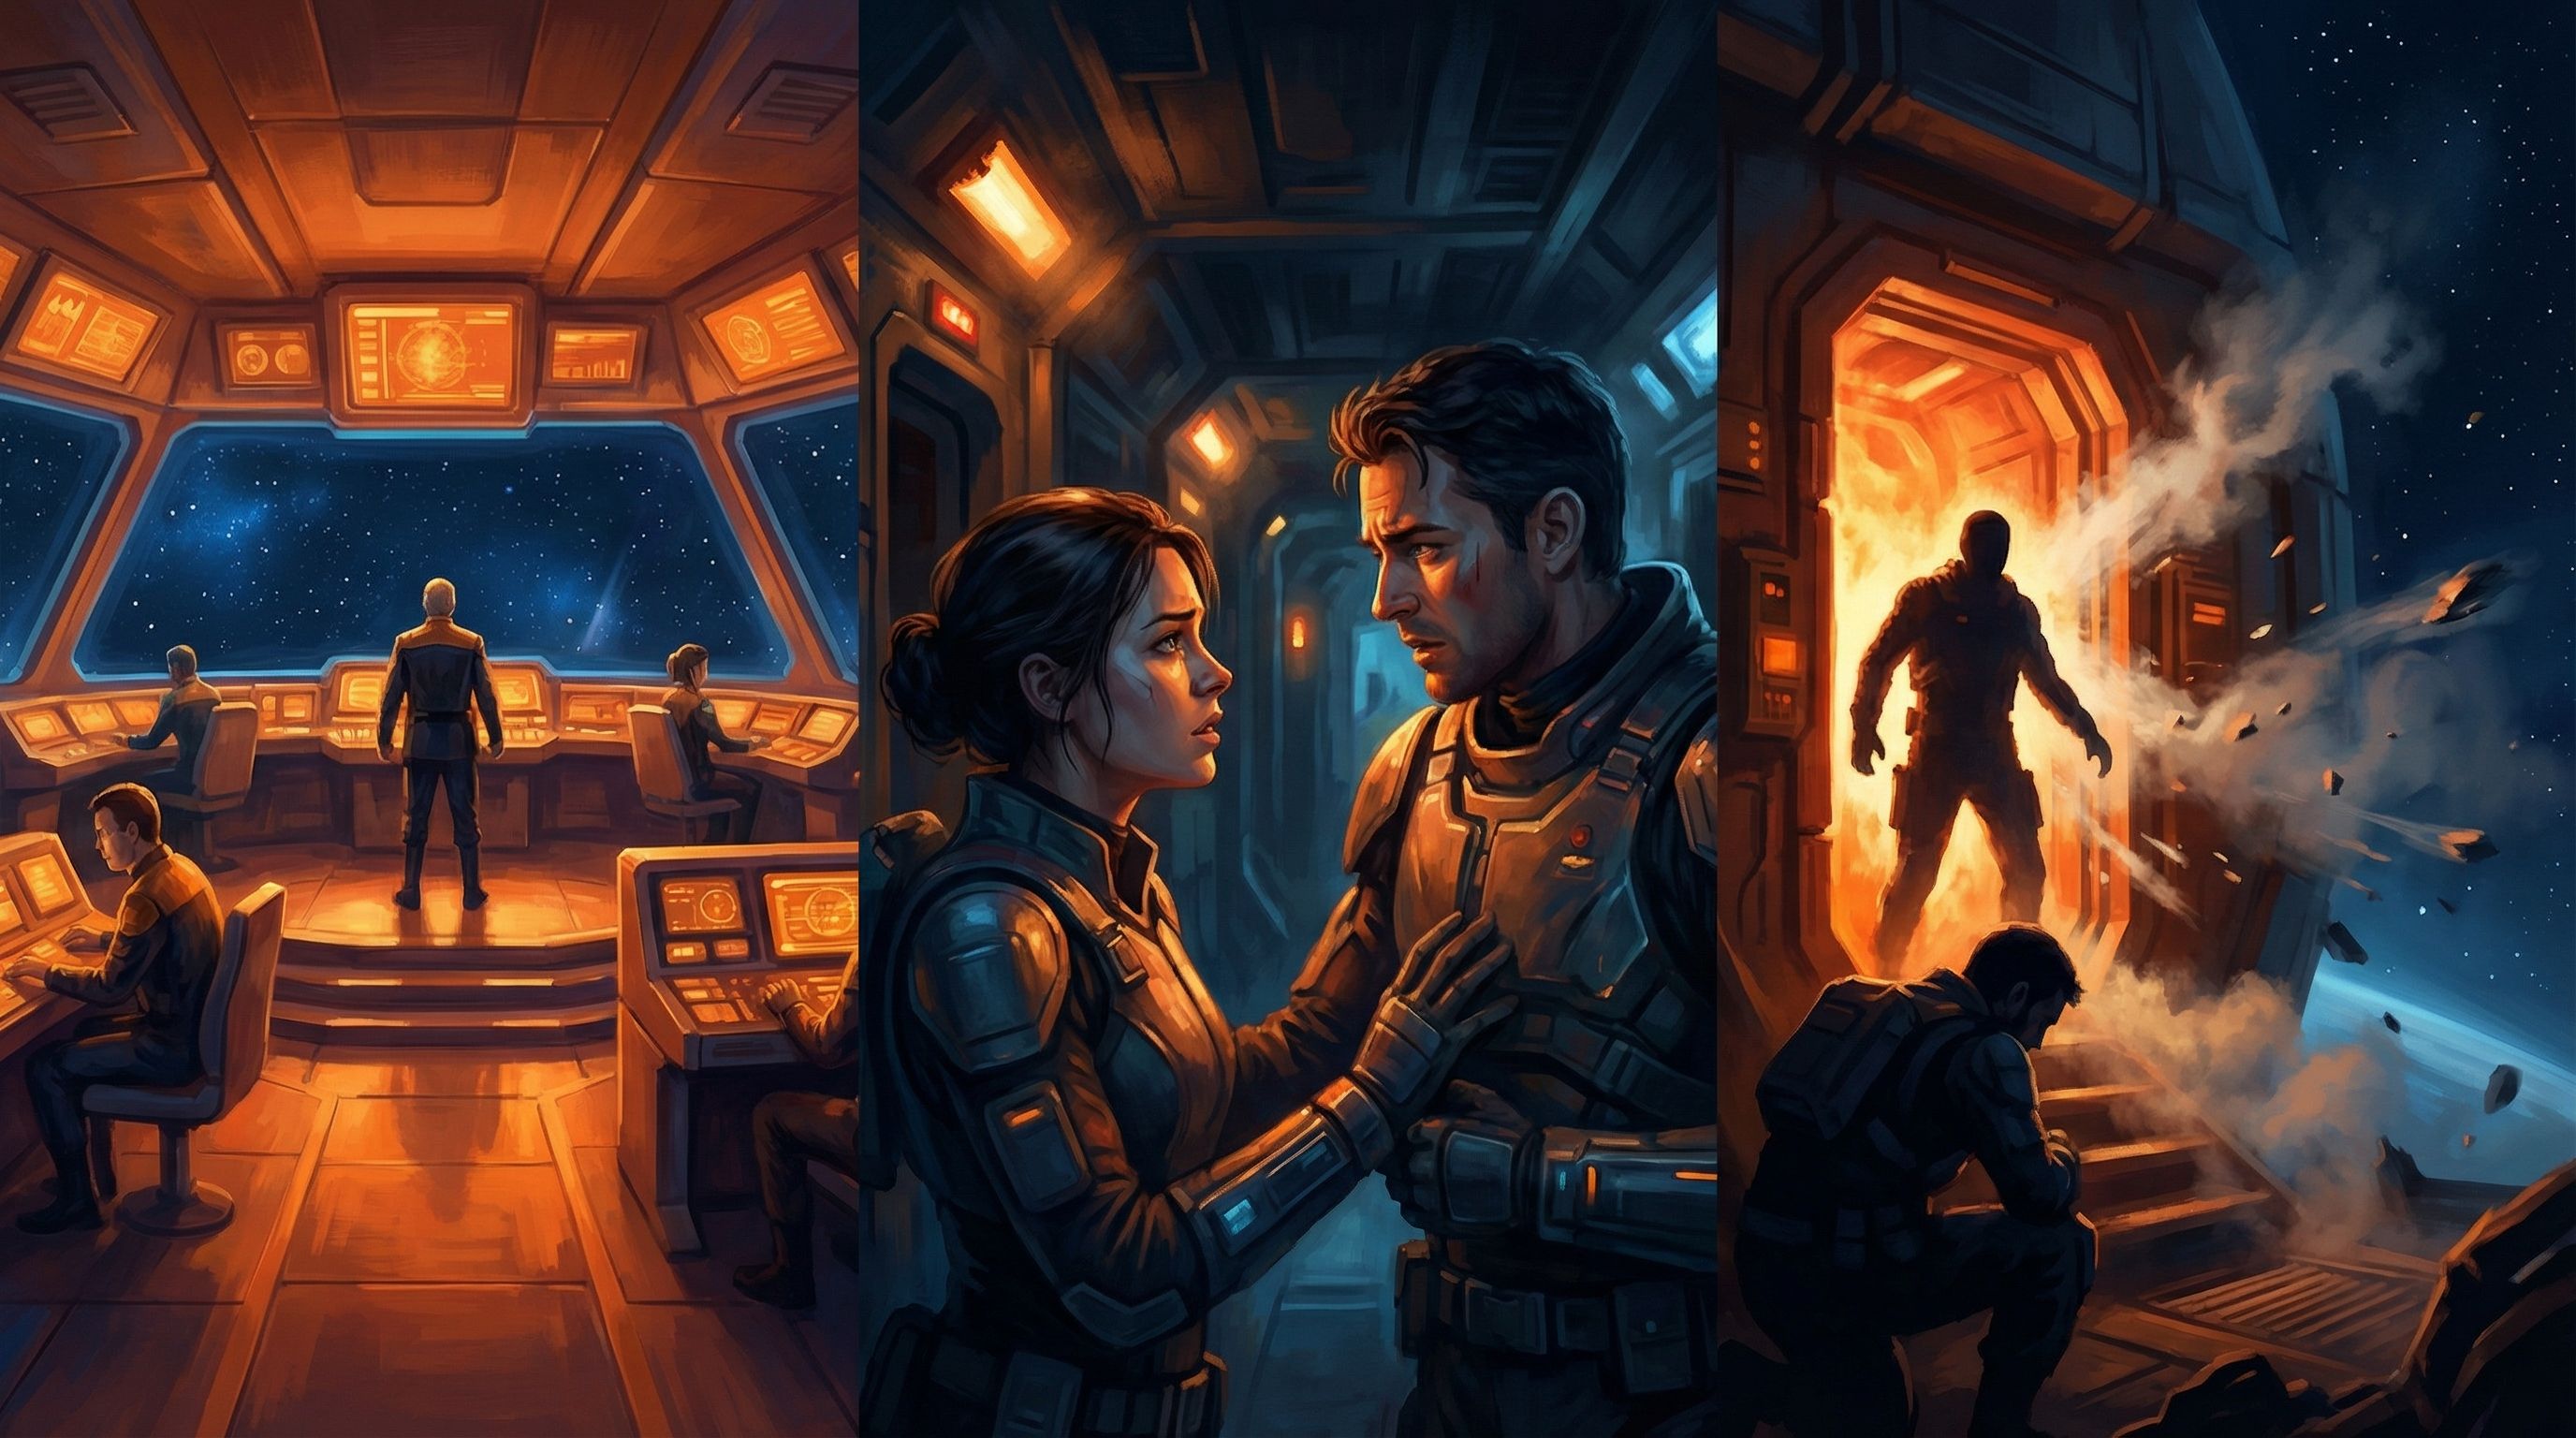
Step 8: Use Visuals to Reinforce Your Arc
Because Questas leans heavily on AI-generated images and micro-video, your visual language can do a lot of structural work for you.
Visual Cues by Act
-
Act I
- Brighter, more open compositions.
- Wider shots that establish space and context.
- Stable camera angles, calmer color palettes.
-
Act II
- Tighter framing on faces and hands.
- Increasing contrast, more shadows, busier backgrounds.
- Camera angles that tilt or close in during crises.
-
Act III
- High-contrast lighting (backlit silhouettes, stark spotlights).
- Strong, iconic compositions for climactic choices.
- Simplified backgrounds to focus on the decision.
In practice:
- Reuse visual motifs (a red warning light, a family photo, a broken emblem) at key beats.
- Let micro-video loops slow the pace before big decisions and hold on aftermath after them.
This way, even if players don’t consciously track acts, they feel the shift in tone.
Step 9: Playtest for Arc, Not Just Logic
When you test your Questas story, it’s tempting to focus on broken links or missing scenes. You should absolutely fix those—but also test for emotional structure.
Ask playtesters:
- “Where did it feel like things really started?” (Act I → Act II)
- “Where did it feel like everything changed?” (Midpoint)
- “Where did it feel like the endgame started?” (Act II → Act III)
- “Did your ending feel like a payoff to your choices?”
If players struggle to answer, you may need to:
- Sharpen your inciting incident.
- Make mid-story revelations bigger or more surprising.
- Tighten the path into Act III so it doesn’t feel like just another scene.
Our guide Playtesting Your Questas Like a Game Designer: Scripts, Checklists, and What to Watch For has concrete scripts and checklists you can adapt directly for arc-focused testing.
Step 10: Start Small, Then Scale Your System
You don’t need a 4-hour epic to practice this. In fact, the best way to internalize three-act branching is to build a tiny project:
- 3–5 scenes per act.
- 1–2 branches per act that reconnect.
- 3–6 total endings clustered into 2 themes.
Once you’ve shipped one or two of these smaller adventures in Questas, scaling up becomes a matter of repeating the pattern:
- More beats per act.
- More nuanced variables.
- More visual motifs and callbacks.
Because your structure is clear, you can grow your story horizontally (more branches) or vertically (deeper scenes) without losing the arc.
Bringing It All Together
Let’s recap the key ideas:
- Three-act structure still matters in nonlinear stories—it’s the spine that keeps your branches from collapsing into chaos.
- Start by designing a linear version of your story, then mark non-negotiable beats that define each act.
- In Questas, build that spine first as a simple chain of scenes.
- Add branches as variations on key beats—different approaches, perspectives, and outcomes that still respect your arc.
- Design mini-arcs inside each act so every segment has its own emotional rise and fall.
- Align your biggest choices with act transitions and the climax.
- Think in ending clusters, not single endings, to support replayability without losing thematic focus.
- Use AI images and micro-video to signal act shifts and reinforce key moments.
- Playtest not just for bugs, but for whether players can feel the three-act progression.
Do this, and your branching adventures start to feel less like mazes and more like living stories—ones that invite players to explore, replay, and argue about what should have happened.
Your Next Move
You don’t have to solve nonlinear structure in theory. You can learn it by building one small, focused adventure right now.
- Open Questas.
- Outline a 10–15 beat three-act story on a scrap of paper or a notes app.
- Build the spine only—no branches, minimal text.
- Add one branching cluster per act that reconnects.
- Generate a handful of AI images for your key beats to emphasize the arc.
- Share it with a friend and ask just two questions:
- “Where did it feel like the story really started?”
- “Where did it feel like you hit the final stretch?”
From there, you can iterate, expand, or spin the same structure into a series of connected adventures.
Your stories don’t have to choose between structure and freedom. With a clear three-act spine and the branching power of Questas, you can give players both.
Adventure awaits—go start building your next arc.