From Comic Panels to Playable Paths: Turning Visual Storyboards into Questas Adventures

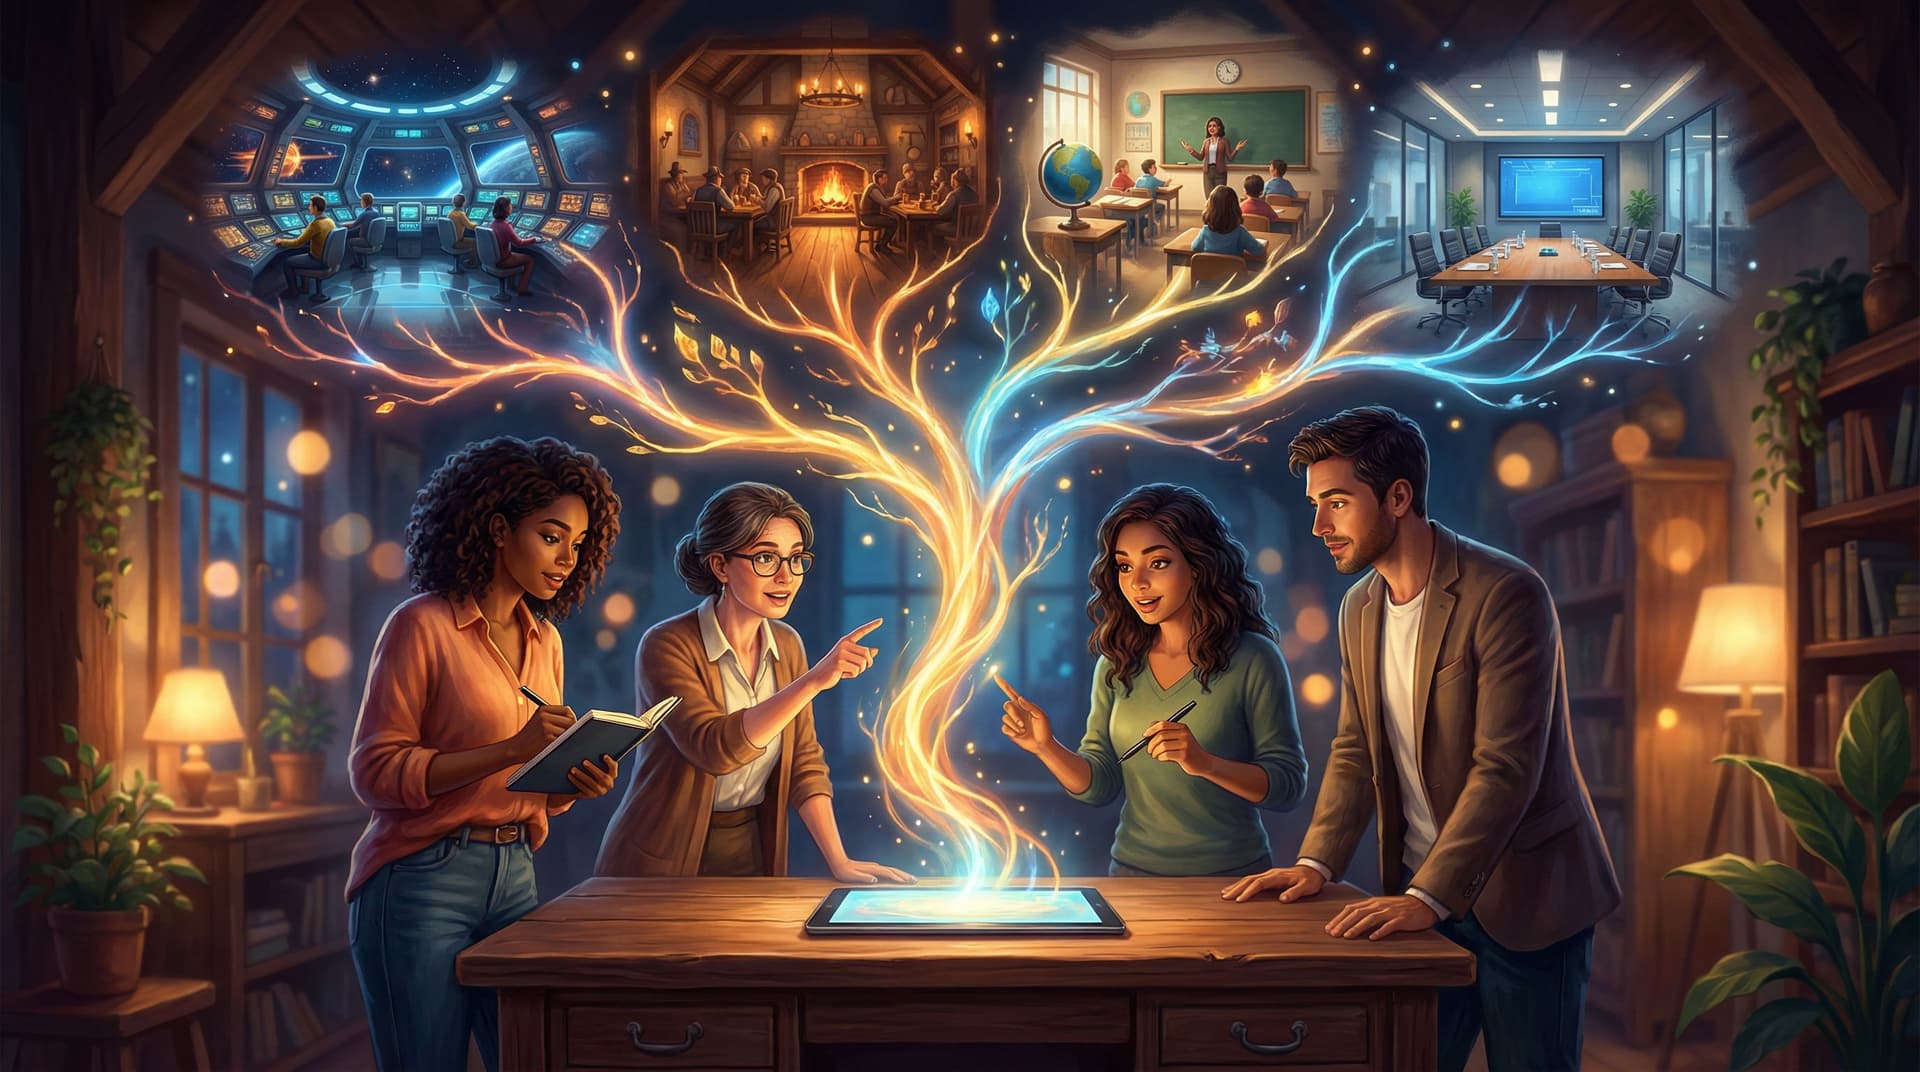
Comics and storyboards are already halfway to being interactive stories.
You’ve got panels that frame moments, visual beats that imply motion, and gutters where the reader’s imagination fills in what happens between frames. That structure maps beautifully onto branching adventures—if you know how to translate it.
With Questas, you don’t need a custom engine or a dev team to make that leap. You can take the visual thinking you already use in comics, animatics, or pitch boards and turn it into a playable, choice-driven experience—complete with AI‑generated images and video—using a visual, no‑code editor.
This guide walks through how to go from static panels to fully navigable paths: a step‑by‑step process, common pitfalls, and practical tricks you can apply right away.
Why Storyboards Make Such Strong Interactive Foundations
If you already work with comics or storyboards, you’re holding a secret weapon for interactive storytelling:
- You think in scenes, not just pages. Each panel or frame is a beat—a moment of decision, reveal, or reaction.
- You’re comfortable with visual continuity. You already track character position, lighting, props, and mood from panel to panel.
- You understand pacing. You know when to zoom in on a face, when to pull back to a wide shot, and when to linger.
Interactive fiction thrives on those same skills. As we explored in Branching Narratives in 2026: Trends Shaping the Future of Interactive Fiction and Story Games, modern players expect stories that feel cinematic, reactive, and replayable—not just walls of text.
Turning a storyboard into an adventure on Questas lets you:
- Prototype story games fast. Test if a concept works as an interactive experience before committing to a full production.
- Pitch ideas more viscerally. Let clients, collaborators, or readers play through a concept instead of flipping through a static PDF.
- Extend existing IP. Turn a comic issue, a storyboarded short, or a pitch deck into a side-story fans can explore.
- Teach or train with scenarios. Use storyboarded case studies (for education or corporate training) as the basis for branching simulations.
The good news: you don’t have to start from scratch. You can use the panels and beats you already have as the spine of your Questas project.
Step 1: Decide What Kind of Interactivity You Actually Want
Before you drag a single node in the editor, zoom out. Not every storyboarded moment needs to become a branching choice.
Ask yourself three questions:
-
Where should players decide what happens next?
Look for beats where a character could reasonably choose A or B:- Do they trust the stranger or walk away?
- Do they open the door or barricade it?
- Do they tell the truth or lie?
-
Where should they explore rather than decide?
Some scenes work better as hubs:- A crime scene with multiple clues to inspect.
- A starship bridge with different stations to visit.
- A classroom where students can talk to different characters.
-
Where should they simply experience the moment?
Not every panel needs a button. Some should just land emotionally.
A simple way to categorize your existing panels:
- Choice beats → will become decision points.
- Exploration beats → will become hubs or optional branches.
- Cinematic beats → will stay mostly linear, maybe with small cosmetic variations.
If you want a deeper dive into how to make those decisions meaningful, pair this post with Designing Meaningful Choices: How to Turn Simple Branches into Emotional Turning Points in Questas.
Step 2: Mark Up Your Storyboard Like a Flowchart
Now we’ll turn your existing visual sequence into a playable map.
Take your storyboard (digital or printed) and layer on structure:
-
Number every panel or frame.
- Use a simple scheme:
1, 2, 3…for linear, and add letters for branches:5A, 5B, etc.
- Use a simple scheme:
-
Circle your choice beats.
- Every time you hit a moment where the story could go in multiple directions, draw a circle and write the possible outcomes.
- Example: Panel 7: "Accept the job" → 8A, "Refuse" → 8B.
-
Draw arrows for branch connections.
- From each choice, draw arrows to the next panel (or set of panels) that follow that decision.
-
Group panels into scenes.
- A scene is a chunk that belongs together: same location, same micro‑goal.
- Label them:
Scene A: The Offer,Scene B: The Heist, etc.
You don’t need a perfect branching diagram yet. You just want enough structure that when you open Questas, you already know:
- What your core spine is (the main path most players will see).
- Where your big branches live (choices that significantly change what happens).
- Where your optional detours are (bonus scenes, secrets, flashbacks).
For more techniques to keep things manageable as your story grows, check out Branching Without Chaos: Simple Story Mapping Techniques for Complex Questas Narratives.
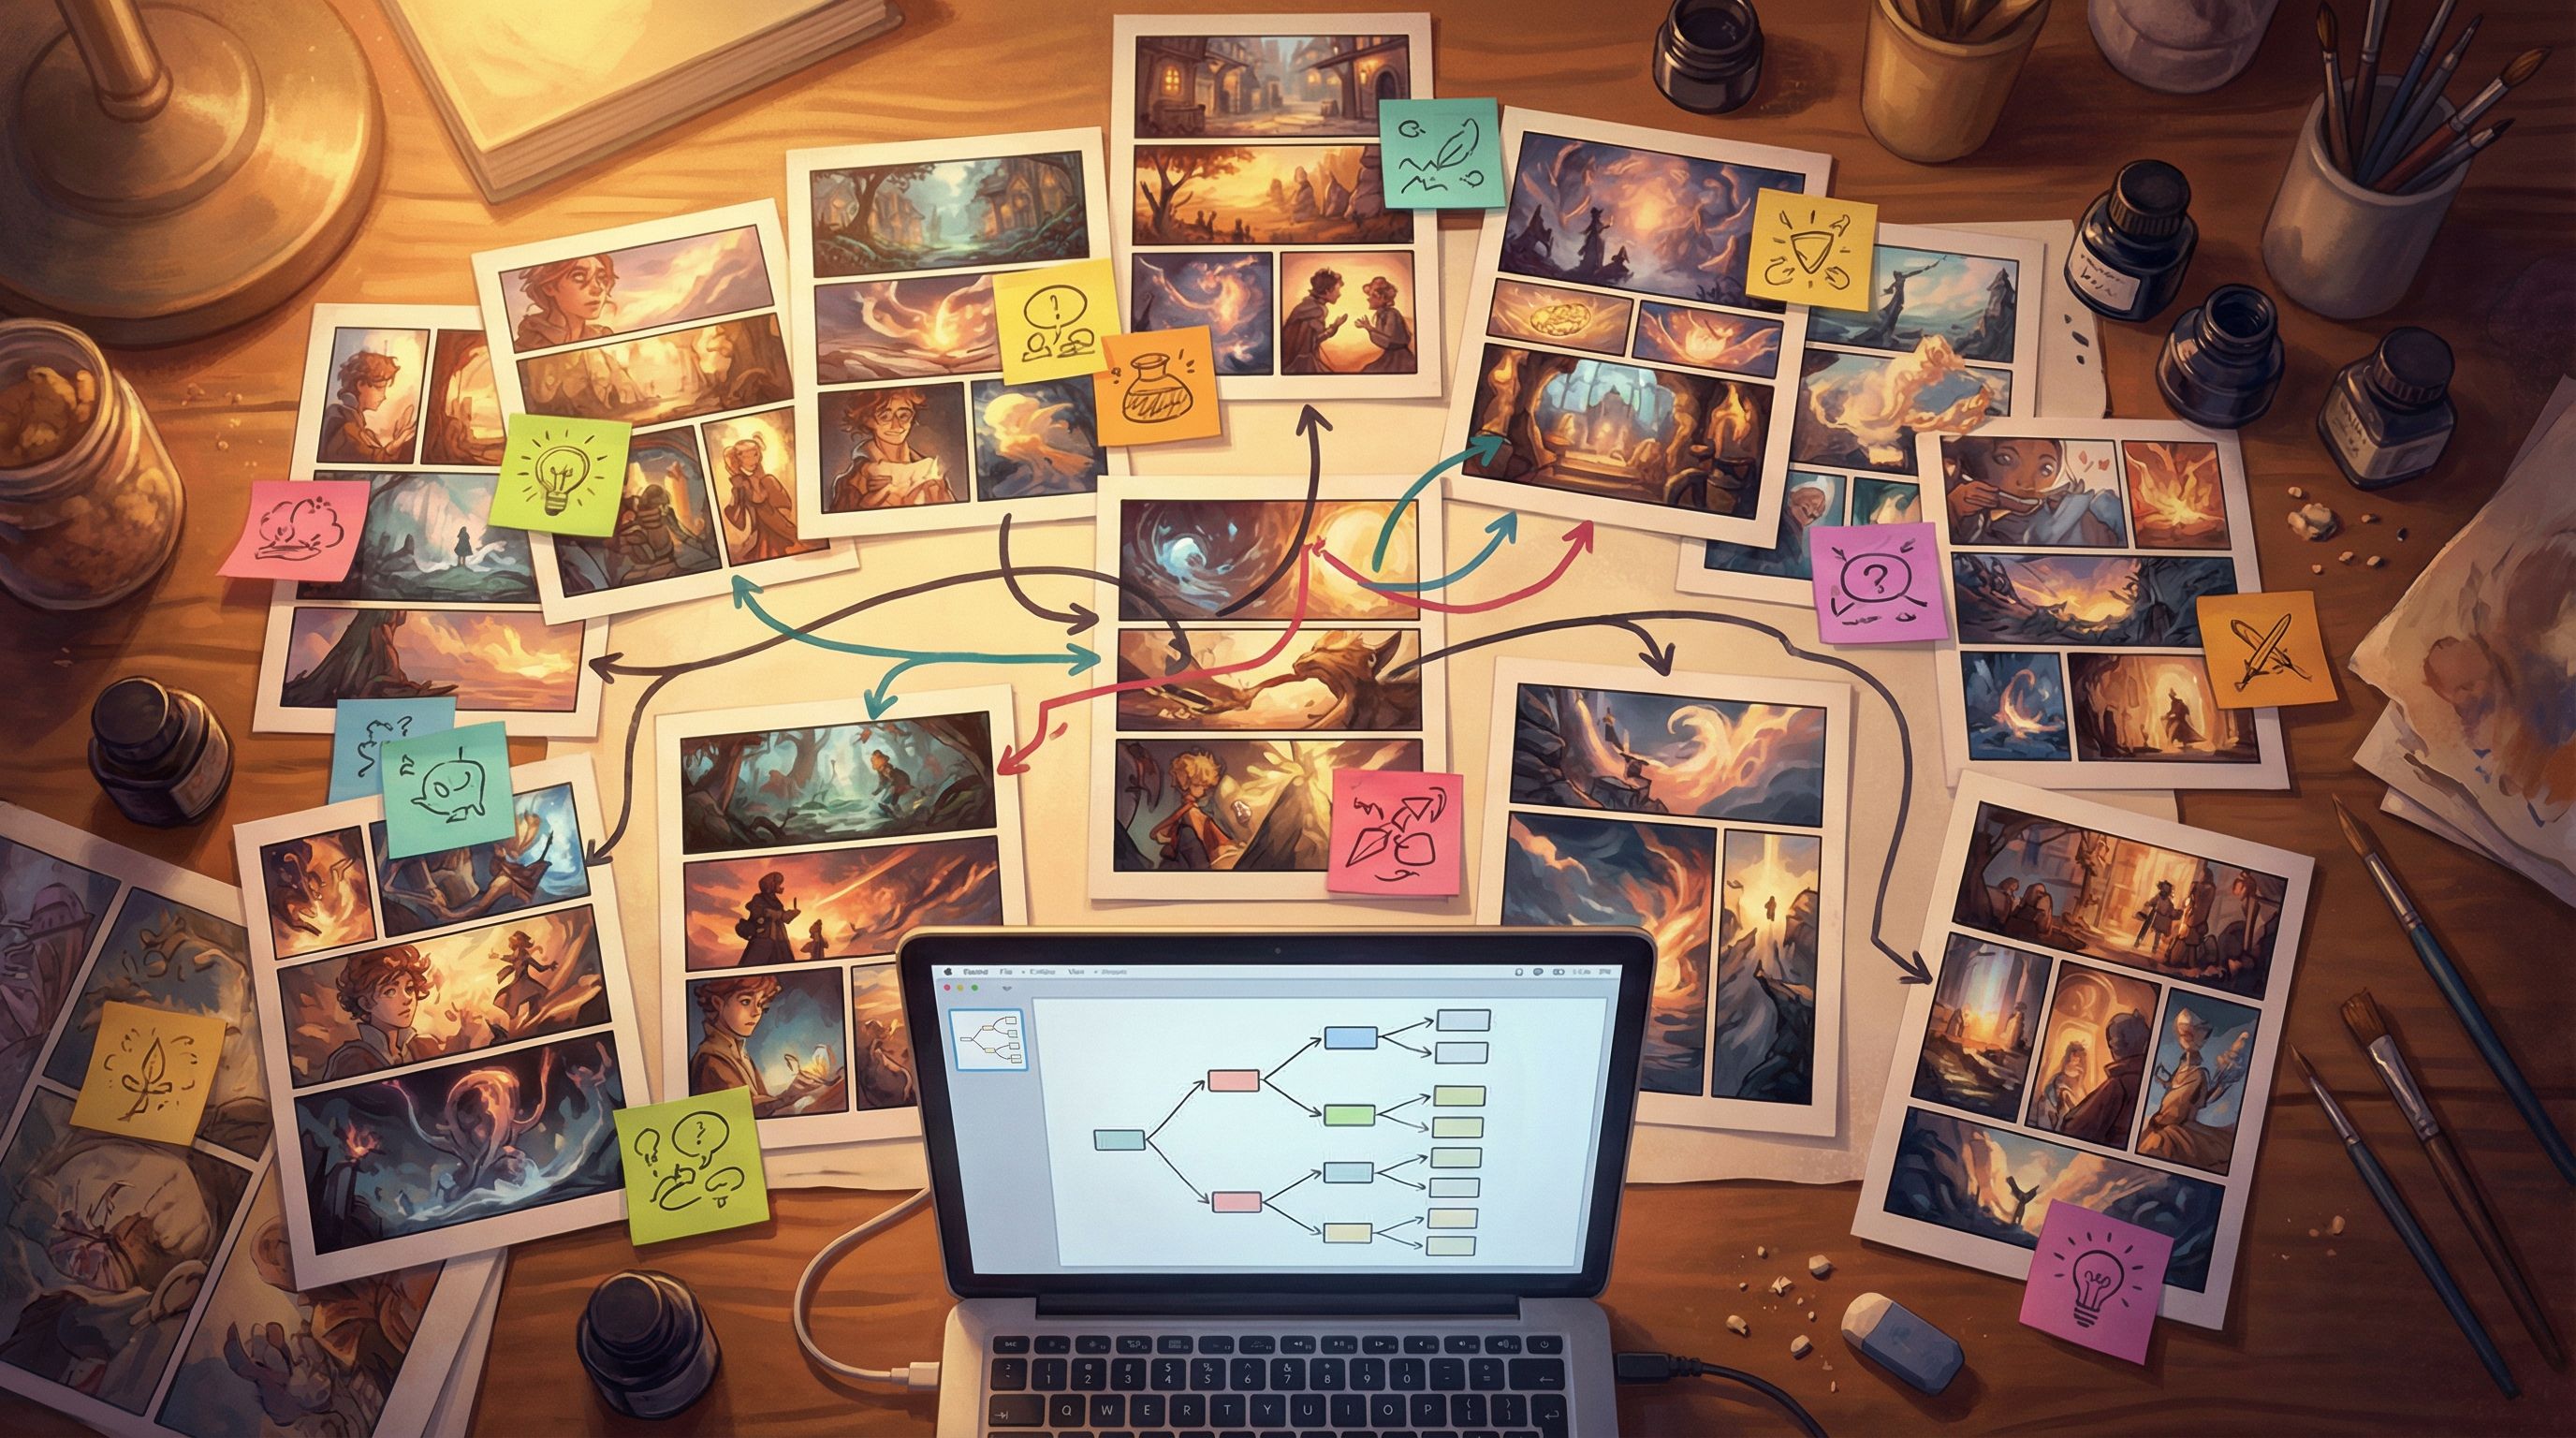
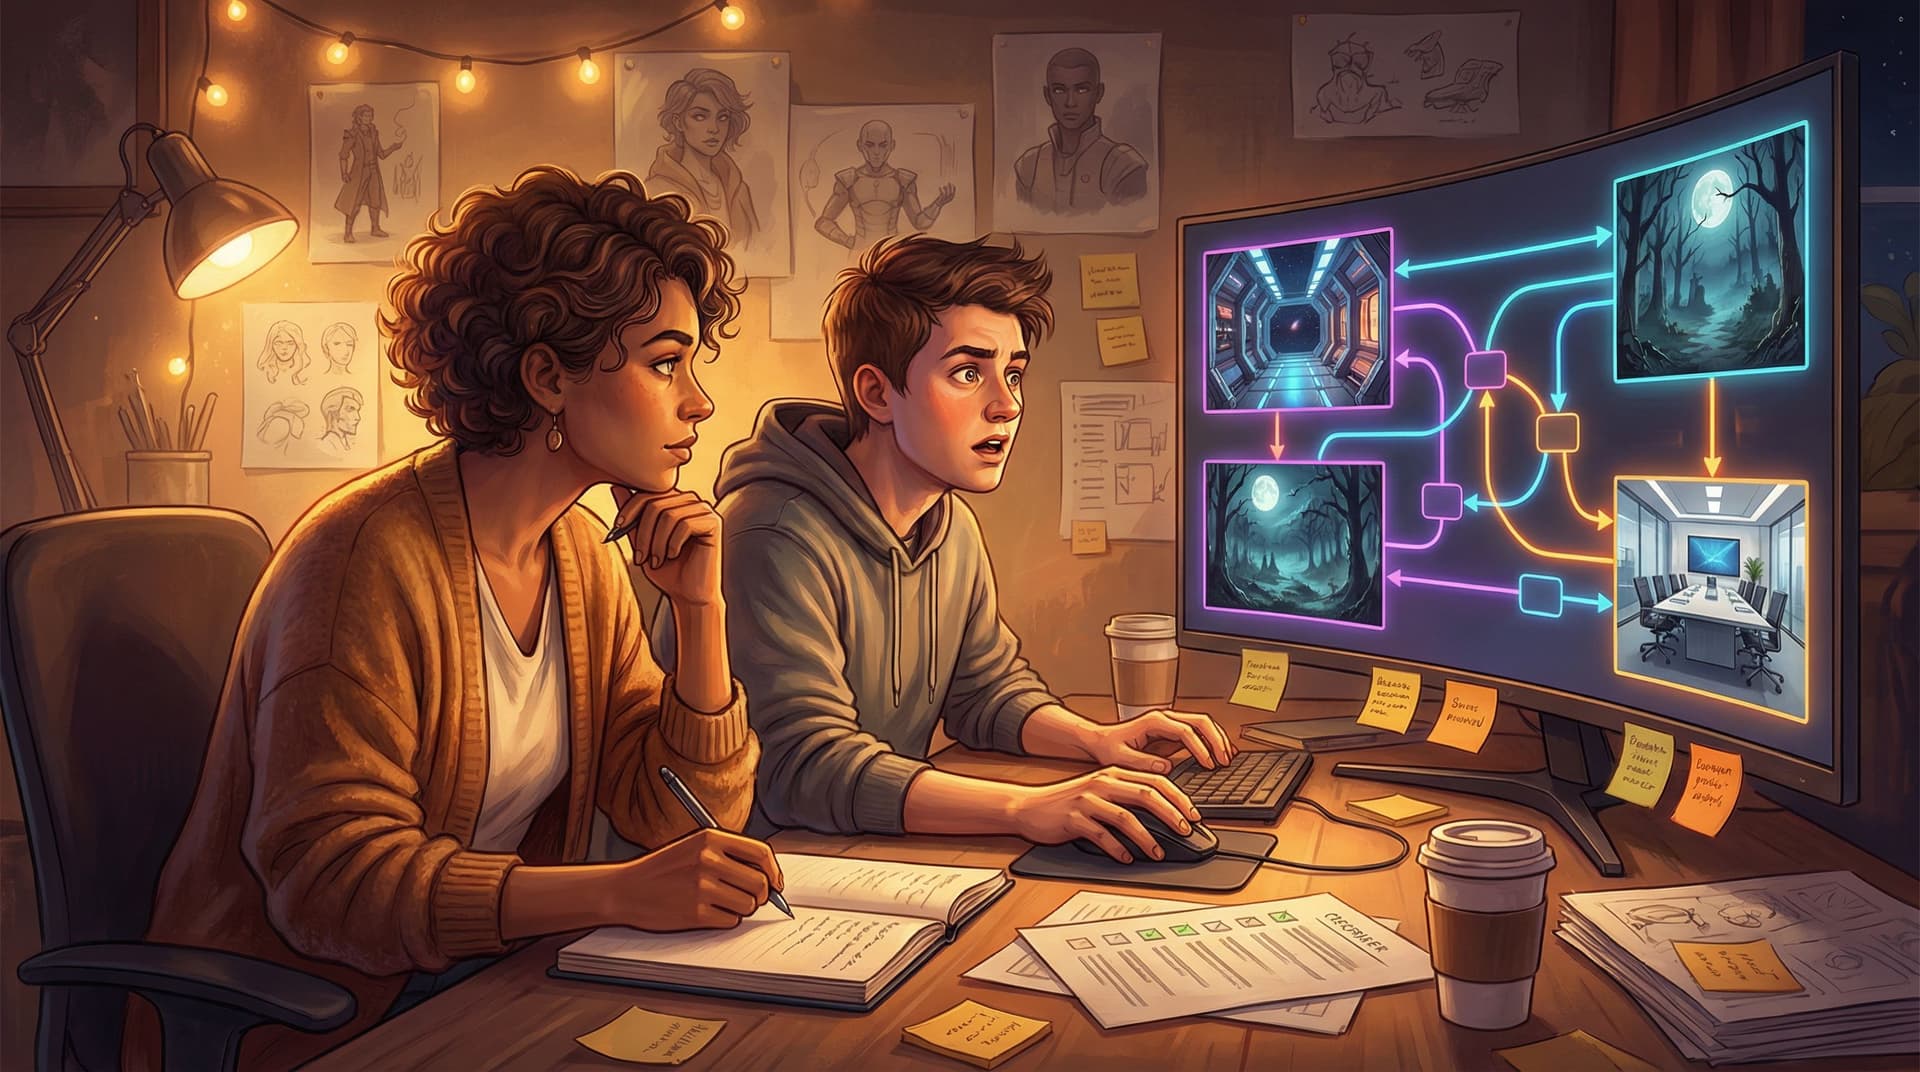
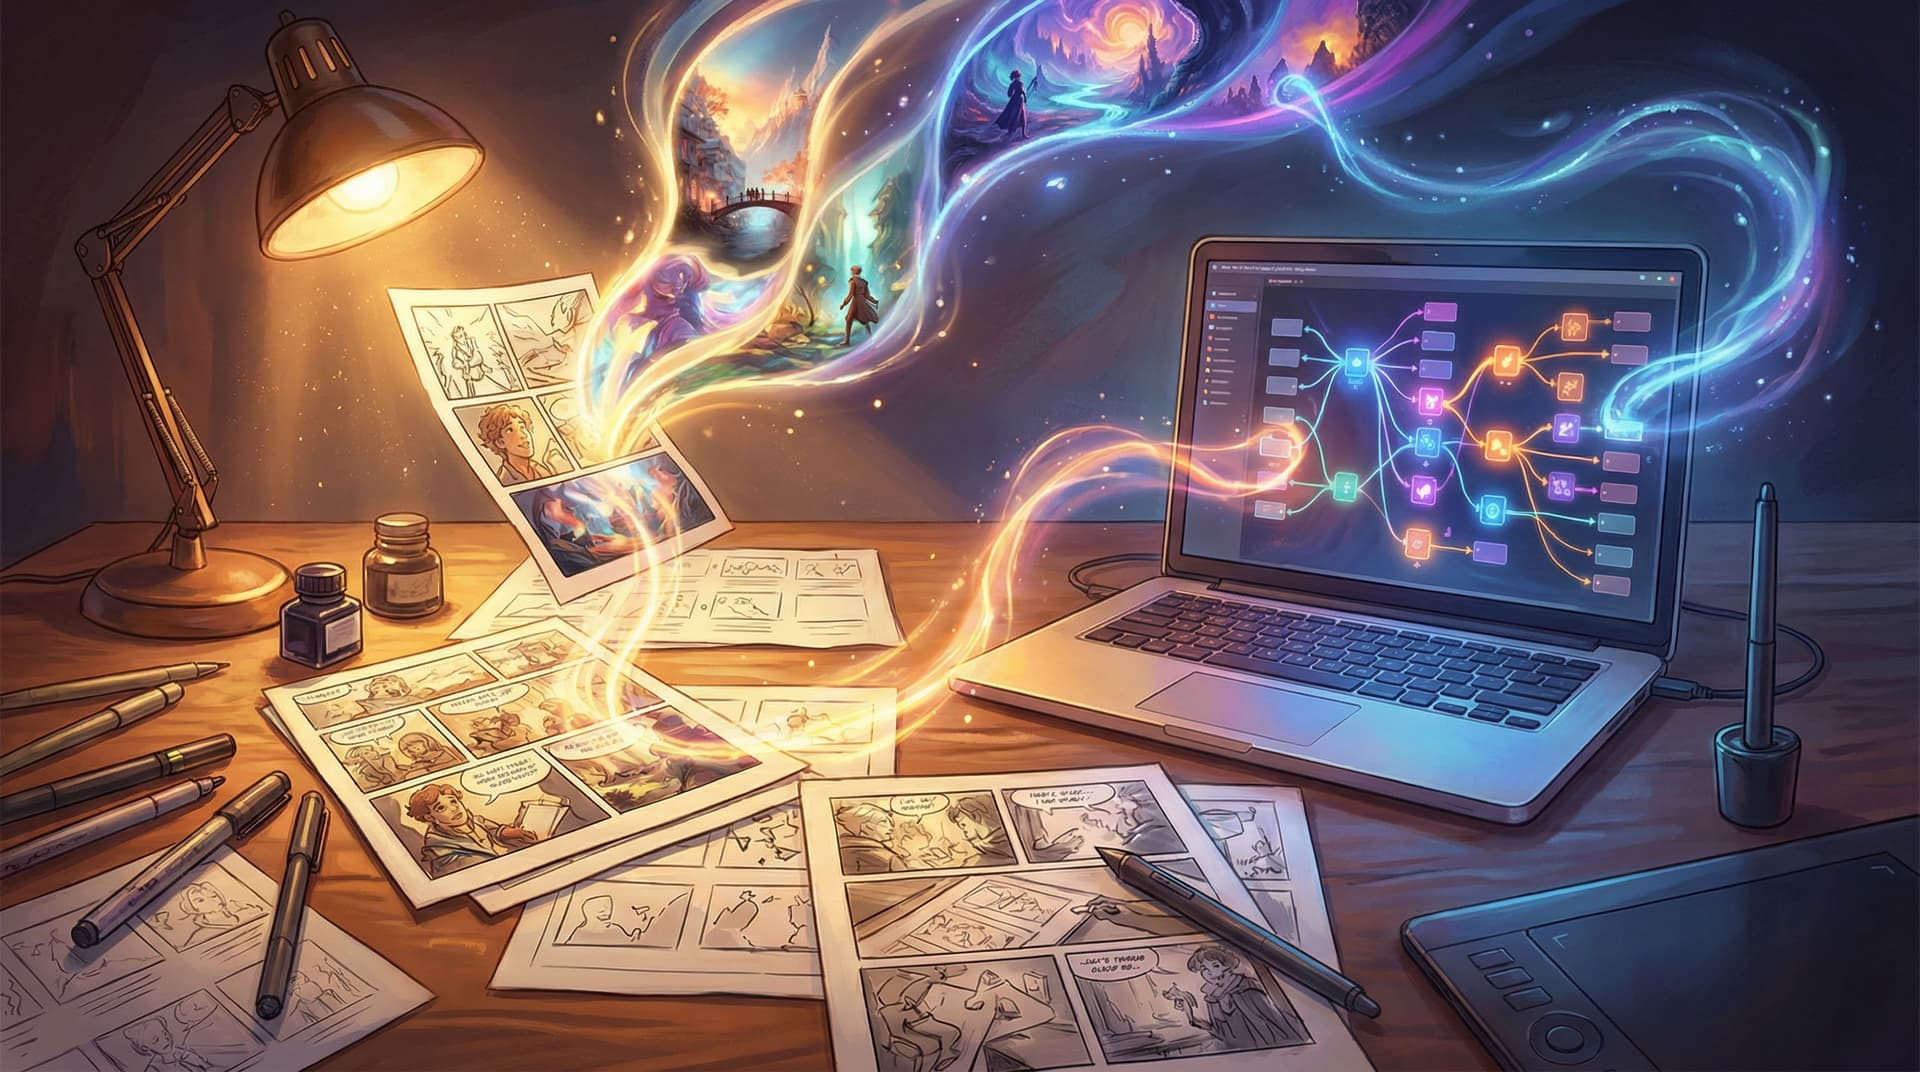
Step 3: Translate Panels into Questas Scenes and Nodes
Now it’s time to move from paper (or your drawing app) into the Questas editor.
Think of the core building blocks like this:
- Scene = a location or moment (often 1–5 panels worth of content).
- Node = a specific beat inside a scene (text + visuals + choices).
- Choice = a branch that leads to another node or scene.
A practical workflow:
-
Create a new project and define your spine.
- Start by building your most straightforward path from beginning to end.
- Use your storyboard numbers as temporary node names:
S1: 1–3,S2: 4–6, etc.
-
Group 2–5 panels per node.
- Don’t create one node per panel; that often feels choppy.
- Instead, treat a node like a mini‑beat: setup → reaction → small shift.
-
Add your first round of choices.
- At each circled choice beat from Step 2, add a choice block.
- Label choices with player‑facing text that reflects character intention, not mechanics.
- Less: “Choice 1: Go left.”
- More: “Slip into the shadows and take the alley.”
-
Wire branches to their destinations.
- Connect each choice to the node or scene that corresponds to your
5A,5B, etc. labels.
- Connect each choice to the node or scene that corresponds to your
-
Stub future content.
- If you haven’t storyboarded a branch yet, create a placeholder node with a short description: “TODO: rooftop chase branch.”
By the end of this pass, you should have a playable skeleton: text is rough, visuals may be missing, but you can click from start to end along different paths.
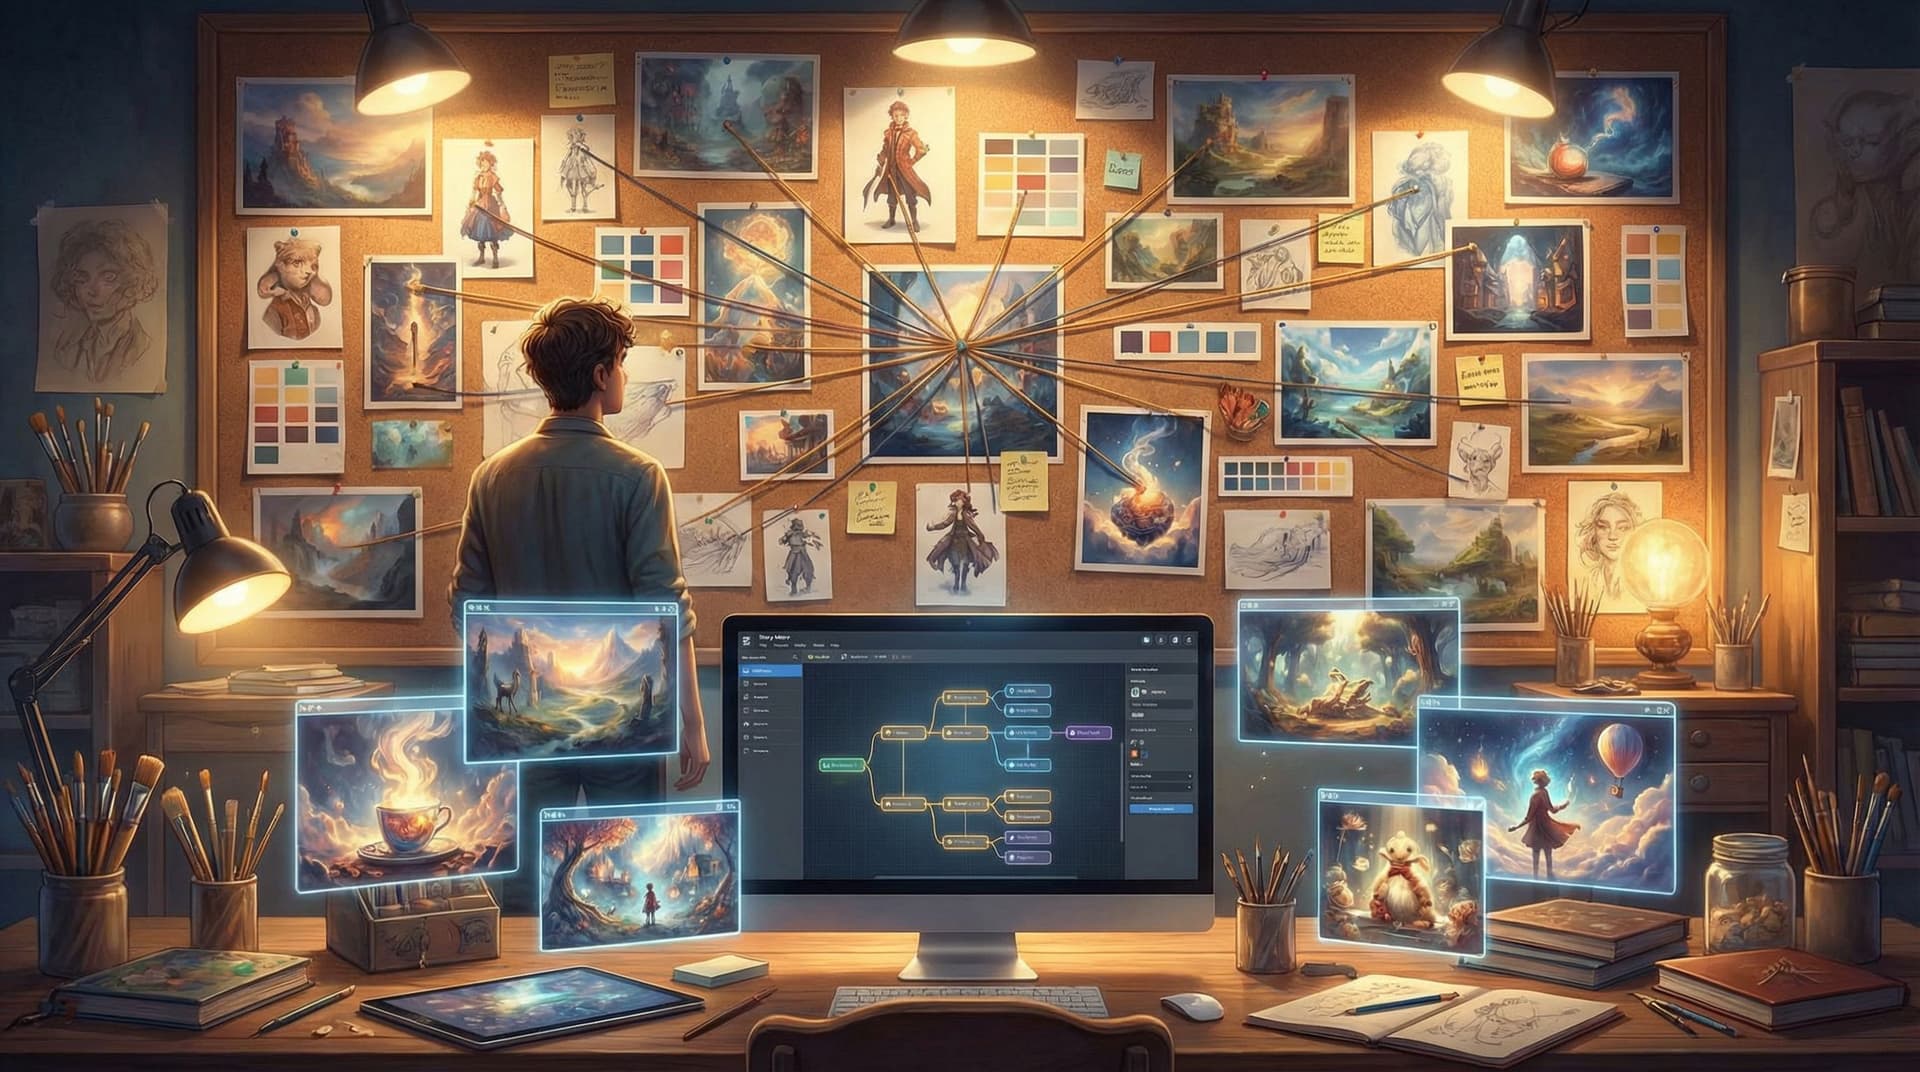
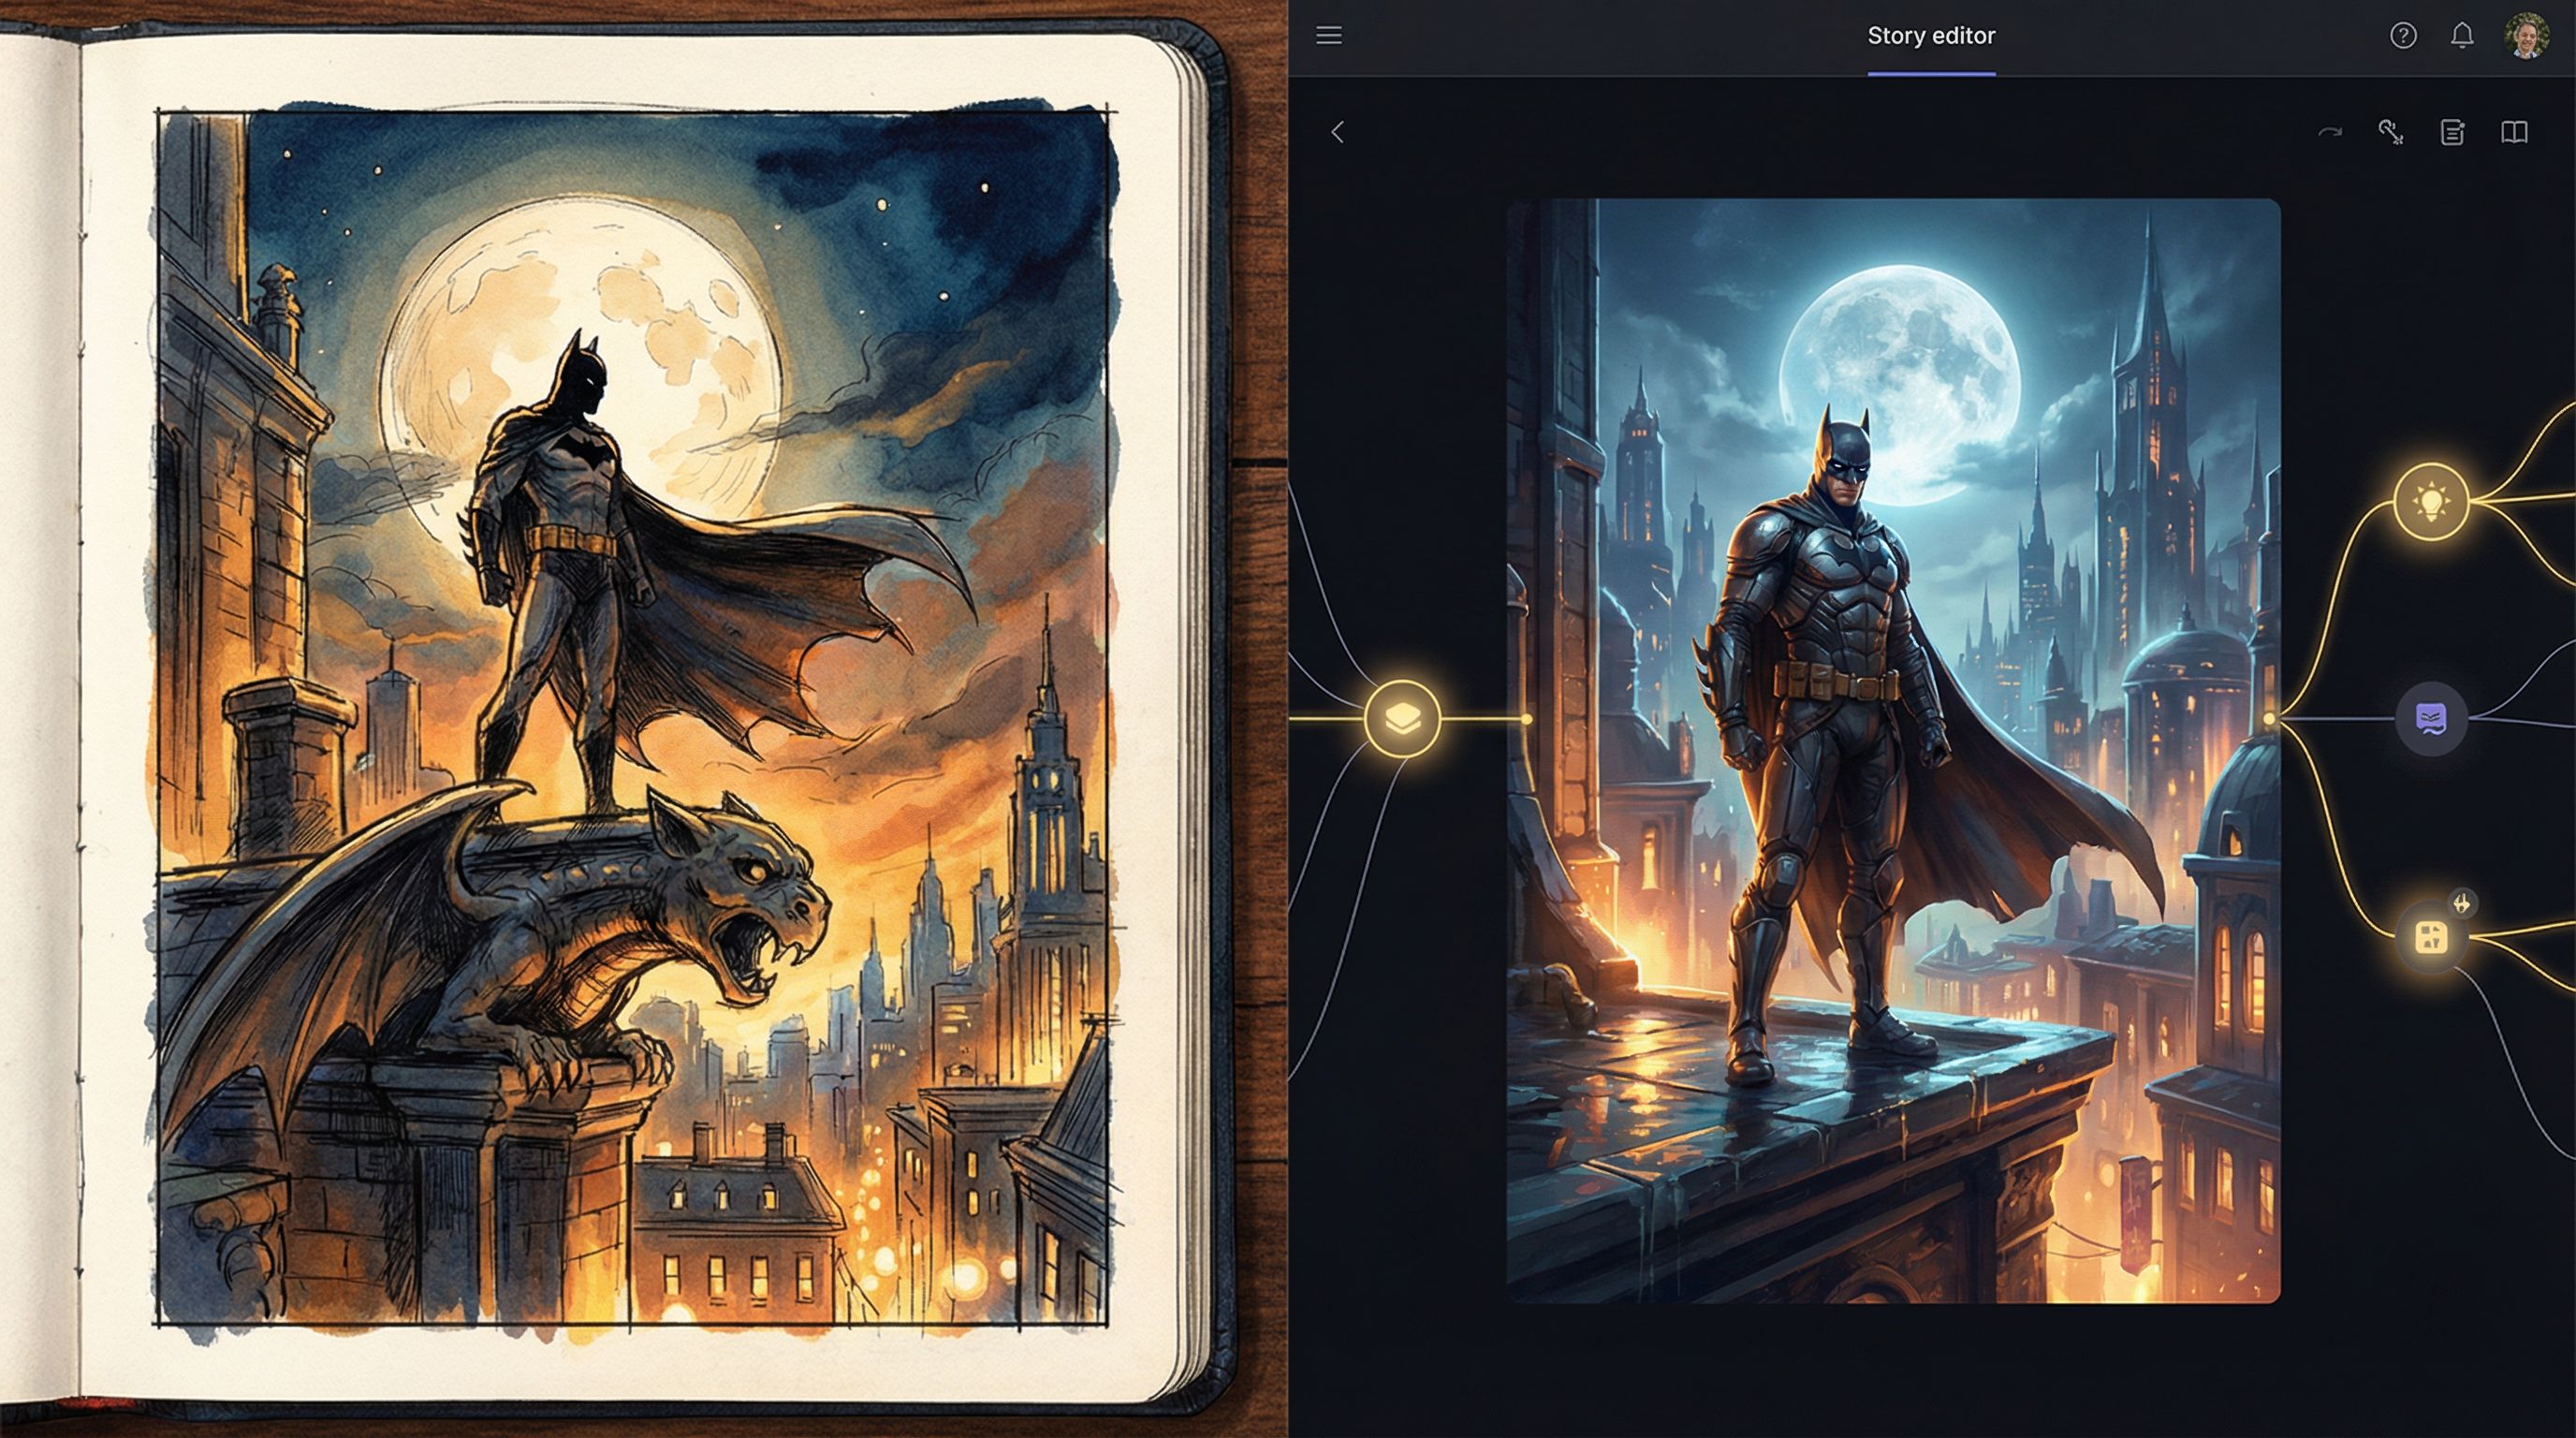
Step 4: Turn Static Panels into AI‑Generated Visuals
Your storyboard already encodes framing, composition, and mood. That’s pure gold when you start generating images and video.
For each key node:
-
Describe the panel as if you couldn’t show it.
- Who’s in frame? (characters, their poses, expressions)
- Where are we? (location, time of day, weather, props)
- How does it feel? (tense, cozy, eerie, triumphant)
-
Turn that into an image prompt.
- Example:
“Medium shot of a tired courier in a rain‑soaked neon alley, clutching a glowing data drive, camera at chest height, cinematic lighting, blues and magentas, anxious expression.”
- Example:
-
Match your style guide.
- If you already have a visual style guide for the project, keep prompts consistent with it: medium, palette, character traits, aspect ratio.
- If you don’t, build one now—our post From Moodboard to Mission: Designing Visual Style Guides for Consistent Questas Adventures walks through how.
-
Use short video loops for motion-heavy beats.
- Reserve micro‑video for:
- Doors opening, ships landing, crowds reacting.
- Environmental motion: flickering lights, rain, fire, waves.
- Keep loops 2–8 seconds so they feel alive but don’t overwhelm the story.
- Reserve micro‑video for:
-
Align visuals with choices.
- If a node contains a big decision, let the image or micro‑video frame that tension:
- Close‑up on the character’s hand hovering over a button.
- Wide shot showing two possible paths in the environment.
- If a node contains a big decision, let the image or micro‑video frame that tension:
As you build, remember: visuals are pacing tools, not just decoration. For more on using them to shape rhythm and tension, see Show, Don’t Tell: Using AI Images and Short Video Loops to Pace Your Questas Story Beats.
Step 5: Preserve Comic Pacing in an Interactive Format
One of the biggest risks when converting from panels to paths is losing your timing. Comics use panel size, layout, and gutters to control how quickly the reader moves. In Questas, you’re working with:
- Scene transitions
- Node length
- Visual density
- Where you place choices
To keep your pacing intact:
-
Mirror your “page turns” with scene changes.
Big reveals that would land at the bottom of a page? Put them at the end of a scene so players click to reveal what’s next. -
Use shorter nodes for tense sequences.
Action scenes often benefit from:- 1–3 sentences per node
- A single, clear visual
- Quick, binary choices (“dive left / dive right”)
-
Use longer nodes for emotional beats.
Let confessions, arguments, and quiet moments breathe with:- A bit more text
- Close‑up visuals
- Fewer or softer choices (“stay silent / say what you really think”)
-
Avoid choice fatigue.
Not every node needs a fork. A good rule of thumb:- 2–3 nodes of “ride the scene” → 1 node with a meaningful choice.
-
Respect the original rhythm—but improve it where needed.
If your storyboard was built for a short film, you might need more micro‑choices to keep players engaged. If it was built as a comic, you might actually remove some panels to avoid over‑explaining things the player now experiences directly.
Step 6: Add State, Memory, and Payoffs
Storyboards are usually linear, but interactive stories thrive on memory—the sense that the world remembers what you did.
Once your basic paths are wired up in Questas, you can start layering in:
-
Flags for important decisions.
Examples:trusted_stranger = trueif you accepted help in Scene 2.found_blueprint = trueif you inspected the desk in Scene 4.
-
Conditional dialogue and visuals.
- If
trusted_stranger = true, show them defending you in a later confrontation. - If
found_blueprint = false, show the character improvising instead of executing a plan.
- If
-
Branch‑specific panels.
- You can create alternative visuals for the same node based on what happened earlier: a character with a bandage if they were injured, a different outfit if they attended a prior event.
This is where your original panels become a palette, not a script. You might:
- Re‑use a panel composition but change the character’s expression.
- Re‑stage a location from a new angle to show how a choice changed things.
If you’re planning a longer campaign where choices echo across many episodes, pair this approach with From One Prompt to a Whole World: Worldbuilding Systems for Long-Form Questas Campaigns to keep your world consistent.
Step 7: Test Your Adventure Like a Comic and a Game
Once your storyboard has become a playable Questas adventure, the work shifts from building to tuning.
You’ll want to test on two fronts:
Visual and narrative continuity
Ask:
- Do characters look like themselves across branches?
- Do props and locations stay consistent, or do AI images drift too much?
- Are there any abrupt jumps where a missing panel would help bridge the moment?
This is where your original storyboard is invaluable—use it as the “bible” for continuity.
Player experience
Then, watch a few people play without explaining anything.
- Where do they hesitate in a good way (dramatic tension)?
- Where do they hesitate in a bad way (confusion, unclear choices)?
- Which branches do they replay to see alternatives?
For a deeper framework on this process, check out Playtesting Your Questas Like a Game Designer: Scripts, Checklists, and What to Watch For.
Use what you learn to:
- Merge or split nodes to fix pacing.
- Clarify choice text so intentions are obvious.
- Add or adjust visuals to support understanding.
Ethical and Practical Considerations When Adapting Visual Work
If you’re adapting existing comics or boards—especially if they involve real people, cultures, or sensitive topics—take a moment to:
-
Review representation.
Make sure your AI‑generated images don’t distort or stereotype characters compared to the original intent. -
Check permissions.
If the storyboard is client work or part of an IP you don’t own, confirm you’re allowed to create an interactive adaptation. -
Design choices responsibly.
Interactive stories can put players in morally charged situations. Think about what you’re normalizing and how consequences are portrayed.
Our post Ethical AI Worldbuilding: Guidelines for Responsible Imagery, Representation, and Choices in Questas offers a detailed checklist you can run through before publishing.
Putting It All Together: A Mini Checklist
When you’re ready to turn your storyboard or comic into a Questas adventure, run through this quick sequence:
-
Clarify your interactive goals.
- What do you want players to feel and decide?
-
Mark up your storyboard.
- Number panels, circle choice beats, draw arrows for branches, group into scenes.
-
Build a playable spine.
- Create scenes and nodes in Questas, wire the main path, stub future branches.
-
Generate visuals from your panels.
- Turn key panels into prompts for images and micro‑video, aligned to a style guide.
-
Tune pacing and choice placement.
- Mirror page turns with scene changes, alternate cinematic beats with decision points.
-
Add memory and variation.
- Use flags and conditional content so choices echo later.
-
Playtest and refine.
- Watch real players, adjust branches, fix continuity, and polish visuals.
Follow this loop a couple of times and you’ll find your process becomes repeatable—ideal if you plan to build a whole series of visual‑first adventures.
Summary
Comics and storyboards are natural blueprints for interactive stories. Their focus on visual beats, composition, and pacing maps directly onto the scenes, nodes, and choices that power a Questas adventure.
By:
- Identifying where decisions, exploration, and pure cinematic moments belong,
- Marking up your panels as a rough flowchart,
- Translating those beats into scenes and nodes,
- Using your art as prompts for AI‑generated images and micro‑video,
- Preserving pacing and layering in state, memory, and payoffs,
- And testing like both a comic artist and a game designer,
…you can turn static visual sequences into living, replayable experiences that players don’t just read—they inhabit.
Ready to Turn Your Panels into Paths?
If you’ve got a storyboard, a comic chapter, or even a rough thumbnail sequence sitting in a folder, you already have the raw material for an interactive adventure.
Open Questas, start a new project, and:
- Import or reference your panels.
- Sketch your main path from start to finish.
- Add just one meaningful branch.
You don’t need to build the entire epic on day one. Start with a short scene—5–10 minutes of play—where your visual storytelling gets to do what it already does best, and let the branching structure grow from there.
Your panels are waiting to be played.
Adventure awaits.