Beyond Storyboards: Using Questas as a Previz Lab for Film, Animation, and Motion Design

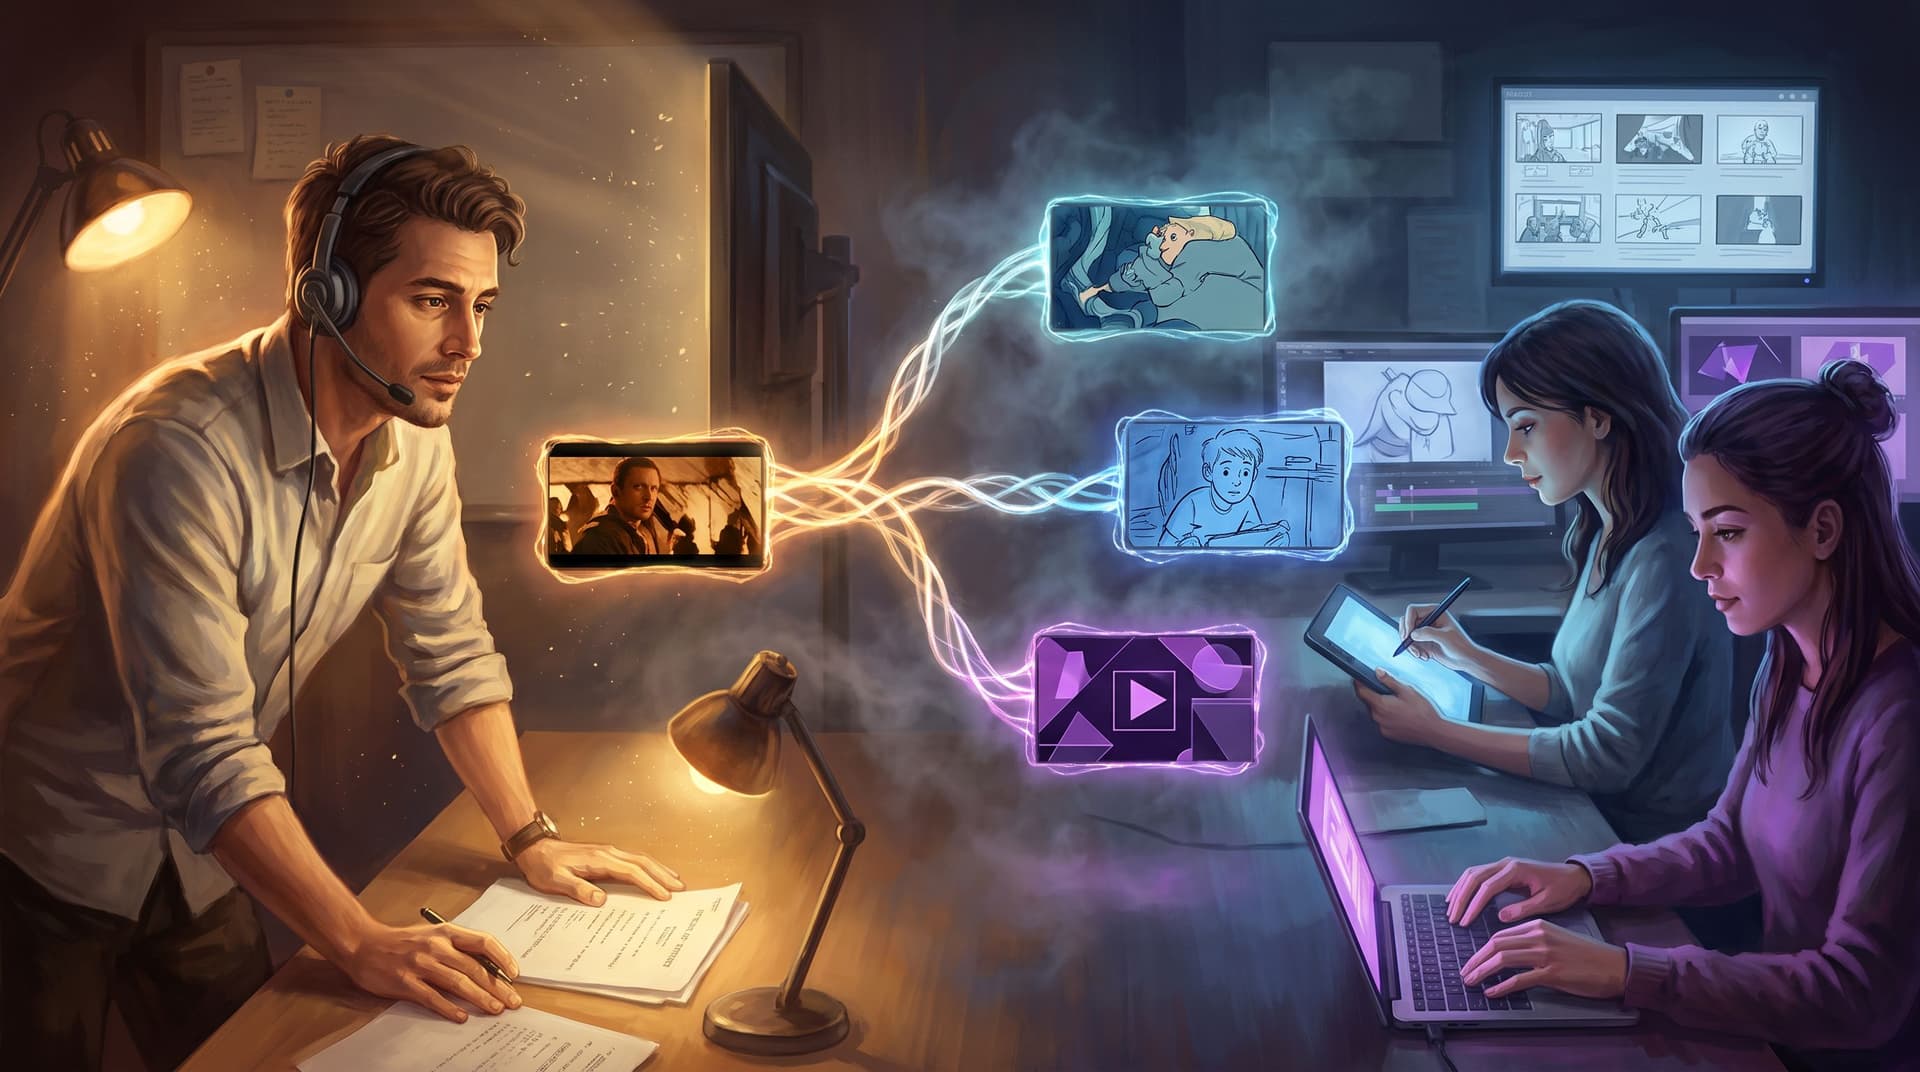
Previsualization has always been a tug-of-war between imagination and constraints.
You sketch thumbnails, build rough animatics, block scenes in 3D, and shuffle frames around in editing tools—just to answer basic questions:
- Does this sequence actually work?
- Is the emotional beat landing?
- What happens if we change the point of view?
Traditional previz workflows are powerful but also heavy: specialized software, technical skills, and long feedback loops. That’s where treating Questas as a previz lab—not just a storytelling tool—opens up a different way of working for filmmakers, animators, and motion designers.
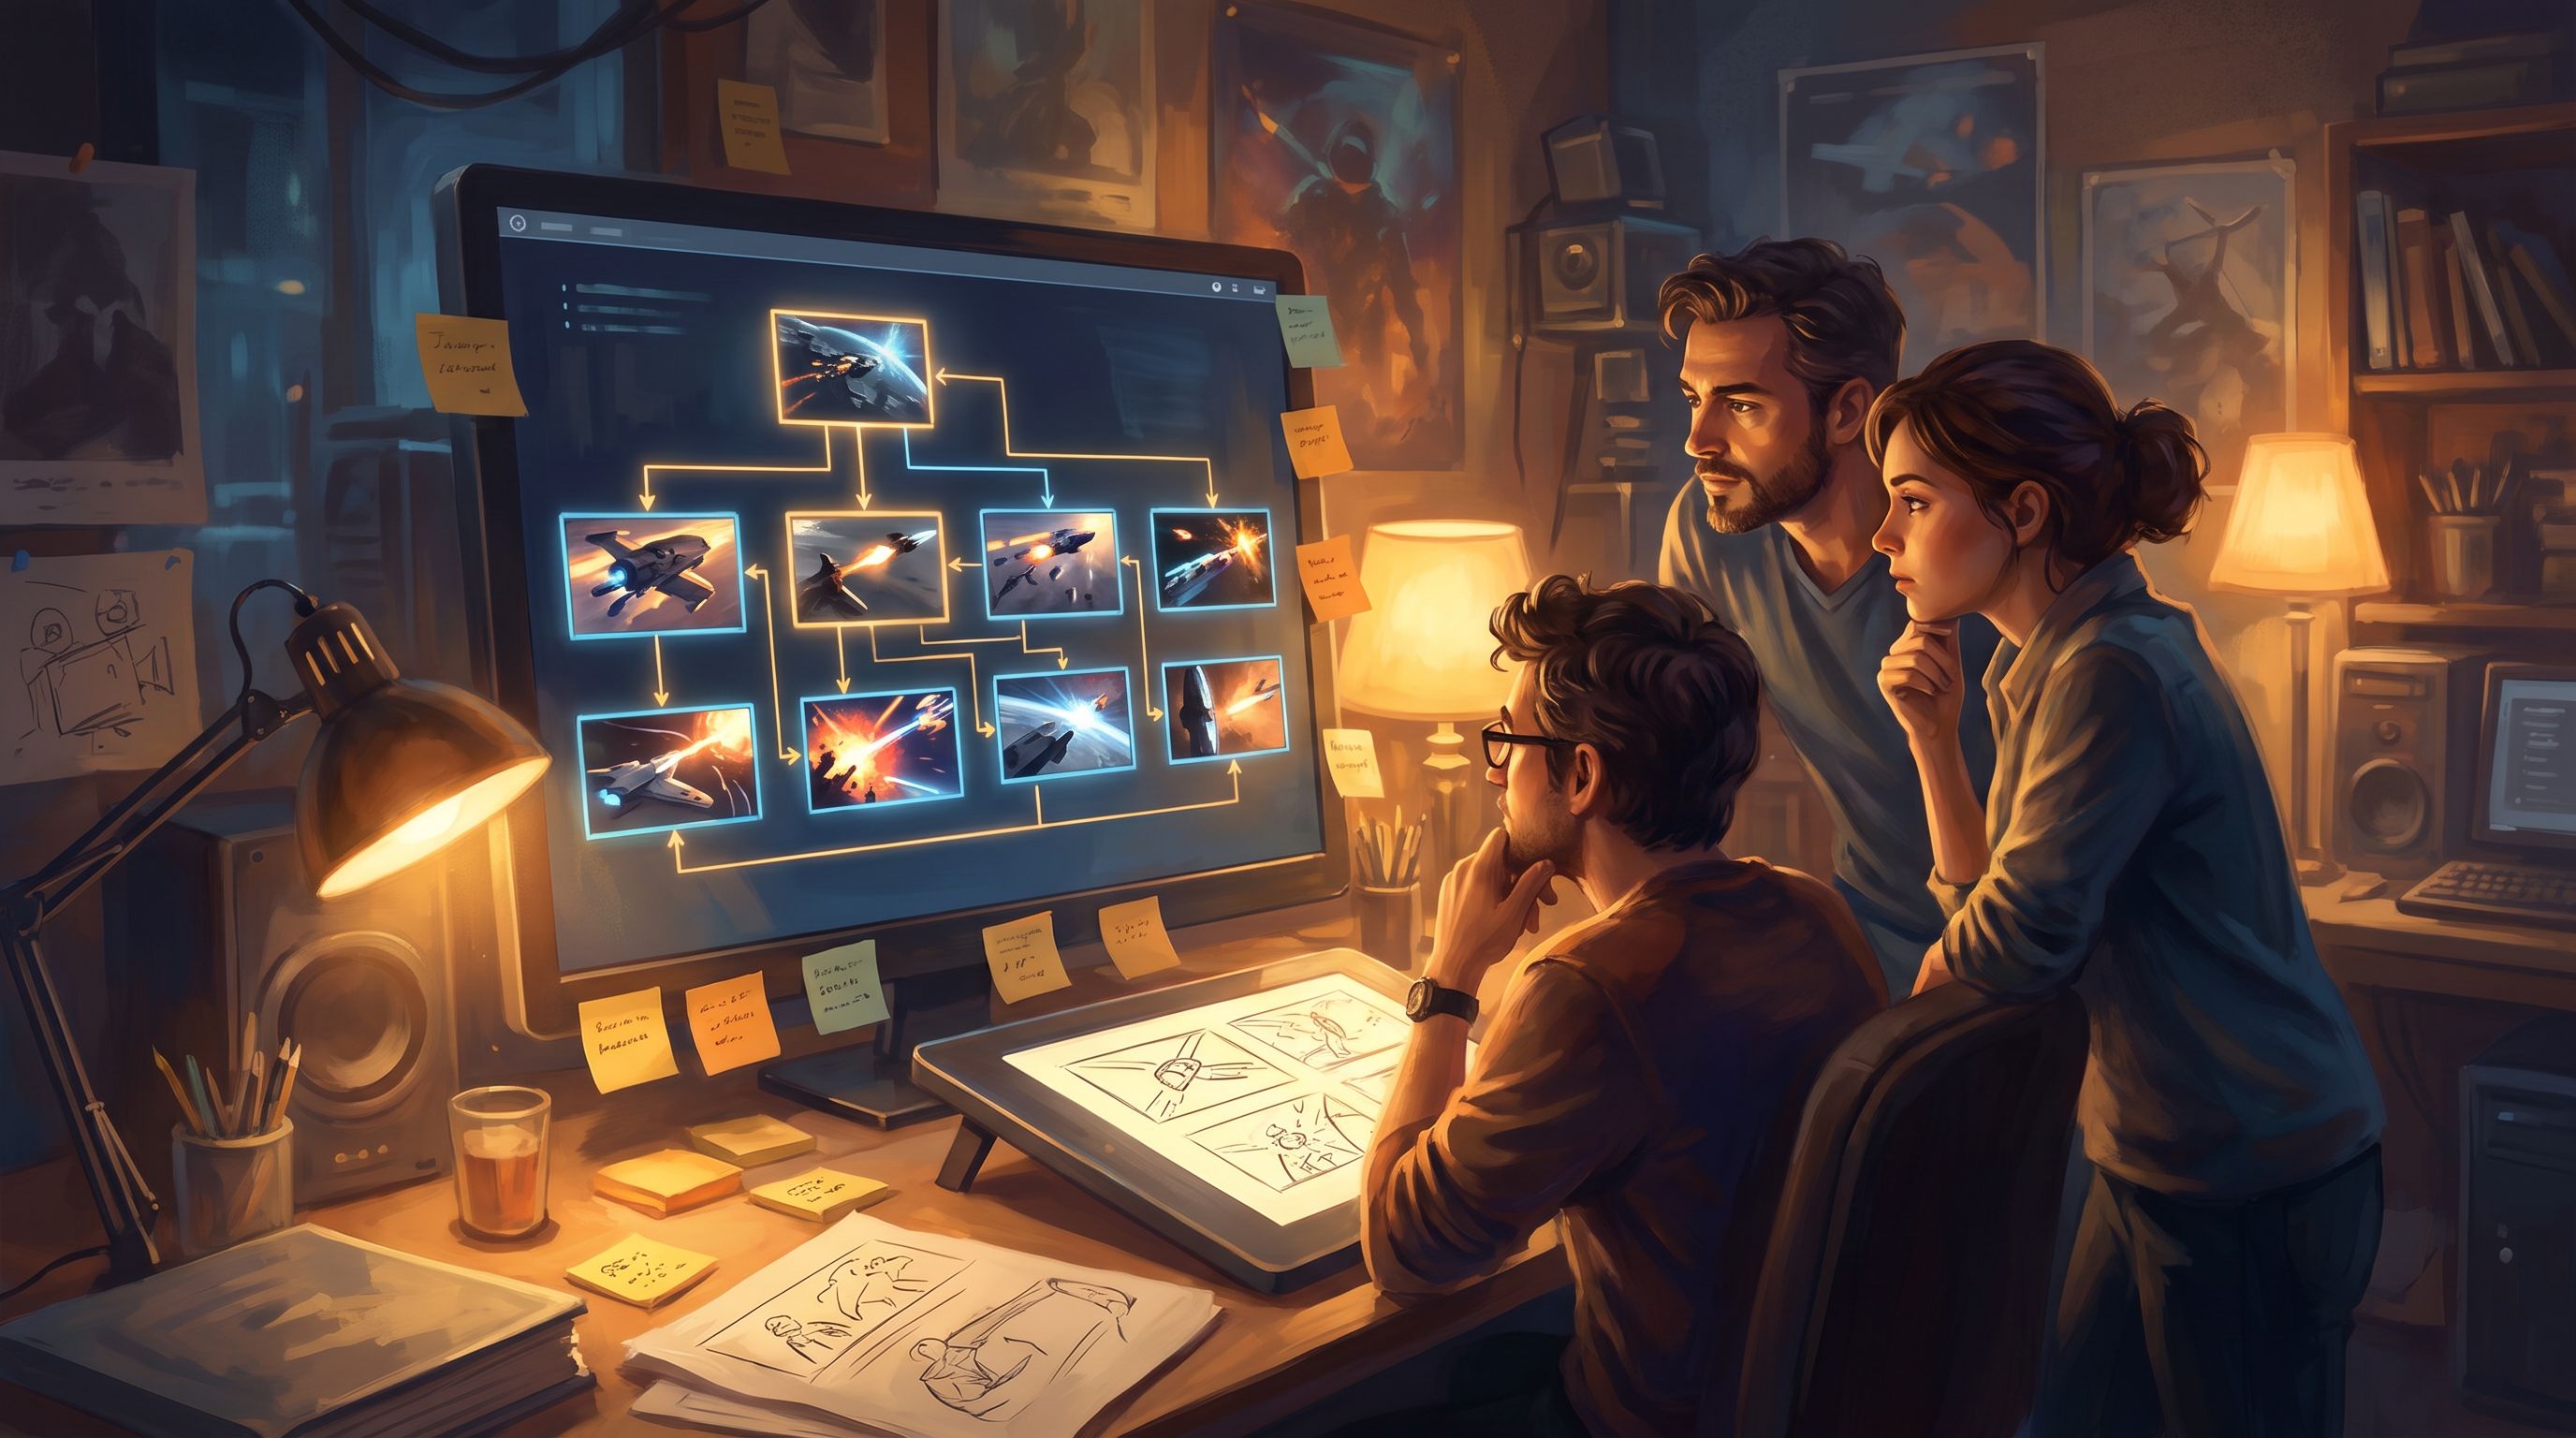
Instead of static storyboards or linear animatics, you build branching, playable scenes with AI-generated images and video. Directors, clients, and collaborators don’t just watch; they play through alternate beats, coverage options, and pacing choices.
This post walks through how to use Questas as a lightweight, no‑code previz environment you can iterate in quickly—before you commit to expensive production.
Why Previz as a Playable Experience Matters
Previz is about reducing risk and unlocking creative options early. Turning it into an interactive experience amplifies both.
1. You can explore more options without blowing the schedule
With traditional boards and animatics, exploring alternatives is expensive:
- New boards to draw
- New cuts to export
- New 3D layouts to tweak
In an interactive previz built on Questas, you can:
- Duplicate a scene node and try a different camera move or blocking.
- Swap out AI-generated images to test a new visual direction.
- Let collaborators click between branches instead of reviewing versioned PDFs.
You’re not locked into a single “correct” cut—you’re testing multiple potential cuts as playable paths.
2. Stakeholders understand choices by experiencing them
Clients and non-technical collaborators often struggle to read storyboards or 3D layouts. But they understand:
“If I click this, I see the scene from the villain’s POV instead of the hero’s.”
Interactive previz turns abstract conversations like “the pacing feels off” into concrete, testable paths:
- One branch: tighter cutting, closer coverage
- Another branch: slower, wider compositions, more atmosphere
They can feel the difference instead of guessing from static boards.
3. You can prototype story logic, not just visuals
Film and animation might not be “branching” in the final product, but your creative process is. You’re constantly asking:
- What if this scene starts later in the action?
- What if we reveal this information two scenes earlier?
- What if we hold on this reaction instead of cutting away?
Using Questas as a previz lab lets you:
- Map alternate scene orders as branches.
- Test different reveals and withholding of information.
- See how emotional arcs change when you reorder or trim beats.
You’re essentially building a sandbox of possible edits—then deciding which one becomes the linear final.
Core Previz Use Cases with Questas
Let’s get specific. Here are practical ways film, animation, and motion teams can use Questas as a previz lab.
A. Blocking and Coverage Experiments
Use branching scenes to explore coverage strategies for key moments:
- Path A – Classic coverage: wide → over-the-shoulder → close-up
- Path B – Single-take feel: one continuous move with shifting focus
- Path C – Fragmented tension: inserts, jump cuts, extreme close-ups
Each path becomes a small branch in your quest. AI-generated images stand in for frames or key poses. You can:
- Label choices: “Play scene with handheld energy” vs “Play scene with locked-off frames”.
- Attach notes for DP or layout artists: lens choice, camera height, movement.
- Share with the team so they can play each version and discuss.
For short, high‑impact sequences, you can even adapt the structure from The 3‑Path Pattern: A Reusable Blueprint for Short, High‑Impact Questas Stories—treating each path as a different visual strategy.
B. Emotional Beats and Performance Variants
Animation and motion design live or die on timing and emotional clarity.
In Questas, you can:
- Create three versions of a pivotal reaction shot:
- Subtle micro-expression
- Clear but restrained emotion
- Big, stylized performance
- Attach different AI-generated close-ups or short AI video clips for each.
- Let directors, editors, or clients choose a path and then comment on which version feels right.
Because you’re not locked into a timeline, you can quickly rearrange beats:
- Try a version where the reaction comes before the line.
- Try one where you hold on the reaction after the line.
- Try one where you cut away to an environment detail instead.
C. Parallel Concepts for Pitches and Mood Films
Pitching a series, title sequence, or campaign often means showing multiple creative directions:
- Styleframe set A: painterly, textured, slow camera
- Set B: graphic, bold shapes, snappy motion
- Set C: photoreal, cinematic, shallow depth of field
Instead of separate decks, build a pitch quest:
- Intro screen: context, goals, target tone.
- Choice: “Explore Direction A”, “Explore Direction B”, “Explore Direction C”.
- Each path: 5–10 screens of mood frames, rough narrative beats, and motion notes.
This is especially powerful when your visuals come from a curated AI art stack. If you haven’t set that up yet, Onboarding Your AI Art Stack: A Practical Guide to Choosing and Combining Tools for Questas Visuals is a great companion read.
D. Worldbuilding and Side Moments
Big projects often generate more ideas than will ever fit on screen: side characters, alternate locations, cut gags.
Use Questas to:
- Spin off micro-branches that explore alt locations or background vignettes.
- Test whether a side gag is worth animating.
- Capture “maybe later” ideas in playable form instead of a static doc.
If you’re sitting on deep lore or unused concepts, you might also enjoy From Lore Dump to Living World: Turning Worldbuilding Notes into Questas Side Quests—its techniques translate directly into cinematic worldbuilding.
Building Your First Previz Lab in Questas
Let’s walk through a concrete workflow for using Questas as a previz sandbox for a single sequence.
Step 1: Start with a “spine cut” of the scene
Before you branch, define the minimal linear version of your sequence:
- Open Questas and create a new quest.
- Add 5–10 core beats as scenes:
- Opening establishing frame
- Character entry
- Key line or action
- Reaction
- Resolution or transition out
- For each scene, drop in quick AI-generated images or rough sketches.
- Keep text minimal—just enough to explain what we’re seeing and hearing.
This is your spine: the version you’d ship if you had to decide right now.
Step 2: Identify the decision points for you, not the audience
Unlike a player-facing story, your “choices” here represent creative forks:
- Where am I unsure about the camera?
- Where might we change pacing?
- Where is the emotional read still fuzzy?
On your spine, mark 2–4 spots where you want to explore alternatives.
Examples:
- The first reveal of a creature or product
- A confrontation between two characters
- A transition between locations or time periods
Step 3: Branch into visual and editorial variants
For each decision point:
- Duplicate the scene node in Questas.
- Rename the variants clearly, e.g.:
Scene 04 – Reaction – SubtleScene 04 – Reaction – BigScene 04 – Reaction – Off-Screen(cut to another element)
- Generate or import different images or short clips for each.
- Add brief notes:
- Camera setup
- Timing intention
- Emotional goal
Then connect the spine to each variant as choices:
- “Play with subtle reaction”
- “Play with big reaction”
- “Play with off-screen cutaway”
Now your collaborators can click through each option instead of flipping between deck slides.
Step 4: Prototype alternative scene orders
Next, experiment with sequence structure:
- Create a branch where the confrontation scene comes earlier.
- Create another where you withhold a reveal until later.
In Questas, that might look like:
- Path 1: A → B → C → D
- Path 2: A → C → B → D (reveal earlier)
- Path 3: Prologue X → A → B → C → D (new opening beat)
Each path is a playable cut of your scene order.
Step 5: Share, play, and annotate
Once you have a few branches:
- Share the quest link with your team or client.
- Ask them to play through specific paths:
- “Start with Path 1, then try Path 3. Which opening feels truer to the character?”
- Collect feedback directly on which paths worked and why.
Because it’s all in one Questas project, you’re not juggling multiple exports or versions. You’re pointing everyone at the same living previz lab.

Making AI Visuals Work for Previz (Without Losing Your Look)
AI-generated images and video are perfect for rough previz—but only if you keep them coherent enough that your team can read intent.
A few practical guidelines:
1. Lock a visual recipe per concept
For each project or direction:
- Define a prompt template that covers:
- Character description
- Environment
- Camera angle
- Lighting and color palette
- Style references (e.g., “2D anime, limited palette” or “gritty 35mm film still”)
- Reuse and lightly tweak that template instead of starting from scratch each time.
This keeps your frames consistent enough to feel like the same world.
2. Think in beats, not masterpieces
You’re not shipping these images—you’re using them to answer questions:
- Can we read the blocking?
- Is the focal point clear?
- Does the emotional tone feel roughly right?
Aim for fast, legible frames, not portfolio art. If a frame is “good enough to argue about,” it’s doing its job.
3. Use text to clarify what AI can’t
When AI visuals fall short:
- Use captions to specify motion: “Camera pushes in slowly,” “Character glances off-screen left,” etc.
- Add notes about sound or music cues.
- Call out what’s placeholder: “Creature design TBD; focus on silhouette and scale only.”
This keeps your team aligned on intent, even when the image is rough.
For a deeper dive into keeping AI visuals cohesive across branches and variants, check out AI as Mood Mixer: Blending Multiple Image Styles into One Cohesive Questas World.
Collaborating Across Departments in a Questas Previz Lab
Previz lives at the intersection of many disciplines. Treat your Questas project as a shared playground, not a private tool.
Directors and Showrunners
- Define the core emotional beats and must-have shots.
- Use branches to explore alternate staging or reveals.
- Mark certain paths as “director’s cut,” “client-friendly,” or “stretch option.”
DPs, Layout, and Camera Teams
- Add notes on lens choices, camera moves, and coverage strategies.
- Tag nodes with production constraints: “Requires crane,” “Handheld possible,” “Prelight needed.”
- Use branches to compare resource-heavy vs resource-light coverage.
Editors and Story Teams
- Treat each path as a different cut of the sequence.
- Identify which beats are doing the most narrative work.
- Use feedback from playthroughs to prioritize which branches should move into real animatics.
Producers and Clients
- Experience the impact of budget decisions by playing:
- “Full VFX version” path
- “Practical-heavy” path
- “Hybrid compromise” path
- Understand trade-offs viscerally, not just as line items.
Because Questas is no‑code and visual, everyone can navigate the project without needing a technical pipeline.
Measuring What Works (Quietly) Before You Shoot
If you’re testing multiple directions with a wider group—internal stakeholders, test audiences, or collaborators—you can treat your previz lab like a mini interactive screening.
You don’t need to obsess over analytics, but a few signals are gold:
- Which branches do people replay?
- Strong sign that a version is intriguing or emotionally rich.
- Where do they drop off?
- Maybe a branch is confusing, overlong, or visually flat.
- Which paths do they screenshot or reference in feedback?
- Those are the frames and beats that stick.
If you want to go deeper into reading these signals, The Quiet Metrics of Play: What Session Length, Backtracking, and Screenshot Habits Reveal About Your Questas offers a detailed lens you can apply directly to previz.
Bringing It All Together
Using Questas as a previz lab isn’t about replacing your existing tools. It’s about adding a lightweight, playful layer where you can:
- Rapidly prototype coverage, pacing, and emotional beats as branching paths.
- Let collaborators experience creative options instead of reading them off a deck.
- Use AI-generated images and video as legible, flexible stand-ins for shots and sequences.
- Capture alternate ideas, side moments, and “what ifs” in a living sandbox instead of a static doc.
You still move into traditional animatics, 3D layout, and production when it’s time—but now you’re doing it with far more confidence about what actually works.
Where to Start Next
If you’re curious but haven’t tried this yet, here’s a simple first move:
- Pick one important sequence from a current or upcoming project—no more than 10 beats.
- Build a spine cut in Questas with rough AI frames.
- Add 2–3 creative branches:
- One for coverage
- One for pacing
- One for emotional intensity
- Share it with 2–3 trusted collaborators and ask them to play every path.
- Use what you learn to refine the direction you’ll take into full animatic or layout.
You don’t need a full feature or series to benefit. Even a single, well‑chosen scene can show you how powerful a playable previz lab can be.
When you’re ready, head over to Questas, spin up a new project, and turn your next storyboard into something your team can step inside and explore—before you ever roll camera or open your 3D software.