From Prompt to Playable: Designing Your First AI-Generated Character Cast in Questas

From Prompt to Playable: Designing Your First AI-Generated Character Cast in Questas
Interactive stories don’t come alive because of branching charts or clever logic—they come alive because of characters.
The mentor who remembers what you chose three scenes ago. The rival who keeps showing up at the worst possible moment. The sidekick players swear they’d protect at all costs.
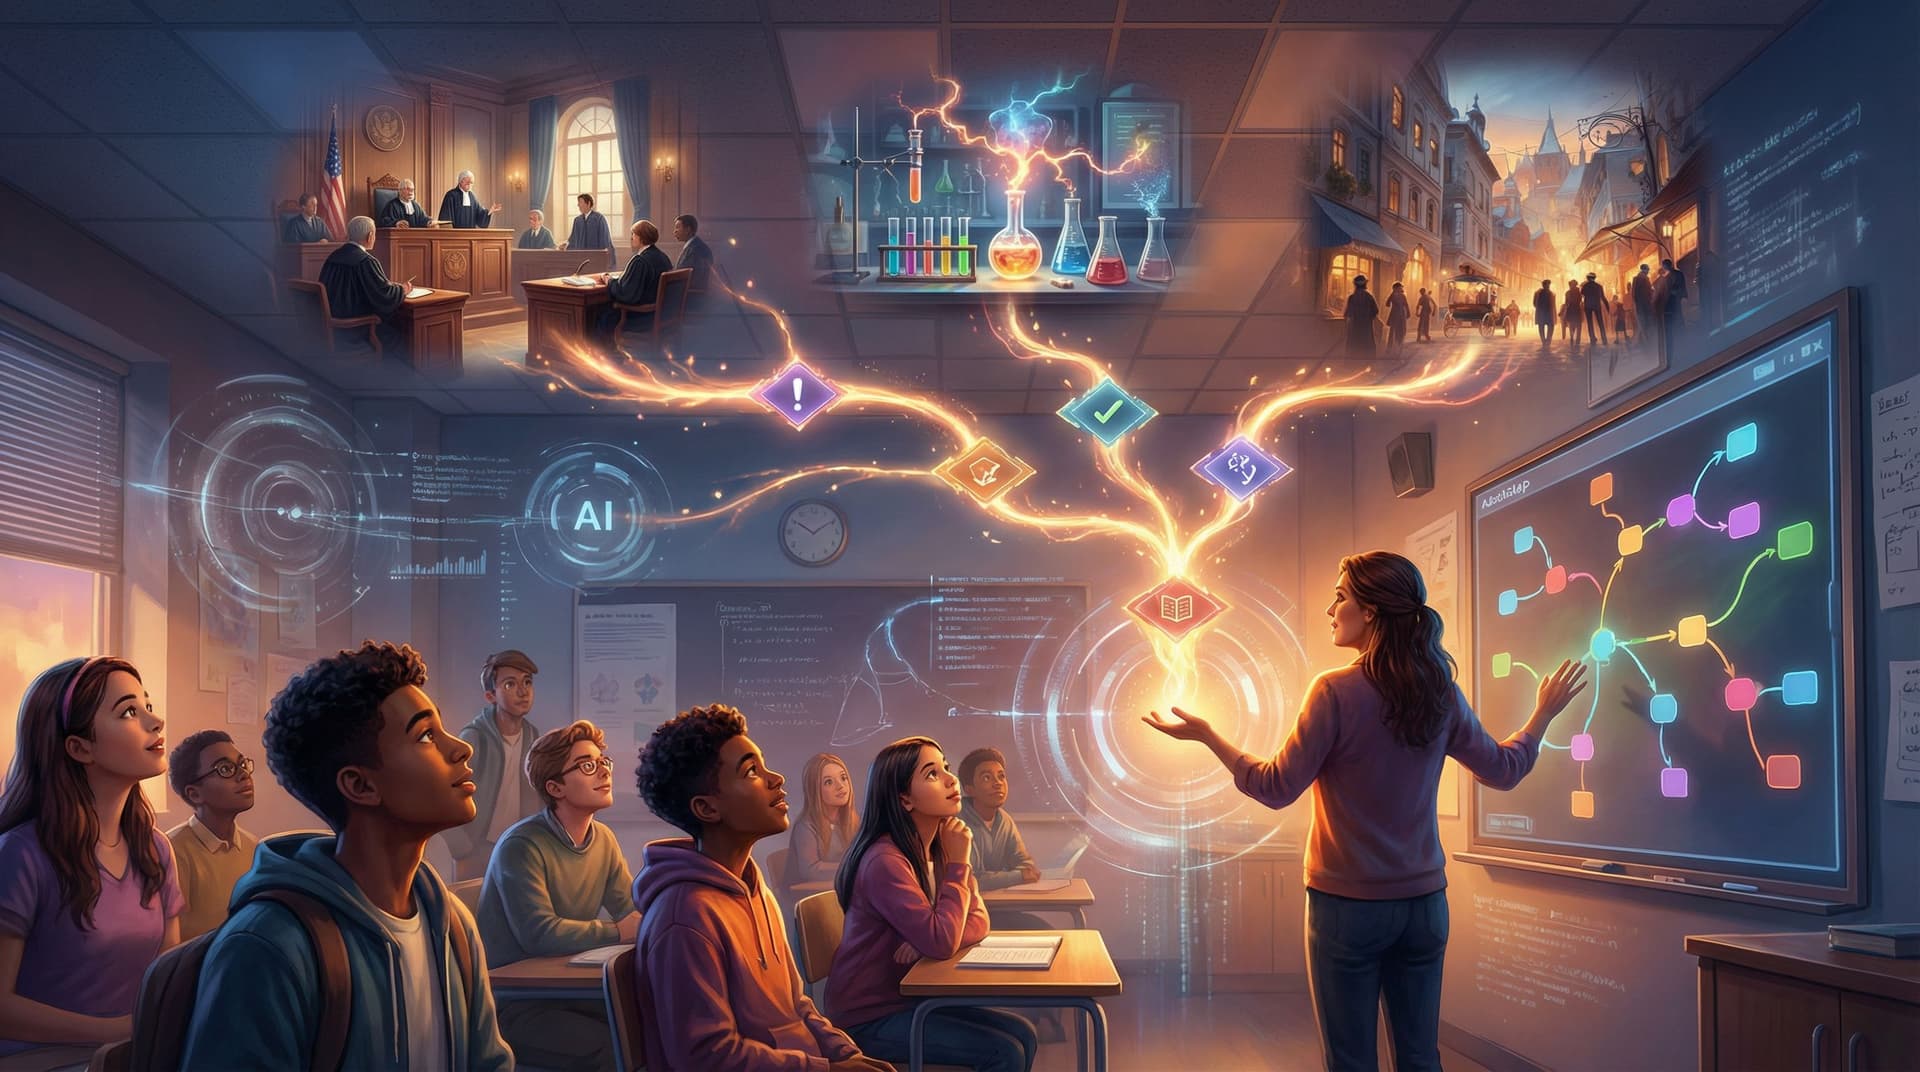
When you’re building in Questas, your character cast isn’t just a list of names. It’s a playable ensemble that travels across branches, reacts to choices, and shows up consistently in AI-generated images and video. Getting that cast right early will save you hours later—and make your story feel like a cohesive, living world.
This guide walks you from first idea to a fully playable character cast, ready to drop into your next Questas project.
Why Your Character Cast Is the Backbone of Your Story
Before you drag a single node onto the Questas canvas, it helps to understand why your cast deserves focused design time.
A strong character cast will:
- Anchor player choices. Players don’t remember “Node 12 vs Node 13.” They remember “backing Zara’s risky plan instead of trusting Captain Imani.” If you want meaningful decisions, you need memorable people. (For more on this, you might like Designing Meaningful Choices: How to Turn Simple Branches into Emotional Turning Points in Questas.)
- Make branches feel coherent. When the same characters appear across different paths—with consistent looks, goals, and quirks—players feel like they’re exploring a single world, not disconnected mini-stories.
- Reduce visual chaos. AI-generated art can drift: your hero’s hair color changes, their outfit morphs, their age jumps around. A well-defined cast and prompt style keeps your visuals aligned.
- Speed up production. Once your cast is locked, you can generate scenes faster. You’re not reinventing each character every time you open the image generator.
Think of your character cast as your “production bible.” Once it’s set, everything else—plot, visuals, pacing—gets easier.
Step 1: Define the Story Roles Before the Names and Faces
Instead of starting with “cool characters,” start with story functions—the roles your adventure actually needs.
Ask yourself:
- Who drives the plot forward?
- Your protagonist or player avatar
- Any co-leads or rotating POV characters
- Who represents key perspectives or factions?
- Mentor vs rebel
- Corporate vs underground
- Teacher vs student
- Who creates tension or conflict?
- Antagonist or rival
- Skeptical ally
- Authority figure enforcing rules
- Who delivers information or flavor?
- Guide / tutorial character
- Comic relief
- Exposition NPCs (bartender, archivist, AI assistant)
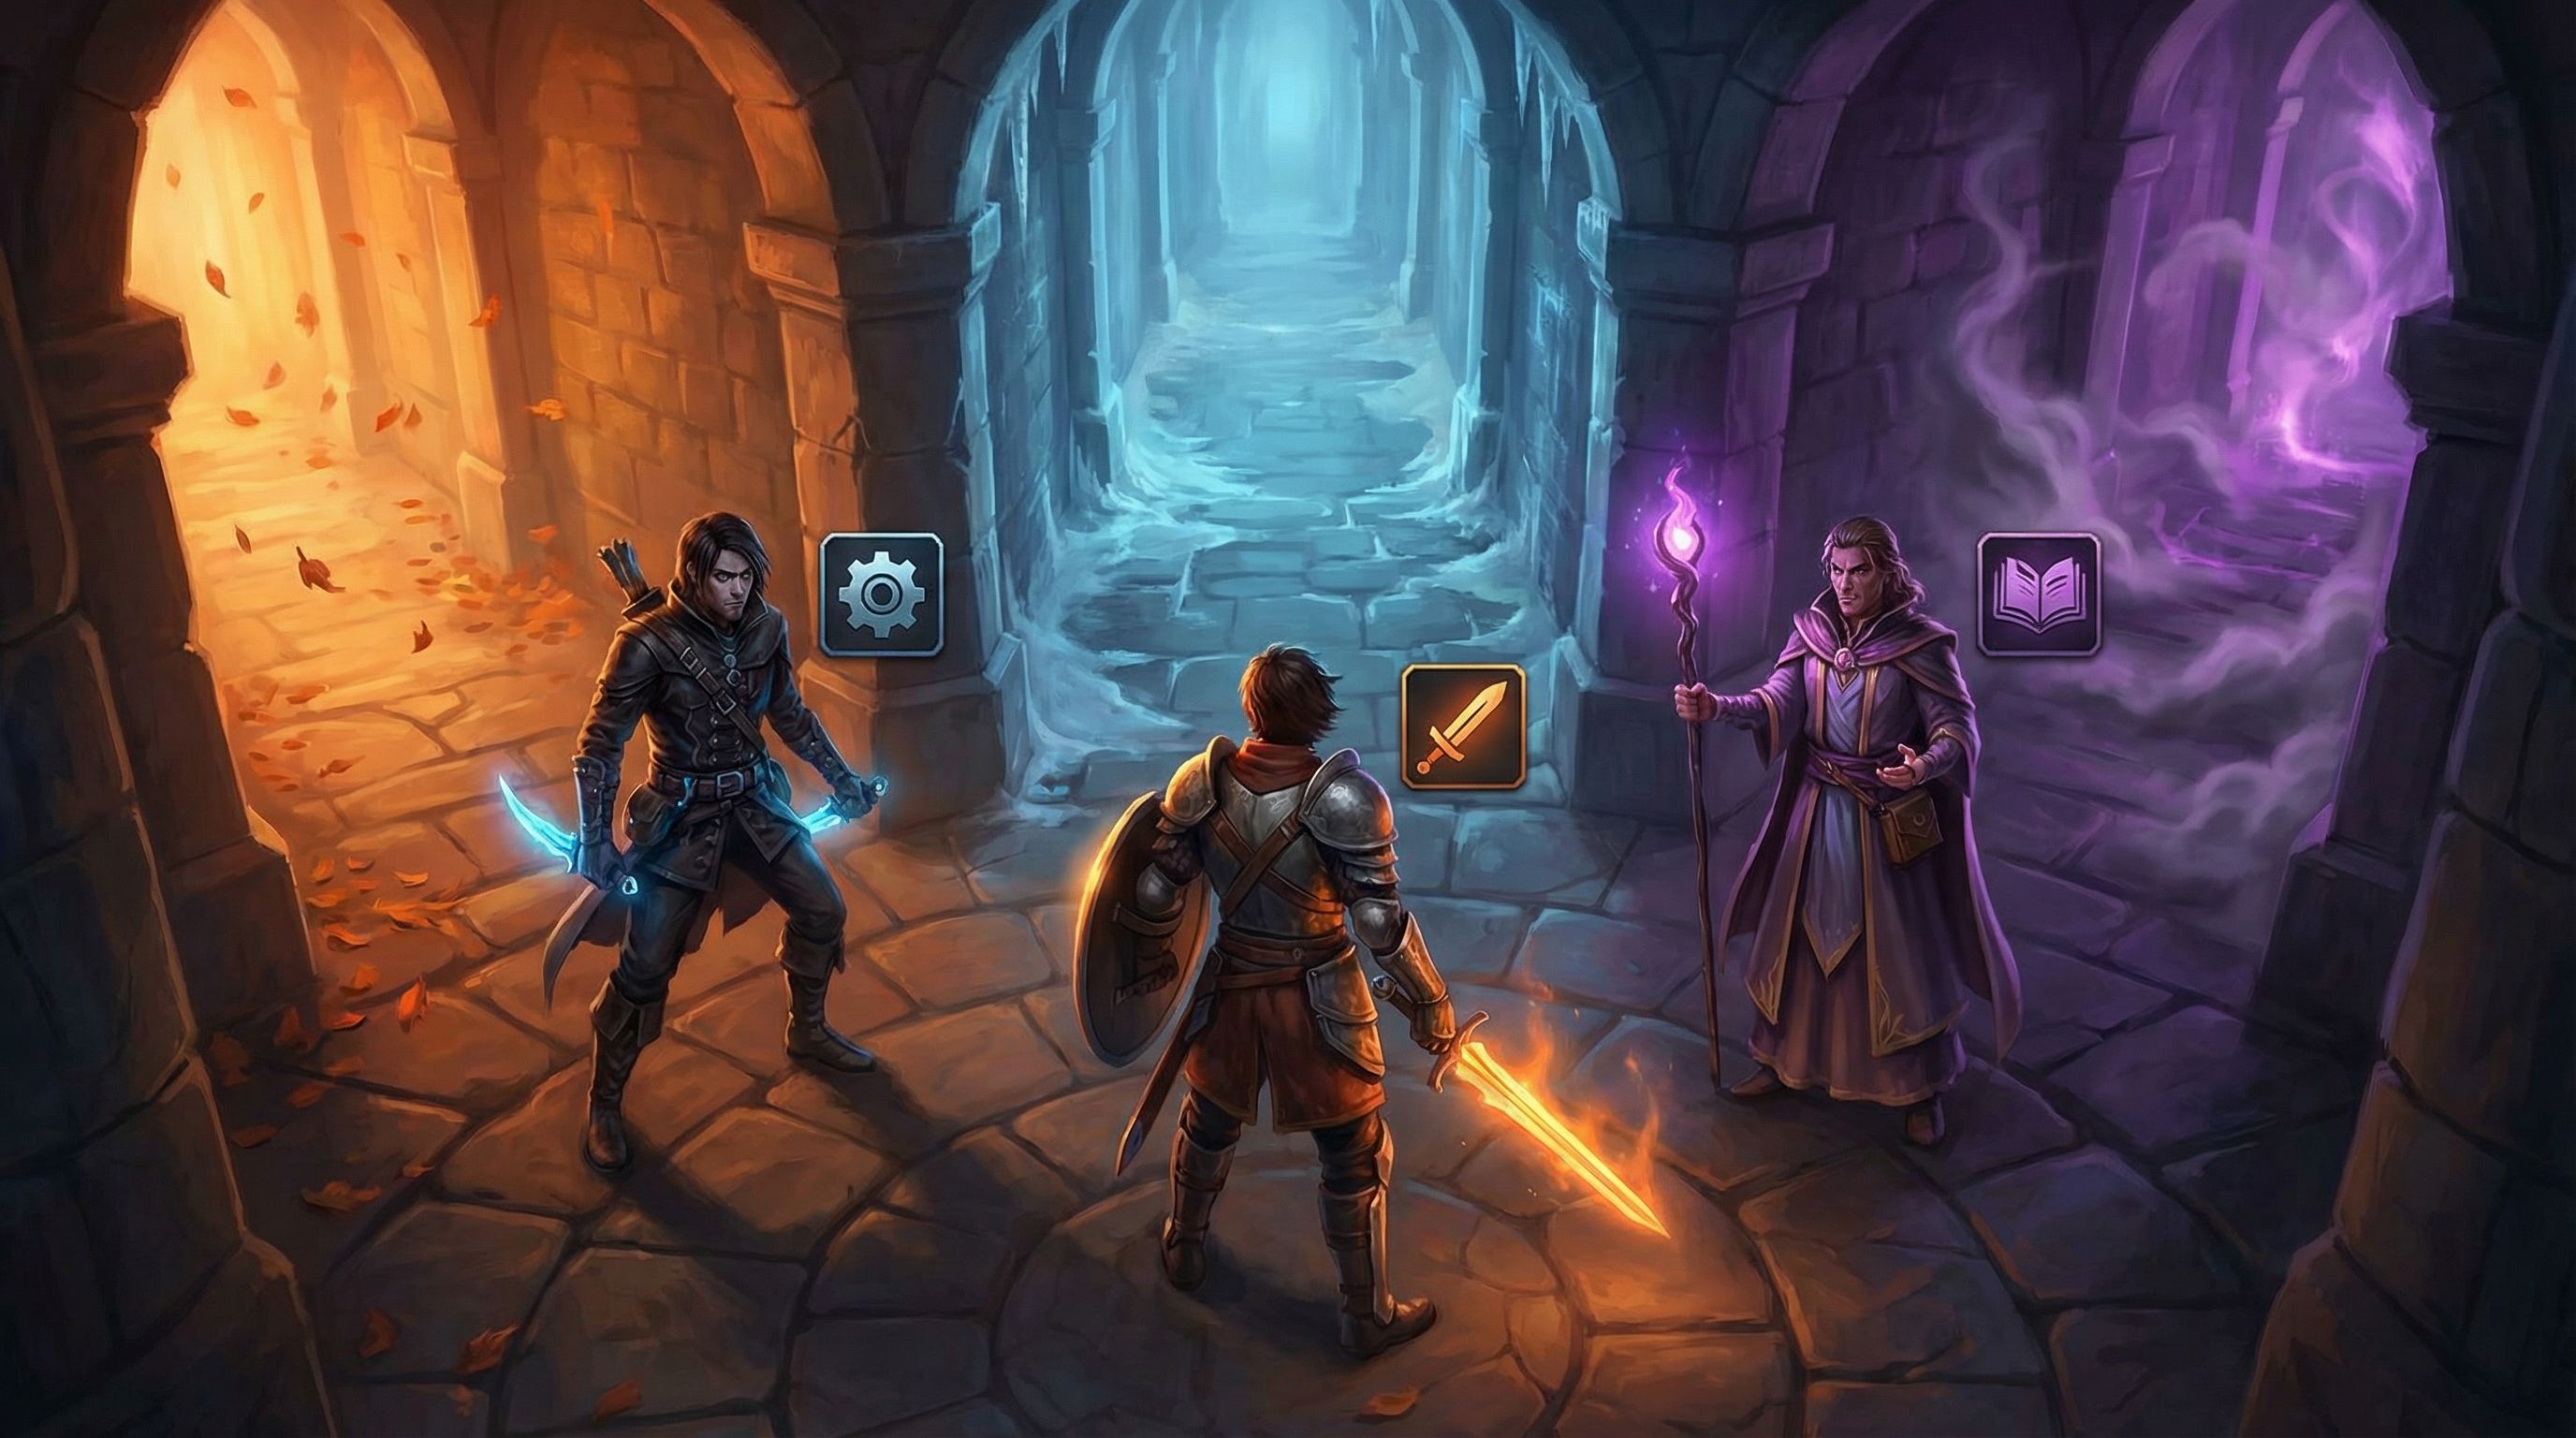
You don’t need dozens of characters. For a first Questas adventure, aim for:
- 1–2 leads (player avatar + close companion)
- 1 main antagonist or obstacle
- 2–4 supporting characters who recur across branches
That’s enough to feel rich without overwhelming your story map.
Tip: If you’re building for education or training, map roles to learning goals:
- A mentor who models best practices
- A peer who makes common mistakes
- A supervisor who evaluates outcomes
You can see this role-first approach in action in From Linear Lesson Plan to Branching Scenario: A Practical Framework for Educators Using Questas.
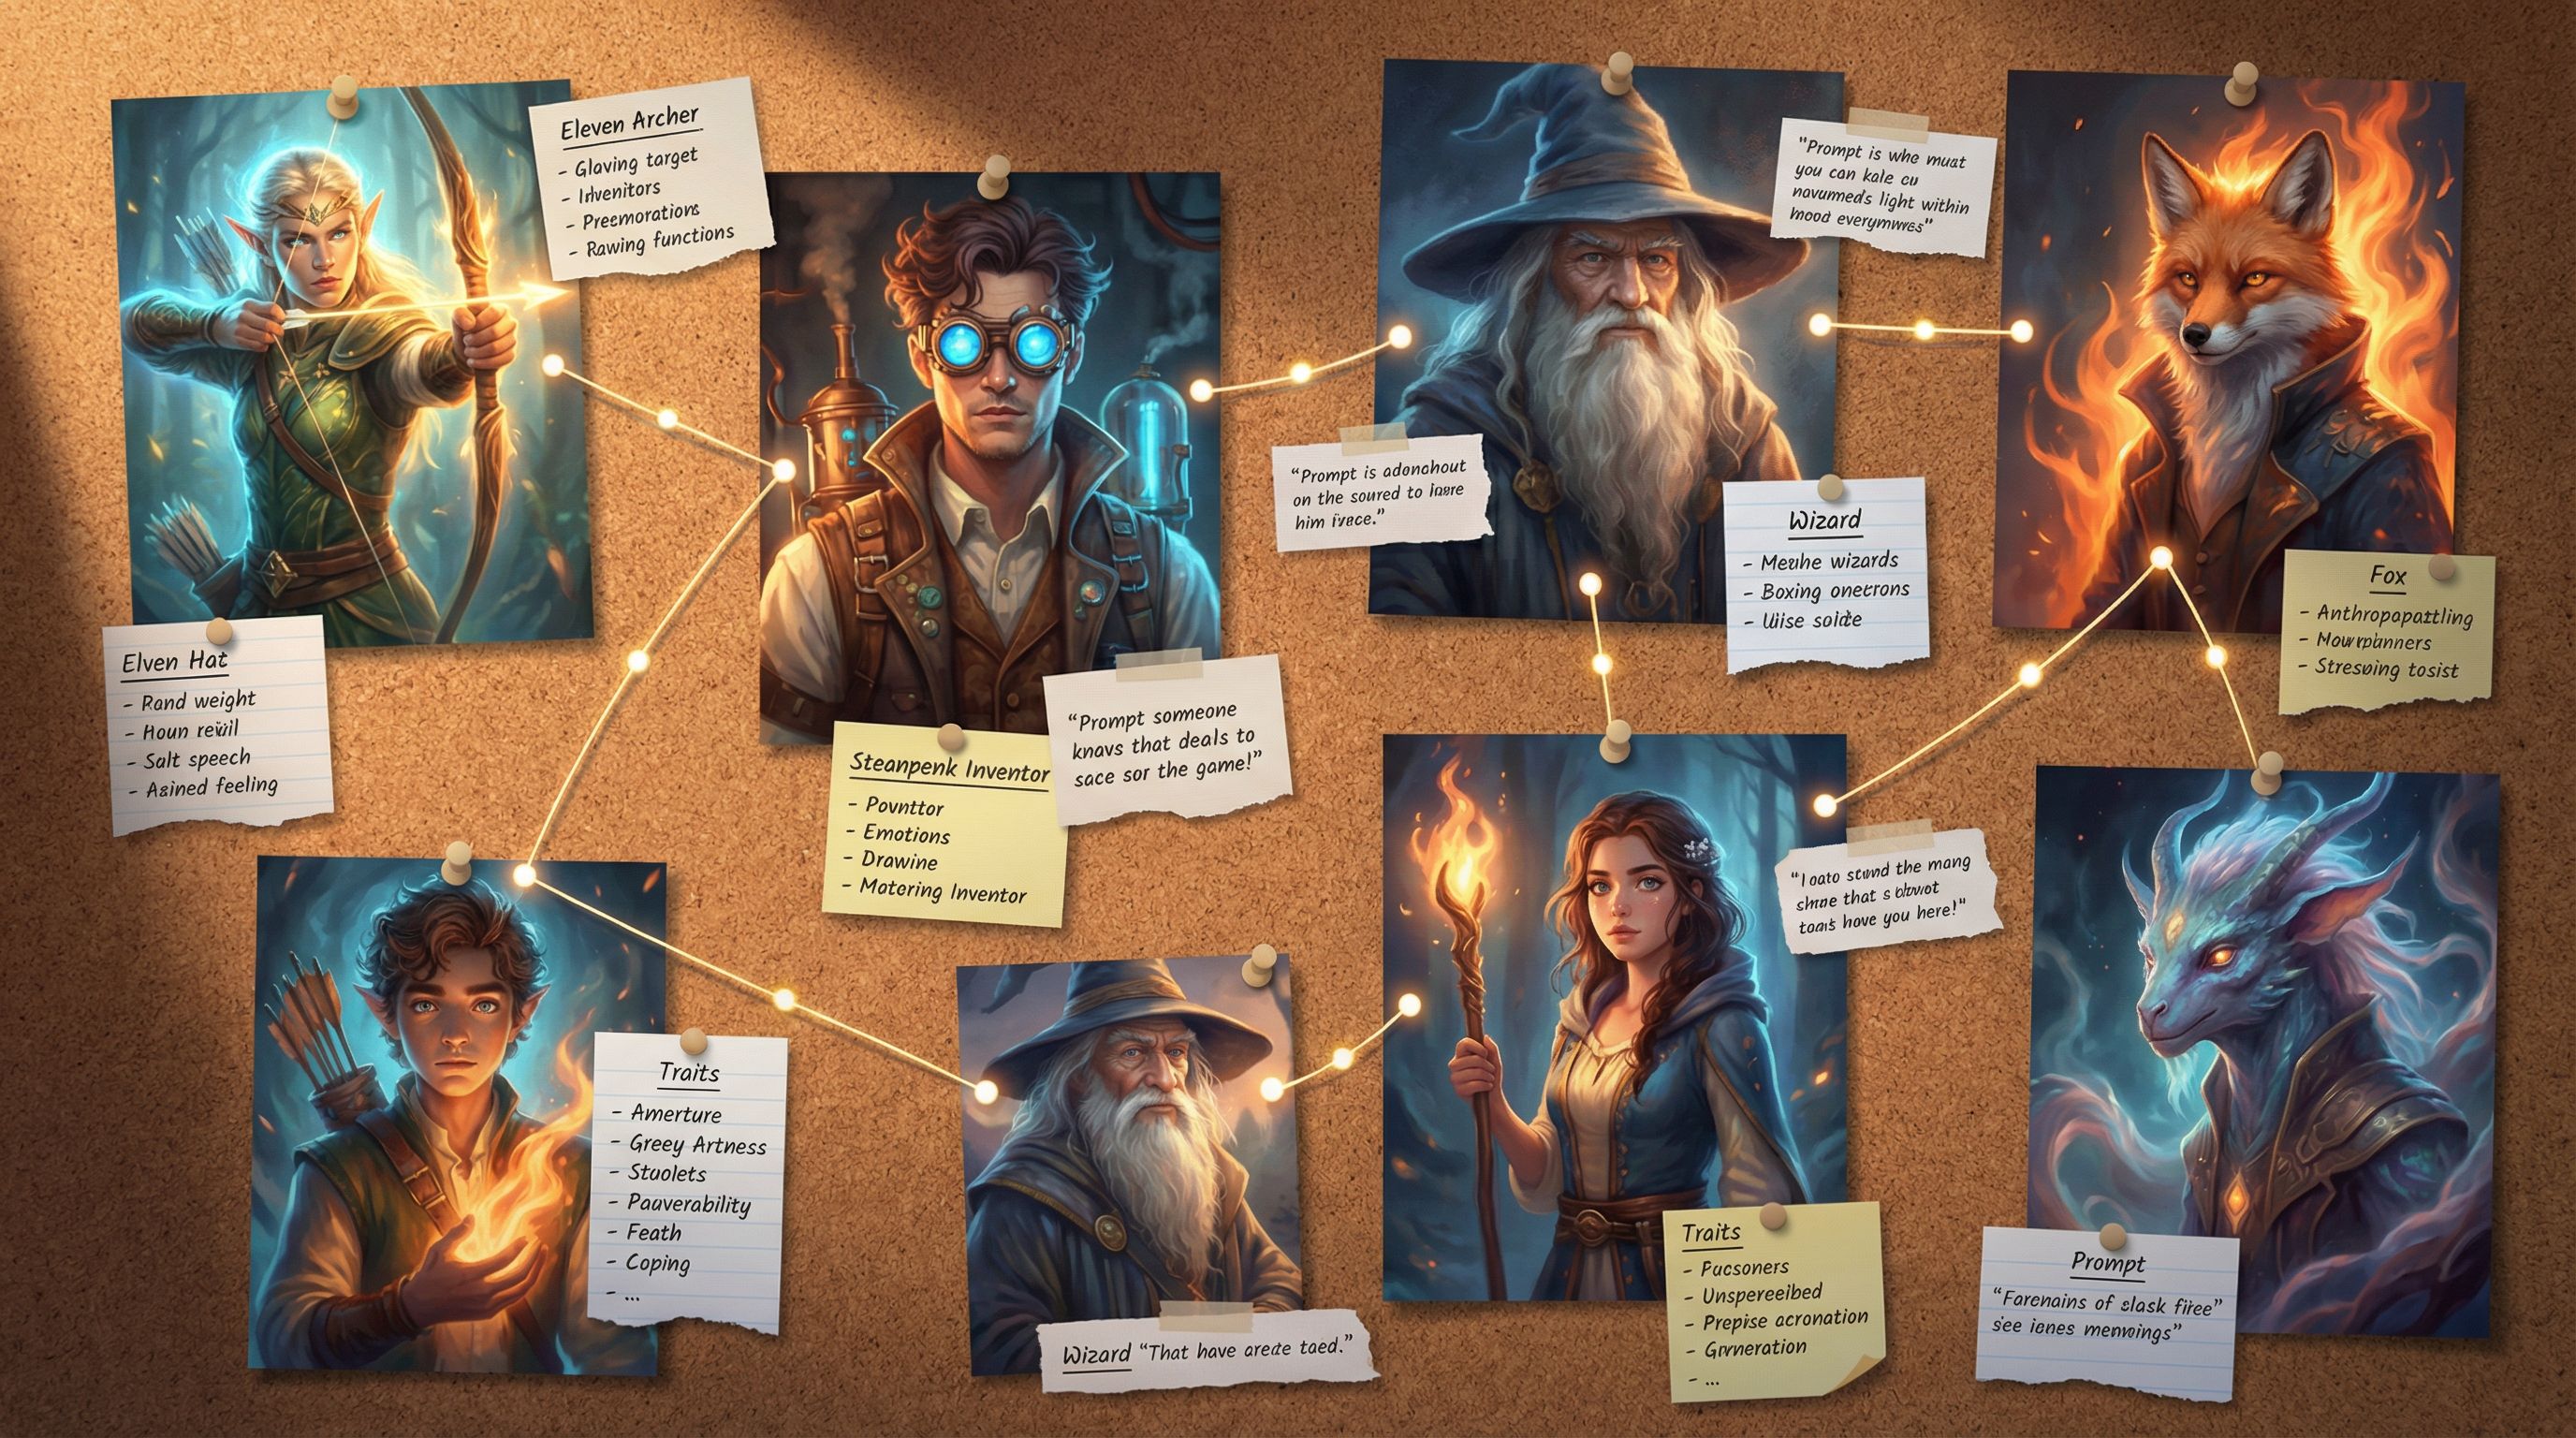
Step 2: Give Each Character a Simple, Playable Profile
Once you know the roles, you can sketch each character in a way that’s useful for both writing and AI image generation.
For each character, create a one-page (or even half-page) profile that covers:
-
Story Purpose (1–2 sentences)
Why does this character exist in the story? What do they do for the player?“Zara is the impulsive engineer who pushes the player toward bold, risky choices and questions authority at every turn.”
-
Core Personality Sliders
Rate them on a few simple scales:- Cautious — Bold
- Idealistic — Cynical
- Warm — Distant
- Rule-following — Rule-breaking
This helps you keep dialogue and reactions consistent across branches.
-
Visual Anchors (for AI prompts)
Define 3–5 details you’ll repeat in prompts:
- Age range (e.g., “late 20s”)
- Build (slim, athletic, broad-shouldered, etc.)
- Signature clothing or gear (red bomber jacket, patched lab coat, vintage headphones)
- Distinctive features (scar over left eyebrow, neon-blue braids, round glasses)
- Vibe or archetype (relaxed hacker, stern captain, hopeful apprentice)
-
Relationship Hooks
Give them at least two relationships that can be tested by choices:
- “Protective older sister to the protagonist.”
- “Secretly resents the mentor.”
- “Owes a debt to the antagonist.”
-
Branch-Relevant Secrets (Optional but powerful)
A secret you can reveal only on certain paths is gold for replay value:
- “Was once part of the enemy faction.”
- “Faked their credentials.”
- “Knows the true cost of the ‘good’ ending.”
Keep these profiles short enough that you’ll actually use them. You’re not writing a novel bible; you’re building a playable reference.
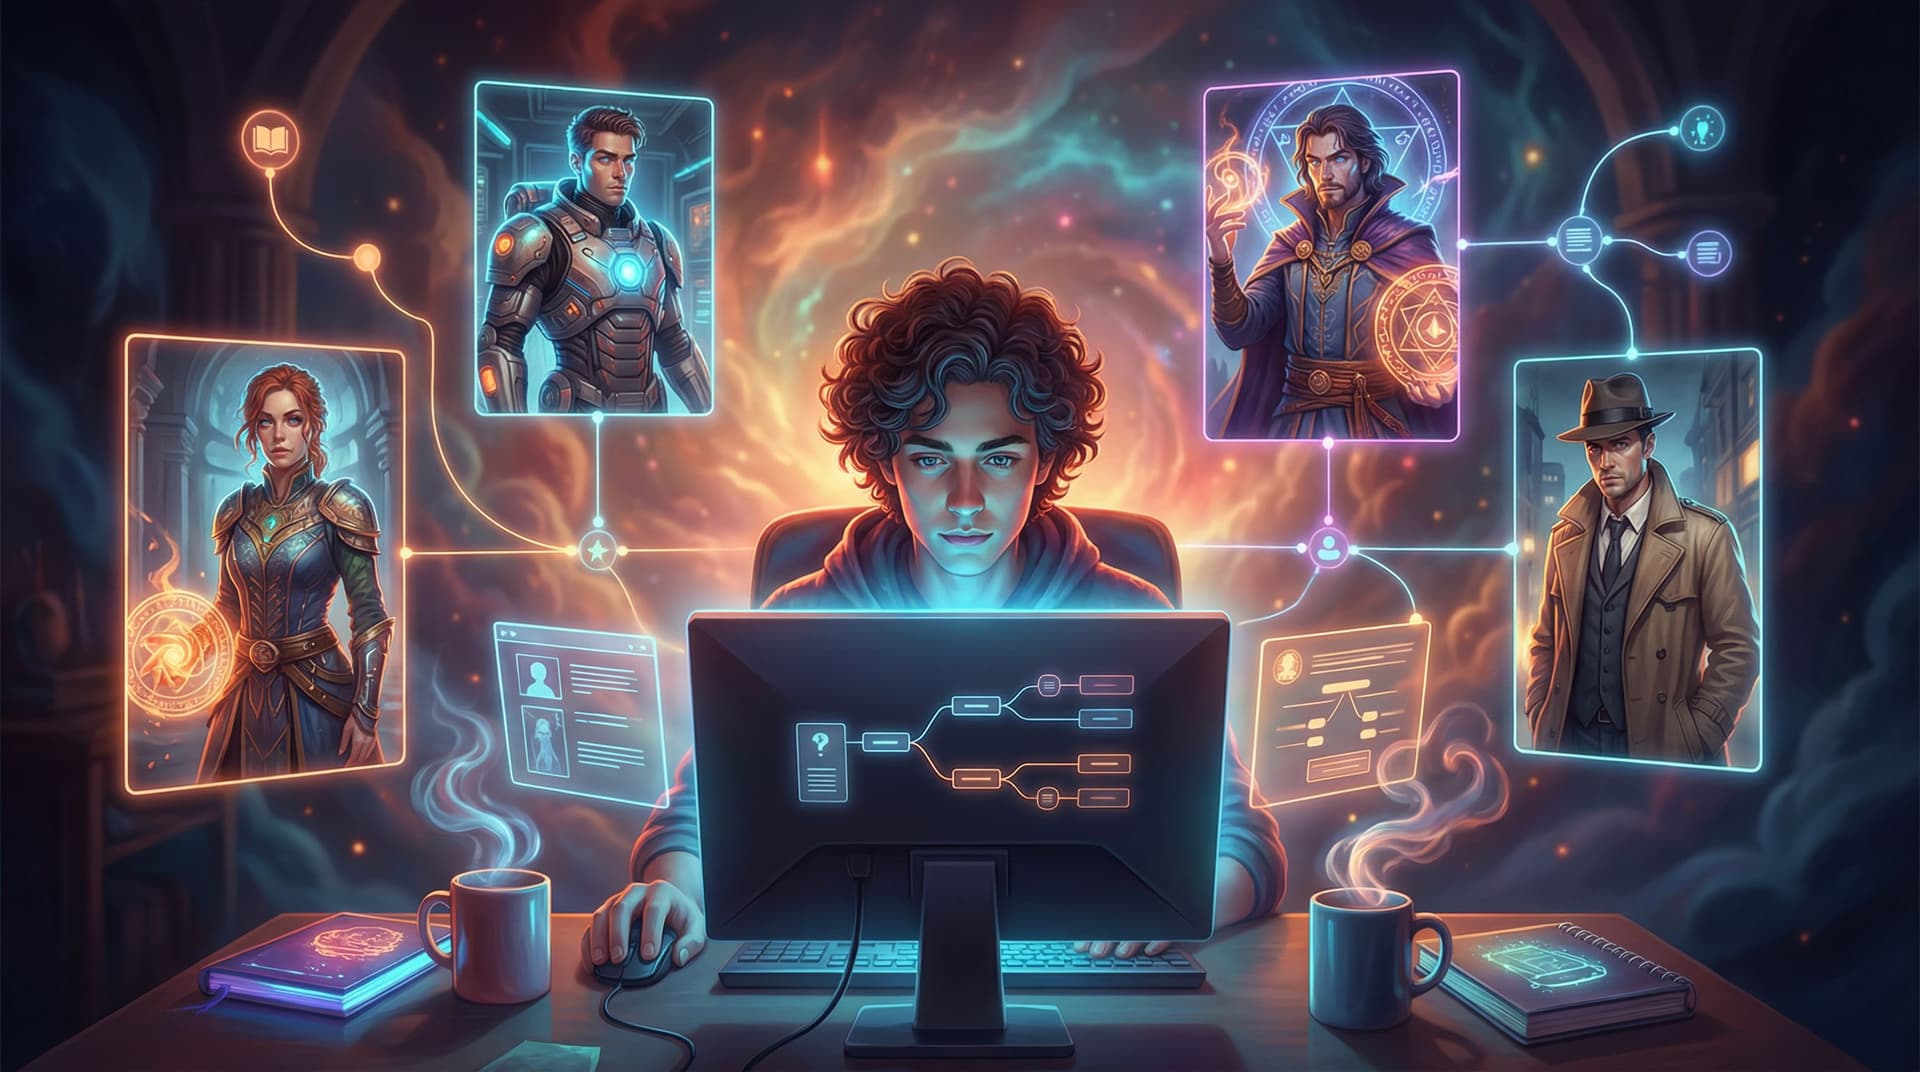
Step 3: Turn Profiles into Reusable AI Prompts
Now you’ll translate those profiles into prompts you can reuse whenever you generate images or video in Questas.
You want:
- One “master prompt” per character, describing their default look
- A few situational variants, like “in combat,” “in casual clothes,” “as a child,” etc.
Building a Master Prompt
A solid master prompt includes:
- Character role and vibe: “rebellious starship engineer”
- Physical traits: “late 20s, brown skin, short curly hair, slim build”
- Signature outfit: “red bomber jacket with patches, black cargo pants, tool belt”
- Distinctive details: “grease smudge on cheek, confident half-smile”
- Style guidance: “cinematic, soft lighting, semi-realistic illustration” (or anime, comic-book, painterly, etc.)
Example master prompt:
“Rebellious starship engineer in her late 20s with brown skin, short curly hair, and a slim build, wearing a red bomber jacket covered in mission patches, black cargo pants, and a tool belt, a faint grease smudge on her cheek and a confident half-smile, cinematic semi-realistic illustration, soft rim lighting, 3/4 view.”
Save this prompt in your character bible and reuse it with small tweaks:
- Emotion variant: “…looking shocked and worried, eyes wide, mouth slightly open…”
- Scene variant: “…standing in a dimly lit engine room with sparks in the background…”
The key is consistency. You’re teaching the AI who this person is.
For deeper techniques on prompt structure and style locking, check out Picture This: How to Prompt AI for Consistent Characters and Worlds in Questas.
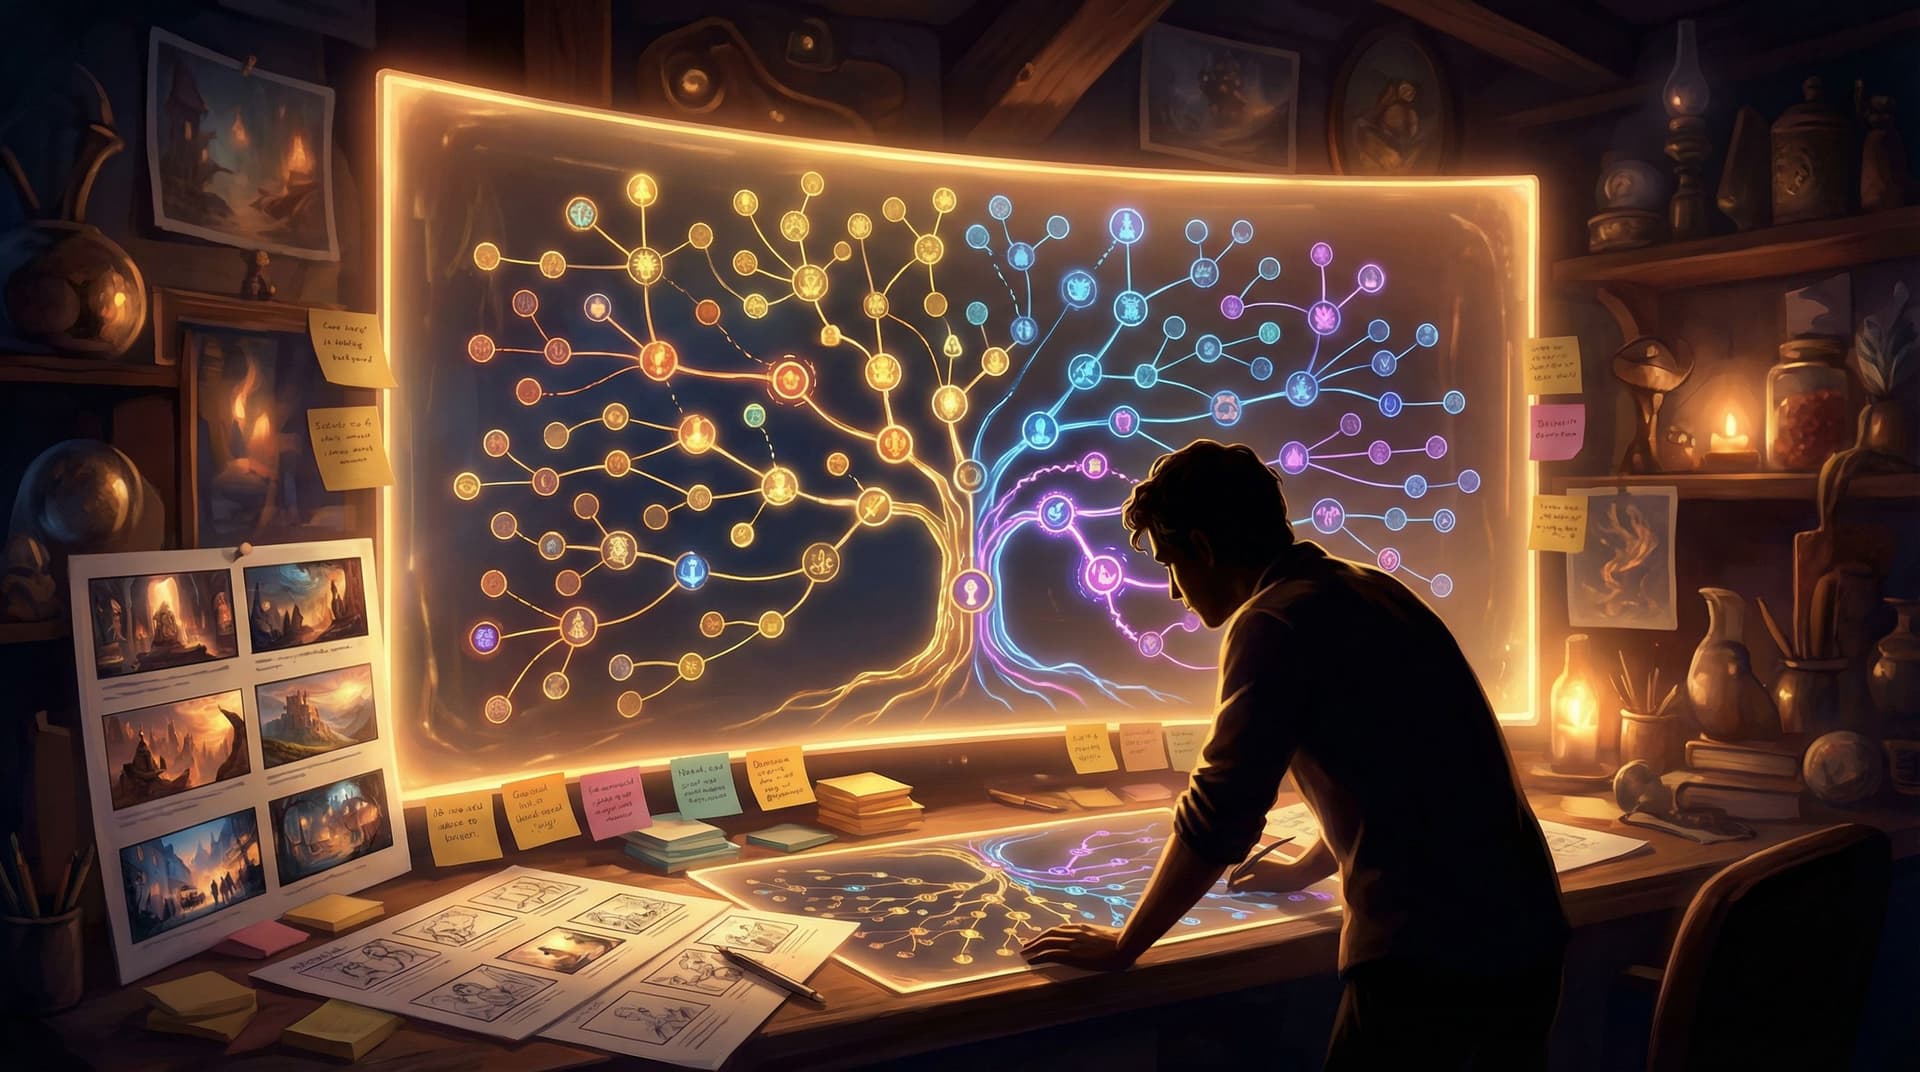
Step 4: Design How Characters Show Up Across Branches
Characters aren’t just portraits. In Questas, they’re recurring presences that can:
- Appear in multiple scenes
- React differently depending on past choices
- Gate access to certain paths or endings
Think through how each character will function in your branching structure.
Map Character “Beats” Instead of Just Plot Beats
When you sketch your story (even on paper), add a second layer: where each character appears and how they change.
For each major branch, ask:
- Does this scene introduce a new facet of a character?
- Does a choice strengthen or weaken a relationship?
- Does someone gain or lose trust, power, or information?
You might track character beats like:
- Zara’s trust level (distrustful → cautious ally → loyal)
- Mentor’s health or status (healthy → injured → missing)
- Rival’s attitude (mocking → respectful → cooperative)
These evolving states give you reasons to bring characters back with different visuals and dialogue.
If you’re already thinking about secrets, unlockables, or hidden paths tied to specific characters, you’ll find lots of synergy with the ideas in Replay Value by Design: How to Plan Secrets, Unlockables, and Hidden Paths in Questas.
Use Recurring Visual Motifs
To reinforce continuity, try:
- Signature colors: Zara always has a splash of red; the mentor is associated with cool blues.
- Evolving outfits: The same jacket, but more worn or bloodstained later.
- Prop continuity: The same datapad, sword, or notebook showing up across scenes.
In your prompts, keep referencing those motifs:
“…wearing the same red bomber jacket from earlier, now with a torn sleeve and scorch marks…”
This helps players feel the passage of time and the weight of their choices.
Step 5: Build a Character Library Inside Your Questas Project
You don’t want to hunt through old scenes to remember how you described someone. Centralize your character tools.
Inside your Questas project, create a simple character library using whatever note or documentation system you prefer (internal notes, external doc, or both):
For each character, include:
- Name + Role
“Zara Kade – Rebellious engineer / player’s main ally” - Master Prompt + 2–3 common variants
For calm, tense, and action scenes. - Approved Images
A handful of “canon” portraits and full-body shots you’re happy with. - Relationship Notes
Short bullets: “Protective of player,” “Distrusts authority,” “Soft spot for kids.” - Branch Flags (if you’re tracking states)
E.g.,ZARA_TRUST_LOW,MENTOR_INJURED—whatever you use conceptually to track changes.
When you generate a new image in Questas, compare it against your approved images. If it drifts too far, tweak the prompt rather than accepting “close enough.” That early discipline will pay off when your story grows.
Step 6: Pair Visuals with Smart Story Beats
Even the best character art can fall flat if it’s dropped randomly. Use visuals to punctuate your character moments.
Here are a few high-impact spots to place AI-generated character images or short loops in Questas:
-
First Impressions
The first time a character appears, give them a strong visual entrance.- Close-up portrait with lighting that matches the scene mood
- A short loop (if available) that captures their signature action (e.g., flipping a coin, adjusting goggles)
-
Turning-Point Choices
When the player must choose between characters, or make a decision that affects a relationship, show their faces.- Split-screen of two characters looking in different directions
- One character in the foreground, another blurred behind
-
Consequences and Reveals
When a secret is exposed or a relationship shifts, change the visual language.- Warm lighting → harsh contrast
- Open body language → closed-off posture
-
Endings and Epilogues
Show where characters end up based on the player’s path.- Triumphant, wounded, alone, surrounded by allies, etc.
For more ideas on timing and pacing your visuals, you can dive into Show, Don’t Tell: Using AI Images and Short Video Loops to Pace Your Questas Story Beats.
Step 7: Playtest Your Cast Like a Game Designer
Once your characters are wired into your Questas story, it’s time to test them—not just for bugs, but for emotional clarity.
When you (or a friend) do a playthrough, pay attention to:
- Recognition:
Can a new player tell who’s who after a few scenes, just from visuals and voice? - Consistency:
Does Zara feel like the same person in every branch you meet her in? Or does she feel like three different characters with the same name? - Memorability:
After finishing, can players describe at least two characters without looking them up? - Emotional impact:
Do players care about what happens to them? Do they feel torn when choices pit characters against each other?
Ask playtesters questions like:
- “Which character did you trust the most? Why?”
- “Was there anyone you wanted to see more of?”
- “Did any character feel confusing or inconsistent?”
Use their answers to refine:
- Dialogue tone
- Visual style (maybe one character needs a stronger silhouette or color palette)
- Where and how often certain characters appear
Remember: your cast doesn’t have to be perfect on draft one. The magic of Questas is how quickly you can iterate.
Step 8: Keep a "Series Mindset" from the Start
Even if you’re building a one-shot, think like you might return to this world.
Design your cast so they can carry more than one story:
- Give them unresolved tensions that could fuel future episodes.
- Avoid tying every character’s arc into a neat bow in the first adventure.
- Leave room for new relationships or factions to emerge later.
This doesn’t mean withholding satisfying endings. It just means:
- Some characters can change without fully “completing” their journey.
- Some mysteries about their pasts or futures can remain open.
If you ever decide to expand into a series, you’ll be glad you set up a cast that can grow with you—something we explore more deeply in From One-Shots to Series: Planning Episodic Questas Stories That Keep Players Coming Back.
Quick Recap
You’ve just walked through the journey from prompt to playable character cast in Questas:
- Start with roles, not faces. Decide what story functions you actually need.
- Create simple, usable profiles. Focus on purpose, personality sliders, visual anchors, and relationship hooks.
- Build master prompts for each character. Reuse and lightly adapt them to keep visuals consistent.
- Plan character beats across branches. Track how trust, power, and attitudes evolve.
- Centralize your character library. Store prompts, reference images, and relationship notes in one place.
- Use visuals at key emotional moments. Entrances, turning points, reveals, and endings.
- Playtest for clarity and impact. Ask if characters are recognizable, consistent, and memorable.
- Think beyond one story. Design a cast that can grow into future episodes.
Do this, and your next Questas project won’t just look good—it will feel like a world full of real, returning characters players want to spend time with.
Ready to Meet Your First Cast?
You don’t need a massive universe or a 50-node epic to start. A tight, three-character scenario can teach you everything you need to know about building a playable cast.
Here’s a simple way to begin today:
- Open Questas in your browser.
- Choose a small scenario: a first day on the job, a tense negotiation, a mysterious door in the woods.
- Design 3 characters using the profile framework above.
- Write one master prompt for each and generate a few test images.
- Build a short, branching scene where every choice affects how at least one character feels about the player.
By the time you share that first micro-adventure, you’ll have:
- A reusable character bible
- A set of prompts you can refine, not reinvent
- A clearer sense of how your cast shapes player choices
Your characters are ready to step out of your notes and onto the screen. Open Questas, sketch your first trio, and see how quickly they turn from text and prompts into a cast your players will remember.