From Linear Lesson Plan to Branching Scenario: A Practical Framework for Educators Using Questas


Most lesson plans still follow a familiar pattern: you introduce a concept, guide students through examples, check for understanding, and end with an assessment. It’s structured, predictable… and often passive.
Branching scenarios flip that script. Instead of telling students what should happen, you let them decide what to do—and see the consequences play out. With tools like the web-based, no‑code platform Questas, you can turn a traditional lesson into an interactive, visual story where every choice teaches something.
This post walks through a concrete, educator-friendly framework for converting a linear lesson into a branching scenario using Questas. You’ll see how to:
- Pick the right learning goal for a branching experience
- Map decisions and consequences without getting lost
- Build scenes in a visual editor
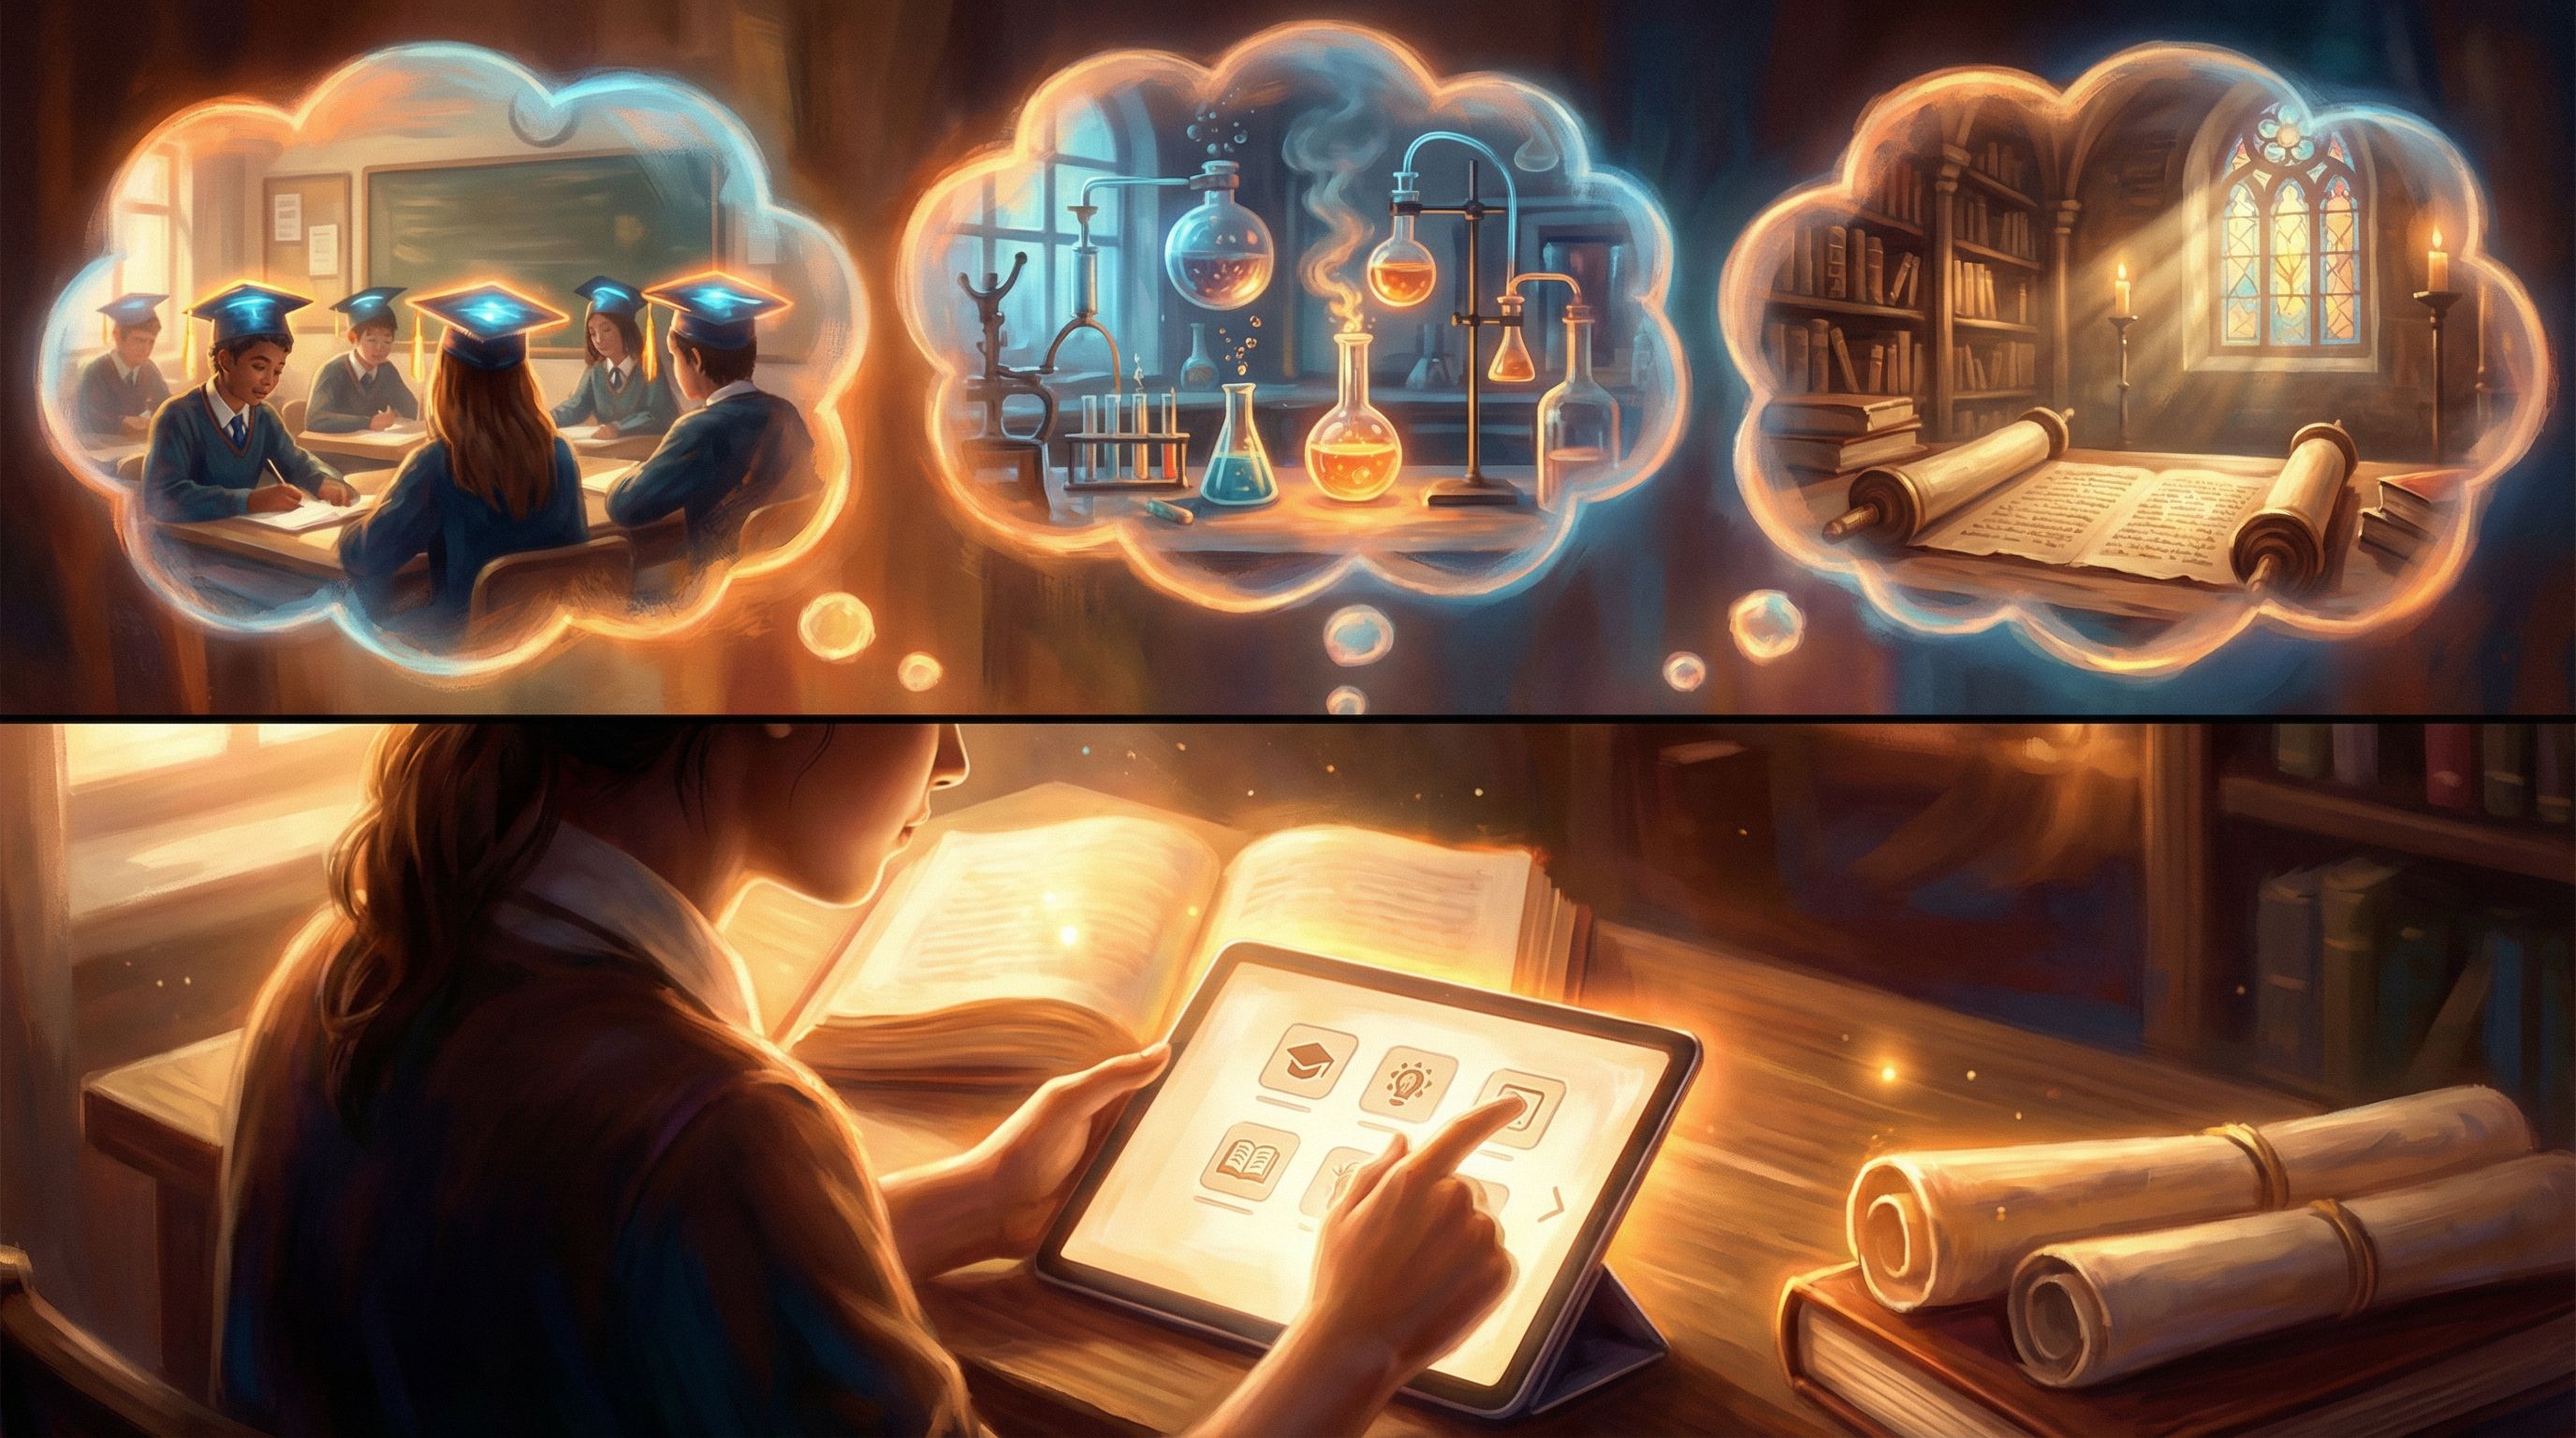
- Use AI-generated images and video to deepen understanding
- Test, refine, and roll it out to your class
Whether you teach history, science, ELA, or workplace training, you can adapt this framework to your context.
Why Branching Scenarios Belong in Your Toolkit
Branching scenarios are more than a flashy format. They line up with what we know about how people learn:
- Active decision-making improves retention. When learners choose paths instead of just reading or listening, they encode information more deeply.
- Safe failure encourages experimentation. Students can make mistakes, see consequences, and try again—without real-world harm.
- Contextual practice beats abstract content. Instead of memorizing rules, learners apply knowledge in realistic situations.
- Multiple paths support differentiation. You can design easier and harder routes, or alternate perspectives, within the same experience.
For educators already curious about game-based learning or simulations, branching scenarios are a natural next step. And because Questas is no‑code and visual, you don’t need to be a game designer or programmer to start.
If you want to see how other teachers are already doing this, you might also enjoy our post on full-class examples in “Classroom Adventures: How Teachers Use Questas to Turn Lessons into Playable Stories”.
Step 1: Choose a Lesson That Wants to Branch
Not every lesson needs to become an interactive story. The best candidates share a few traits:
1. Decisions matter.
Look for topics where different choices lead to different outcomes, such as:
- Historical turning points (e.g., decisions made by leaders or communities)
- Scientific inquiry (choosing methods, variables, or interpretations)
- Ethics and civics (weighing tradeoffs between stakeholders)
- Classroom management or leadership scenarios (for teacher training)
2. There’s room for “it depends.”
Branching shines when there isn’t just one obvious right answer, or when the process matters more than the final fact.
3. You already tell it as a story.
If you find yourself saying, “Imagine you’re a…,” that’s a strong signal this could be a scenario.
Quick litmus test
Ask yourself:
“In this lesson, what decisions do I wish my students could actually practice, not just talk about?”
Start with one of those decisions as the core of your first branching scenario.
Step 2: Distill the Core Learning Outcomes
Before you open any tool, get crystal clear on what you want students to walk away with.
Write down 2–4 target outcomes, such as:
- Students can identify and justify the most ethical option in a given situation.
- Students can choose appropriate variables and controls for a basic experiment.
- Students can recognize bias in a primary source and adjust their interpretation.
Then translate each outcome into a question that can be answered through choices, for example:
- “What happens when you prioritize speed over safety?”
- “How does changing one variable at a time affect your results?”
These questions will guide your branching structure and help you avoid “choice chaos.” If you’re worried about complexity, our post on “Branching Without Chaos: Simple Story Mapping Techniques for Complex Questas Narratives” offers practical mapping methods you can adapt directly to curriculum design.
Step 3: Transform Your Linear Plan into a Decision Spine
Take your existing lesson plan and strip it down to a simple spine:
- Hook / scenario setup
- Key concept or challenge
- Practice or application
- Feedback / reflection
Now, identify two or three key decision points where students’ choices could branch the experience.
For each decision point, sketch:
- Context: What’s happening right before the choice?
- Options: What are 2–4 plausible decisions a learner might take?
- Immediate consequences: What happens next if they choose A vs. B vs. C?
- Longer-term impact: How might this choice echo later in the scenario?
You don’t need dozens of branches. In fact, for your first build in Questas, a structure like this works beautifully:
- One shared introduction
- 2–3 major decision points
- 3–5 distinct endings (some “better,” some “worse,” all instructive)
This keeps your workload manageable while still giving students a sense of agency and replay value.
Step 4: Map the Scenario as a Story First
Before you touch the visual editor, map your scenario like a story:
- Who is the player? A specific role (e.g., city planner, lab assistant, character from the unit)?
- What’s at stake? Grades, safety, community trust, scientific validity, etc.
- What’s the central tension? Budget vs. sustainability, speed vs. accuracy, loyalty vs. justice.
A simple way to do this is to create a “beat sheet”:
- Opening scene: Introduce the player’s role, setting, and immediate problem.
- Decision 1: A high-level strategic choice.
- Consequence scene: Show the impact and raise a new complication.
- Decision 2: A tactical or ethical dilemma.
- Consequence scene: Things get better or worse based on earlier choices.
- Final decision and ending: Wrap up with a clear outcome tied to your learning goals.
At this stage, don’t worry about exact wording. Focus on:
- The flow of decisions
- How each path still teaches the core content
- Where you’ll embed reflection or explanations
Once you’re happy with this outline, you’re ready to move into Questas.
Step 5: Build the Backbone in Questas’ Visual Editor
Open Questas and start a new story. Think of this phase as building the skeleton:
- Create your main scenes.
- One node for each beat in your outline (intro, decision points, consequences, endings).
- Add choices at decision scenes.
- Turn your sketched options into clickable choices.
- Connect the dots.
- Use the visual links to connect each choice to its consequence scene.
Keep your first draft text simple:
- 2–4 short paragraphs per scene
- Clear, concise choices (labeled with verbs: “Negotiate with the mayor,” “Delay the launch,” “Ignore the warning signs”)
If you’re curious about building a repeatable workflow for this, check out “Building Your Questas Pipeline: A Workflow for Drafting, Testing, and Publishing Interactive Stories at Scale”. Many educators adapt those techniques to plan a whole semester of interactive scenarios.

Step 6: Layer in AI-Generated Visuals to Clarify, Not Distract
Visuals aren’t just decoration—they’re powerful teaching tools. With Questas, you can generate images and short video loops directly inside scenes.
Use visuals to:
- Clarify context. Show the setting (a courtroom, lab, ecosystem, historical street) so students can picture themselves there.
- Highlight key information. Zoom in on a data chart, a conflicting sign, or a character’s expression.
- Signal tone and stakes. Dramatic lighting or color shifts can indicate rising tension or consequences.
Some practical tips:
- Match visuals to decisions. If a choice involves safety equipment, show it. If it’s about environmental impact, show contrasting scenes (polluted vs. clean river).
- Avoid cognitive overload. Not every scene needs an image. Use them at key beats: introduction, major decisions, and endings.
- Stay consistent. Keep characters, locations, and color palettes consistent so students recognize patterns. Our guide “Picture This: How to Prompt AI for Consistent Characters and Worlds in Questas” can help you set up a visual style that carries across your whole unit.
For pacing and emotional impact—especially if you’re using short video loops—“Show, Don’t Tell: Using AI Images and Short Video Loops to Pace Your Questas Story Beats” dives deeper into how visuals shape the rhythm of an experience.
Step 7: Embed Feedback, Reflection, and Mini-Lessons
A branching scenario is not just a quiz with fancy buttons. The real learning happens when students reflect on their choices and see why outcomes unfolded the way they did.
You can build this directly into your Questas scenes:
- Immediate feedback: After a choice, include a short explanation:
- “Because you skipped the control group, your results can’t be trusted. In real research, this might mean…”
- Reflective prompts: At key points, ask students:
- “What information did you wish you had before making this choice?”
- “How might a different stakeholder see this situation?”
- Branch-aware commentary: Reference earlier decisions:
- “Since you chose to cut corners in Step 1, your team doesn’t trust your judgment now.”
- Mini-lessons in endings: Use ending scenes to summarize key takeaways:
- “You prioritized short-term profit, which led to long-term environmental damage. In economics, this is an example of…”
You can also design “teachable failure” endings that encourage replay:
- Make it clear that this path isn’t “game over,” but an invitation to try again with new insight.
- Offer a hint: “If you replay, try paying attention to the data in Scene 3 before deciding.”
For more on designing paths that students want to revisit, our post “Replay Value by Design: How to Plan Secrets, Unlockables, and Hidden Paths in Questas” explores techniques you can adapt for education—like hidden evidence, alternate outcomes, and role-switching.
Step 8: Pilot with a Small Group and Iterate
Before rolling your scenario out to a full class, test it with:
- A small group of students
- A colleague in your department
- Or even friends/family acting as “learners”
Ask them to:
- Think aloud while they play
- Note any confusing wording or choices
- Share which endings felt satisfying vs. frustrating
As you watch, pay attention to:
- Decision clarity: Do learners understand what each choice means?
- Unintended dead ends: Are there paths that feel like they go nowhere or repeat too much?
- Content alignment: Are students actually practicing the skills or reasoning you targeted in Step 2?
Then go back into Questas and:
- Tighten or rephrase confusing choices
- Add or remove branches to keep the experience focused
- Strengthen feedback in endings where learners seem unsure what they did “wrong” or “right”
If you’d like to go deeper over time, the ideas in “Analytics for Adventure: Using Player Data to Improve Your Questas Stories Over Time” can help you refine scenarios based on real play patterns.
Step 9: Integrate the Scenario into Your Lesson Flow
A branching scenario works best when it’s part of a larger learning arc, not a one-off novelty.
Here are a few ways to embed it:
- As a pre-teach diagnostic.
Let students play before formal instruction to surface misconceptions and questions. - As a capstone application.
Use it at the end of a unit to synthesize knowledge in a realistic context. - As a revisitable practice tool.
Encourage students to replay paths when studying for assessments or projects. - As a discussion starter.
Have small groups compare the paths they took:- “Which decisions did you disagree on?”
- “Which ending felt most realistic or fair?”
You can also assign different paths or roles to different groups and then hold a debrief circle, where each group reports their version of events. This naturally surfaces multiple perspectives and ethical considerations.
Step 10: Scale Up—From One Scenario to a Whole Adventure Library
Once you’ve built and run one successful scenario in Questas, you have a template you can reuse:
- Re-skin the same structure for different units or grade levels.
- Build a series where choices in early episodes echo in later ones.
- Invite students to co-create new branches or entire scenarios (see “Collaborative Adventures: How to Co-Create Questas Stories with Teams, Students, or Communities”).
Over time, you can:
- Create a department-wide library of branching scenarios for key concepts.
- Share best practices with colleagues and co-author cross-curricular adventures.
- Let advanced students design scenarios as performance tasks or portfolio pieces.
Bringing It All Together
Transforming a linear lesson plan into a branching scenario doesn’t require abandoning your curriculum or becoming a game designer. It’s about:
- Choosing lessons where decisions and consequences naturally matter
- Distilling clear learning outcomes and mapping a simple decision spine
- Using Questas to visually build scenes, choices, and feedback
- Enhancing understanding with AI-generated visuals that clarify context
- Embedding reflection and explanation so every path teaches something
- Iterating based on real learner behavior and integrating scenarios into your broader teaching practice
Start small: one lesson, two or three decision points, a handful of endings. You’ll be surprised how quickly students lean in, argue about choices, and ask to “try again and see what happens if…”
Ready to Turn Your Next Lesson into an Adventure?
You already have the ingredients: your subject expertise, your existing lesson plans, and a sense of the decisions your students need to practice.
The next step is to give those decisions a stage.
- Pick one upcoming lesson where choices matter.
- Sketch a simple branching outline with 2–3 decision points.
- Open Questas, start a new story, and build your first playable draft.
Your students don’t need another worksheet—they need a chance to step into the scenario, make the call, and see what unfolds.
Adventure awaits. Your classroom is ready for it.