Building Your Questas Pipeline: A Workflow for Drafting, Testing, and Publishing Interactive Stories at Scale

You can absolutely build one beautiful interactive story and stop there.
But if you’re reading this, you’re probably aiming bigger: a series of adventures, a training library, a catalog of client concepts, or a whole universe of branching tales.
That’s where a pipeline comes in.
A pipeline is simply a repeatable workflow—from idea to published experience—that you can run again and again without burning out or losing quality. For interactive stories, that means:
- Drafting faster without sacrificing depth
- Keeping branching under control as projects get bigger
- Testing with real players before you commit to a full season or series
- Publishing on a predictable cadence instead of “whenever it’s done”
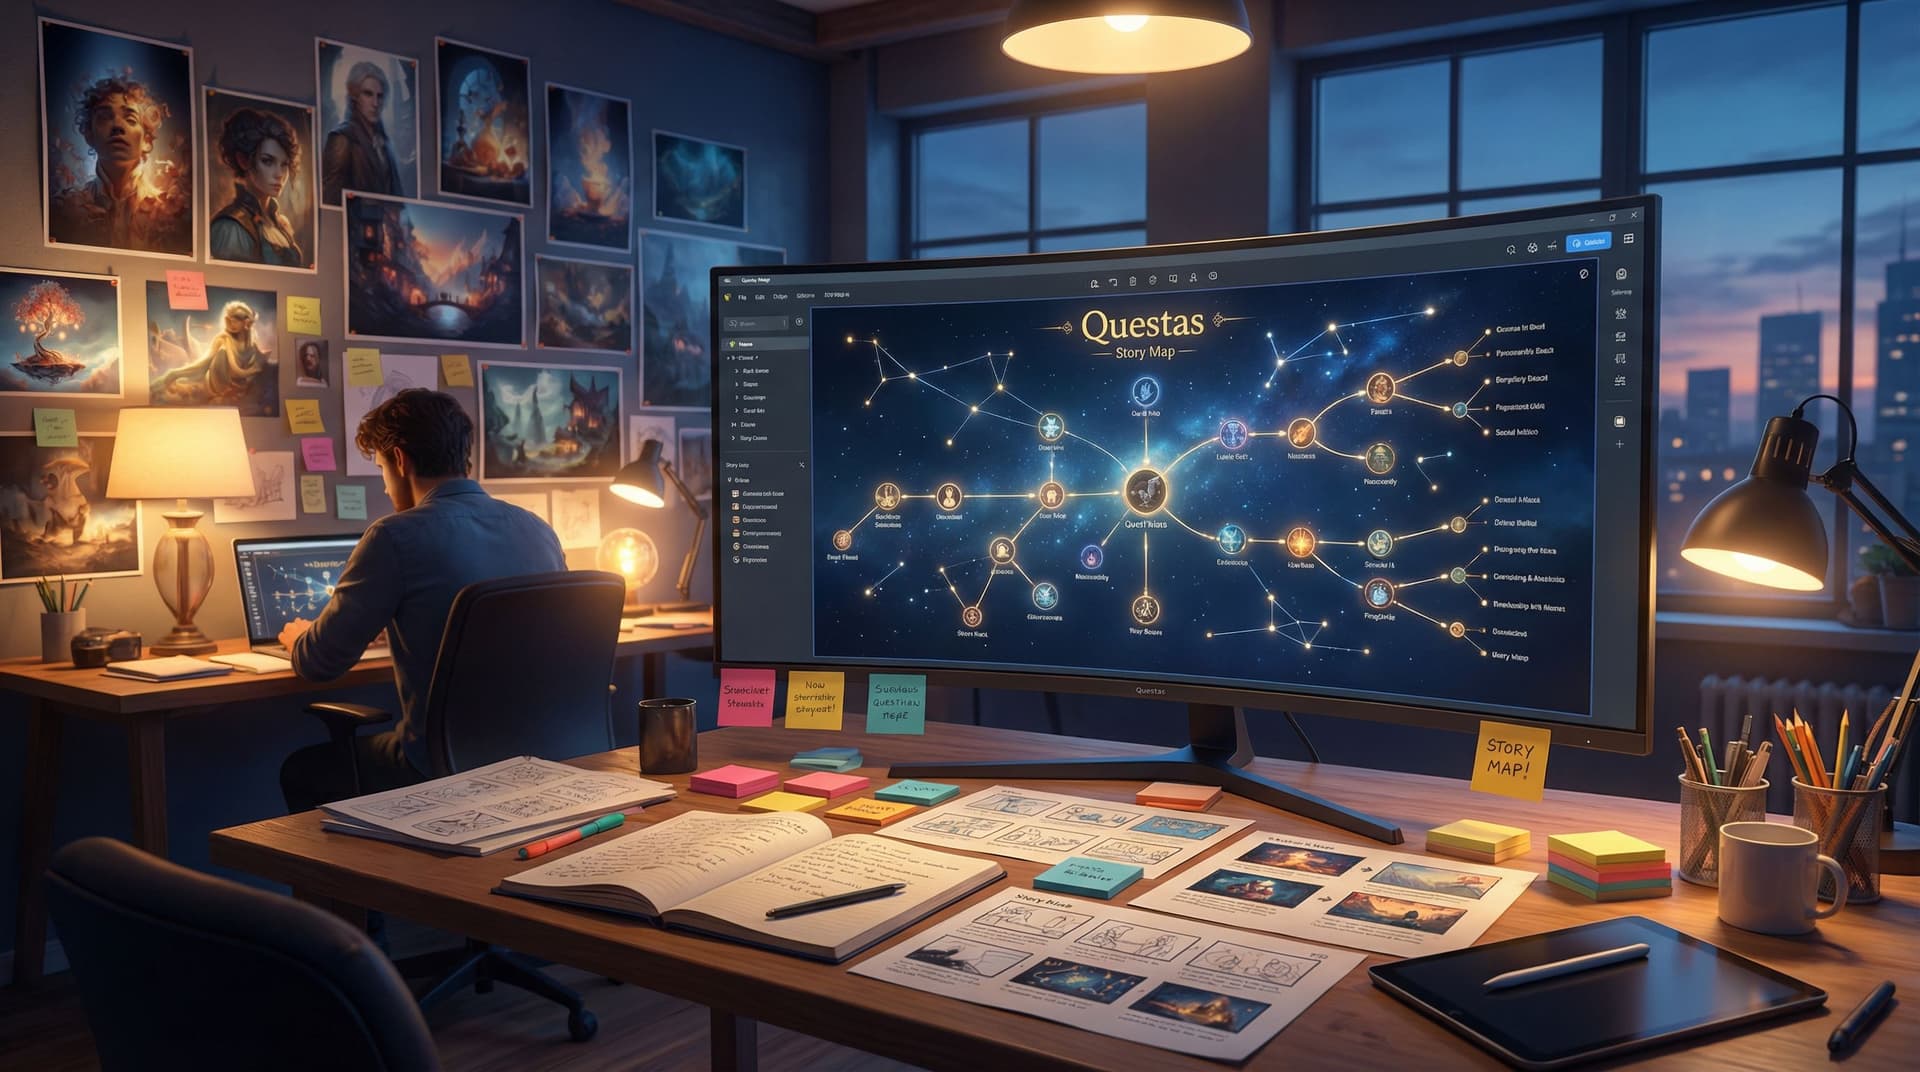
With Questas, you already have the visual, no‑code canvas and AI‑generated images/video. The missing piece is a system that lets you scale.
This guide walks through a practical, battle‑tested pipeline you can adapt to your own use case—whether you’re building classroom adventures, brand experiences, training simulations, or narrative epics.
Why a Story Pipeline Matters When You Start Scaling
When you’re only managing one story, you can improvise. Once you have three, five, or twenty in motion, improvisation turns into chaos.
A clear workflow gives you:
- Consistency – Every story hits a minimum bar for clarity, pacing, visuals, and polish.
- Speed – You’re not reinventing your process every time; you’re following a checklist.
- Collaboration – Writers, editors, illustrators, and stakeholders can plug into the same system. (If you’re working with others, pair this with the practices in Collaborative Adventures: How to Co-Create Questas Stories with Teams, Students, or Communities.)
- Scalability – You can plan seasons, learning paths, or marketing campaigns instead of one‑off experiments.
- Data‑driven improvement – Once the pipeline is stable, you can tweak specific stages based on analytics and feedback.
Think of it as moving from “I built a cool thing once” to “I can reliably ship interactive adventures that people actually finish and share.”
The High-Level Questas Pipeline
Here’s the workflow we’ll unpack step by step:
- Define the mission and constraints
- Map the core branching structure
- Draft a text-first playable skeleton
- Layer in AI visuals with clear rules
- Run internal playtests and tighten the design
- Pilot with a small audience and watch the data
- Polish, package, and publish
- Templatize for the next story (and the next)
We’ll focus on how this looks in Questas, but the principles apply to any interactive storytelling stack.
Step 1: Define the Mission and Constraints
Before you open Questas, answer a few grounding questions. This 15–20 minute exercise will save you hours later.
Clarify the mission
Ask yourself:
- Who is this for? (e.g., middle school science students, B2B sales leads, horror fans)
- What do I want them to feel? (curious, empowered, uneasy, playful, challenged)
- What do I want them to do afterward? (book a call, pass a quiz, share the story, buy a ticket, reflect on a theme)
- How long should a single playthrough be? (2–5 minutes, 10–15 minutes, 30+ minutes)
If you’re designing short, replayable experiences for social, align your mission with the principles in Micro-Adventures in Minutes: Building Short, Replayable Questas Experiences for Social Media.
Set practical constraints
Decide on:
- Branching depth – How many meaningful decision points per playthrough? (3–7 is a good starting range.)
- Endings – How many distinct outcomes can you realistically write and illustrate? (4–8 is usually plenty.)
- Production budget and time – How many scenes and visuals can you reasonably create this cycle?
- Devices and context – Are players on phones, laptops, tablets, or classroom projectors?
Write this down as a one-page “Story Brief” you can share with collaborators or clients. If you’re working with stakeholders, this brief pairs nicely with the prototyping approach in No-Code, Pro-Grade: Turning Client Briefs into Interactive Questas Prototypes in a Single Afternoon.
Step 2: Map the Core Branching Structure
Once the mission is clear, you need a map. Without it, your story graph will sprawl.
Pick a branching pattern
You don’t have to invent structure from scratch. Common patterns include:
- Hub-and-spoke – Players return to a central hub between choices (great for portfolios and learning paths).
- Branch-and-converge – Choices split then rejoin at key milestones, keeping the story manageable.
- True tree – Choices lead to entirely separate branches with minimal reconvergence (best for shorter experiences or high‑stakes endings).
For a deeper dive, check out Level Up Your Plots: 7 Branching Narrative Patterns to Try in Questas.
Sketch your map before you write prose
Use whatever tool is comfortable—sticky notes, a whiteboard, a mind‑mapping app, or the visual editor inside Questas.
At this stage, keep it high‑level:
- Scene 1: Inciting choice (e.g., “Accept the mission” vs “Refuse and investigate why”)
- Scene 2A / 2B: First consequence
- Midpoint: Major reveal or turning point
- Climax nodes: High‑stakes decisions
- Endings: Clear outcomes (success, partial success, failure, twist, secret ending)
Label each node with:
- A short title ("The Offer", "Into the Ruins")
- The main goal of the scene
- The choice(s) leading in and out
If you often feel overwhelmed by complex graphs, the techniques in Branching Without Chaos: Simple Story Mapping Techniques for Complex Questas Narratives pair perfectly with this stage.

Step 3: Build a Text-First Playable Skeleton
Now it’s time to move into Questas—but resist the urge to perfect every sentence or generate polished visuals. First, make the story playable in its simplest form.
Create minimal scenes
For each node in your map, add a scene with:
- A working title
- 1–3 short paragraphs of description or dialogue
- 2–3 choices that clearly signal what might happen next
Tips:
- Default to shorter text. You can always expand later, but long walls of text will hide pacing issues.
- Write with testing in mind. You’re trying to see if the structure works, not win a prose award (yet).
- Use placeholders like
[IMAGE: rooftop at night, neon city]in the text if visual ideas pop into your head.
Wire the branches
Use the visual editor in Questas to connect choices to their next scenes. As you do this, ask:
- Does each choice feel meaningful?
- Are there any dead ends that feel unfair or abrupt?
- Do different branches reveal different perspectives, or are they just cosmetic detours?
At the end of this step, you should be able to hit Play and click through a rough, text‑only version of your adventure from start to finish.
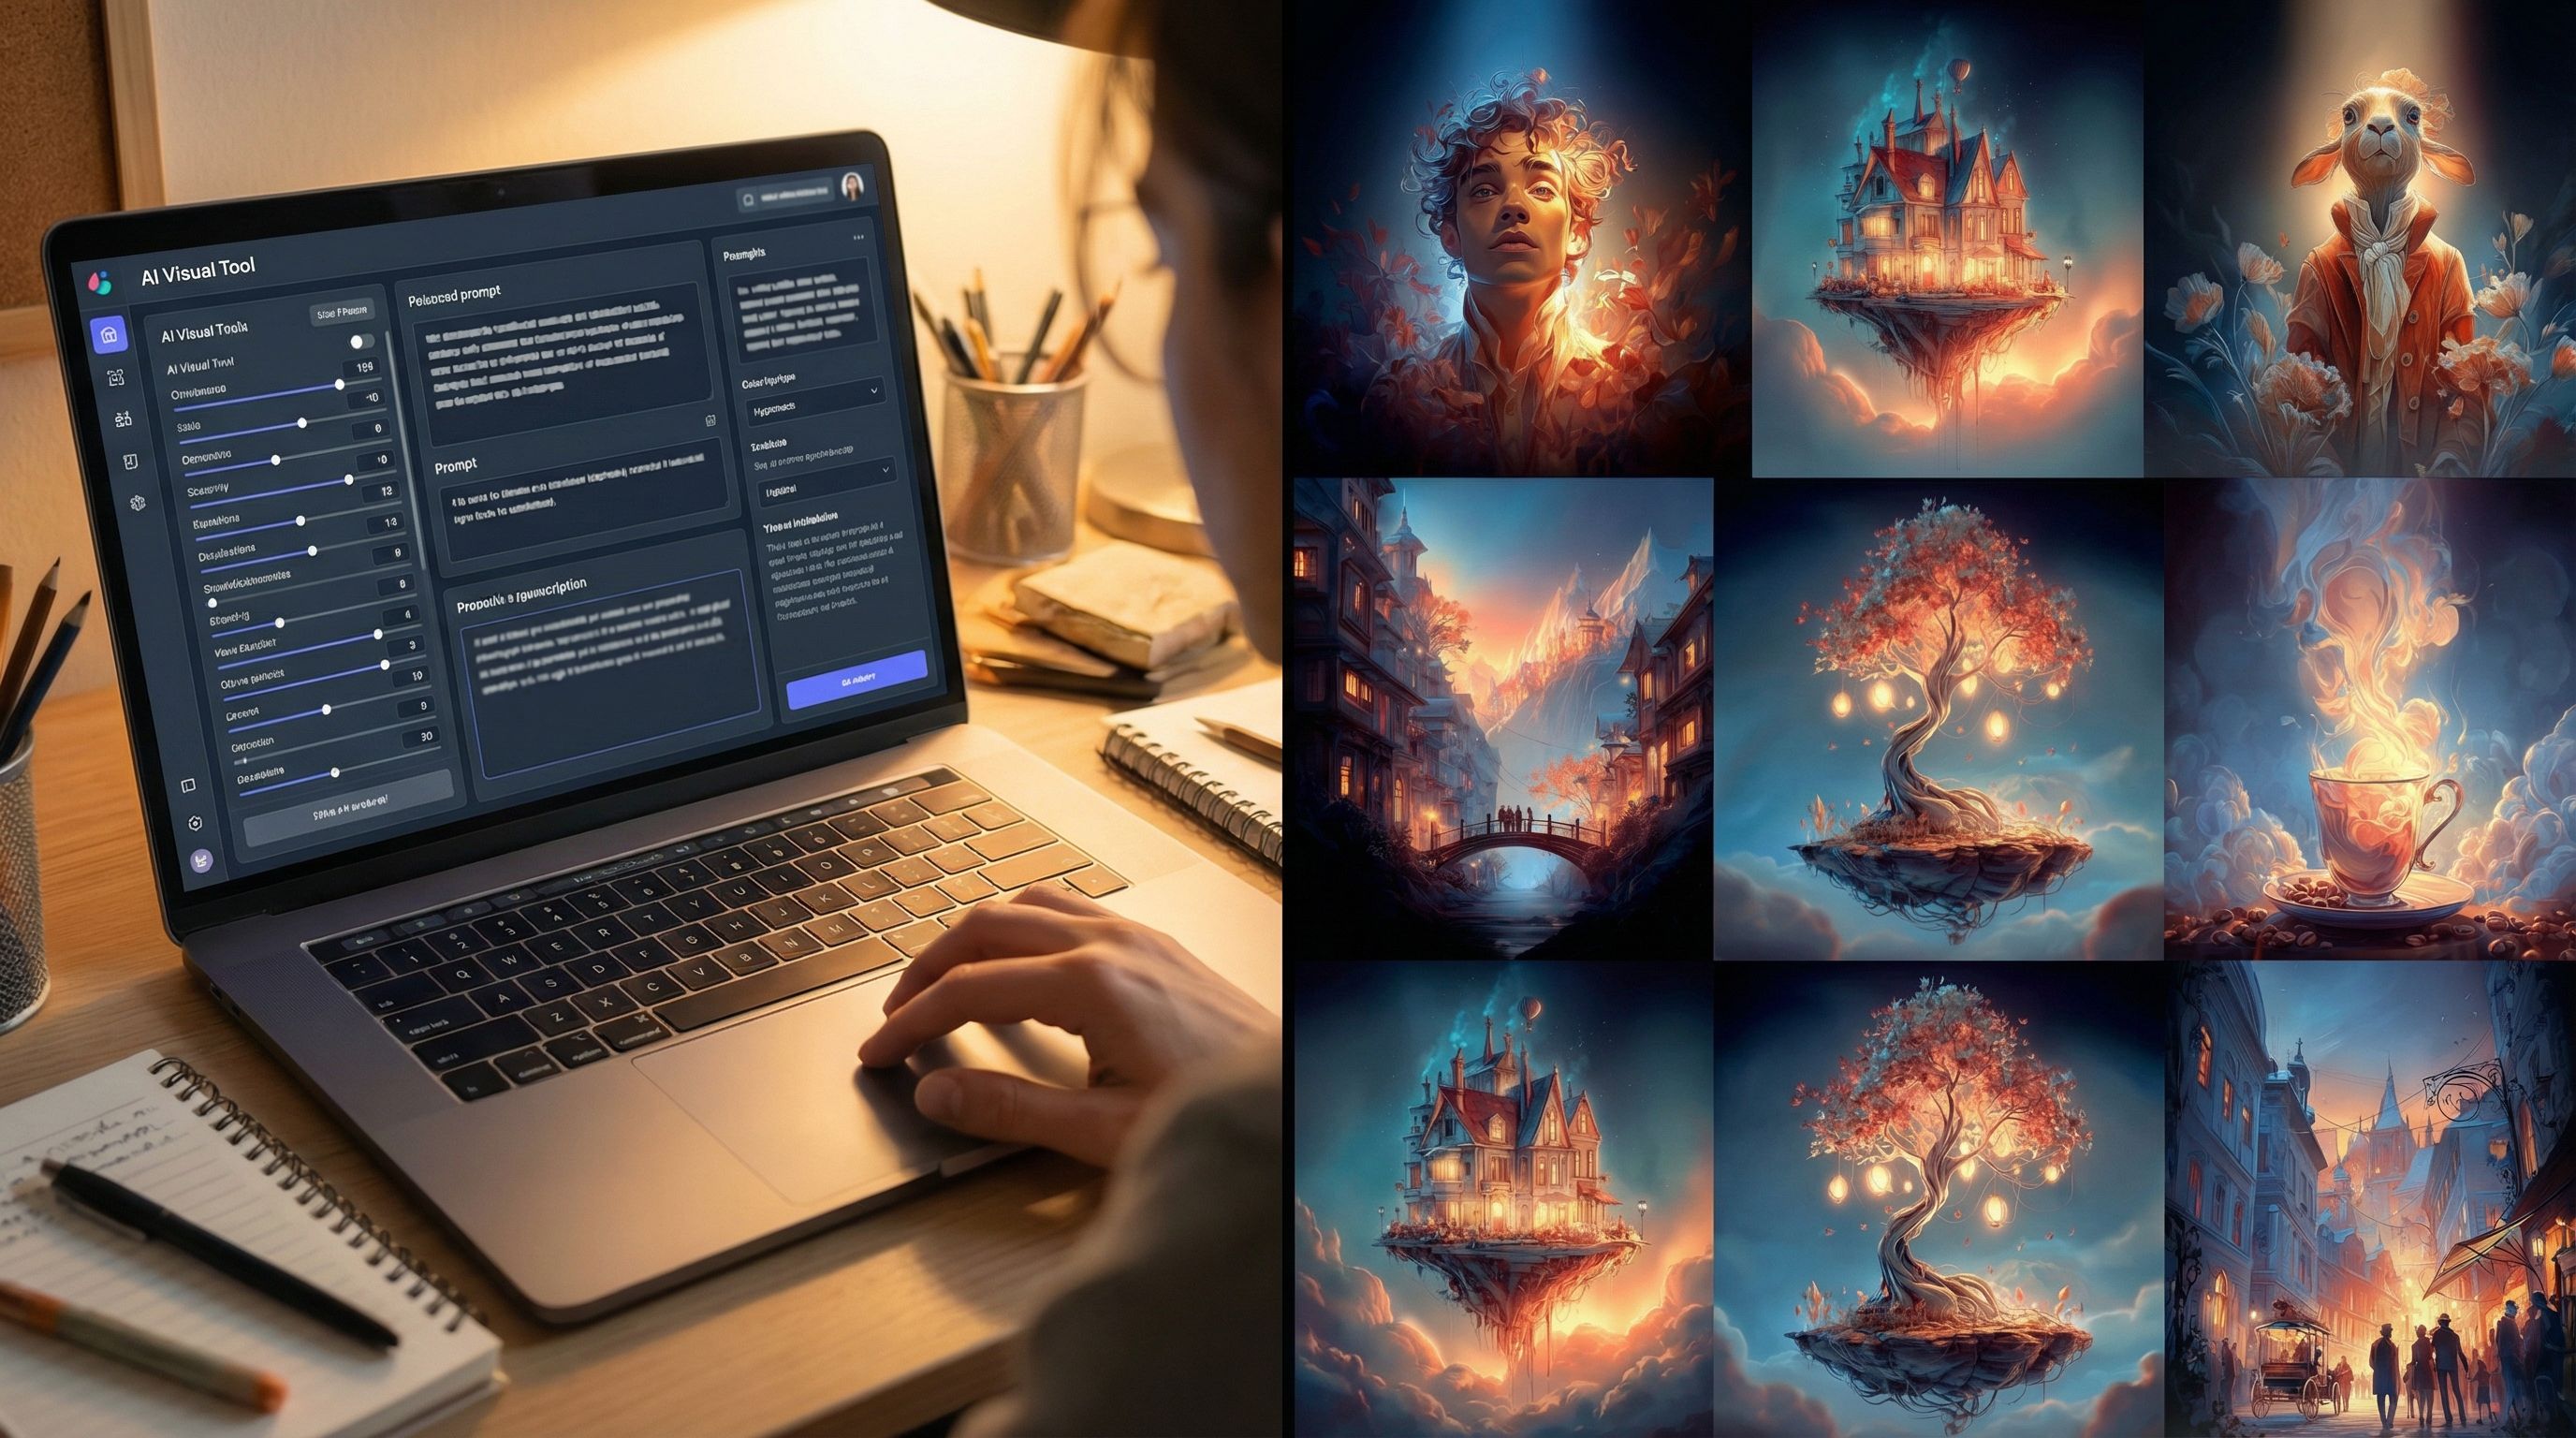
Step 4: Layer in AI Visuals with Clear Rules
Once the skeleton feels solid, it’s time to bring it to life visually. This is where Questas shines—but it’s also where chaos can creep in if you don’t set some rules.
Decide your visual language
Before generating a single image, define:
- Art style – Comic book? Watercolor? 3D render? Pixel art?
- Aspect ratio – Landscape for desktops, vertical for mobile‑first experiences.
- Color palette and mood – Muted and moody, bright and playful, high contrast, etc.
Document this as a short visual style guide you can reuse across stories.
Prompt for consistency
To keep characters and worlds consistent across branches:
- Reuse key descriptors in your prompts (e.g., “brown‑skinned woman in a red bomber jacket with silver goggles”).
- Save successful prompts as templates.
- Generate batches of images for the same character or location in different poses and angles.
For more detailed techniques, especially around character consistency, see Picture This: How to Prompt AI for Consistent Characters and Worlds in Questas.
Prioritize high‑impact scenes
You don’t have to illustrate everything equally. Start with:
- Opening scenes – First impressions matter.
- Major choice points – Visuals can clarify stakes and options.
- Climaxes and endings – Reward players with strong, memorable frames.
Then, fill in secondary scenes as time and budget allow.
Step 5: Run Internal Playtests and Tighten the Design
With text and visuals in place, it’s tempting to hit Publish. Don’t. A single round of focused playtesting can transform the experience.
Recruit a small internal group
Aim for 3–10 testers who roughly match your target audience:
- Colleagues
- Friends in the right demographic
- Other creators in your community
Ask them to:
- Play through at least two different paths
- Think aloud if possible (“I picked this because…”)
- Note any moments of confusion, boredom, or delight
What to watch for
As they play, focus on:
- Choice clarity – Do players understand what each option implies?
- Pacing – Are there slow stretches where nothing meaningful happens?
- Tone and coherence – Do visuals and text feel like they belong to the same world?
- Onboarding – Do new players grasp how to interact with your story quickly?
If you notice people stumbling early, cross‑check your intro flow against the principles in Onboarding Your Audience: Best Practices for Introducing New Players to Questas Stories.
Iterate ruthlessly
Based on feedback, be willing to:
- Merge or remove low‑value branches
- Rewrite confusing choices
- Add or tweak visuals where players misread the scene
- Shorten or break up long text blocks
Your goal isn’t perfection; it’s clarity and momentum.
Step 6: Pilot with a Small Audience and Watch the Data
Once internal testing feels solid, it’s time for a limited external release—a pilot.
Choose a pilot audience
Depending on your goals, that might be:
- A specific classroom or cohort
- A segment of your email list
- A private link shared with a client or internal team
- A small subset of your social followers
Frame it as a “sneak peek” or “early access” and invite honest feedback.
Track how people actually play
Use whatever analytics tools you have access to—whether inside Questas or external platforms—to watch:
- Drop‑off points – Where do players stop?
- Most‑chosen options – Are some choices being ignored?
- Completion rates – How many people reach any ending?
- Replay behavior – Are players coming back to explore new paths?
If you want to go deeper on this stage, especially for long‑term improvement, pair your pilot with the strategies in Analytics for Adventure: Using Player Data to Improve Your Questas Stories Over Time.
Make one more focused revision pass
Use the pilot data to:
- Smooth over high drop‑off scenes (tighten text, clarify stakes, add visuals)
- Rebalance choices so more options feel attractive
- Adjust difficulty if players are failing too often—or never failing at all
At this point, your story should feel confident: not perfect, but clearly working for real players.
Step 7: Polish, Package, and Publish
Now you’re ready to ship.
Final polish checklist
Run through a simple QA pass:
- Spelling and grammar – Especially in opening scenes and endings.
- Broken links – Every choice should lead somewhere intentional.
- Visual glitches – Replace any off‑model AI images that break immersion.
- Accessibility basics – Legible text size, clear contrast, descriptive alt text where relevant. (For a deeper dive, see Accessibility by Design: Building Inclusive, Player-Friendly Questas Stories Everyone Can Enjoy.)
Package the experience
Consider:
- Title and tagline – Clear, intriguing, and honest about the genre.
- Short description – Who it’s for, how long it takes, why it’s worth playing.
- Thumbnail or cover image – A strong visual that represents the core fantasy or promise.
- Entry instructions – One or two lines that explain how choices work.
Then, publish through Questas and share the link wherever your audience is: email, social, LMS, client portals, or your own site.
Step 8: Templatize for the Next Story
One story is a project. A pipeline turns it into a system.
After you publish, take 30–60 minutes to:
Capture what worked
Document:
- The branching pattern you used
- Your visual style guide and best‑performing prompts
- A checklist of pipeline stages that felt right for your team
- Any analytics benchmarks you want to hit next time (e.g., 60% completion rate, 30% replay rate)
Build reusable templates
Inside or alongside Questas, create:
- A Story Brief template (mission, audience, constraints)
- A branching map template (with starting nodes and labels)
- A scene checklist (title, goal, 1–3 paragraphs, 2–3 choices, visual placeholder)
- A QA checklist before publishing
Over time, you can also template:
- Series structures for episodic content (see From One-Shots to Series: Planning Episodic Questas Stories That Keep Players Coming Back)
- Client‑facing flows for pitches and prototypes (as in No-Code, Pro-Grade: Turning Client Briefs into Interactive Questas Prototypes in a Single Afternoon)
Once these templates exist, building your second and tenth story becomes dramatically easier.
Putting It All Together
Let’s recap the full pipeline:
- Define the mission and constraints – Know who you’re building for, why, and within what limits.
- Map the core branching structure – Choose a pattern and sketch your high‑level nodes.
- Draft a text-first playable skeleton – Get something rough but playable inside Questas.
- Layer in AI visuals with clear rules – Use a consistent visual language and prioritize high‑impact scenes.
- Run internal playtests and tighten the design – Fix confusion, pacing, and tone before going wider.
- Pilot with a small audience and watch the data – Let real players show you what works.
- Polish, package, and publish – Ship with confidence and a clear presentation.
- Templatize for the next story – Turn lessons learned into reusable assets and checklists.
Follow this loop a few times and you’ll have something powerful: a repeatable system for crafting interactive adventures at scale, without losing the magic that made you want to tell stories in the first place.
Your Next Step: Start a Mini Pipeline Run
You don’t need a giant production to benefit from this approach. Here’s a small, concrete challenge:
- Open Questas.
- Write a one‑page Story Brief for a 3–5 minute adventure.
- Sketch a simple branch‑and‑converge map with 3 decision points and 3–4 endings.
- Build a text‑only skeleton and make it playable.
- Add visuals to just the opening, one mid‑scene, and the endings.
- Share it with 3 people and ask them to play twice.
That’s your first complete pipeline run.
From there, you can expand into full series, training programs, client campaigns, or a whole library of worlds—confident that you have a workflow to support the adventure.
Adventure awaits. Your pipeline is how you get there, again and again.