From Short Story to Story System: Adapting Linear Fiction into Modular Scenes for Questas


Most writers are trained to think in straight lines.
You start with a hook, build tension, arc your characters, and land the ending. That linear muscle is powerful—and it absolutely still matters—but when you step into interactive storytelling, it’s not enough.
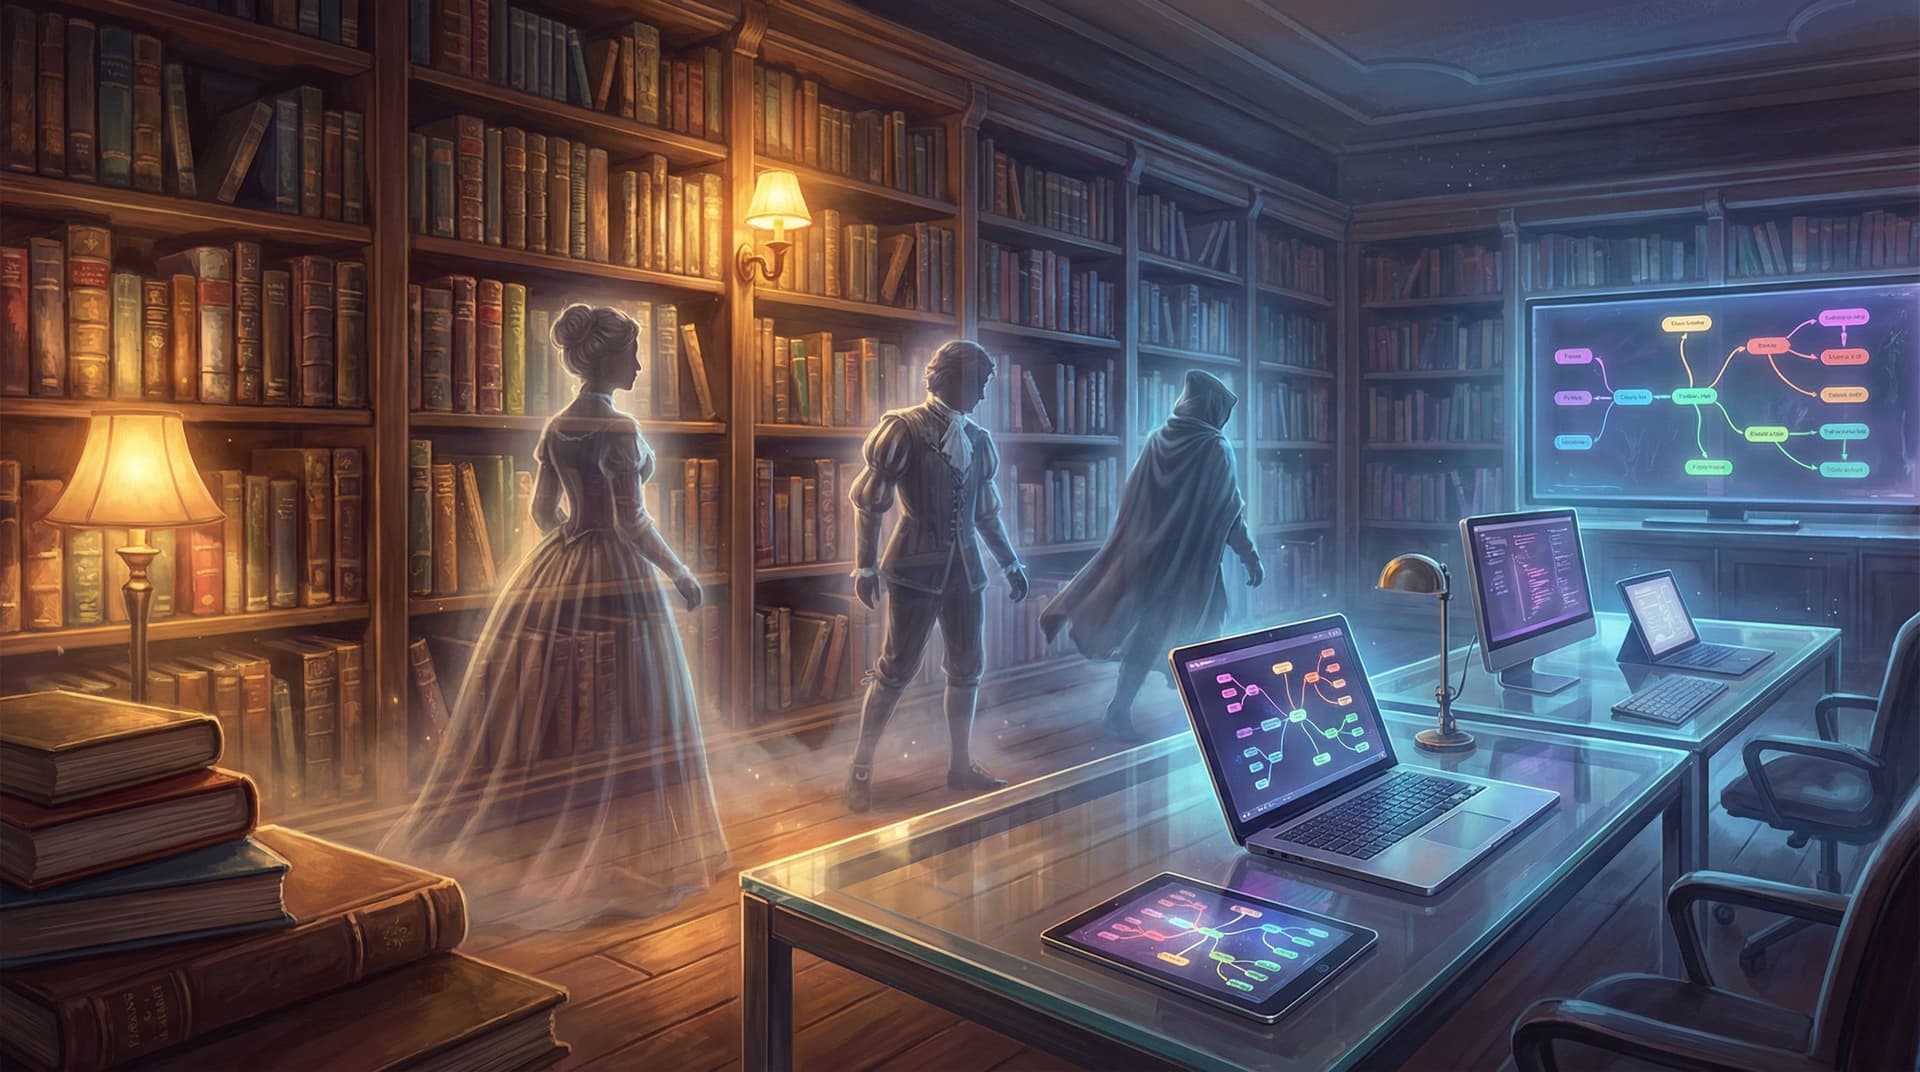
To build a branching experience in a platform like Questas, you’re not just writing a story. You’re designing a story system: modular scenes, reusable beats, and decision points that can recombine in dozens of ways without falling apart.
This post is a practical guide to taking an existing short story (or any linear piece of fiction) and transforming it into a network of scenes ready to plug into Questas. We’ll walk through how to:
- Deconstruct your story into modular units
- Identify natural choice points and alternative paths
- Design scenes that can be reused across branches
- Pair each module with AI-generated images and video
- Avoid common pitfalls that make branching stories confusing instead of compelling
Whether you’re a fiction writer experimenting with interactive formats, an educator adapting texts (and curious about how that works at a scene level), or a creator building your first playable narrative, this is your blueprint.
Why Turning Linear Fiction into a Story System Matters
If you already have a short story that “works,” why break it apart?
Because modular, branching versions of your story can do things a single line never will:
- Invite your audience to participate, not just observe. Instead of watching a character make hard choices, readers step into their shoes and decide.
- Reveal your story’s hidden structure. When you modularize, you see which scenes carry the most weight, which ones are connective tissue, and where your themes really live.
- Increase replay value. A 2,000-word short story might get read once. A branching version with multiple endings can pull people back for second, third, and fourth runs.
- Turn one story into many formats. The same modular system can power:
- A playable story on your site
- An interactive landing experience (see how creators are doing this in Beyond Branches and Banners: How Interactive Stories Are Replacing Static Landing Pages in 2026)
- Classroom activities, workshops, or coaching scenarios
And crucially, you don’t need to code. With Questas’s visual editor, your job is to design scenes and choices; the platform handles the branching logic, flow, and AI visuals.
Step 1: Choose the Right Story to Adapt
Not every short story is equally suited for branching. Some are built around a single, inevitable outcome; others are full of roads-not-taken.
You’ll have an easier time if you start with a story that:
- Has clear decision moments already (even if they’re implicit)
- Features a protagonist who could plausibly act differently
- Contains settings that can be revisited from different angles
- Leaves some ambiguity in motivations, backstory, or outcomes
Stories that work especially well:
- Character studies where internal conflict drives choices
- Mysteries or heists with multiple ways to approach a problem
- Relationship dramas where small decisions compound over time
If you’re coming from a non-fiction or personal brand angle, you might also enjoy seeing how we do this with real journeys in Branching Narratives for Solo Entrepreneurs: Turning Your Personal Brand Journey into a Questas Adventure. The same principles apply: you’re turning an arc into a network.
Step 2: Map the Spine of Your Existing Story
Before you branch, you need a clear view of the original line.
Take your short story and create a scene-by-scene outline. Don’t overthink it; you’re just capturing the beats:
- Opening situation – Where are we? Who’s here? What’s at stake?
- Inciting incident – What disrupts the status quo?
- Early responses – How does the protagonist react at first?
- Rising complications – What makes things harder or more tangled?
- Climax – What’s the decisive moment?
- Resolution – What changes? What’s the new normal?
Under each scene, add quick notes:
- What does the protagonist want here?
- What’s the most important decision (even if it’s off-screen)?
- What information is revealed or hidden?
- Which characters or locations are introduced?
This spine becomes your baseline path in Questas—the route players experience if they always choose the options that mirror your original story.

Step 3: Identify Natural Choice Points
Next, you’ll turn those implicit decisions into explicit branches.
Walk through your outline and look for moments where a reasonable person could do something different. Common categories:
-
Fork-in-the-road actions
- Go to the party vs. stay home
- Confront the boss vs. stay quiet
- Break into the lab vs. wait for a warrant
-
Information choices
- Read the message now vs. later
- Tell the truth vs. lie
- Share a secret vs. keep it
-
Emotional responses
- Forgive vs. hold a grudge
- Take the risk vs. play it safe
- Trust the stranger vs. stay suspicious
For each candidate moment, ask:
If the character chose differently here, could the rest of the story plausibly change?
If the answer is yes, you’ve found a good branch point.
To keep your structure manageable, aim for:
- 2–3 major decision points that meaningfully change the story
- A few “quiet choices” that deepen character without exploding complexity (for more on this technique, see Designing ‘Quiet Choices’: Low-Stakes Branches that Build Character, Not Just Plot, in Questas)
In Questas, each of these decision points becomes a node with multiple options, each leading to a different scene module.
Step 4: Turn Scenes into Modular Units
Now you’re ready to shift from “story” to story system.
In a linear story, a scene only has to work in one context. In an interactive system, that same scene might be reached:
- After different choices
- With different information known
- With different emotional momentum
To make scenes modular and reusable, design each one with three layers:
1. Entry Conditions
What must be true for this scene to make sense?
- Which characters must already be introduced?
- What must the player know or not know?
- What emotional state is the protagonist likely in?
Capture this as a brief note in your planning doc, or as tags/variables in Questas (e.g., knows_secret = true, trust_level > 2). You don’t have to go full RPG system; even a few flags can keep your story coherent.
2. Core Beat
What is the irreducible purpose of this scene?
- Reveal a key piece of information
- Test a relationship
- Escalate external stakes
- Offer a temporary win or loss
Write the scene so that this beat holds, no matter which path brought the player here. You might tweak flavor text based on variables, but the core function stays stable.
3. Exit Options
Where can the player go from here?
Design 2–3 exits that:
- Reflect different player intentions (e.g., aggressive vs. cautious)
- Preserve the story’s internal logic
- Lead to distinctly different next beats, not just cosmetic variations
This is where thinking in systems pays off. A single modular scene might connect to:
- A confrontation path
- A retreat/regroup path
- A wildcard path that unlocks only if certain conditions are met
In the Questas editor, you’ll see this visually as a node with multiple outbound arrows. As your network grows, you’ll start to recognize reusable patterns—interrogations, reveals, reversals—that you can copy, tweak, and redeploy.
Step 5: Decide Where to Branch Wide vs. Deep
One of the biggest fears writers have is “branch explosion”—the feeling that each decision doubles your workload forever.
The way around this is to plan your branching shape:
- Wide early, narrow late. Offer more divergent choices near the beginning, then gradually reconverge paths toward a smaller number of climaxes and endings.
- Shared hubs. Design modular scenes that multiple branches can feed into. For example, no matter how the player investigates a mystery, they might all end up at the same climactic confrontation—with different information or allies.
- Soft reconvergence. Instead of literally merging branches, you can design parallel scenes that hit the same story beat with different flavor, then lead back into a common module.
A simple, sustainable structure for your first adaptation:
- Act I: 2–3 major branches based on early decisions
- Act II: Those branches lead into 3–5 shared or semi-shared hubs
- Act III: 3–4 distinct endings that reflect the journey
This gives players meaningful agency without forcing you to write 64 completely unique storylines.
Step 6: Layer in AI-Generated Visuals as Story Glue
Because Questas includes AI-generated images and video, you’re not just designing text nodes—you’re designing visual beats.
Used well, visuals can:
- Reinforce the mood of each scene
- Differentiate branches (“the same” location at different times of day or with different emotional color)
- Hide clues, codes, or symbolic details that reward careful players (see AI-Generated Props and Clues: Using Visual Details to Hide Secrets, Codes, and Easter Eggs in Questas)
A practical workflow:
- Define a visual style for your world. Are you going for painterly fantasy, gritty film stills, cozy illustration? Lock this in early so your AI prompts stay consistent.
- Assign at least one key image per scene module. Focus on:
- Establishing shots for new locations
- Close-ups for emotional turning points
- Prop shots for mystery or puzzle elements
- Use variations to signal branch consequences. For example:
- If the player chose to betray an ally, show the same café now empty and cold
- If they saved the village, show the town square bustling instead of boarded up
In Questas, you can experiment quickly: generate a batch of images, attach them to scenes, and refine prompts as you see how they read in context.
Step 7: Adapt Your Prose for Interactivity
Linear prose assumes a captive reader. Interactive prose has to work harder to:
- Reorient players when they jump between branches
- Make choices legible and tempting
- Deliver satisfying beats even when players don’t see the “whole” story
A few practical adjustments:
- Shorten paragraphs. Dense blocks of text can feel heavy between choices. Aim for 2–5 sentence chunks.
- End scenes on a hook or a choice. Don’t fade out; land on a line that makes the player want to click.
- Write choices as commitments, not summaries. Instead of:
- “Talk to the guard” / “Leave” Try:
- “Crack a joke to put the guard at ease”
- “Flash the forged badge and hope they don’t look too closely”
- “Walk away—for now. There has to be another way in.”
Also consider how you’ll onboard players into your world: if your story has complex rules or lore, you might borrow ideas from Designing ‘Session Zero’ in Questas: Onboarding Players into Complex Worlds, Rules, and Roles and create a short prologue or tutorial path.
Step 8: Playtest as a System, Not Just a Story
Once your scenes are in Questas and wired together, it’s tempting to hit publish. Don’t skip the playtest.
You’re not just checking for typos—you’re testing the system behavior:
- Do players feel railroaded, or do their choices matter?
- Are there dead ends that feel unfair or abrupt?
- Do key reveals happen too early or too late on some paths?
- Are some branches so underdeveloped they feel like afterthoughts?
Useful playtest tactics:
- Run multiple “personas.” Do one playthrough as a reckless character, one as cautious, one as curious. Notice where each style gets rewarded or punished.
- Watch someone else play. Sit beside a friend (or record a remote session) and ask them to think aloud. Where do they hesitate? Where do they skim?
- Track branch health. In Questas, pay attention to which paths people actually take. If one branch is almost never chosen, maybe the option label isn’t clear—or the payoff isn’t worth the risk.
For a deeper dive into qualitative playtesting methods, check out Beyond Clicks and Completion Rates: Qualitative Playtesting Methods for Deeply Improving Your Questas Stories. Many of those techniques translate directly to adapted fiction.
Common Pitfalls (and How to Avoid Them)
When adapting linear fiction into a modular system, creators often stumble in the same places. Watch out for:
- Branches that don’t really branch. If every choice leads to the same scene with only a line or two changed, players will notice. Use reconvergence thoughtfully, but give at least some branches genuinely different beats or endings.
- Inconsistent character behavior. If your protagonist is brave on one path and cowardly on another without explanation, it can feel like a different person. Use variables (e.g., a “courage” score) or reflective inner monologue to make shifts feel earned.
- Lore overload. It’s tempting to stuff every branch with worldbuilding. Resist. Let players earn deeper lore by exploring, and keep core information accessible on multiple paths.
- Too many endings, not enough meaning. Sixteen micro-endings that all feel similar are less satisfying than three or four that feel distinct and thematically sharp.
Remember: your goal isn’t to show off how many branches you can build. It’s to create a coherent, replayable experience where structure and theme reinforce each other.
Bringing It All Together
Let’s recap the journey from short story to story system:
- You choose a story with meaningful decision potential.
- You map the linear spine, identifying key scenes and beats.
- You surface natural choice points and decide where branching will matter most.
- You modularize scenes with clear entry conditions, core beats, and exit options.
- You shape your branching structure to stay wide enough for agency, narrow enough to manage.
- You use AI-generated visuals in Questas to reinforce mood, differentiate branches, and hide secrets.
- You adapt your prose for interactive reading and compelling choices.
- You playtest as a system, refining branches based on how real players move through your world.
The result isn’t just “your short story, but clickable.” It’s a playable narrative space—a world your audience can revisit, explore, and talk about with each other.
Your Next Move
If you’ve read this far, you likely already have a story in mind—maybe an old short story in a folder, a scene from a novel draft, or a character you can’t stop thinking about.
Here’s a simple way to start, right now:
- Pick a single short story (1,000–3,000 words works well).
- Spend 20 minutes outlining its spine and circling 2–3 potential choice points.
- Open Questas and:
- Create a new project
- Build the baseline path as a straight line of scenes
- Add just one branch and wire it up
- Generate a handful of images for your key scenes—don’t chase perfection; chase momentum.
You don’t have to design the ultimate branching epic on your first try. Think of this as your first story system prototype. Once you’ve shipped one small adaptation, you’ll see patterns you can reuse, expand, and remix across future projects.
Your linear stories aren’t a limitation—they’re raw material. Turn them into systems, and let your audience step inside.
Adventure awaits.