From Slides to Storyworlds in One Afternoon: A Repeatable Questas Template for Busy Educators


If you’ve ever stared at a stack of slides and thought, “There has to be a better way to teach this,” you’re not alone.
Lecture decks and linear e‑learning can deliver information, but they rarely deliver experience. Learners click through, guess on a quiz, and move on. The nuance, judgment, and real‑world messiness you wish you could model? That often gets left on the cutting-room floor.
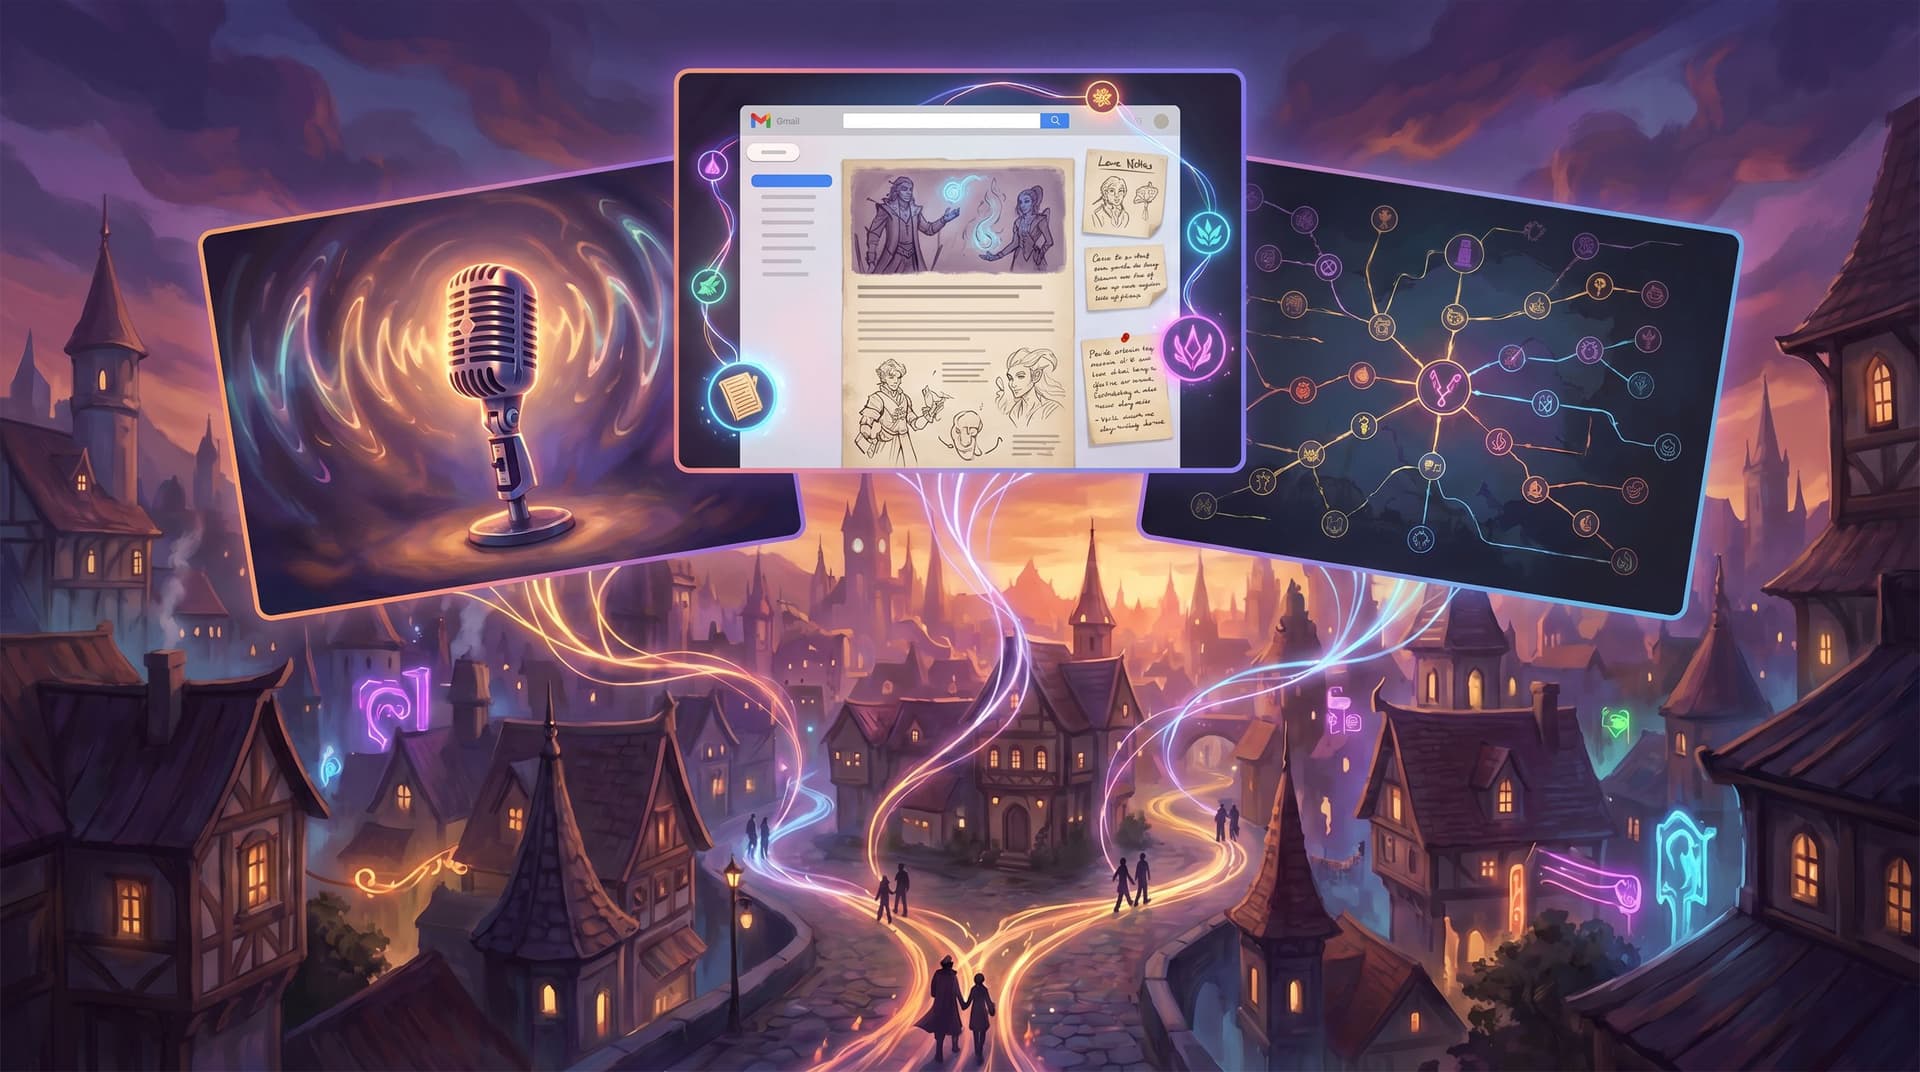
Interactive storyworlds change that. With Questas, you can turn the content you already have—slides, case studies, role‑plays—into playable, branching scenarios with AI‑generated images and video. And you don’t need weeks of spare time or a game design degree to do it.
This post walks you through a repeatable, afternoon‑sized template you can use to convert any slide deck into a Questas story—whether you teach in K–12, higher ed, or corporate training.
Why Storyworlds Beat Slide Decks for Learning
Before we get tactical, it helps to clarify what you’re actually buying back when you move from slides to a storyworld.
1. You teach decisions, not just definitions.
Slides are great at telling learners what something is. Storyworlds let them practice what to do when things get messy, ambiguous, or high‑stakes.
2. You get built‑in engagement without gimmicks.
Branching choices, visual feedback, and consequences are innately engaging. You don’t need badges or leaderboards when the story itself is compelling.
3. You can safely surface gray areas.
Whether it’s ethics, history, or customer service, many of the most important lessons live in the gray. Interactive scenarios let learners explore those spaces without real‑world risk.
4. You create reusable simulations.
Once your story is built in Questas, you can:
- Reuse it across cohorts or semesters
- Run it live in class or assign it asynchronously
- Branch off new versions for different audiences
If you’re curious how others structure complex, reusable stories, you may want to read From Compliance Slides to Consequence Maps: Turning Policy Training into Questas Decision Dramas after this guide.
The One‑Afternoon Promise: Scope Matters
You can build sprawling epics in Questas, but this template is intentionally modest. Think:
- 15–30 minutes of playtime
- 8–15 scenes total
- 3–5 meaningful decision points
- 2–3 distinct endings
That’s enough to:
- Model a realistic situation
- Give learners a few different paths
- Surface consequences and reflection
…and still be doable between your morning class and your afternoon grading block.
The key is to design small but deep, not wide. If you tend to over‑branch, bookmark Branch Smart, Not Wide: Blueprint Patterns for Scalable Questas Stories as a companion read.
Step 1: Pick the Right Slide Deck
Not every deck is a good candidate for an afternoon conversion. Look for one that already hints at situations and choices.
Ideal decks usually:
- Contain scenarios, case studies, or vignettes
(e.g., “What should the manager do next?”) - Cover processes with decision points
(e.g., escalation paths, lab safety, customer handling) - Address ethics, judgment, or trade‑offs
(e.g., data privacy, historical turning points, clinical reasoning)
Avoid—for this first run—decks that are:
- Purely definitional (vocab dumps, formula sheets)
- Extremely long without clear segments
- Heavy on charts with no narrative context
Quick litmus test: If you can finish the sentence, “A learner using this deck should be able to decide whether to…”, you probably have a good candidate.
Once you’ve chosen your deck, set a timer for 20 minutes. You’re going to strip it down to the story hiding underneath.
Step 2: Extract the Core Scenario in 20 Minutes
Open your slides and, on a blank page or doc, answer these prompts:
-
Who is the learner “playing” as?
- A new manager? A student journalist? A lab assistant? A nurse on night shift?
Pick one clear role.
- A new manager? A student journalist? A lab assistant? A nurse on night shift?
-
What’s the high‑pressure moment?
- “A customer threatens to cancel a major contract.”
- “A data anomaly suggests possible fraud.”
- “A patient’s symptoms don’t match the initial diagnosis.”
-
What are 2–3 bad but tempting options?
- Ignore a warning, rush a step, bend a rule, avoid a difficult conversation.
-
What does ‘success’ look like in context—not just on a quiz?
- The learner escalates correctly and preserves trust.
- The student evaluates sources instead of sharing unverified claims.
- The trainee chooses safety over speed, even under pressure.
Turn your answers into a one‑paragraph scenario pitch:
“You are a junior project manager on a tight deadline when a vendor flags a potential data privacy issue in your marketing campaign. Your director wants the campaign live by Friday. You’ll need to decide how seriously to take the warning, who to involve, and how to communicate the risk—without derailing the launch or violating policy.”
This paragraph will become the opening scene in Questas.

Step 3: Turn Slides into a Simple Branch Map
Now you’ll sketch the skeleton of your story before touching the editor.
3.1 Use the 5‑Scene Spine
Start with a minimal structure:
- Setup – Introduce role, context, and stakes.
- Inciting choice – First meaningful decision; paths diverge.
- Complication – Consequences of the first choice; a new wrinkle.
- Crunch decision – A higher‑stakes call informed by earlier actions.
- Outcome & reflection – Consequences + debrief.
On paper or a whiteboard, write these five scene labels in a row. Under each, jot which slide content belongs there:
- Definitions and key terms → Setup
- Policy bullets → Complication and Crunch (brought in as needed)
- Case study questions → Inciting choice / Crunch decision
- Summary slide → Outcome & reflection
3.2 Add Just 3–5 Branch Points
For an afternoon build, constrain yourself:
- 1 branch at the inciting choice (2–3 options)
- 1–2 branches at the complication
- 1 branch at the crunch decision
Each branch doesn’t need to explode into a new tree. Many can re‑converge into shared scenes with slightly different flavor text.
For more patterns on controlled branching, Branch Smart, Not Wide: Blueprint Patterns for Scalable Questas Stories walks through reusable blueprints you can copy.
Step 4: Drop the Spine into Questas
With your spine and branches sketched, it’s time to build.
-
Create a new quest in Questas and give it a working title.
Example: “The Friday Launch: A Data Privacy Scenario”. -
Add 5 core scenes matching your spine: Setup, Inciting Choice, etc.
-
Paste in your scenario pitch as the opening text of the Setup scene. Trim for clarity.
-
Add choices to the Inciting Choice scene based on your earlier brainstorm.
For each option, ask: “What belief or habit does this reveal?” (e.g., speed over safety, deference to authority, avoidance of conflict). -
Wire your branches so that:
- Risky choices lead to complications that teach, not just punish.
- Thoughtful choices unlock helpful information or allies.
Don’t worry about perfect phrasing yet. The goal is to get the structure in place.
Step 5: Layer in AI‑Generated Visuals with Intention
Visuals are where your story stops feeling like a quiz and starts feeling like a world.
Inside Questas, you can generate images or short videos for scenes and key moments. To keep this manageable:
Prioritize visuals for:
- The opening scene (establish setting and tone)
- The main character (or POV cue, even if it’s just a desk and name badge)
- 1–2 pivotal decisions
- Each ending
Use consistent prompts so your world feels cohesive. If you want to go deeper on this, check out AI as Art Director: Building Cohesive, On-Brand Visual Languages for Your Questas Series.
A simple visual workflow for your afternoon build:
-
For the opening scene, write a prompt like:
“Corporate office at dusk, open-plan workspace, a young project manager at a glowing laptop, worried expression, muted teal and orange color palette, semi-realistic illustration style.” -
Reuse key elements in later prompts:
- Same setting, color palette, and style
- Small changes to body language or environment to show consequences
-
For endings, exaggerate the mood:
- Success ending → brighter lighting, open posture, colleagues smiling.
- Problematic ending → harsher shadows, cluttered desk, tense body language.

Step 6: Weave Learning Objectives into the Story
A common worry: “If it’s a story, will they still learn the right things?” The answer is yes—if you deliberately map objectives to moments.
Take your original deck’s learning objectives and translate them into observable in‑story behaviors.
Example for a data privacy training:
-
Objective: “Identify personal data that requires special handling.”
→ In‑story: Learner must spot risky data fields in a campaign brief and choose whether to include or remove them. -
Objective: “Apply the escalation process when a risk is identified.”
→ In‑story: Learner chooses who to inform and how (email, formal report, informal chat).
Where to embed these:
- Choices: Each option reflects a different level of understanding.
- Consequences: Scenes explicitly show what happens when an objective is or isn’t met.
- Reflection ending: Summarize which objectives they demonstrated and where they struggled.
You can even add lightweight tracking using Questas variables (e.g., risk_awareness, policy_alignment) and then gate certain endings or feedback based on scores. For more advanced systems like timers or limited resources, see No-Code Narrative Systems: Building Timers, Cooldowns, and Limited Resources Inside Questas.
Step 7: Write Lean, Conversational Dialogue
You don’t need literary prose. You do need clarity and momentum.
Guidelines for quick, effective writing:
-
Start scenes late.
Drop learners into the moment of tension, not the commute beforehand. -
Keep paragraphs short.
1–3 sentences per block is plenty on screen. -
Give choices distinct voices.
Instead of:- “Option A: Escalate the issue.”
- “Option B: Handle it yourself.”
Try:
- “Loop in the privacy officer right away, even if it delays the launch.”
- “Tweak the campaign yourself and hope it’s enough.”
-
Show, don’t tell, consequences.
Rather than, “This was non‑compliant,” show a scene where a regulator email arrives or a customer complains.
Aim for a first draft that ships. You can always polish language later once you’ve seen learners interact with it.
Step 8: Add Smart Feedback and Endings
Your endings are where the learning crystallizes.
Design 2–3 outcomes:
-
Model outcome (ideal)
- The learner navigates trade‑offs well.
- Debrief explains why their path worked and connects back to key slides.
-
Mixed outcome (plausible but flawed)
- Some things went well; others didn’t.
- Feedback highlights specific decisions: “You caught the data issue early, but you didn’t document your escalation, which could cause problems later.”
-
Risk outcome (consequences visible but not shaming)
- Show realistic fallout without moralizing.
- Offer a chance to replay with a focus tip: “Try again and pay special attention to who you involve when the risk first appears.”
Use the final scene to:
- Mirror your original summary slide, but in story terms.
- Offer reflection prompts learners can discuss in class or submit as a short response.
- Suggest a second run: “What happens if you prioritize relationship over speed this time?”
If you want to lean into replay as a design goal, Designing Replay Value on Purpose: Structuring Questas Stories So Players Actually Want a Second Run is a great next step.
Step 9: Pilot with One Group and Iterate
You don’t need a perfect build before you put learners in the loop.
For your first run:
-
Tell learners it’s a pilot.
Invite them to notice what feels clear vs. confusing. -
Watch where they hesitate.
Those moments often reveal unclear wording or missing context. -
Collect one-minute reflections:
- “Where did you feel most uncertain?”
- “What decision would you change on a second run?”
After the session, spend 30–45 minutes:
- Tightening confusing choices
- Adjusting consequences that feel too harsh or too soft
- Tweaking visuals for clarity or tone
Because Questas is no‑code and visual, these edits are usually quick. Your “afternoon build” becomes a durable asset you can refine over time.
Putting It All Together: Your Repeatable Template
Here’s the condensed version you can pin to your wall or planning doc:
- Choose a deck with scenarios, decisions, or gray areas.
- Write a one‑paragraph scenario pitch (role, stakes, dilemma).
- Map a 5‑scene spine with 3–5 branch points.
- Build the spine in Questas and wire basic branches.
- Generate 4–8 key visuals with consistent prompts.
- Align story moments to learning objectives.
- Draft lean scene text and distinct choices.
- Design 2–3 endings with targeted feedback.
- Pilot, observe, and iterate in short cycles.
Follow this once, and you’ll start seeing every “slide slog” as a potential storyworld.
Summary
Moving from slides to interactive storyworlds isn’t about adding bells and whistles. It’s about:
- Shifting from telling to letting learners decide
- Embedding your existing content into playable situations
- Using Questas to handle the heavy lifting—branching, visuals, and structure—so you can focus on pedagogy
With a scoped template (5 scenes, a handful of branches, 2–3 endings), you can realistically transform a single deck into a replayable scenario in an afternoon. Over a semester or training cycle, those afternoons add up to a library of storyworlds you can mix, match, and evolve.
Your Next Step
Pick one deck.
Not the “perfect” one—the one you’re teaching next week that you secretly wish felt more alive.
- Spend 20 minutes writing your one‑paragraph scenario pitch.
- Sketch your 5‑scene spine and 3–5 branch points.
- Log into Questas and build just the first two scenes.
Once you’ve done that, you’re not “thinking about” interactive learning anymore—you’re building it. And from there, every lesson becomes a candidate for a storyworld your learners can actually step into.
Adventure awaits—your slides are just the starting map.