Storytelling with AI Video Loops: How to Use Micro-Cutscenes to Signal Stakes and Consequences in Questas


Interactive stories live or die on whether players feel that their choices matter.
Words can do some of that work. But when you’re building in Questas, you also have a powerful extra lever: short, looping AI‑generated video—what we’ll call micro‑cutscenes.
Used well, these few seconds of motion can:
- Telegraph danger before a player clicks.
- Make consequences visceral instead of abstract.
- Turn a routine branch into a memorable turning point.
Used poorly, they can drown your story in visual noise or confuse players about what their decisions actually changed.
This guide is all about the first outcome.
We’ll walk through how to design, prompt, and place AI video loops inside Questas so they signal stakes and consequences—without bloating your project or overwhelming your audience.
Why Micro‑Cutscenes Matter for Choice‑Driven Stories
Think about the last time a game made you hesitate before clicking a choice.
It probably wasn’t because a paragraph told you, “This is important.” It was because the presentation made it feel important:
- The camera lingered on a character’s face.
- The music dropped out, leaving a tense silence.
- The world reacted immediately when you chose.
Micro‑cutscenes in Questas are your way of bringing a bit of that cinematic language into a browser‑based, no‑code story.
What micro‑cutscenes do especially well
1. Make stakes legible at a glance
A looping 3–5 second clip of storm clouds roiling over a city communicates “things are about to go bad” much faster than a block of text.
2. Turn consequences into experiences
Instead of telling players, “The lab explodes,” you show a looping blast wave rolling down a corridor, lights flickering, dust hanging in the air. The failure feels real.
3. Support micro‑learning and just‑in‑time scenarios
If you’re designing training or education content, short consequence loops help learners connect choices to outcomes. They work beautifully alongside the kind of scenarios we covered in Branching for Busy Minds: Micro‑Learning and Just‑in‑Time Training Scenarios Built in Questas.
4. Add emotional punctuation without full cinematics
You don’t need 30‑second cutscenes. A well‑timed 2‑8 second loop can be enough to mark a beat as special.
What Counts as a “Micro‑Cutscene” in Questas?
On Questas, you can generate or import short AI‑assisted video loops and attach them to scenes or outcomes. For the purposes of this article, we’ll define micro‑cutscenes as:
- Length: ~2–8 seconds.
- Looping: Designed so the start and end connect smoothly.
- Focused: One clear action, emotion, or environmental change.
- Contextual: Tied to a specific choice, branch, or turning point.
They’re cousins to the micro‑video ideas we explored in Beyond Text and Images: Using Ambient Audio and Micro‑Video to Deepen Immersion in Questas—but here we’re laser‑focused on stakes and consequences, not just mood.
Three Core Jobs for Micro‑Cutscenes
Before you drop video loops everywhere, decide what you want them to do. For stakes and consequences, micro‑cutscenes usually serve one of three jobs.
1. Foreshadowing: "This Choice Matters"
Use a loop before a decision to signal that the upcoming choice has weight.
Examples:
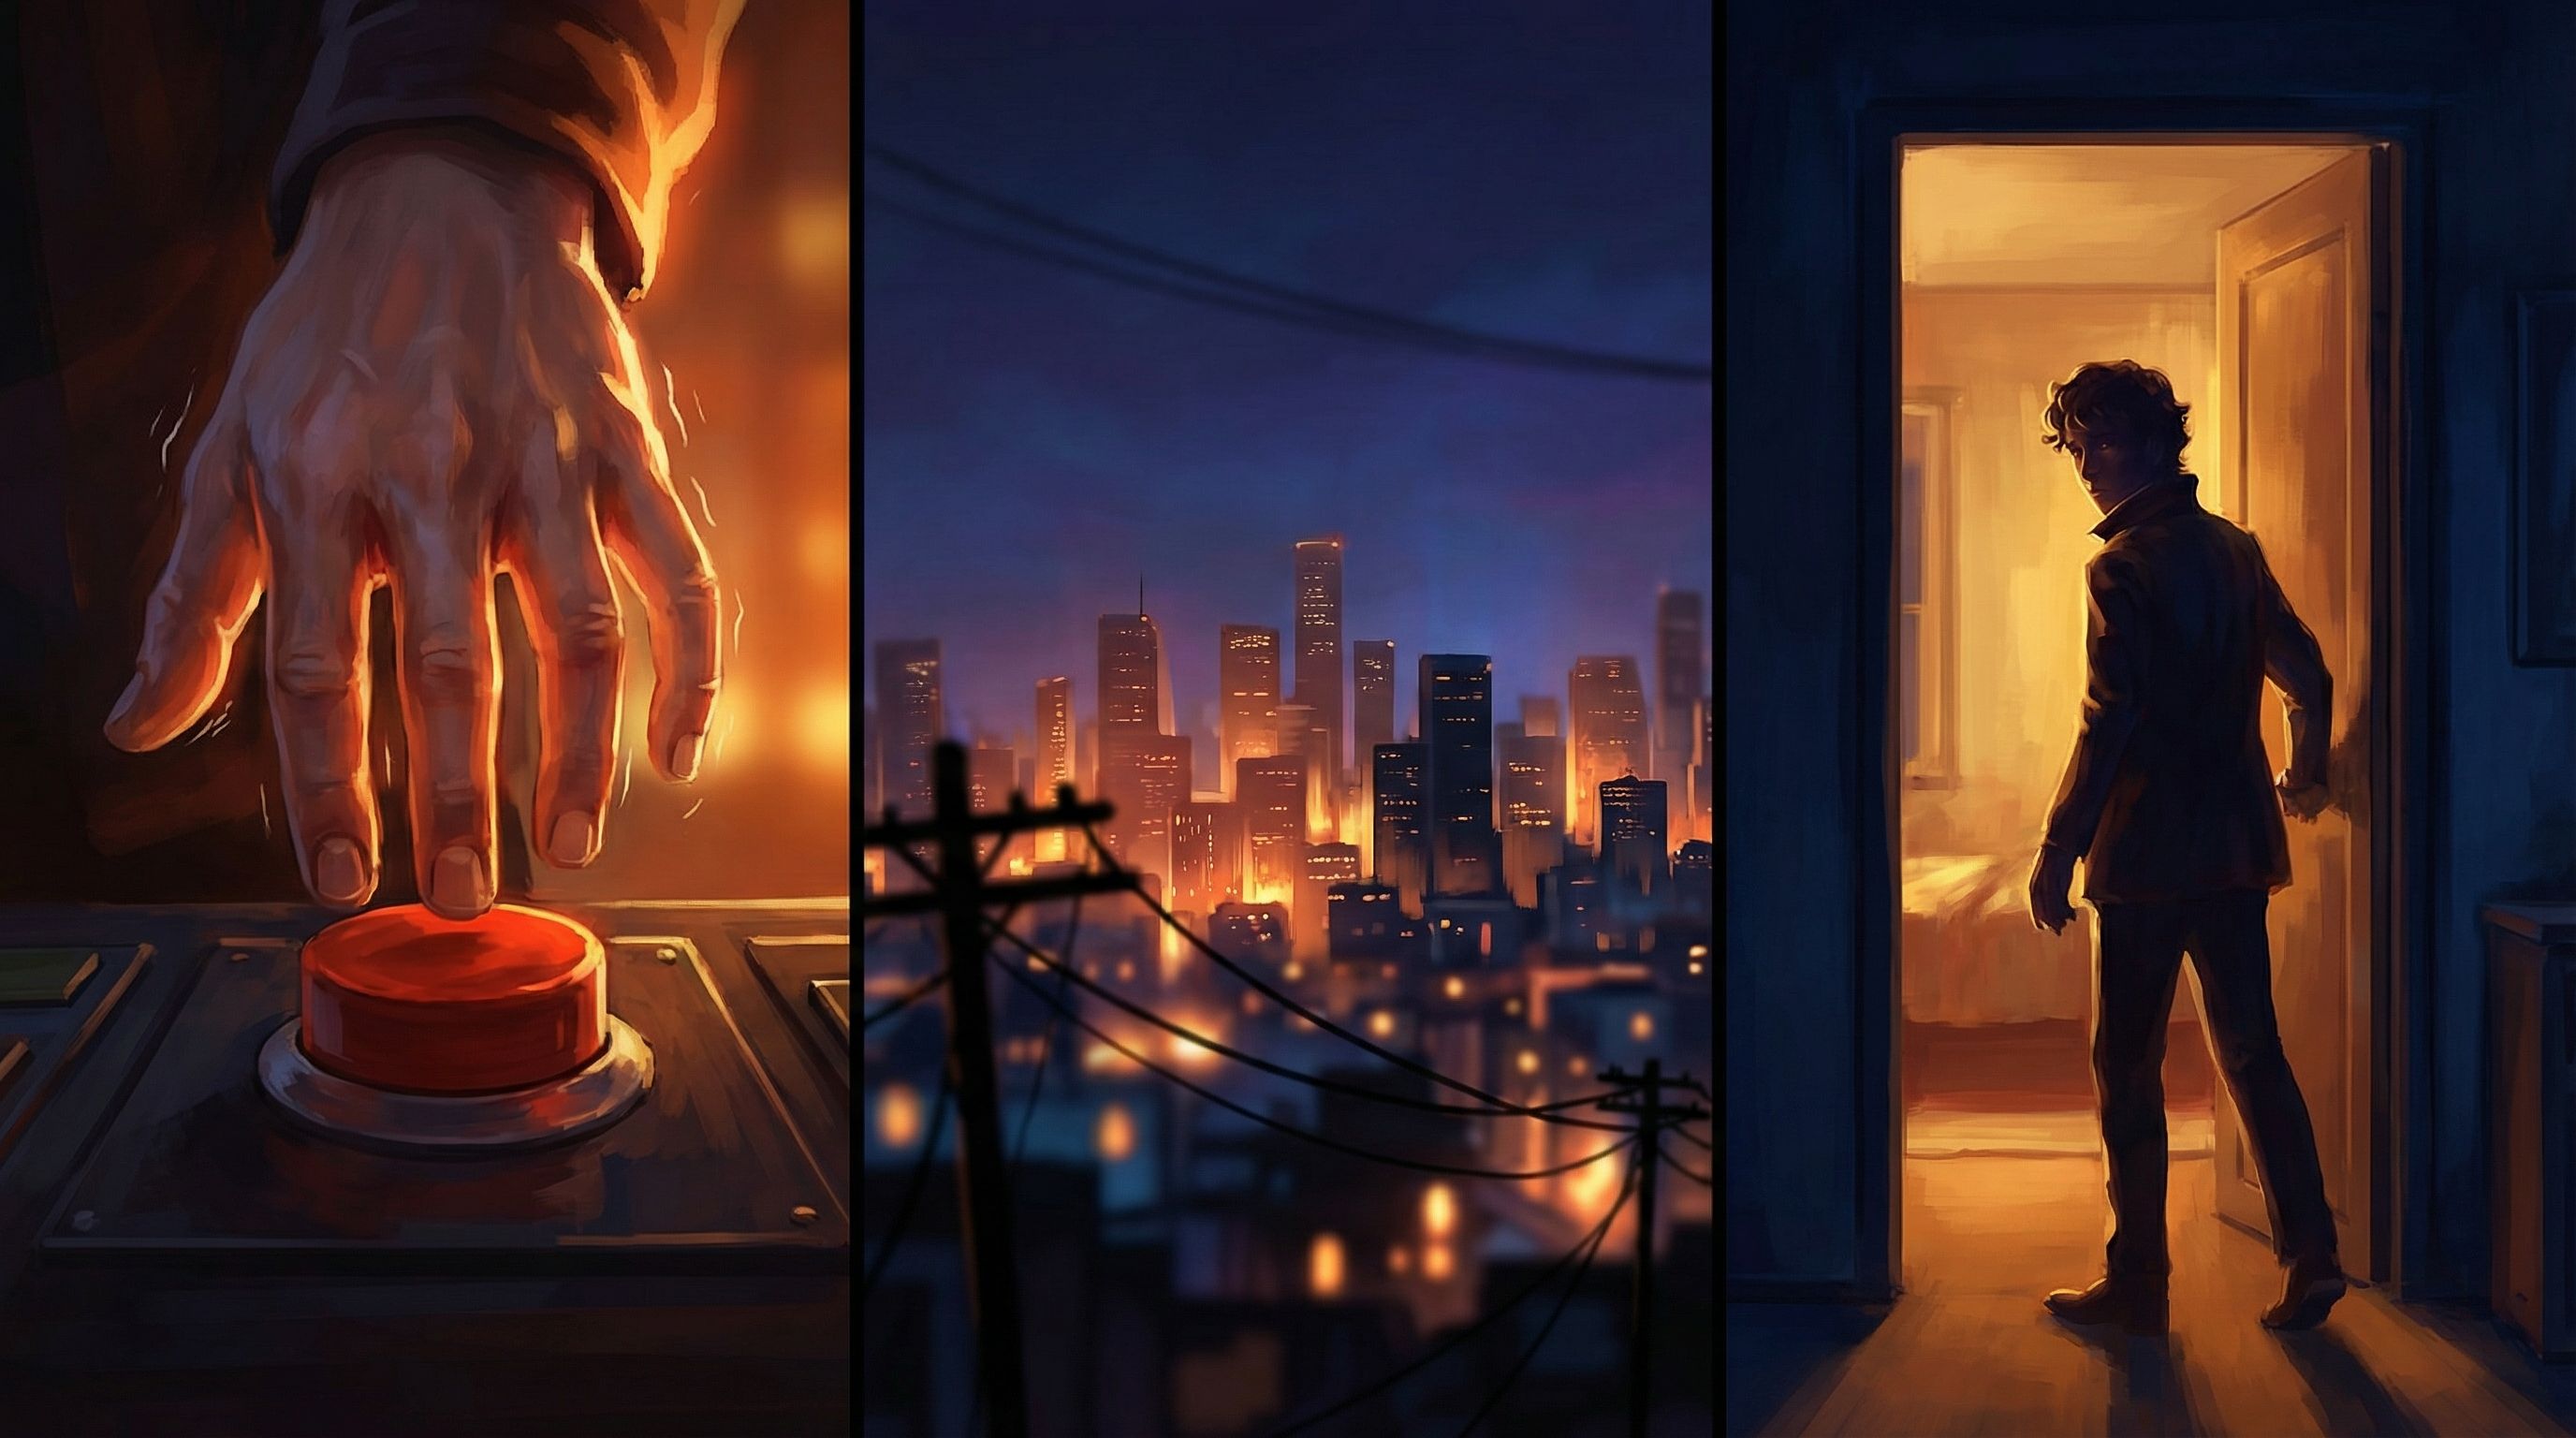
- A close‑up of a character’s hand hovering over a “Launch” button, their fingers trembling.
- A quiet office where a phone vibrates on a desk, caller ID flashing with a name the player recognizes.
- A dark alley where a shadow briefly crosses the far end, then vanishes.
Design tips:
- Keep motion subtle; you’re building tension, not delivering payoff yet.
- Focus on faces, hands, doors, thresholds, timers—visual metaphors for decisions.
- Avoid text overlays; let the environment and acting carry the meaning.
2. Immediate Consequence: "Here’s What You Just Caused"
Use a loop right after a choice to show the direct impact.
Examples:
- The factory floor lights flicker back on as machines whir to life (success).
- A status board flipping from green to red with alarms strobing (failure).
- A teammate’s shoulders relaxing in relief—or tensing in anger—after your decision.
Design tips:
- Anchor the loop to a single, clear change (lights on → off, calm → chaos, alone → surrounded).
- Match the emotional energy of the outcome: quick cuts for panic, slow motion for dread.
- Use it as a transition beat before the next block of text, not a replacement for narrative.
3. Cascading Impact: "The World Remembers"
Some choices echo across branches. Micro‑cutscenes can remind players of long‑term consequences when those echoes arrive.
Examples:
- Much later, a loop of news footage showing protests sparked by an earlier political decision.
- A recurring shot of a burned‑out building whenever the player passes that part of town, a silent reminder of a past failure.
- A character fingering a scar or broken item that originated in a previous branch.
Design tips:
- Reuse motifs: same camera angle, similar color grading, or recurring props.
- Keep these loops brief and quiet; they’re callbacks, not fresh climaxes.
- Pair with conditional text (“You remember when…”) to tie the visual to the earlier decision.
Designing Stakes‑Focused Micro‑Cutscenes Step by Step
Let’s walk through a practical workflow you can apply to your next Questas project.
Step 1: Identify Your “Pressure Points”
Open your project map and mark the 5–10 most consequential decisions. Look for:
- Branches that lead to completely different storylines.
- Choices tied to key learning objectives (for training/education).
- Decisions that change character relationships or reputation.
- Endings or mid‑story reversals.
These are your priority beats for micro‑cutscenes. Resist the urge to decorate every node; focus on where video will clarify or intensify stakes.
Rule of thumb: If you wouldn’t call a friend to talk about this moment, it probably doesn’t need a cutscene.
Step 2: Define the Emotional Beat First
For each pressure point, write a one‑sentence answer to:
- What do I want the player to feel right before they choose?
- What do I want them to feel right after the outcome?
Examples:
- “Before: a creeping sense that they’re in over their head. After: a sharp jolt of ‘oh no, I did that.’”
- “Before: hopeful determination. After: quiet, earned relief.”
These emotional targets will guide your prompts and visual decisions.
Step 3: Translate Feelings into Visual Ingredients
Now break each beat into visual components you can feed into an AI video generator and refine inside Questas:
- Setting: hospital corridor, neon‑lit alley, corporate boardroom, fantasy forest.
- Subject: close‑up on a character, wide shot of a crowd, focus on an object.
- Motion: blinking cursor, flickering lights, slow pan, character turning away.
- Lighting & color: harsh fluorescent, warm sunset, cold blue emergency lights.
If you’ve already established a style for your project, pull directly from your visual guide or from the principles in AI Visual Styles 101: Matching Your Questas Imagery to Genre, Tone, and Audience. Consistency here is key; you want micro‑cutscenes to feel like part of the same world, not random inserts.
Step 4: Prompt for Loop‑Friendly Motion
When you generate AI video loops (whether inside Questas or via an external tool you then import), aim for motion that can cycle cleanly.
Prompting tips:
- Favor repetitive or cyclical actions: rain on windows, fans spinning, crowds milling, holograms flickering, candles guttering.
- Avoid one‑way transformations that can’t easily loop (e.g., an explosion that never resets) unless the generator supports seamless looping of that effect.
- Mention loopability explicitly in your prompt:
- “A short, seamless looping shot of…”
- “2–4 second loop where…”
Then, when you preview:
- Check the start/end frame for jarring jumps.
- Crop or trim to the smoothest segment if needed.
Step 5: Attach Micro‑Cutscenes to the Right Moments in Questas
Inside Questas, you can:
- Add a loop above the choice buttons to foreshadow stakes.
- Trigger a loop after a choice is clicked but before the next text block loads.
- Place a loop as a background or header for an outcome scene.
A few layout patterns that work well:
-
Tension → Choice → Consequence
- Scene text builds context.
- Micro‑cutscene plays silently at the top of the screen.
- Player scrolls to make a choice.
- On click, a new scene with a different loop shows the outcome.
-
Quiet → Sudden Visual Change
- Calm, static image or text‑only scene.
- Player chooses.
- The next scene opens with a punchy loop (alarms, crash, celebration).
-
Callback Motif
- Reuse a specific loop (or a variation of it) whenever a past decision echoes.
- This builds a visual language of consequences.
Step 6: Pair Loops with Clear Narrative Feedback
Video alone isn’t enough. To really land stakes and consequences:
- Name the outcome in text: “Because you delayed the evacuation…”
- Connect back to the choice: “Back when you promoted the untested software…”
- Hint at future impact: “This won’t be the last time you see these headlines.”
Think of the micro‑cutscene as the emotional punch, and the text as the cognitive explanation.
Avoiding Common Pitfalls (So Your Stakes Don’t Get Muddy)
Micro‑cutscenes are powerful, but they come with some traps. Here’s how to sidestep them.
Pitfall 1: Overusing Video Until Nothing Feels Special
If every scene has motion, no scene feels important.
How to fix it:
- Reserve loops for turning points and branch junctions, not routine exposition.
- Use static images or text‑only scenes for quieter beats.
- Treat video as a limited resource you spend intentionally.
Pitfall 2: Ambiguous Visuals That Confuse Players
A gorgeous loop that doesn’t clearly relate to the choice or outcome can dilute stakes instead of sharpening them.
How to fix it:
- Ask: “If I muted the text, would a player roughly understand what kind of moment this is?”
- Keep compositions simple: one main subject, one clear action.
- Avoid overly abstract imagery unless your whole story leans that way.
Pitfall 3: Visual Tone That Clashes with the Story
A slapstick animation for a serious failure, or a grim, horror‑style loop for a lighthearted success, can send mixed signals.
How to fix it:
- Align your loops with the tone rules you’ve set for the story.
- Revisit your style guide or create one if you haven’t. (If you need a framework, From Moodboard to Mission: Designing Visual Style Guides for Consistent Questas Adventures walks through that process.)
- When in doubt, err on understated rather than melodramatic.
Pitfall 4: Ignoring Performance and Accessibility
Too many heavy loops can slow down load times and overwhelm some players.
How to fix it:
- Compress and keep durations short.
- Avoid auto‑playing multiple loops on the same screen.
- Provide clear text descriptions of key visual events, so screen‑reader users still understand the stakes.

Example Patterns You Can Steal
Here are a few plug‑and‑play patterns you can adapt inside Questas.
The “Red Line” Policy Decision
Context: A compliance training scenario where the player chooses whether to report a borderline issue.
- Before choice loop:
- Close‑up of a document on a desk, a red line slowly underlining a suspicious clause while the office clock ticks in the background.
- If they report:
- Loop of a manager nodding, then a company dashboard showing risk indicators stabilizing from orange to green.
- If they ignore:
- Later scene: news‑style loop of headlines flashing about a scandal, with the same document briefly visible in the background.
This pattern makes the stakes concrete without a single explosion.
The “Door You Can’t Un‑Open” in a Fantasy Quest
Context: A player decides whether to open a cursed door.
- Before choice loop:
- Torchlight flickering across ancient runes, faint mist seeping from under the door.
- If they open:
- Immediate loop of the door swinging inward, gust of wind blowing out the torch, eyes glowing in the dark.
- If they walk away:
- Later branch: loop of the same door now cracked open on its own, something having emerged while they were gone.
The door becomes a visual motif that tracks their relationship to risk.
The “Relationship Meter Without a Meter”
Context: A story with a companion character whose trust matters.
Instead of a visible UI bar, you use micro‑cutscenes to show that trust level.
- After supportive choices: loops of them standing closer, making eye contact, smiling slightly.
- After betrayals: loops of them turning away, crossing arms, walking a few steps ahead.
Because these loops show up at key scenes, players feel the relationship shifting without ever seeing a number.
Testing Whether Your Stakes Are Landing
Once your loops are in place, it’s time to test—ideally with fresh eyes.
Borrow a few ideas from Playtesting Your Questas Like a Game Designer: Scripts, Checklists, and What to Watch For and focus specifically on stakes and consequences:
Ask testers to:
-
Call out when they feel nervous or excited before a choice.
- Note which scenes triggered that feeling and whether a micro‑cutscene was present.
-
Explain what they think their last choice changed.
- Right after a consequence loop, ask: “What do you think is different now?”
-
Recall visual moments afterward.
- At the end, ask: “Which images or short videos stuck with you?”
If the moments you thought were high‑stakes don’t show up in their answers, iterate:
- Sharpen the visual focus of the loop.
- Adjust timing (e.g., move a loop from before to after the choice, or vice versa).
- Clarify the accompanying text so cause and effect are unmistakable.
Bringing It All Together
Micro‑cutscenes in Questas aren’t just decoration. They’re story structure in motion:
- They foreshadow big decisions so players lean in.
- They visualize consequences so outcomes feel real.
- They echo past choices so your world feels responsive and alive.
When you:
- Choose a handful of truly pivotal moments,
- Design short, loopable videos around clear emotional beats,
- Place them thoughtfully before and after choices,
- And pair them with sharp, cause‑and‑effect narration,
…you turn your branching story into an experience where every important click feels important.
Your Next Step: Build One High‑Stakes Moment
You don’t need to rebuild your whole project to start using micro‑cutscenes well.
Here’s a simple challenge:
- Open your current or next Questas project.
- Pick one decision that really matters.
- Design two micro‑cutscenes:
- One to foreshadow the choice.
- One to show the outcome of the most dramatic branch.
- Drop them into the scene, play through, and see how the moment feels.
Once you’ve seen how much weight a few seconds of motion can add, you can expand the technique to other pressure points, refine your visual style, and gradually build a library of loops you reuse across stories.
If you’re ready to experiment, head over to Questas, pick a story—training module, onboarding flow, RPG, anything—and give one of your key choices the micro‑cutscene treatment. Your players will feel the difference long before they can explain why.