Designing ‘Invisible Tutorials’: Teaching New Mechanics and Rules Inside Your Questas Narrative


Interactive stories are at their best when players forget they’re being taught anything.
Instead of a wall of instructions, they learn by doing: trying things, seeing what happens, and gradually mastering the “rules of the world” through play.
That’s the heart of an invisible tutorial—a sequence of moments that quietly teaches mechanics, expectations, and boundaries inside the story, without ever feeling like a separate onboarding.
For creators building on Questas, this isn’t just a nice-to-have. As your branching structures, AI-driven visuals, and custom rules get more ambitious, the risk of confusing or overwhelming players goes up fast. Invisible tutorials are how you keep the experience intuitive, even when the underlying logic is complex.
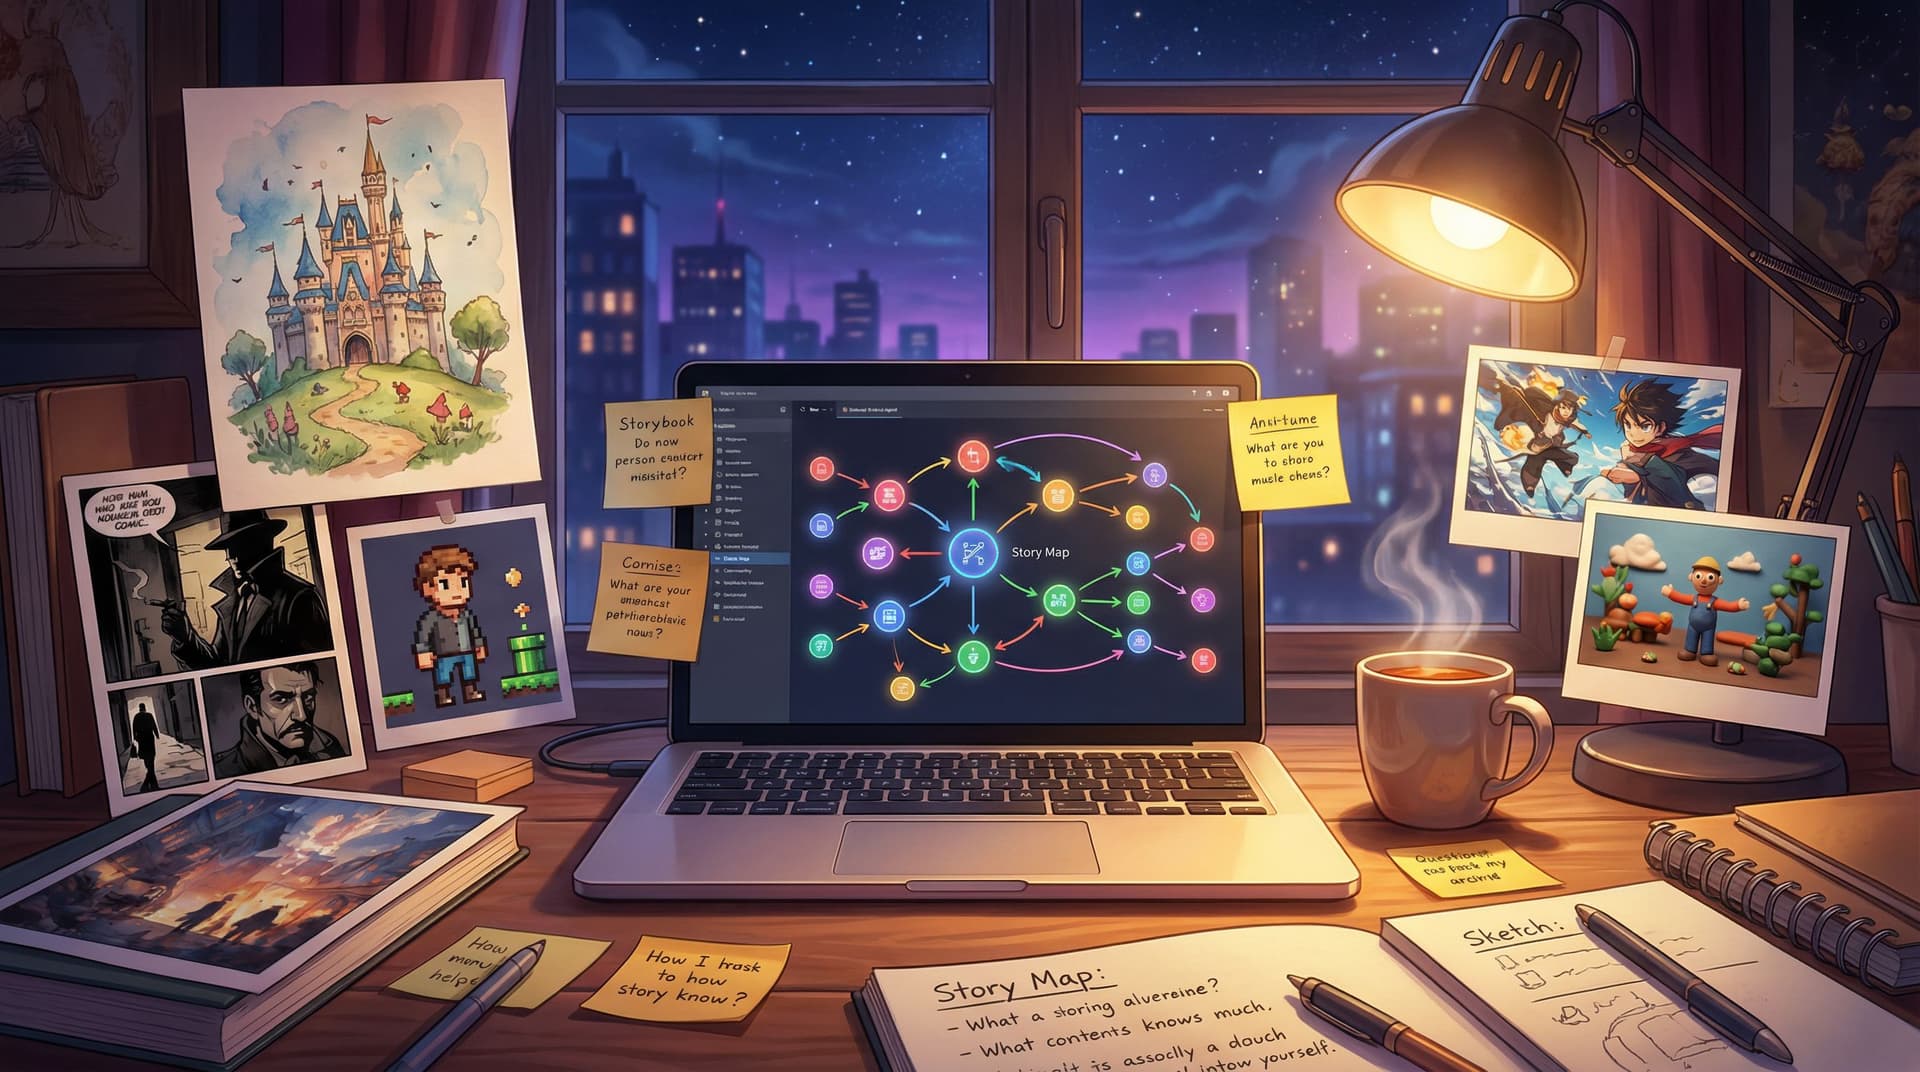
In this guide, we’ll break down how to design invisible tutorials specifically for Questas: how to choose what needs teaching, where to hide it in your narrative, and how to use visuals and choices to make learning feel like story—not homework.
Why Invisible Tutorials Matter for Questas Creators
Before we get tactical, it’s worth grounding in what’s at stake.
When you introduce new mechanics or rules (scoring systems, inventory, relationship meters, time limits, custom UI, etc.), you’re asking players to carry extra cognitive load. Done poorly, that leads to:
- Drop-offs in the first few scenes because players feel lost or overwhelmed
- Misinterpretation of choices (“Wait, that option cost me reputation?”)
- Frustration loops where players repeat mistakes they didn’t know were mistakes
Done well, invisible tutorials give you:
- Smoother first sessions. Players feel clever, not confused, as they figure things out.
- Higher replay value. Once players understand your systems, they come back to test different strategies.
- More ambitious designs. You can safely introduce nuanced mechanics—like soft fail states, resource tradeoffs, or relationship tracking—because you’ve scaffolded them.
If you’re already thinking about how to onboard players into complex settings, you’ll find plenty of synergy with the ideas in Designing ‘Session Zero’ in Questas: Onboarding Players into Complex Worlds, Rules, and Roles. Invisible tutorials are the in-story counterpart to that pre-game alignment.
Step 1: Decide What Actually Needs Teaching
Not every element of your story deserves tutorial space. The first design move is ruthless prioritization.
Ask yourself:
-
What’s truly non-obvious?
- A simple binary choice? Probably fine.
- A hidden reputation system that changes endings? That needs teaching.
-
What has meaningful consequences?
- Cosmetic flavor choices can stay mysterious.
- Choices that lock or unlock whole branches should be clearly legible.
-
What’s unique to this Questas experience?
- Generic “click to continue” behavior is standard.
- A custom “evidence board” mechanic where players collect clues across scenes is not.
In the Questas editor, list every mechanic or rule you’re planning to use:
- Scoring or point systems
- Resources (money, time, energy, supplies)
- Relationship or trust meters
- Inventory or clue collection
- Time pressure (deadlines, countdowns, limited turns)
- Special interaction patterns (e.g., “quiet choices” that don’t look consequential at first)
Then tag each as:
- Must teach explicitly (players can’t succeed without understanding it)
- Can teach implicitly (players can learn by seeing outcomes)
- Can remain opaque (mystery is part of the design)
You’ll use this map to decide where to embed tutorial moments.
Step 2: Turn Teaching Moments into Story Moments
Invisible tutorials work because they disguise instruction as narrative.
Instead of: “Here’s how the trust meter works,” you write a scene where the protagonist’s boss says, “You burn me once in front of the board again, and we’re done. Clear?”—and then you visibly see the trust meter drop.
Some reliable patterns:
1. The First Safe Experiment
Introduce a mechanic in a low-stakes scene where players can’t truly fail yet.
- Let them make a choice that affects a resource slightly.
- Immediately show a clear, visual reaction: a bar moves, a symbol changes color, a character comments.
- Don’t punish the player; just signal the rule.
Example in Questas:
- Scene: A café negotiation before the real heist briefing.
- Mechanic: Relationship meter with the fixer.
- Tutorial move: Choice of tone (“joking,” “direct,” “defensive”). After the pick, cut to a close-up of the fixer’s face and a small heart icon that flickers up or down, plus a line of dialogue that reinforces what just changed.
2. Diegetic Explanations (Characters as Teachers)
Have characters explain the rules in-world, not as UI tips.
- A mentor explains why time is limited: “Security rotates every 15 minutes. Miss the window, and we’re ghosts.”
- A teammate calls out your mistake: “You spent half our budget on that bribe. Now we can’t afford backup.”
This is especially powerful for corporate training, coaching, or compliance scenarios, where you want rules to feel like social reality, not just LMS logic. For more on turning real-world frameworks into playable systems, see Branching Narratives for Real-World Skills: Turning Coaching Frameworks into Questas Scenarios.
3. One New Thing at a Time
Your invisible tutorial should follow a laddered progression:
- Scene 1–2: Basic navigation and choice patterns
- Scene 2–3: Introduce first key resource or relationship mechanic
- Scene 3–4: Layer in time pressure or fail states
- Mid-game: Combine mechanics in more complex decisions
If you’re introducing multiple systems in the same scene, it’s probably too much. Split it.
Step 3: Use Visuals to Teach Without Words
On Questas, your AI-generated images and videos are not just decoration. They’re teaching tools.
Players are wired to read meaning into visual cues—colors, composition, iconography. You can harness that to make mechanics feel intuitive.
Visual Patterns That Help Mechanics “Click”
-
Consistent iconography.
- Use the same symbol for a resource everywhere: a clock for time, a coin stack for budget, a heart for trust.
- Place it in a consistent corner or frame of your scenes.
-
Color-coded states.
- Green/blue for safe or positive outcomes.
- Yellow/orange for risk.
- Red for failure, danger, or high cost.
-
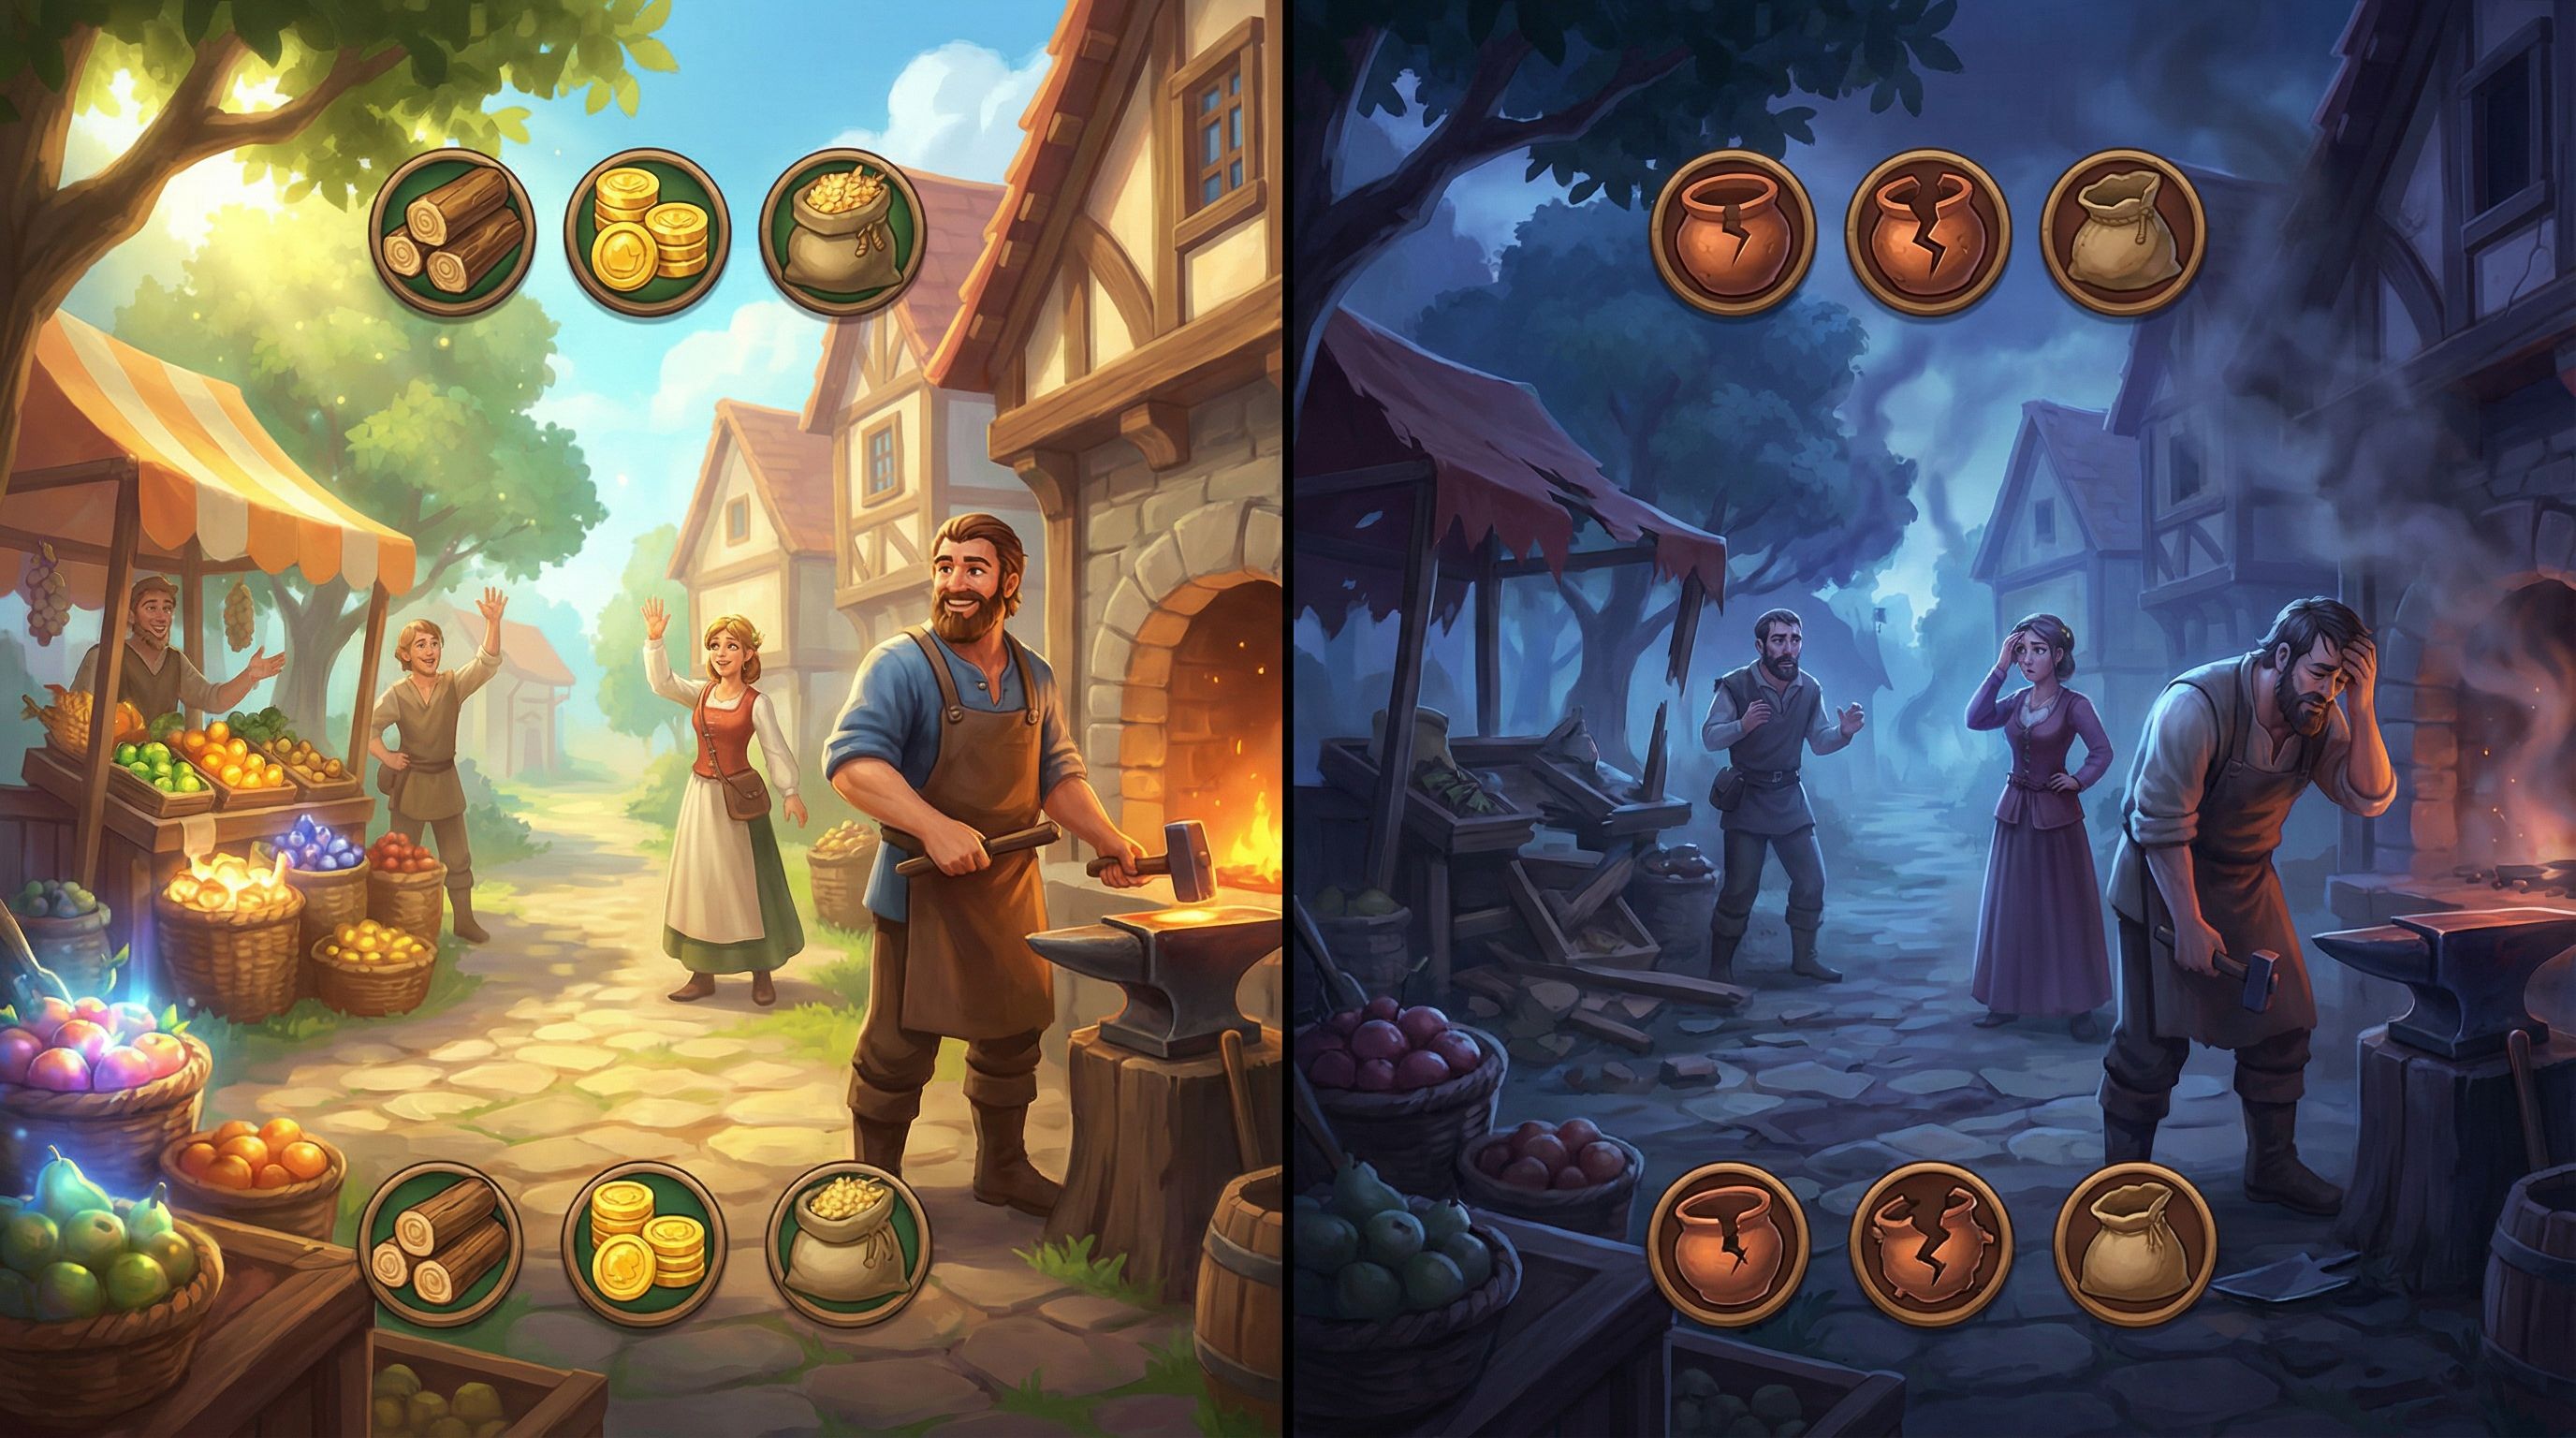
Before/after contrasts.
- Show a scene twice with small changes: fewer supplies on a table, more cracks in a shield, a darker sky.
- Let the image itself communicate, “Your previous choice had an effect.”
-
Visual fail states.
- When a choice leads to a “soft fail” (lost time, damaged relationship), use a distinct visual style: harsher lighting, skewed camera angles, glitch effects.
- This trains players to recognize risk without reading a paragraph of explanation.
If you want a deeper dive into using imagery to signal consequences, Visual Fail States: Using AI Imagery to Signal Risk, Reward, and Consequences in Questas pairs perfectly with the concepts here.
Building a Visual Tutorial Sequence
In the Questas editor, you can:
- Group your early scenes into a “tutorial arc” and give them a shared visual motif (e.g., warm daylight, clean UI, minimal clutter). As mechanics stack, gradually move to more complex, moody imagery.
- Use close-up shots of UI-like elements (clocks, meters, notebooks) as diegetic representations of your systems.
- Create recurring visual anchors—like a mission board or dashboard that updates over time—so players always have a familiar place to “read” the state of the world.
Step 4: Script Choices That Teach Cause and Effect
Mechanics become real to players the moment they see cause and effect.
A strong invisible tutorial doesn’t just tell players that time matters; it lets them feel it.
Design “Teaching Choices” Intentionally
When you’re drafting early branches, tag certain decisions as teaching choices. These should:
- Have clear, immediate feedback (within 1–2 scenes)
- Affect only one main variable (time, trust, money, etc.) so the lesson is legible
- Be reversible or recoverable later, so early mistakes don’t ruin the playthrough
Example pattern:
- Choice A: “Take the shortcut through the alley”
- Outcome: You arrive early (time +1), but your clothes are dirty (minor reputation hit with a fancy NPC later).
- Choice B: “Take the main road”
- Outcome: You’re slightly late (time -1), but arrive composed.
The first time this happens, explain it through character reaction and a small visual cue. The second time, you can trust players to infer.
Use Quiet Choices as Tutorial Tools
Low-stakes, flavor-style options are perfect for teaching subtle systems like tone, values, or relationship preferences.
- Let players pick how they greet a character.
- Show a tiny bump or dip in a relationship meter.
- Make the character remember it later.
If you’re already experimenting with low-stakes branches, you can fold tutorial work right into them. Designing ‘Quiet Choices’: Low-Stakes Branches that Build Character, Not Just Plot, in Questas is a great companion read here.
Step 5: Hide Micro-Explanations in Natural Moments
Sometimes you do need a sentence of explicit explanation. The trick is to hide it inside something players already care about.
Instead of a floating tooltip that says, “Your decisions affect your reputation score,” try:
- A character texting you: “FYI, word gets around fast here. People remember how you treat them.”
- A mission briefing note: “We’re graded on three things: time, collateral damage, and team morale. Don’t tank any of them.”
Where to tuck these micro-explanations:
- Diegetic UI (sticky notes, emails, HUD elements in-world)
- Dialogue (especially from mentors, skeptics, or rivals)
- Environmental text (posters, signs, news headlines)
In the Questas editor, you can:
- Use conditional text blocks that appear only on a player’s first run, offering extra clarity the first time they encounter a mechanic.
- Add optional “ask for clarification” branches where a curious player can click a line like, “Wait, how does this scoring work?” without forcing everyone else into a lecture.
Step 6: Playtest for Confusion, Not Just Fun
You won’t know if your invisible tutorial is working until you watch people bump into it.
When you run playtests (live or remote), ask testers to think aloud during the first 10–15 minutes. Pay close attention to moments where they say:
- “Wait, what just happened?”
- “Why did that go down?” (about a meter or outcome)
- “I didn’t realize that was a choice.”
For each confusion spike, ask yourself:
- Did I introduce more than one new concept at once?
- Did I give immediate, visible feedback on their action?
- Is there a character or prop that could naturally explain what happened?
You don’t necessarily need to bolt on more text. Often the fix is:
- Reordering scenes so the mechanic appears earlier or with less at stake
- Adding a single line of reactive dialogue
- Tweaking visuals so state changes are more obvious
If you’re looking to deepen your playtesting practice beyond basic metrics, Beyond Clicks and Completion Rates: Qualitative Playtesting Methods for Deeply Improving Your Questas Stories offers practical scripts and methods you can adapt.
Step 7: Document Your “Teaching Arc” in the Editor
Once your invisible tutorial feels solid, treat it as a designed asset, not a happy accident.
Inside your Questas project, it helps to:
- Label tutorial scenes clearly (e.g.,
TUT-01: First Trust Choice,TUT-02: Time Pressure Intro). - Keep a short design note on each: what mechanic it teaches, how, and what feedback it provides.
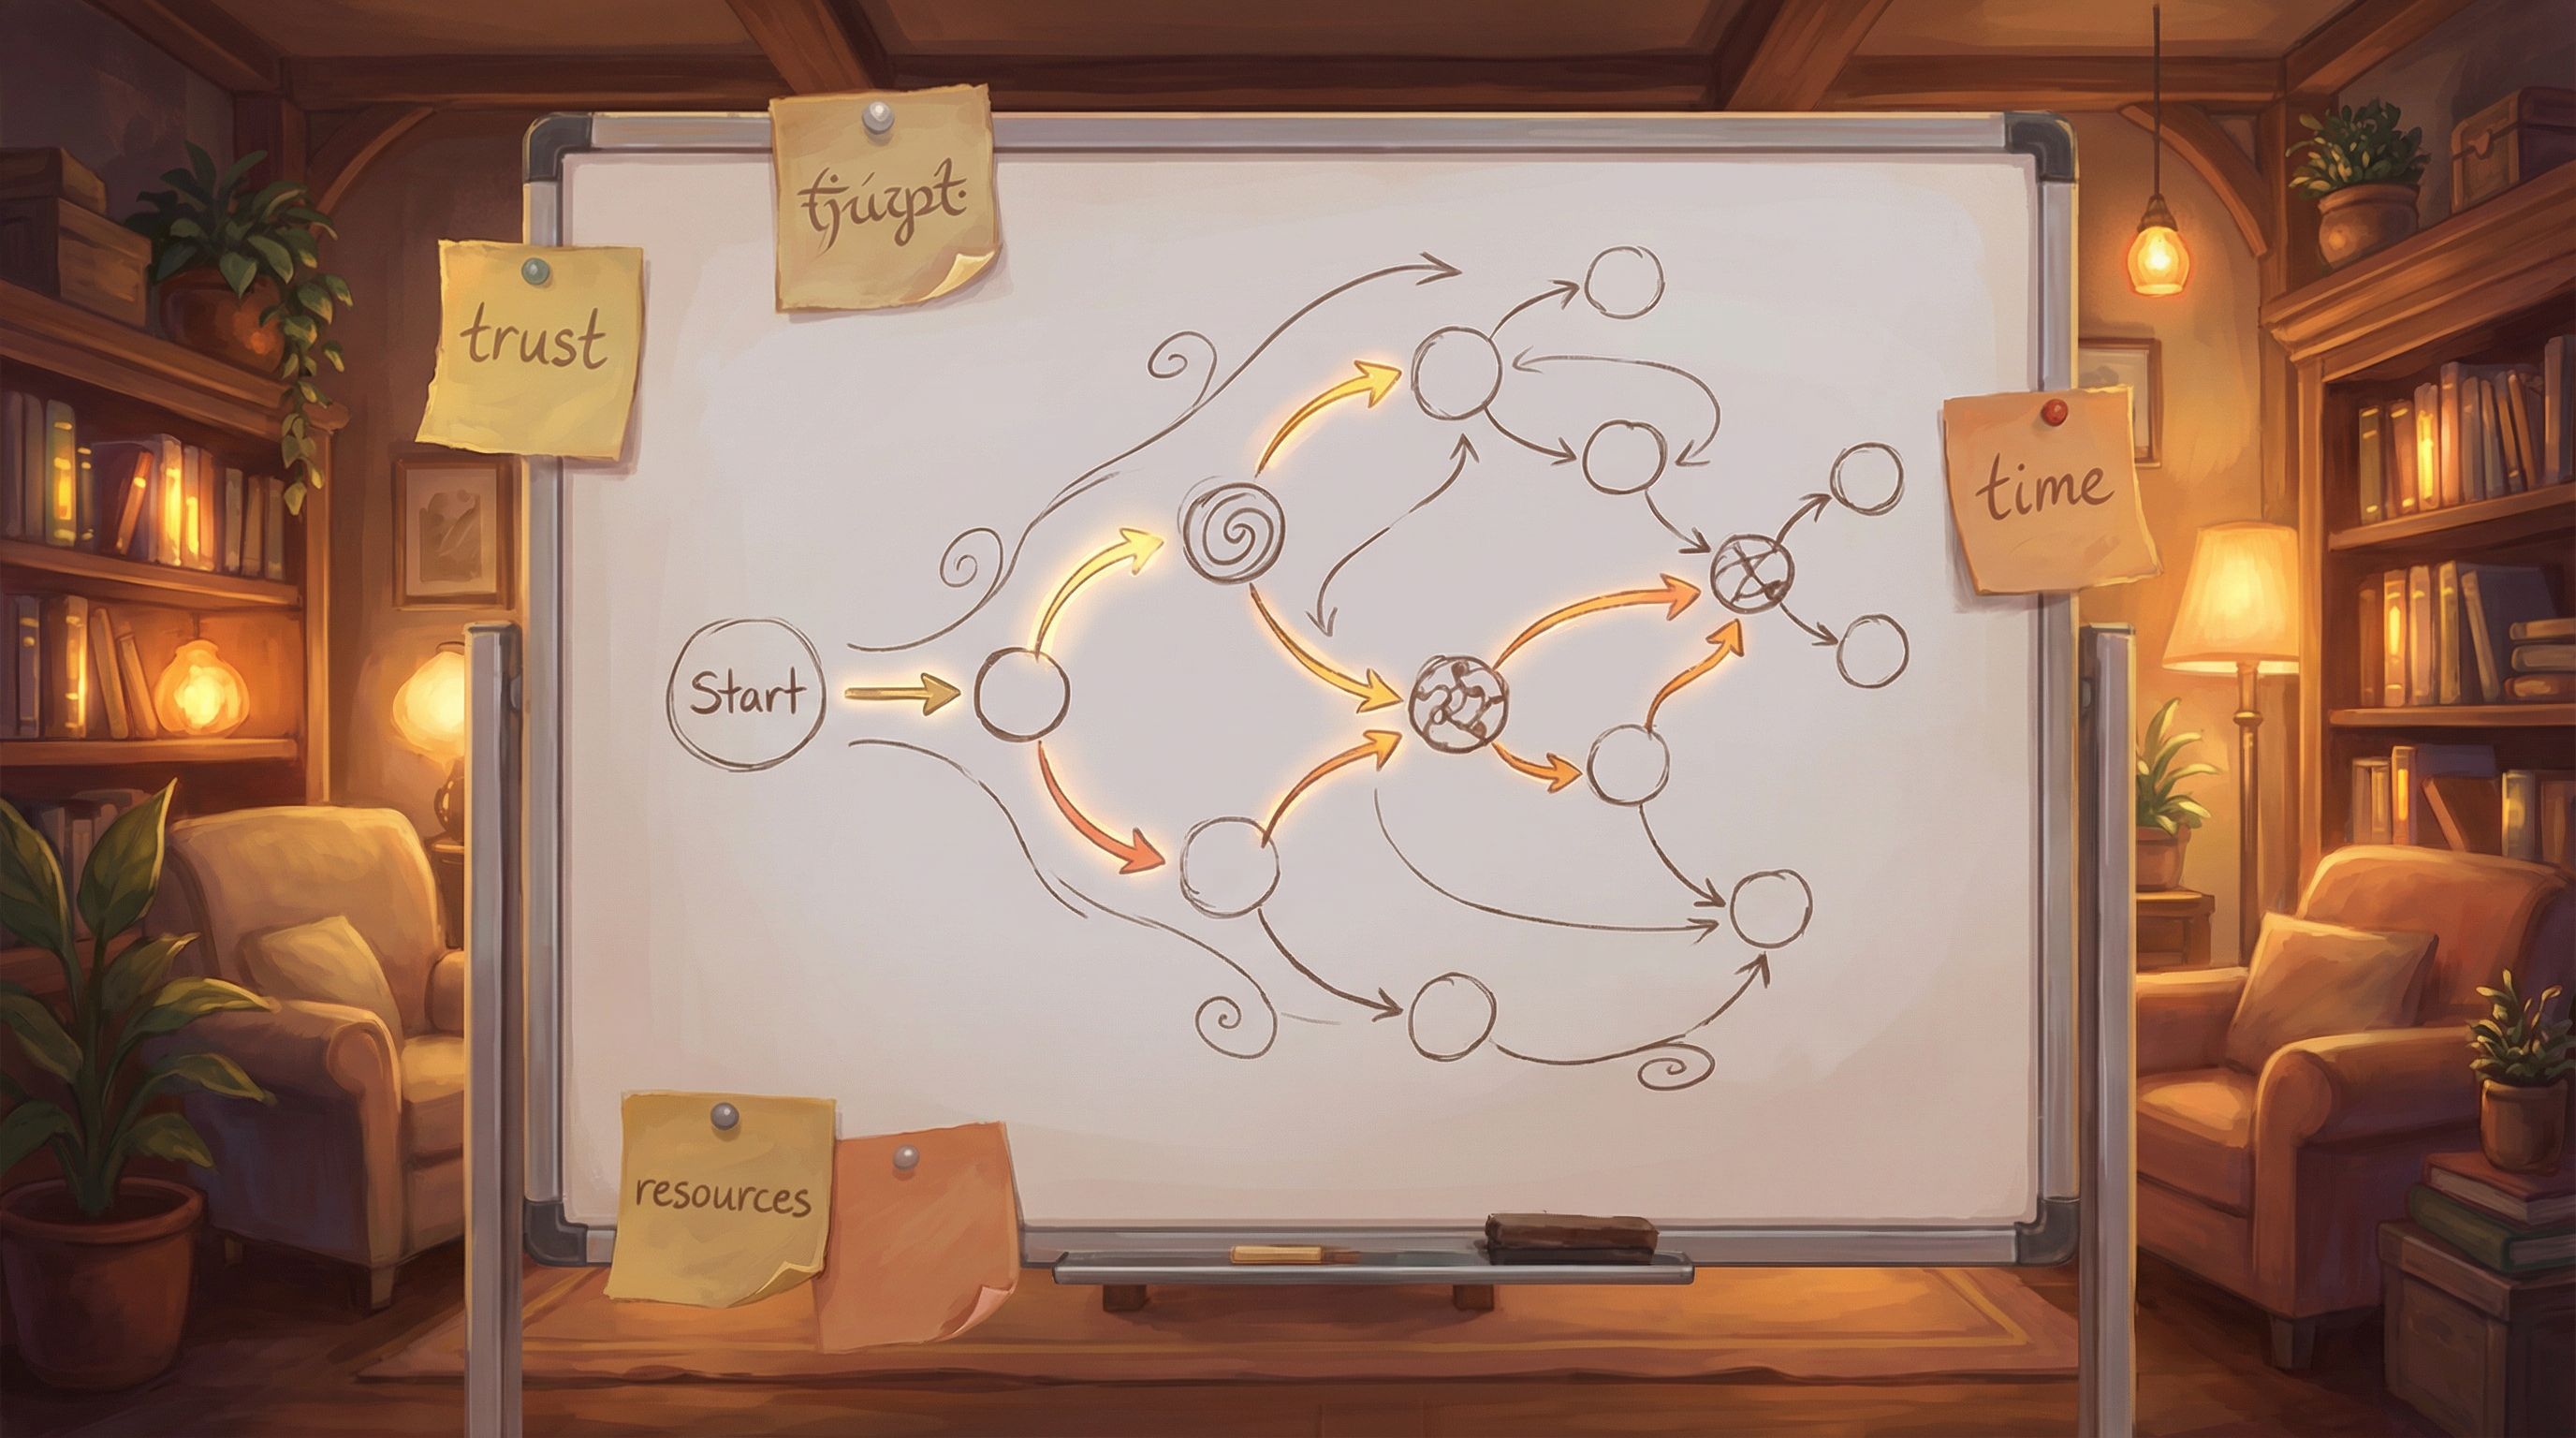
- Create a mini flowchart (even just in a text note) that outlines your teaching arc from first click to full mastery.
This documentation pays off when you:
- Add new branches later—you’ll know where to hook them without breaking your onboarding.
- Hand the project to collaborators—they’ll understand why certain early scenes are “simpler” on purpose.
- Reuse the same mechanics in future Questas—you can clone and adapt your best tutorial patterns instead of reinventing them.
Bringing It All Together
Invisible tutorials are less about clever tricks and more about respecting how people naturally learn inside stories.
To recap the core moves:
- Prioritize what needs teaching. Focus on non-obvious, high-impact mechanics.
- Embed learning in narrative. Let characters, stakes, and scenes carry the explanation.
- Leverage visuals. Use consistent iconography, color, and before/after contrasts to make systems legible.
- Script teaching choices. Design early decisions with clear, immediate, low-stakes consequences.
- Hide micro-explanations in-world. Use dialogue, props, and conditional text instead of floating tooltips.
- Playtest for confusion. Watch where players get lost and tune feedback, order, or clarity.
- Document the arc. Treat your tutorial as a reusable design asset inside the Questas editor.
When you do this well, players don’t remember being “taught” anything. They remember becoming someone: a fixer who understands the city’s unwritten rules, a trainee who masters a tricky coaching framework, a compliance hero who can spot risk from a mile away.
The mechanics disappear into the story. The rules become instinct.
Your Next Step: Build a Tiny Tutorial Quest
The best way to internalize this is not to outline a 40-scene epic. It’s to ship something tiny.
Here’s a concrete challenge for your next session with Questas:
- Pick one mechanic you want players to learn (time pressure, trust, budget, clues, etc.).
- Design a 5–7 scene micro-adventure whose primary goal is to teach that mechanic invisibly.
- Use:
- One early safe experiment choice
- One diegetic explanation line of dialogue
- One clear visual before/after contrast
- Playtest with 2–3 people and ask: “What do you think this story was tracking behind the scenes?” If they can answer without you ever showing a tutorial screen, you nailed it.
Your invisible tutorial muscles will get stronger with each experiment—and once you have a few patterns you trust, you can plug them into bigger projects, whether you’re prototyping a product journey, designing a training scenario, or building a weird, personal interactive zine.
Adventure awaits. Go teach your rules so well that players forget they were rules at all—and remember only the story they lived through.