From Lore Docs to Learning Paths: Using Questas to Turn Knowledge Bases into Interactive Knowledge Journeys


Knowledge bases are supposed to make things easier.
Product teams pour hours into docs. L&D teams build slide decks and LMS modules. Community managers curate wikis and FAQs. Yet when someone actually needs to learn from all that material, they often end up:
- Skimming for one keyword
- Getting overwhelmed by walls of text
- Clicking away before anything sticks
The problem isn’t a lack of information. It’s that most knowledge bases are built for storage, not for experience.
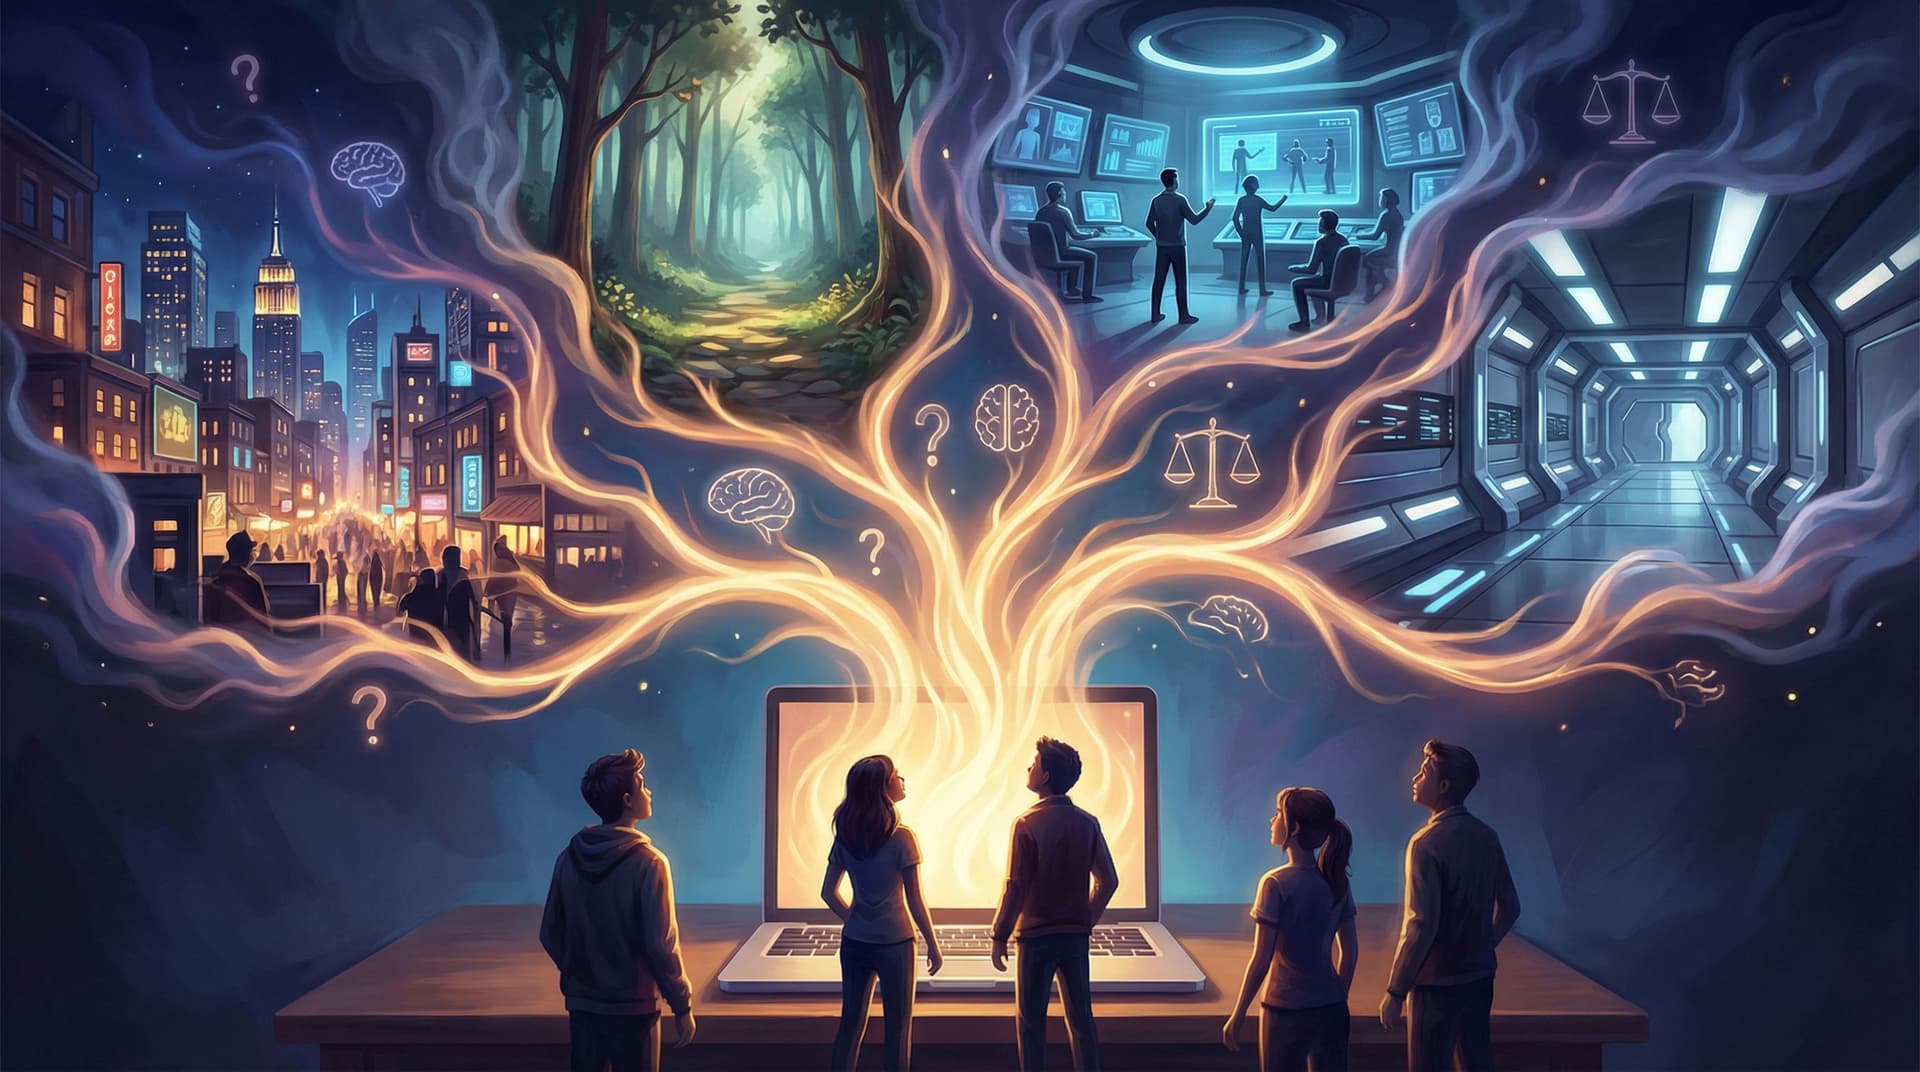
Interactive, branching stories flip that script. Instead of asking people to read through static pages, you invite them into a journey where their choices shape what they see next. With Questas, you can turn dense lore docs, help centers, or internal playbooks into guided, visual “knowledge journeys” that feel more like exploring a world than slogging through documentation.
This post walks through why that matters—and how to do it step by step.
Why Turn Knowledge Bases into Journeys at All?
Before jumping into workflows, it’s worth asking: why invest in narrative journeys when you already have documentation?
1. People remember stories, not sections
Cognitive science has been clear on this for decades: we encode and recall information better when it’s wrapped in narrative and emotion, not just listed as facts. Story-based learning:
- Creates context (“Why does this matter to me right now?”)
- Builds causal links (“If I do X, Y happens.”)
- Triggers emotion (“That went badly—I don’t want to repeat that mistake.”)
If you’re curious how this intersects with branching design specifically, check out our deep dive on learning science in interactive stories in Beyond Gamification: What Learning Science Can Teach Us About Better Branching Stories.
2. Different people need different paths
A single knowledge base is supposed to serve:
- New hires and seasoned experts
- Customers from different industries
- Stakeholders with wildly different goals
Static content usually solves this with filters and search. That helps, but it still assumes people know what to search for.
Branching journeys let you:
- Start from goals and scenarios, not keywords
- Adapt content based on choices and prior knowledge
- Surface just‑in‑time explanations exactly when they’re needed
3. Choices increase engagement and ownership
The moment someone chooses a path, they’re no longer a passive reader—they’re a participant. That sense of agency:
- Increases attention and curiosity
- Makes people more likely to see consequences through
- Encourages replay (“What if I’d chosen the other route?”)
If you want to go deeper on how to design choices that actually work, you’ll find a lot of practical psychology in The Psychology of Choice: How Cognitive Biases Shape Player Decisions in Branching Stories.
4. Journeys reveal gaps in your knowledge base
When you model a process as an interactive path, you quickly discover:
- Missing steps or edge cases
- Conflicting advice across teams
- Policies that sound good on paper but break in realistic scenarios
Building knowledge journeys in Questas doesn’t just help learners; it stress‑tests your content.
What Does a “Knowledge Journey” Look Like?
Think of a knowledge journey as a playable map built on top of your existing content. Instead of throwing people into a search bar, you:
- Drop them into a specific scenario
- Ask them to make decisions along the way
- Show consequences and explanations as they go
Some concrete examples:
- Product onboarding: “You’re a new admin setting up your workspace. Do you configure permissions first, or import users?” Each branch links out to relevant docs, but the core experience is a guided story.
- Support playbooks: “A customer writes in furious about a billing error. Do you apologize and refund immediately, or investigate first?” Each route teaches policy, tone, and tools.
- Compliance training: “You’re offered a gift by a vendor. What do you do?” Each decision reveals policy excerpts and real‑world implications.
- Game or universe lore: “You wake in a city that worships memory. Do you join the Archivists or the Tidewalkers?” Each path unlocks different parts of your lore bible.
Questas is built for exactly this: a visual, no‑code editor where you lay out scenes and branches, then layer in AI‑generated images and videos that turn dry content into a world.
Step 1: Choose a Slice of Knowledge, Not the Whole Encyclopedia
The biggest mistake teams make is trying to convert everything at once.
Instead, start small:
-
Pick a high‑value scenario
- A moment where people often get stuck or make costly mistakes
- A recurring question your support or training team sees
- A part of your lore or universe that players struggle to understand
-
Define a clear outcome
- “After this journey, a new sales rep can handle a basic discovery call.”
- “After this journey, a player understands the three main factions and their conflicts.”
- “After this journey, a manager can correctly apply our time‑off policy in tricky edge cases.”
-
Limit the scope
- Aim for 10–20 scenes in your first Questas project
- Focus on one major decision arc, not an entire curriculum
Think of this as a pilot episode, not the whole series.
Step 2: Mine Your Existing Knowledge Base for Story Beats
You don’t need to invent new content from scratch. Your lore docs, help center, or internal wiki already contain the raw material.
Here’s a simple workflow:
-
Gather the sources
- Relevant wiki pages, SOPs, policy docs, tutorials, or lore bibles
- Any existing slide decks or recordings covering the same topic
-
Highlight decisions and consequences Go through the material and mark:
- Points where someone must choose between options
- Common mistakes or misconceptions
- Real examples or case studies of things going right or wrong
-
Extract “moments,” not paragraphs For each source, ask:
- What is the situation?
- What choice did someone face?
- What happened next, and why did it matter?
Those moments become the backbone of scenes in your Questas journey.
If you’re working with a massive lore bible or story universe, The New Story Bibles: Organizing Lore, Timelines, and Character Arcs for Large Questas Universes has more tactics for taming that sprawl.
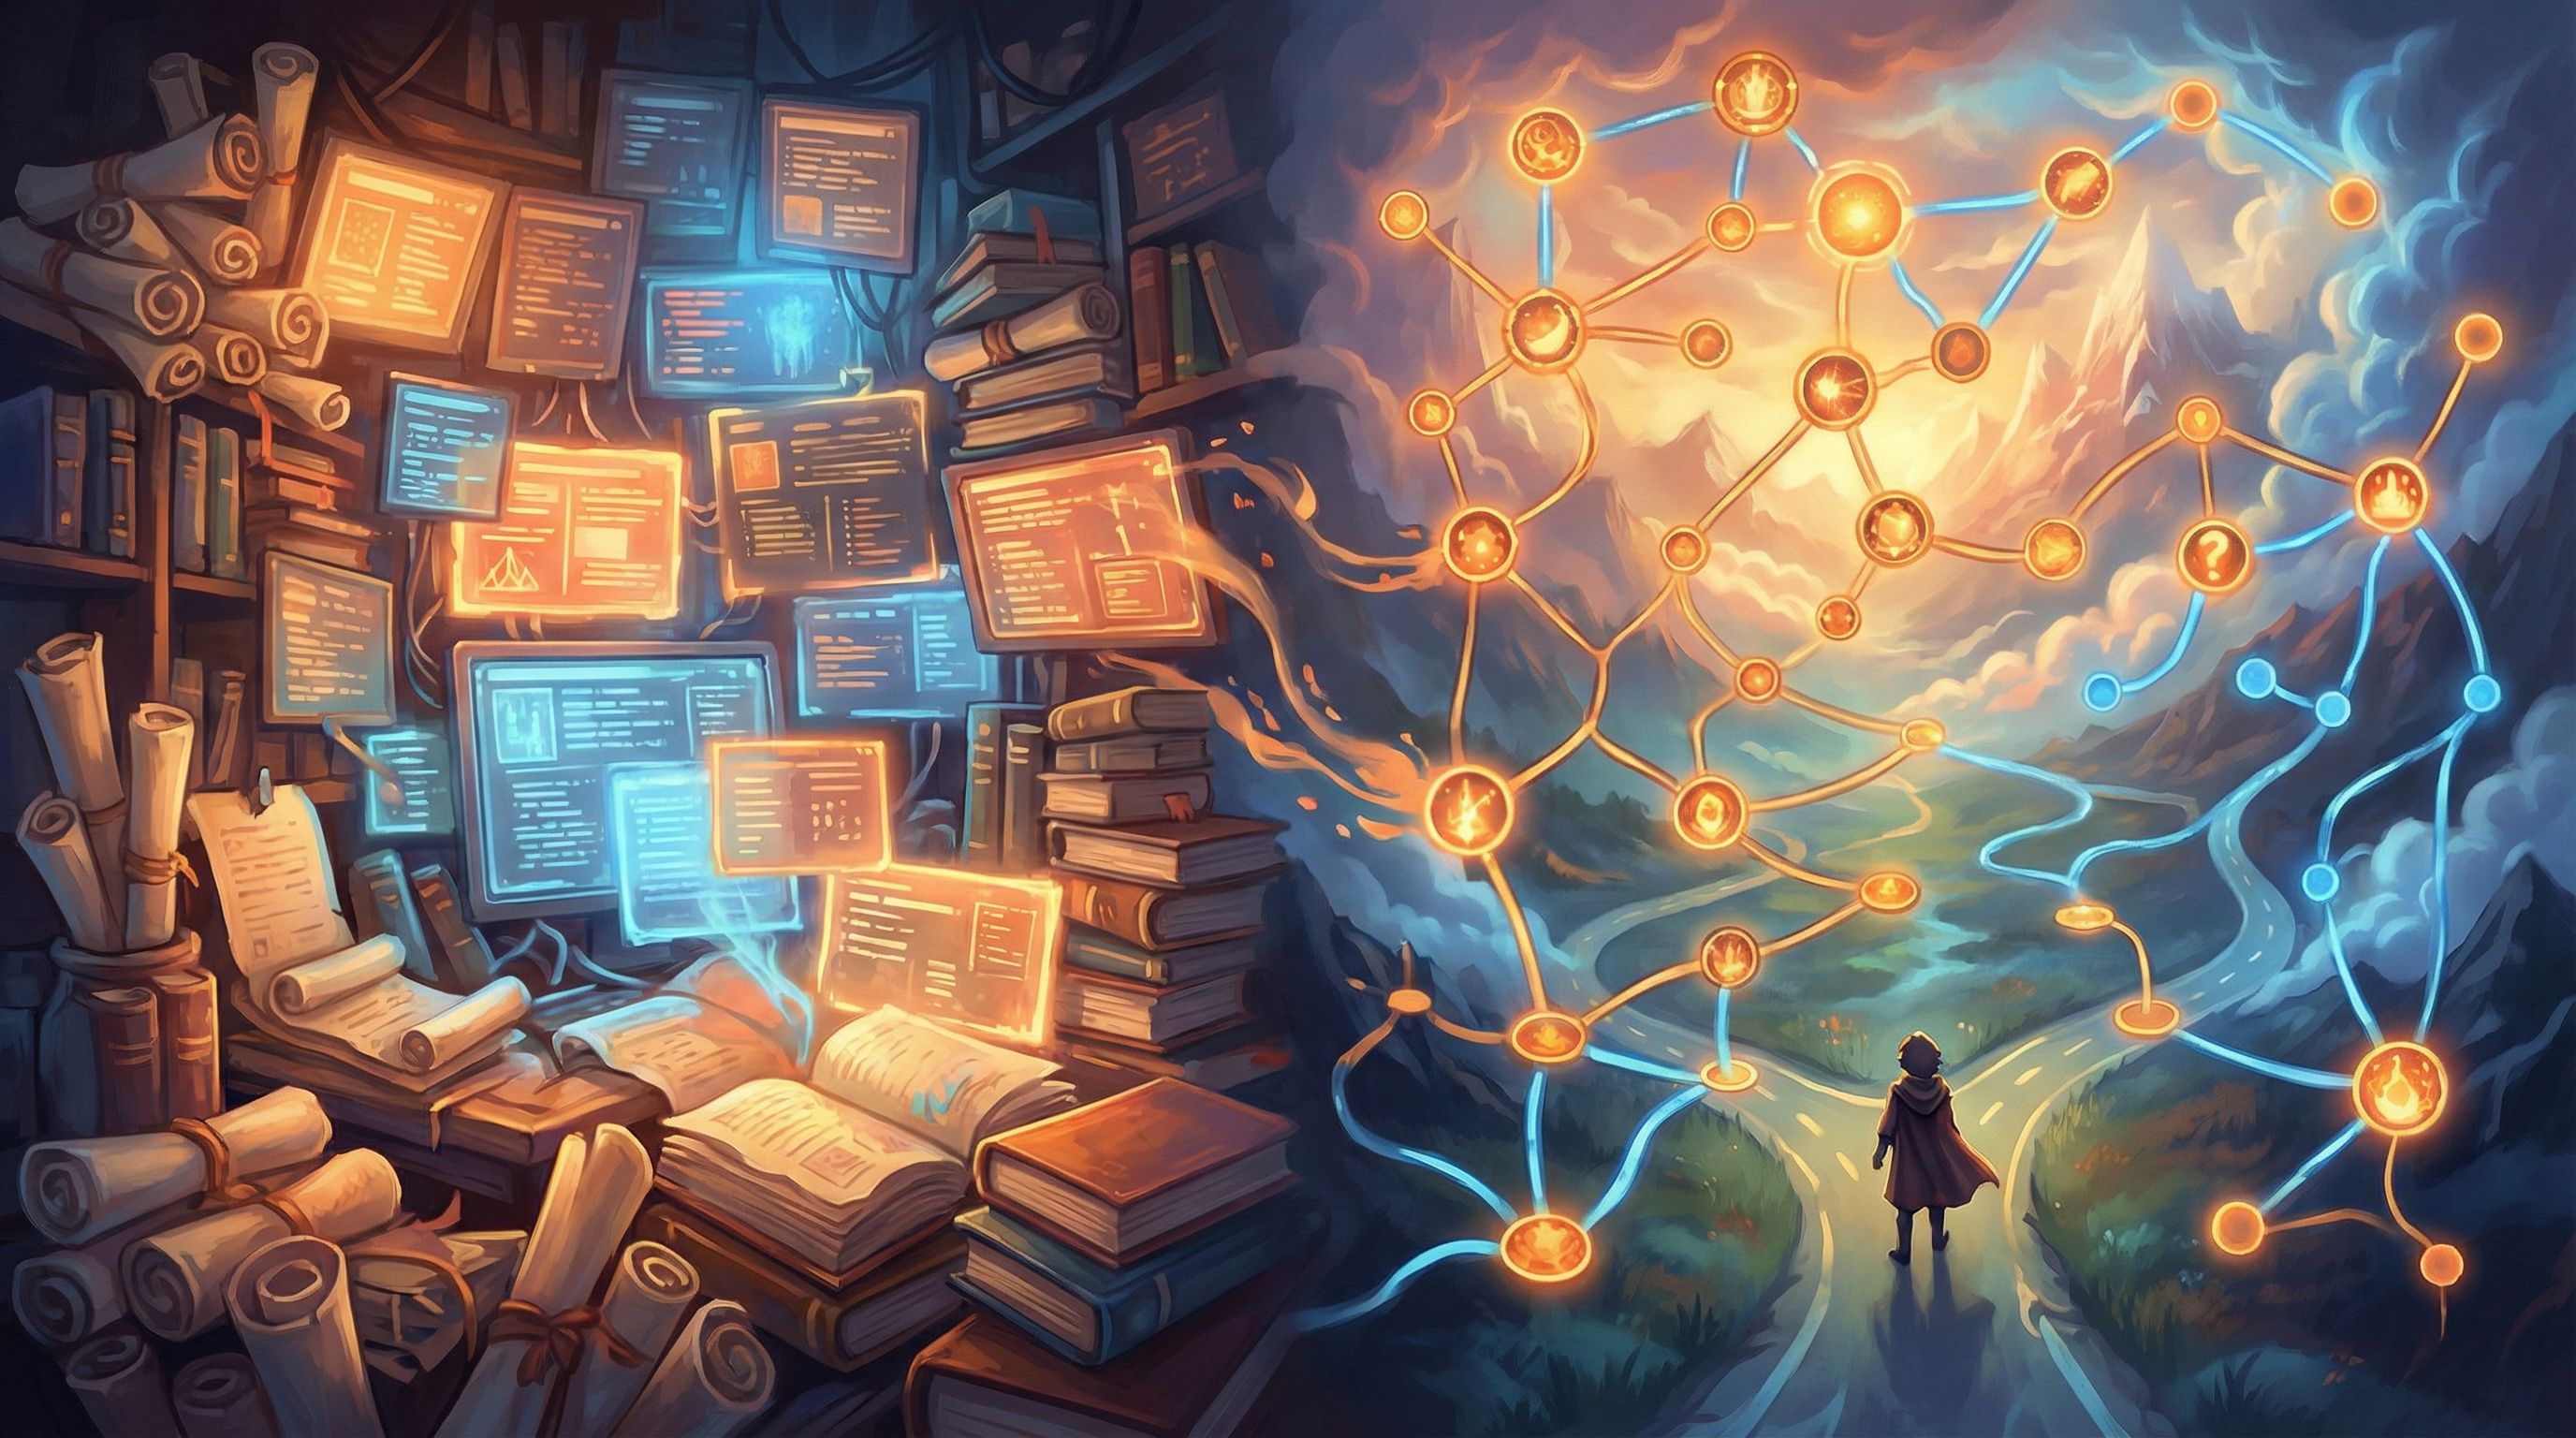
Step 3: Sketch the Journey as a Branching Map
Before you open any tool, take 20–30 minutes to sketch your journey.
-
Start with an inciting incident
- “You’ve just been assigned your first enterprise customer.”
- “The reactor alarms begin to scream.”
- “An employee emails you about a potential conflict of interest.”
-
Map 2–3 critical decision points For each one, jot down:
- The choice (“Investigate quietly” vs. “Escalate to legal immediately”)
- The immediate consequence
- The knowledge someone needs at that moment
-
Decide where branches re‑join Not every choice needs to lead to a completely separate storyline. To keep things manageable:
- Let some branches converge after a few scenes
- Use different outcomes or reflections based on prior choices
-
Plan at least one “failure” path that still teaches
- Show what happens when someone misapplies policy, mishandles a customer, or misinterprets lore
- Use that path to explain why the correct approach matters
For more on designing “bad” outcomes that are still safe and insightful, see Designing Failure Safely: How to Write ‘Bad’ Outcomes in Questas That Still Teach and Delight.
Step 4: Build the Journey in Questas
Once your map is sketched, it’s time to bring it to life.
1. Set up your project and core scenes
Inside Questas:
- Create a new project for your topic (e.g., “Handling Priority Support Tickets” or “Lore 101: The City of Glass”).
- Add your opening scene with:
- A short, vivid description of the situation
- The learner’s role (“You are…”)
- The immediate tension or challenge
2. Add choices and link to knowledge
For each decision point:
- Create choice buttons that reflect real options (including imperfect ones)
- Connect each choice to a new scene that:
- Shows the result of that decision
- Surfaces relevant knowledge in context
- Optionally links out to your existing doc or wiki page
You’re not replacing your knowledge base—you’re wrapping it in a guided, choice‑driven experience.
3. Use AI visuals to anchor memory
One of the strengths of Questas is built‑in AI image and video generation. Use visuals to:
- Represent roles (the learner, stakeholders, customers, factions)
- Signal stakes (happy vs. frustrated customers, safe vs. risky environments)
- Differentiate paths (e.g., a cool blue palette for compliant choices, warmer tones for risky ones)
If you’re new to crafting consistent visual styles, AI Visual Styles 101: Matching Your Questas Imagery to Genre, Tone, and Audience is a great companion.
4. Keep the interface friction‑free
Knowledge journeys fall apart when learners are confused about where to click or how to go back. As you build:
- Keep choices clearly labeled and visually distinct
- Avoid burying key decisions in tiny text links
- Use a consistent layout for navigation and explanations
You’ll find more interface patterns in The UX of Choice: Interface Patterns that Make Branching Stories Feel Effortless.

Step 5: Weave Learning Science Directly into the Journey
A knowledge journey isn’t just a fun wrapper; it’s an opportunity to build better learning into the structure.
Here are a few patterns to bake in:
1. Retrieval, not just recognition
Instead of always presenting the “right” answer alongside distractors, sometimes:
- Ask the learner to predict what will happen before revealing the outcome
- Have them choose a strategy without seeing the policy first, then compare with the official guidance
This forces them to retrieve and apply knowledge, which strengthens memory.
2. Spaced reinforcement inside the story
Revisit key ideas multiple times in slightly different contexts:
- A policy first appears in a low‑stakes scenario
- Later, the same rule shows up in a high‑stakes situation
- Finally, a reflection scene connects the dots explicitly
3. Immediate, explanatory feedback
When someone makes a sub‑optimal choice:
- Show the consequence (a frustrated customer, a lore contradiction, a compliance risk)
- Explain why it happened using language from your docs
- Offer a chance to rewind or try a different path
4. Multiple ways to “win”
Not every path needs to lead to a single “perfect” outcome. Some possibilities:
- A by‑the‑book win that’s safe but slow
- A creative win that still respects constraints
- A partial win that works but leaves improvement opportunities
This mirrors real life and encourages more nuanced thinking.
Step 6: Connect Journeys Back to Your Knowledge Base
Your interactive journey should feel like the front door to your knowledge ecosystem, not a separate universe.
Ways to connect the dots:
- Contextual links: In each scene, link specific terms or decisions back to the relevant doc page.
- “Learn more” endings: At the end of a path, suggest next steps—another Questas journey, a deep‑dive article, or a live workshop.
- Tags and categories: Use consistent labels between your knowledge base and your Questas projects so people can navigate both.
For customer‑facing journeys, you can even treat these as narrative funnels. If that’s your goal, Brand Worlds, Not Banners: Using Questas to Build Narrative Funnels for Marketing Campaigns explores how to turn informational content into immersive brand experiences.
Step 7: Playtest Like a Game, Iterate Like a Product
The only way to know if your knowledge journey works is to watch real people use it.
-
Recruit a small test group
- New hires, customers, or players who match your target audience
- A mix of experience levels to see where experts get bored and novices get lost
-
Give them a goal, not instructions
- “Use this journey to prepare for your first customer call.”
- “Use this to learn the basics of the city’s factions.”
-
Observe where they hesitate
- Are choices unclear?
- Do they miss important information?
- Do they feel railroaded or overwhelmed?
-
Ask reflection questions afterward
- “What felt most useful?”
- “Where did you feel confused or frustrated?”
- “What do you wish the journey had covered?”
-
Iterate on both content and structure
- Clarify wording, adjust choices, tighten pacing
- Add or remove branches based on what actually helps people learn
If you want a more structured approach, Playtesting Your Questas Like a Game Designer: Scripts, Checklists, and What to Watch For (slug above) is designed exactly for this stage.
Bringing It All Together
Turning a knowledge base into interactive journeys isn’t about throwing away what you’ve already built. It’s about:
- Choosing a focused scenario where better understanding really matters
- Mining existing docs and lore for decisions, consequences, and moments
- Mapping a branching journey that mirrors real choices people face
- Building it in Questas with clear scenes, meaningful options, and memorable visuals
- Embedding learning science through retrieval, feedback, and spaced reinforcement
- Connecting back to your knowledge base so journeys become navigational hubs, not one‑off toys
- Playtesting and iterating until the experience feels intuitive and genuinely helpful
When you do this well, your knowledge base stops being a graveyard of PDFs and starts to feel like a living world people can explore.
Your First Step: Ship One Journey
You don’t need a complete interactive academy to see the impact. Pick one high‑leverage slice of your knowledge base and:
- Identify a real scenario your learners or users face.
- Sketch 10–20 scenes with 2–3 key decision points.
- Open Questas, drop in your scenes, and generate a few anchor visuals.
- Share it with a small group and watch them play.
By the time you’ve shipped that first journey, you’ll have:
- A reusable template for future paths
- A clearer view of where your knowledge base shines—and where it needs work
- A concrete example you can show stakeholders, students, or collaborators
Adventure awaits inside your own documentation. Questas just gives you the map.