The New Instruction Manual: Using Questas to Turn Hardware, DIY, and Maker Guides into Playable Builds

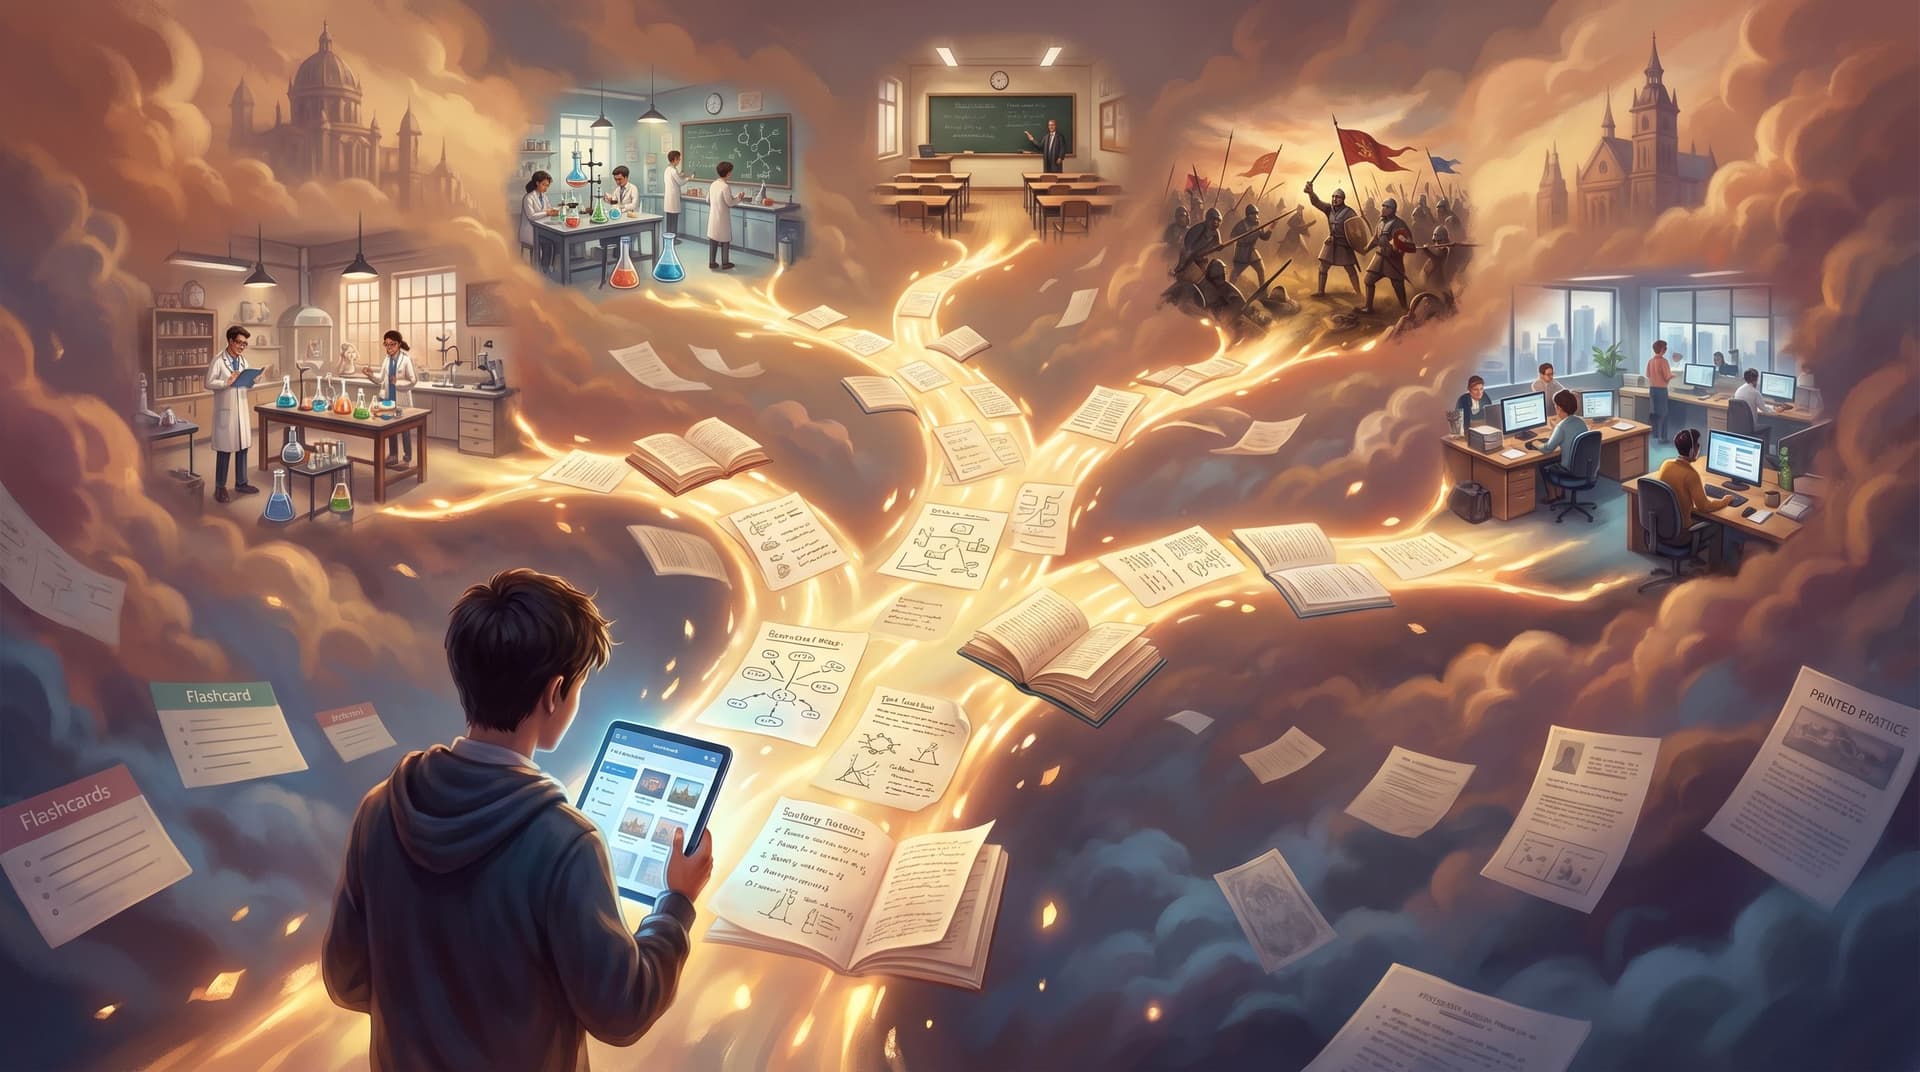
Printed manuals, forum threads, and 40‑minute YouTube builds all share the same flaw: they assume your brain is linear while your project bench is anything but.
Real builds are messy. You misplace a part, drill the wrong hole, choose the cheaper sensor, or realize halfway through that your 3D printer’s build volume is smaller than the BOM assumed. Traditional instructions don’t flex with those decisions—they punish them.
Interactive, branching stories change that. When you turn a hardware, DIY, or maker guide into a playable build using Questas, you’re not just explaining how to assemble something. You’re letting builders play through the decisions, mistakes, and trade‑offs before (or while) they touch a tool.
This isn’t just more fun. It’s:
- Safer – simulate risky steps before someone touches a soldering iron.
- More forgiving – show recovery paths when something goes wrong.
- More educational – reveal why each step matters, not just what to do.
- More shareable – a playable story is easier to pass around than a 50‑page PDF.
In this post, we’ll walk through how to use Questas as your new instruction manual: a visual, no‑code way to turn any build guide into an interactive, AI‑illustrated adventure.
Why Turn Build Guides into Playable Stories?
Before we get tactical, it’s worth asking: why bother? Manuals already exist. Forums already exist. There are entire channels dedicated to step‑by‑step builds.
Turning a guide into a playable Questas story gives you several advantages.
1. You capture the real build experience
Most guides pretend everything goes right. Real life doesn’t.
Playable builds let you:
- Branch on common mistakes (reversing polarity, mis‑wiring pins, wrong drill bit size).
- Offer alternative parts paths (what if they bought the cheaper motor?).
- Reflect skill levels (novice vs. experienced builder paths).
Instead of burying this nuance in footnotes, you make it the core of the experience.
2. You teach judgment, not just procedure
A linear manual answers, “What’s step 7?”
A branching build answers, “Given your constraints, what’s the best next move?”
That’s the same shift educators make when they turn lesson plans into simulations—something we explored in depth in From Linear Lesson Plans to Living Simulations. For makers, this means:
- Letting players compare trade‑offs (weight vs. cost, precision vs. speed).
- Showing consequences of shortcuts (skipping strain relief, ignoring tolerances).
- Encouraging debugging habits instead of panic when things fail.
3. You reduce support load and repeat questions
If you publish kits, open‑source designs, or tutorials, you already know the FAQ treadmill:
“What if my power supply is 9V instead of 12V?”
“Can I use PLA instead of PETG?”
“What do I do if the servo jitters?”
A good Questas build can:
- Route players through conditional paths based on their parts and tools.
- Surface diagnostic questions when something doesn’t work.
- Link back to your docs, repos, or CAD files at the right moments.
Your community gets a guided troubleshooting experience instead of a scavenger hunt.
Choosing the Right Project for a Playable Build
Not every guide needs a branching story. Some are better as a one‑page diagram. Others are perfect for playable builds.
Look for projects that:
-
Have meaningful choices
- Multiple ways to solve the same problem (e.g., different motor drivers, enclosure options).
- Optional modules or upgrades (battery monitoring, Wi‑Fi, RGB lighting).
-
Involve real risk or complexity
- High voltages, sharp tools, or complex mechanical assemblies.
- Tight tolerances where misalignment or wrong torque can cause failure.
-
Generate lots of questions
- Popular forum threads with recurring issues.
- Kits where support tickets cluster around the same 3–5 steps.
Great candidates include:
- A 3D‑printed robot arm with swappable end effectors.
- A custom mechanical keyboard with multiple layout and switch options.
- A smart home sensor node with optional battery or mains power.
- A CNC or laser cutter enclosure with ventilation and safety interlocks.
If you’re not sure where to start, treat this like a “story sprint” and scope something you can prototype fast—similar to the approach in The One‑Evening Story Sprint.
Step 1: Map the Build as a Decision Tree
Before you open Questas, sketch the build as a branching flow.
Start with the “happy path”
Write down the clean, ideal version of the build:
- Gather tools and parts.
- Prepare workspace and safety gear.
- Assemble sub‑components (e.g., power module, controller board, frame).
- Integrate sub‑components.
- Test and calibrate.
- Optional upgrades.
- Final demo.
This becomes your main spine.
Layer in forks and failure modes
Now ask, at each step:
- What decisions does the builder make here?
- Part substitutions, design tweaks, sourcing choices.
- What can realistically go wrong?
- Mis‑wiring, mis‑alignment, firmware mismatch, incompatible library.
- What are the recovery paths?
- Re‑printing a part, re‑flashing firmware, adding a shim or spacer.
Turn each of these into branches:
-
“You used a 9V supply instead of 12V. Do you…”
- Add a boost converter (branch A)
- Accept reduced torque (branch B)
- Swap to the recommended supply (branch C)
-
“Your first test run stalls the motor. Do you…”
- Increase current limit (branch D)
- Check mechanical binding (branch E)
- Lower acceleration in firmware (branch F)
Aim for:
- 3–5 key decision points where branches meaningfully change the story.
- 2–3 common failure points where players can practice diagnosis.
You don’t need to model every possible mistake—just the ones that matter.
Step 2: Turn Steps into Scenes in Questas
Once your decision tree feels solid, move into the visual editor in Questas.
Define your core scene types
For a typical playable build, you’ll reuse a few scene patterns:
- Setup scenes – gathering tools, safety checks, choosing variants.
- Assembly scenes – doing a concrete action (soldering, mounting, wiring).
- Decision scenes – picking between parts, methods, or troubleshooting paths.
- Outcome scenes – success, partial success, or failure with feedback.
- Reflection scenes – short debriefs explaining why something worked or failed.
In each scene, write in second person:
“You clamp the aluminum extrusion in the vise and line up the drill bit with the marked hole…”
Then add choices that match your decision tree.
Use variables to track build state
Even without code, you can use Questas’ visual logic to track:
- Which power option they chose.
- Whether they enabled a safety feature.
- How many mistakes they’ve made in a category.
These variables let you:
- Unlock or hide branches (e.g., only show certain failures if they skipped a step).
- Tailor feedback (“Because you used PLA, the enclosure softens near the PSU.”).
- Offer adaptive difficulty, similar to the patterns in Adaptive Difficulty in Interactive Stories.
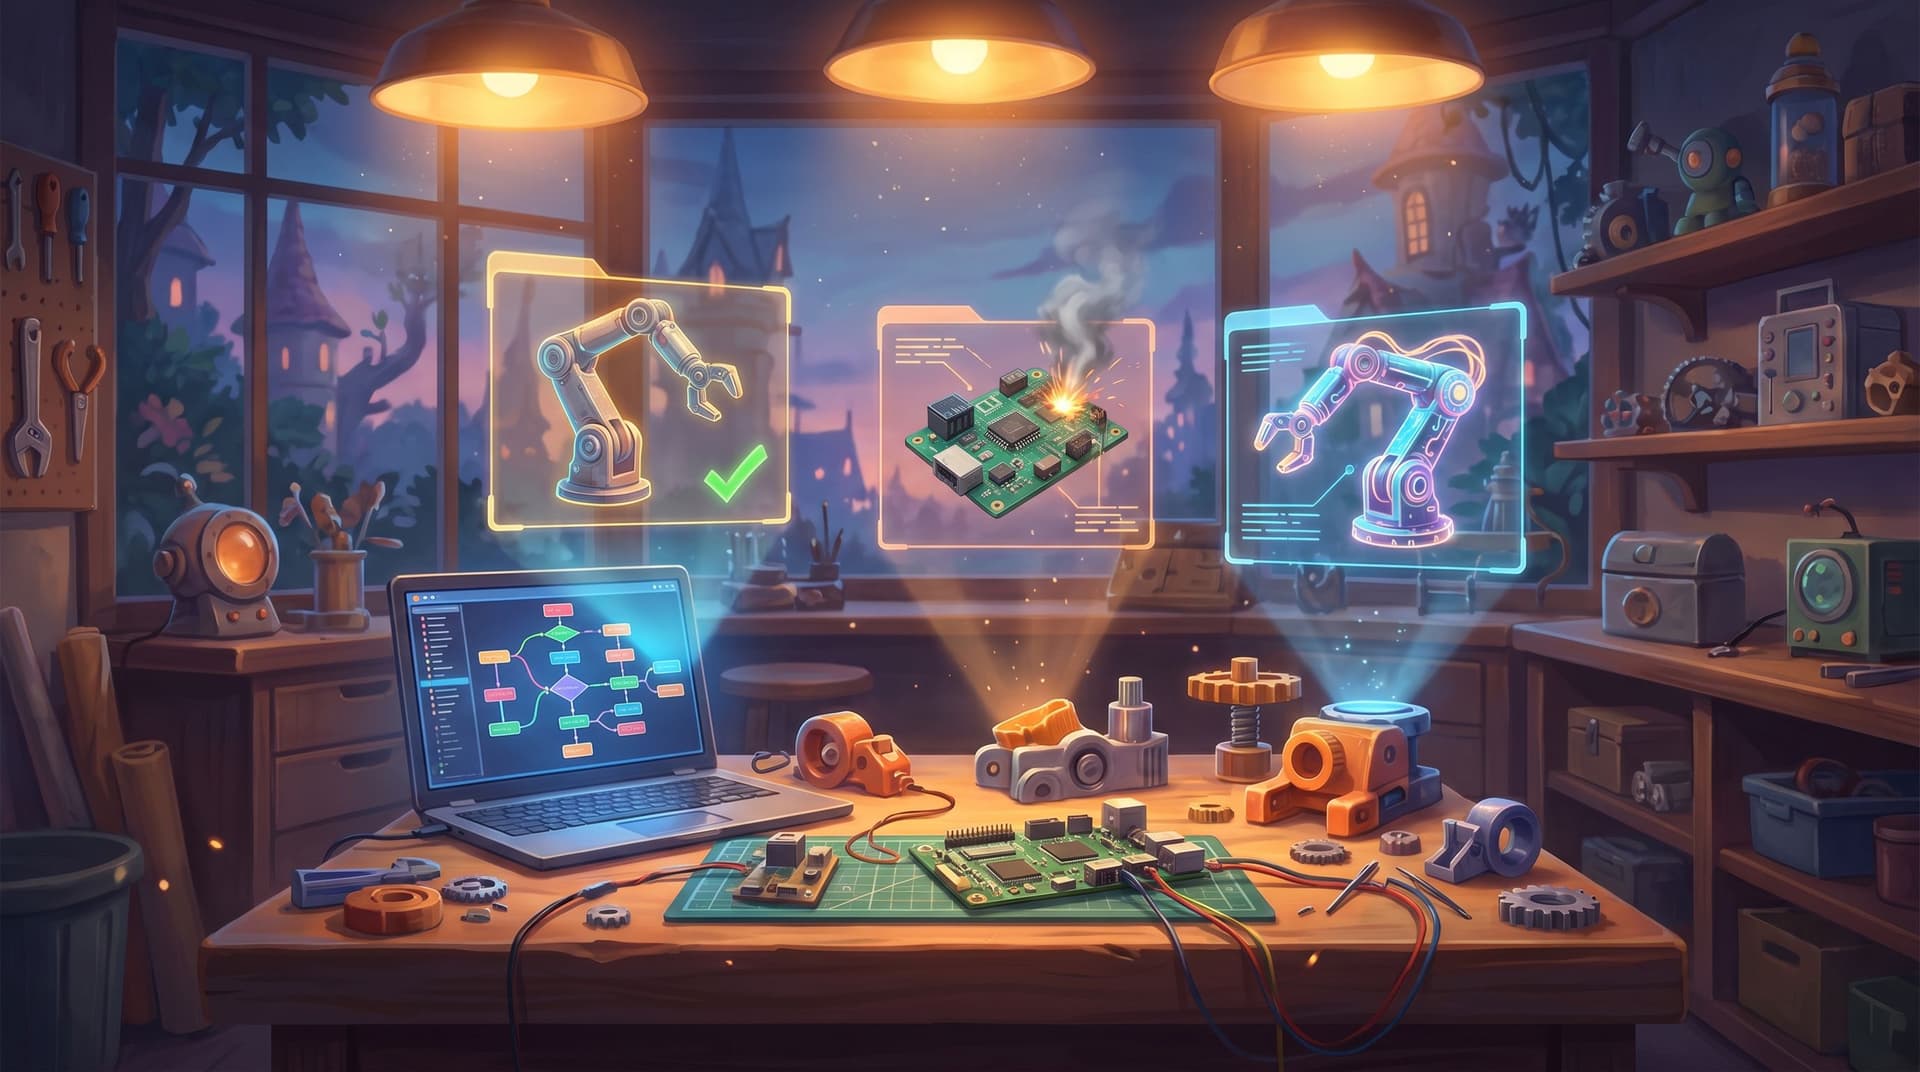
Step 3: Use AI Visuals to Make Each Step Tangible
Hardware is physical. A wall of text can’t fully convey “solder here, not there” or “this is what binding looks like.”
This is where AI‑generated images and videos inside Questas become more than decoration—they’re clarity tools.
What to visualize
You don’t need an image for every line. Focus visuals on:
- Tricky orientations – connectors, keyed plugs, pin 1 markings.
- Before/after comparisons – correct vs. incorrect wiring, alignment, or tension.
- Hidden states – cross‑sections of enclosures, airflow paths, cable routing.
- Safety scenarios – what overheating, arcing, or mechanical stress looks like.
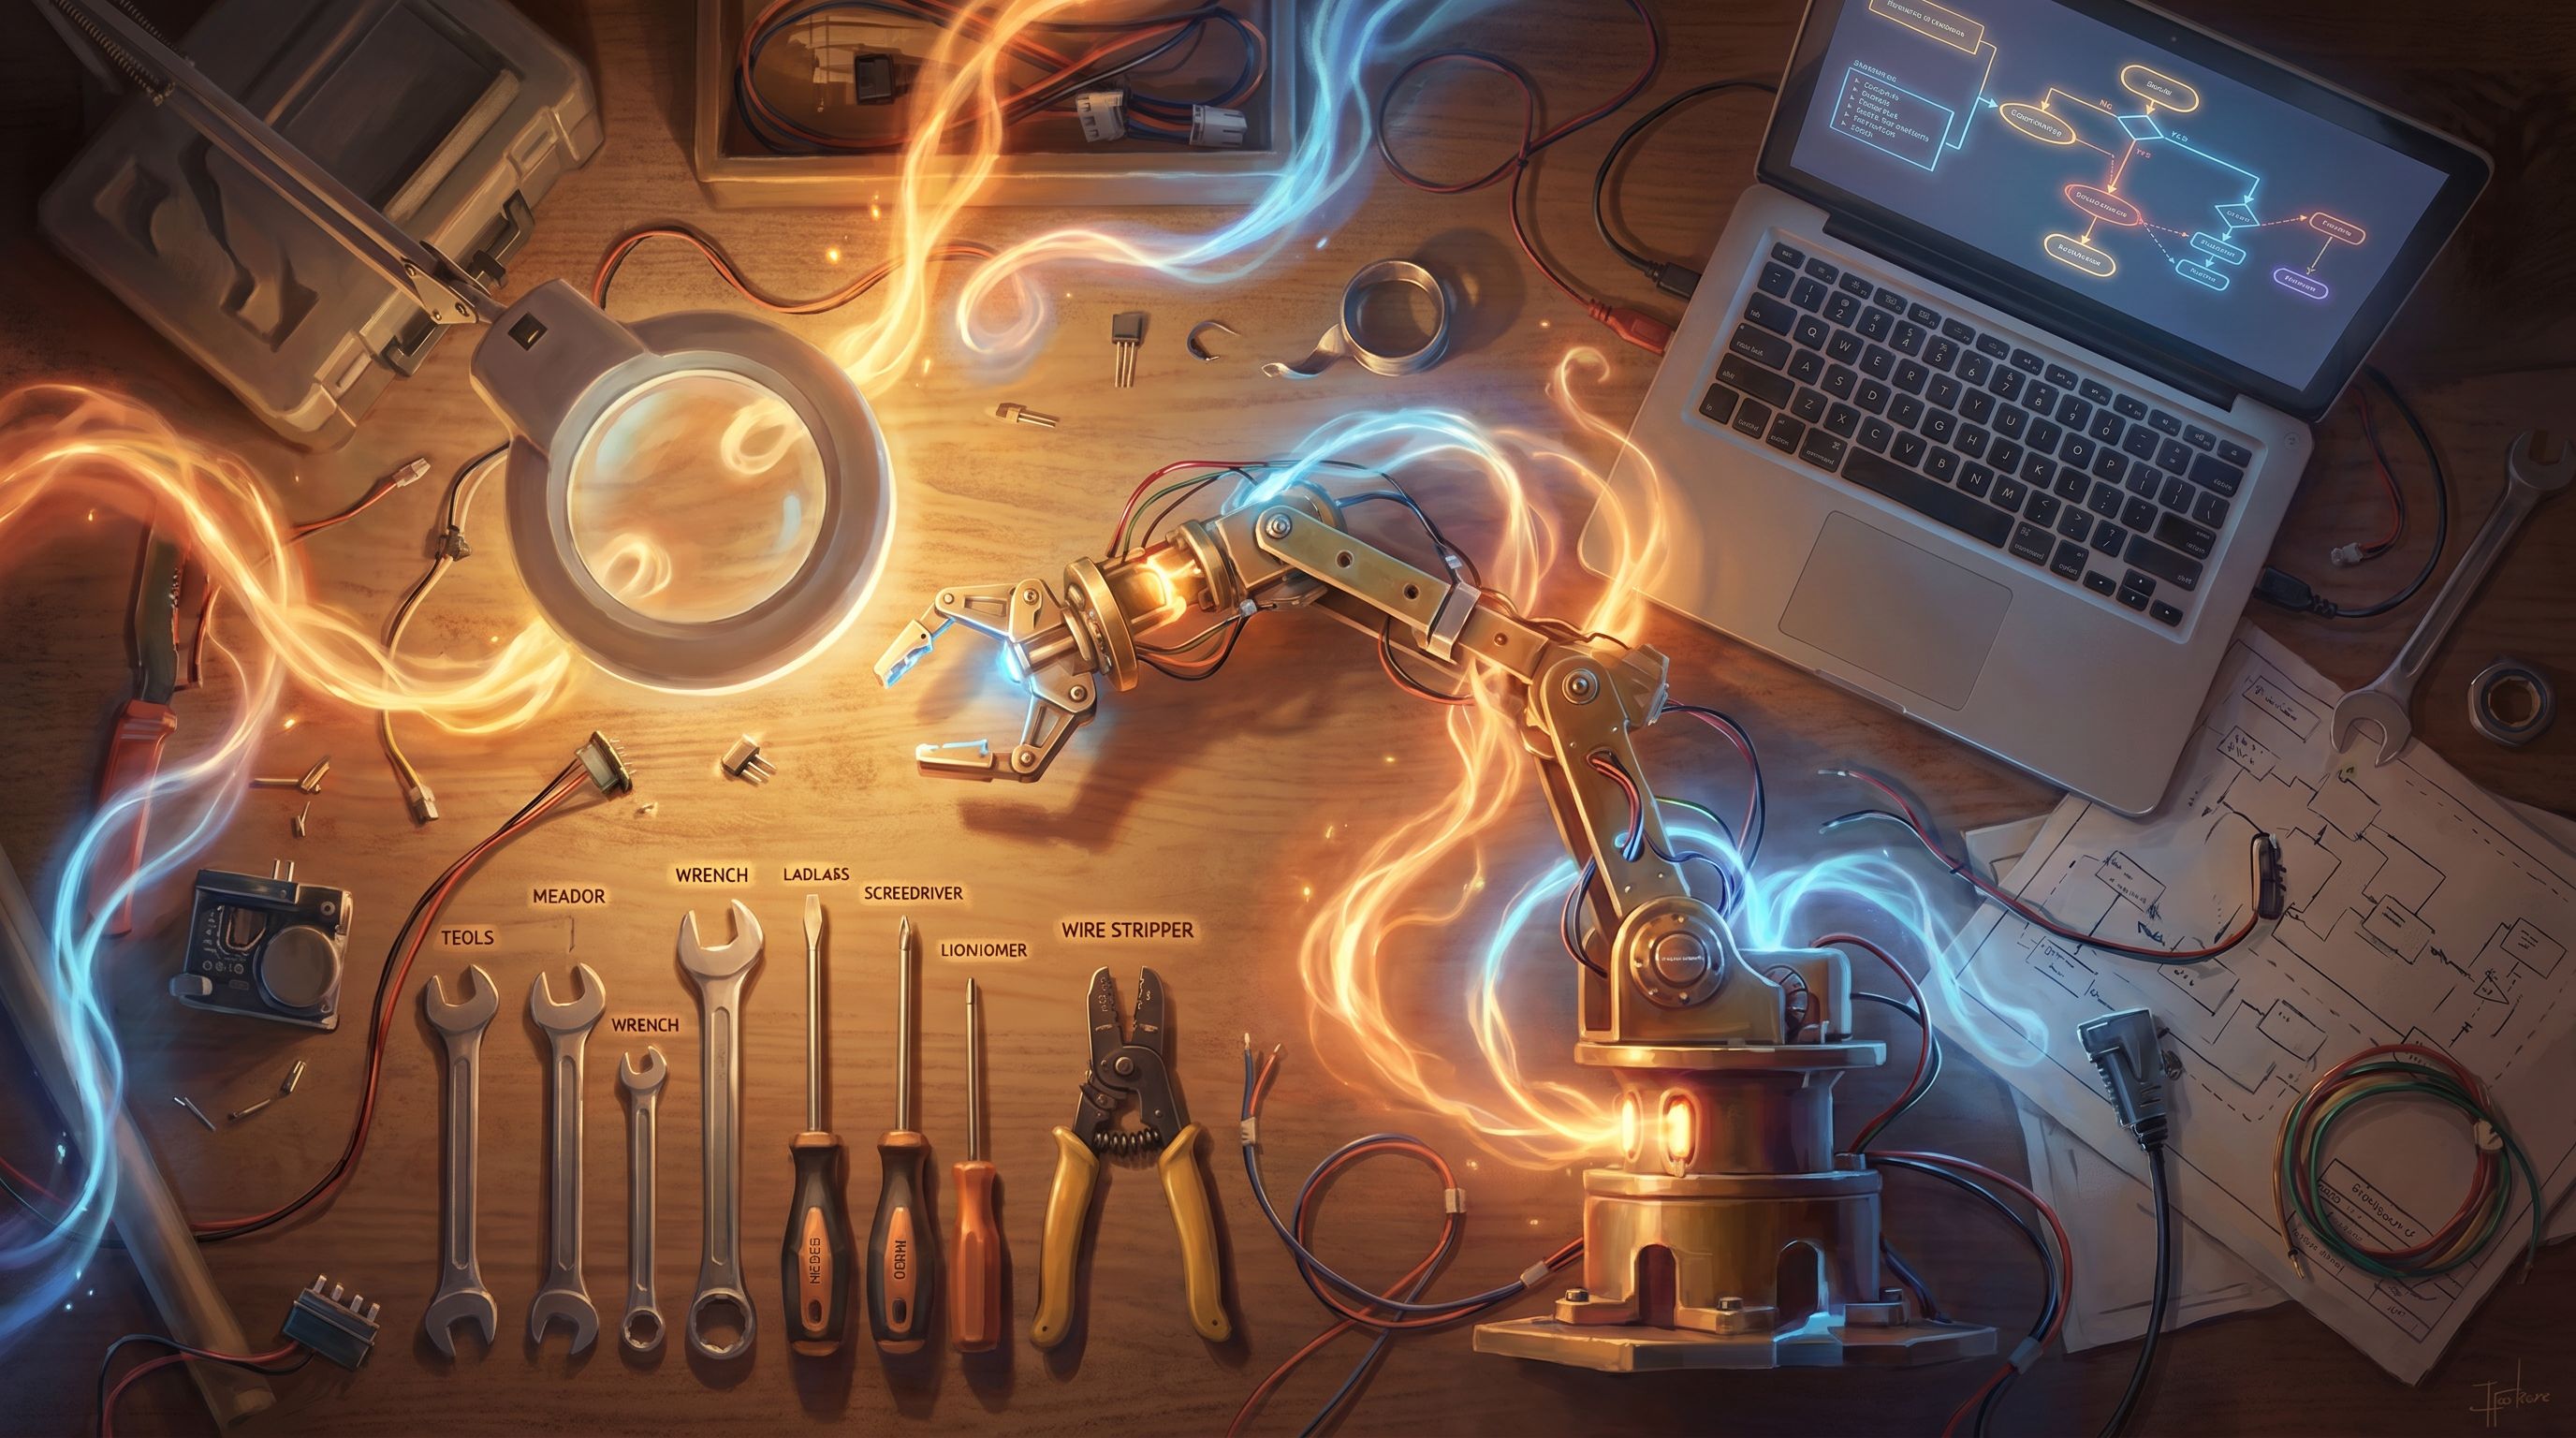
How to keep visuals consistent
When prompting for images, keep a simple style bible:
- Same workbench and background environment.
- Consistent tools (same soldering iron, same drill).
- Recognizable parts (same color scheme for wires, boards, printed parts).
This consistency helps players build a mental model of the project world, not just admire random pretty pictures.
Step 4: Design for Mistakes, Not Just Success
The real power of a playable build is in how it handles failure.
Instead of “game over,” use mistakes as teaching moments.
Build friendly failure loops
When a player makes a risky or incorrect choice:
- Show the consequence visually and narratively.
- “The motor whines and stalls; the arm jerks instead of gliding.”
- Name the likely root cause in plain language.
- “This usually means the current limit is too low or there’s mechanical binding.”
- Offer 2–3 recovery options.
- “Check for binding,” “Increase current,” “Reduce acceleration.”
- Route them into a diagnostic mini‑quest based on their choice.
You’re teaching a debugging mindset: observe → hypothesize → test → iterate.
Use soft gates instead of hard blocks
Rather than locking players out when they skip safety or calibration steps, you can:
- Allow progress but increase the chance of later failures.
- Add extra friction (more troubleshooting scenes) until they fix the oversight.
- Offer optional hints (“Need a nudge?”) for players who are stuck.
This mirrors the “soft gate” patterns used for difficulty tuning, and it works just as well for hardware builds as it does for story‑driven adventures.
Step 5: Weave in Safety and Good Habits
Safety notes in traditional manuals are often ignored or skimmed. In a playable build, you can make them experiential.
Turn safety into choices with consequences
Instead of a single bolded warning, try:
- “You’re about to cut acrylic. Do you…”
- Put on safety glasses and clamp the sheet.
- Hold the sheet by hand and skip the glasses.
If they choose the risky option, don’t jump straight to gore. Instead:
- Show a near‑miss and route them into a reflection scene.
- Explain what could have happened and how to avoid it.
- Optionally, track a “safety score” that unlocks an advanced build later.
Bake in professional practices
Use the story to normalize:
- Labeling wires and connectors.
- Strain relief and cable management.
- Torque patterns for screws.
- Version‑controlling firmware and configuration files.
When these habits are part of the narrative, they stop feeling like extra chores.

Step 6: Add a “Showtime” Finale
Every good build deserves a satisfying payoff.
End your Questas story with a finale scene that:
- Showcases what they built – a demo run, a test pattern, a light show.
- Reflects their path – mention the parts, options, and fixes they chose.
- Highlights what they learned – call out safety, debugging, and design decisions.
You can even offer multiple endings:
- Perfect build – everything works smoothly; they unlock an “advanced mods” path.
- Good enough – minor quirks remain; suggest specific next tweaks.
- Needs work – major issues persist; route them back to key troubleshooting branches.
This finale doesn’t replace real‑world testing, but it primes builders with realistic expectations and a clear mental model before they touch the actual hardware.
Step 7: Share, Playtest, and Iterate
Once your playable build is live, treat it like any other project on the bench: test, observe, refine.
How to gather useful feedback
- Watch first‑time players (screen share or over the shoulder).
- Where do they hesitate?
- Which choices confuse them?
- Which failures feel unfair?
- Ask builders who used the story and the real guide.
- Did the story match reality?
- Which branches felt missing?
- What steps still required external research?
- Look for patterns in drop‑off points.
- Are people bouncing at a certain decision?
- Does a particular troubleshooting branch feel like a dead end?
Because Questas is no‑code and visual, you can quickly:
- Add new branches for emerging FAQs.
- Clarify confusing scenes with better wording or visuals.
- Tune difficulty and hint frequency.
Over time, your playable build becomes a living manual that learns from your community.
Bringing It All Together
Turning hardware, DIY, and maker guides into playable builds isn’t about replacing documentation. It’s about giving builders a rehearsal space—a low‑risk, high‑feedback way to practice decisions before they cost time, money, or safety.
By using Questas to:
- Map your build as a branching decision tree,
- Turn steps into scenes with tracked state,
- Add targeted AI visuals for clarity,
- Design friendly failure loops and soft gates,
- Weave in safety and professional habits, and
- Iterate based on real player feedback,
…you create something new: an instruction manual people want to open and enjoy replaying.
If you’ve already experimented with interactive learning—whether through classroom simulations, micro‑sims, or live branching events—you’ll find the same patterns apply here. Posts like Beyond Flashcards: Turning Study Guides into Replayable Questas Micro‑Sims and No‑Code Live Events: Running Conferences as Playable Questas Storylines dive deeper into those patterns from different angles.
Your Next Step: Ship One Playable Build
You don’t need to start with your most ambitious project. Pick a single, well‑scoped build—something like:
- A basic LED matrix badge with optional animations.
- A small line‑following robot.
- A mechanical keyboard macro pad.
Then:
- Sketch the happy path and 3–5 key decision points.
- Identify 2–3 common mistakes or failure modes.
- Open Questas and build a minimal branching prototype.
- Add just enough visuals to clarify the trickiest steps.
- Share it with one friend or community member and watch them play.
By the end of a weekend—or even a focused evening—you can have a working, shareable playable build that teaches more than any static PDF.
Adventure awaits on your workbench. Your next instruction manual doesn’t have to be a document. It can be a story. And with Questas, that story is only a few branches away.