From Linear Lesson Plans to Living Simulations: Designing Classroom Questas that Adapt to Student Choices


For decades, classroom instruction has mostly followed a straight line:
Objective → Lecture → Worksheet → Quiz → Move on
It’s predictable, but it’s also brittle. If a student is confused, bored, or far ahead of the group, the lesson doesn’t flex much. Everyone marches down the same path whether it fits or not.
Branching, interactive stories change that equation. When you design lessons as playable simulations—where students make decisions, see consequences, and explore alternate paths—you get something closer to a living curriculum than a static plan.
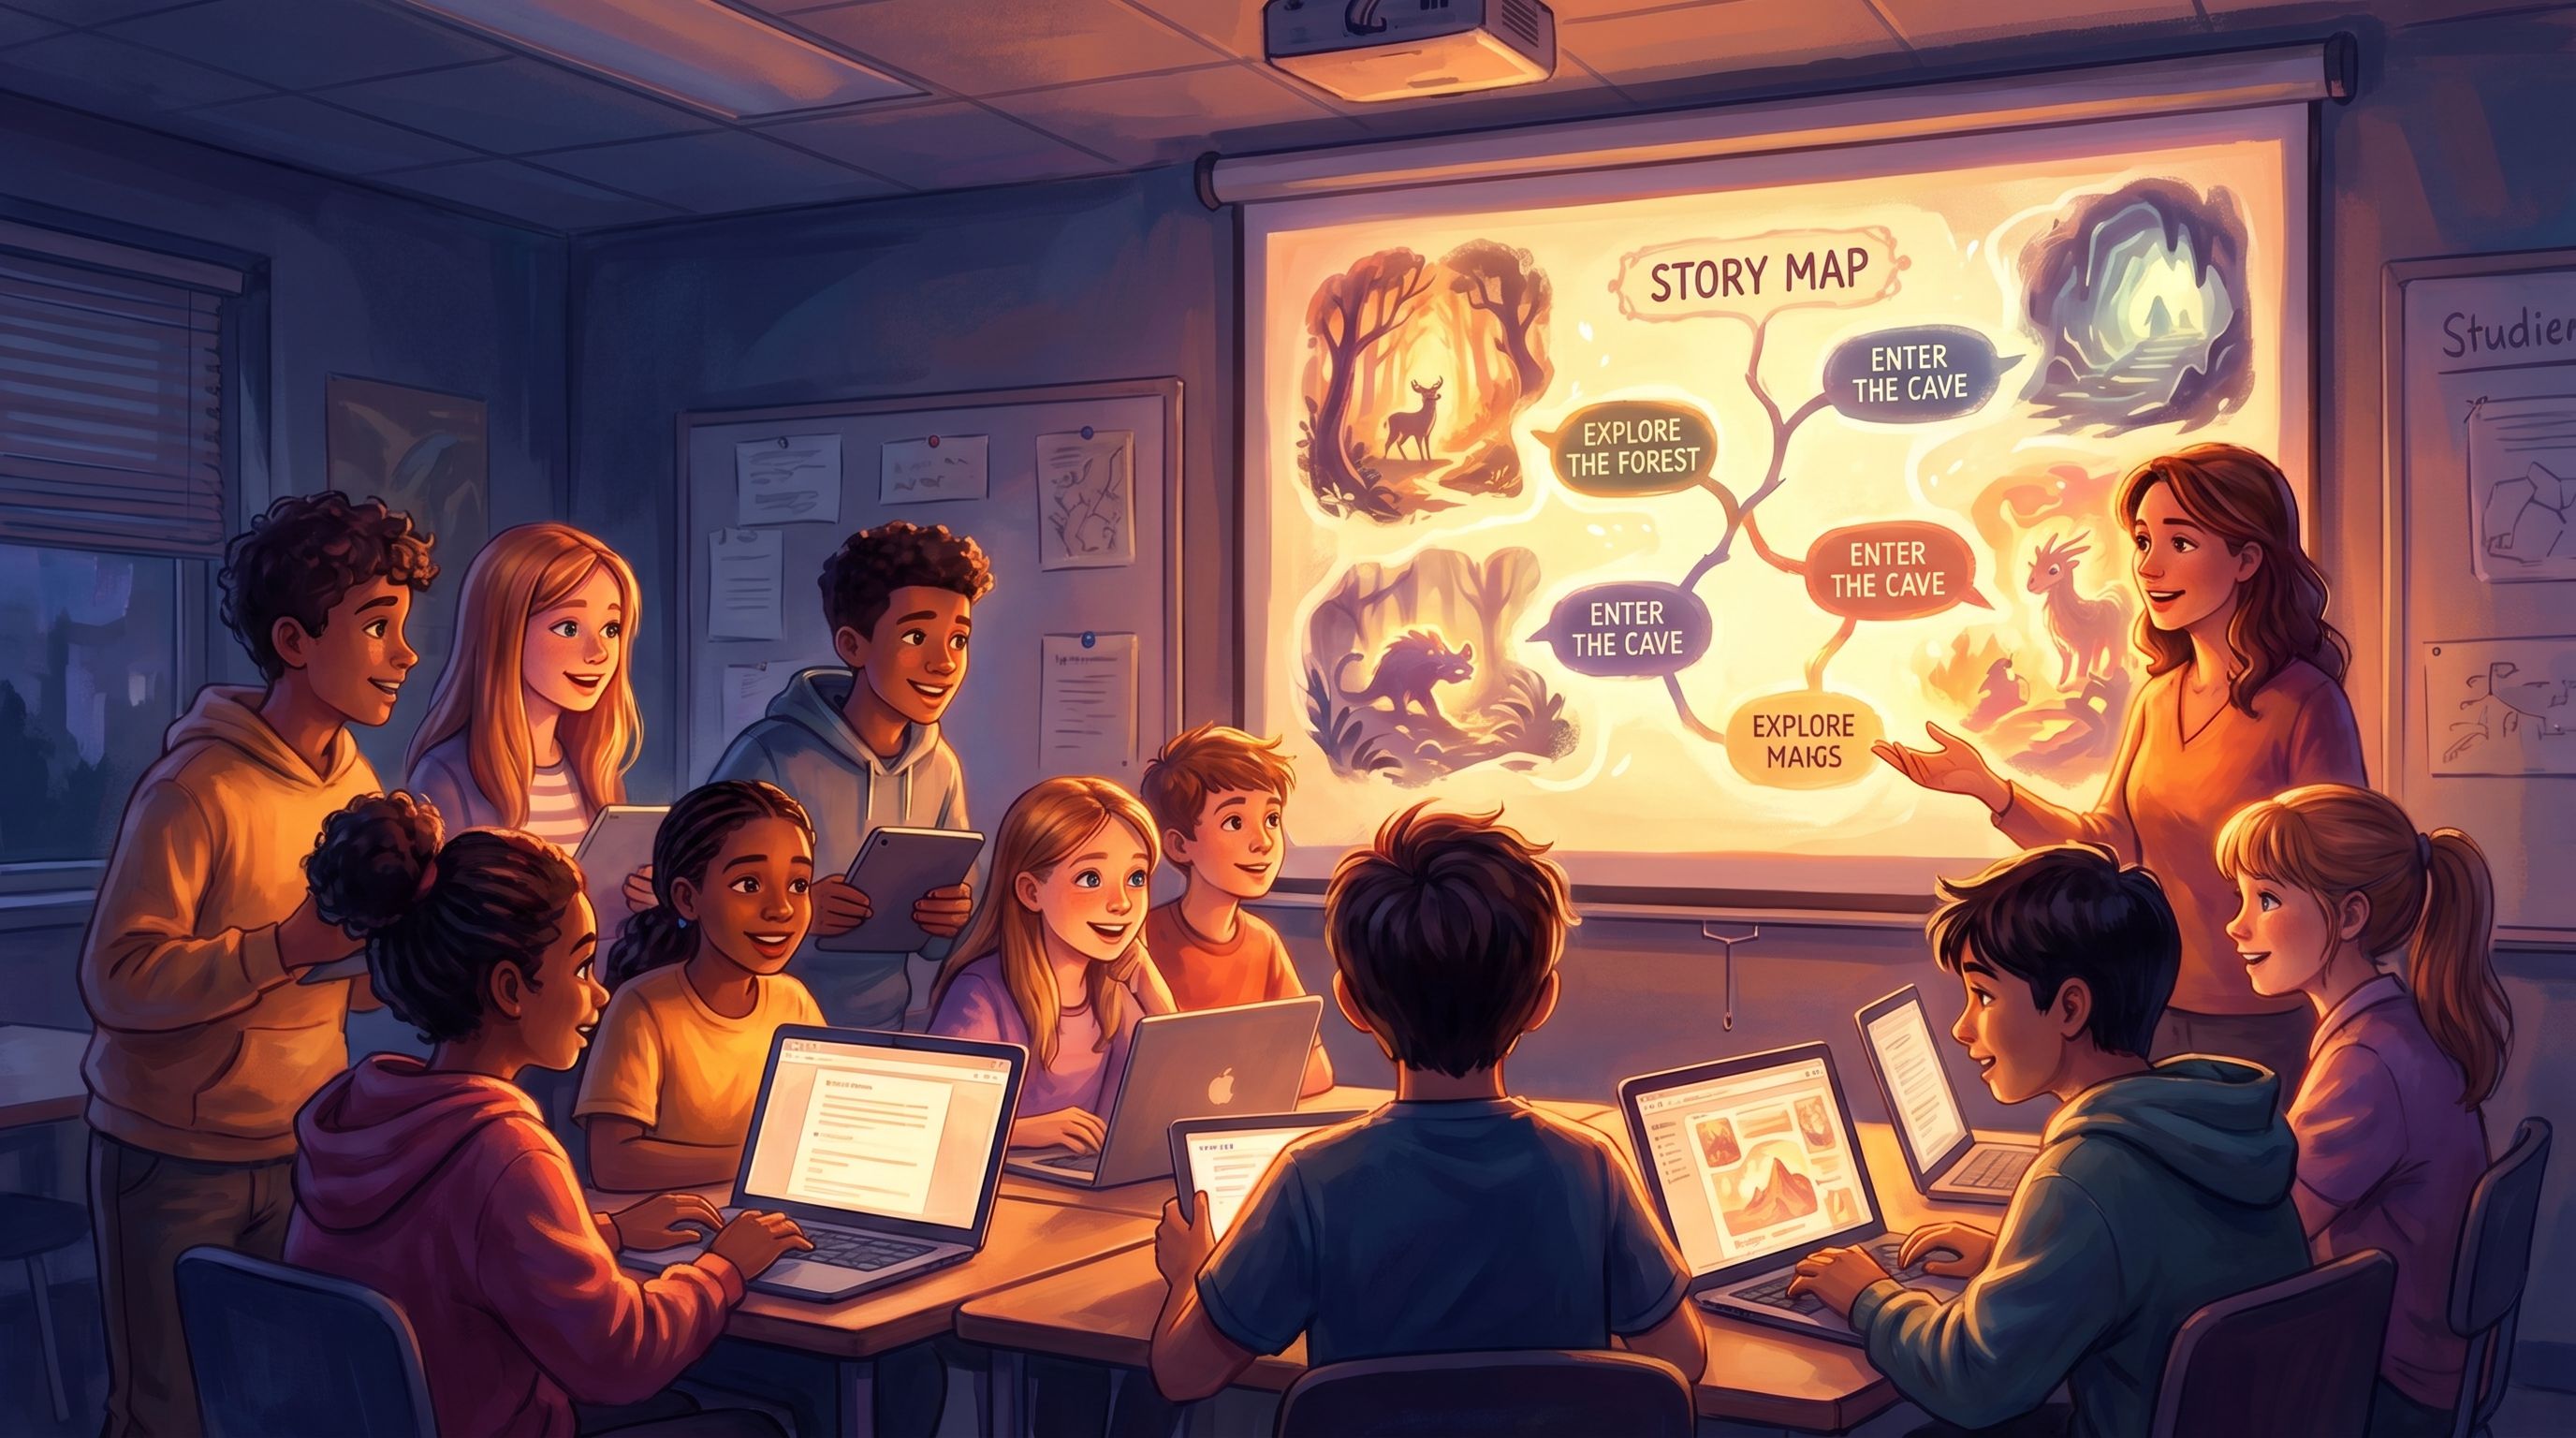
That’s where a platform like Questas shines: a visual, no‑code editor for building interactive, choose‑your‑own‑adventure stories powered by AI‑generated images and videos. Instead of writing another slide deck, you can build a scenario where your students are:
- A climate scientist balancing economic and environmental pressures
- A historian deciding which primary sources to trust
- A lab tech troubleshooting an experiment gone wrong
And crucially: the story adapts to their choices.
In this post, we’ll walk through how to move from linear lesson plans to adaptive classroom Questas—step by step.
Why Adaptive Classroom Simulations Matter
Before we get tactical, it’s worth grounding in why this shift is worth your time.
1. You’re already doing “branching” in the room
Any experienced teacher is quietly running a branching narrative in their head:
- If most of the class misses Question 3 → re‑teach that concept
- If a small group finishes early → give them an extension activity
- If discussion stalls → pivot to a different example
The problem is that this branching is manual and ephemeral. It depends on your energy, your attention, and the clock. An interactive Questas scenario lets you encode those branches so every student can experience them, even asynchronously or in blended settings.
2. Students learn better by doing, not just hearing
Research on active learning and simulation‑based instruction consistently shows:
- Higher engagement when students must make decisions instead of passively receiving information.
- Better retention when learners apply concepts in context.
- Improved transfer when they’ve practiced navigating gray areas and trade‑offs, not just memorizing facts.
Branching simulations are essentially structured “what if?” sandboxes. Students don’t just hear that a choice matters—they feel it, because the story reacts.
3. Adaptive paths support mixed-ability classrooms
Real classrooms are wildly heterogeneous:
- Some students need more scaffolding and hints.
- Others are ready for deeper challenge and edge cases.
- Many need multiple representations of the same idea to truly get it.
With adaptive branching, you can:
- Offer optional help when a student struggles.
- Unlock bonus challenges for those who are cruising.
- Let students loop back and try alternate strategies without shame.
If you want to go deeper on tuning challenge levels, you might also explore our post on adaptive difficulty techniques in Questas.
Step 1: Start with a Real Decision, Not a Topic
The biggest mistake in learning design is starting from “content” instead of decisions. For adaptive simulations, flip that.
Instead of asking:
“How do I turn my unit on photosynthesis into a Questas?”
Ask:
“What is a real decision a learner might face where understanding photosynthesis matters?”
For example:
- A farmer choosing between crop varieties under changing climate conditions
- A scientist deciding which variables to control in a plant growth experiment
- A policymaker weighing subsidies for different agricultural practices
Design prompt:
- Write down one high-stakes classroom decision you want students to practice (e.g., choosing a research source, designing a lab procedure, responding to a peer conflict).
- Phrase it as a moment of tension, not a worksheet instruction. (“Do you confront your friend about plagiarism, or stay quiet?” is more powerful than “Identify examples of academic dishonesty.”)
- Make that decision the opening fork in your Questas story.
If you’d like more help identifying powerful decision points, the post on scenario-first training design walks through this process in more detail.
Step 2: Map a Minimal Branching Spine
Once you have your core decision, resist the urge to build a giant decision tree. For classrooms, small but meaningful is better than sprawling.
Think in terms of a branching spine:
- Inciting situation – Where are we? Who are we? What’s at stake?
- First decision – The big fork you identified.
- Immediate consequences – What happens right away?
- Second decision – A follow‑up that deepens or redirects the situation.
- Outcomes – 2–4 distinct endings that reveal trade‑offs.
A simple structure might look like this:
- Scene 1: Setup → Decision A or B
- Scene 2A: Consequence of A → Decision C or D
- Scene 2B: Consequence of B → Decision E or F
- Scene 3: 3–4 distinct outcomes based on the path
That’s enough to:
- Spark reflection: “What if I’d chosen differently?”
- Enable comparison between groups.
- Show that content knowledge actually changes outcomes.
If you’re not sure which branches to include, you can brainstorm options quickly using AI—see our post on rapidly concepting 20 story ideas before you build a single Questas for a lightweight ideation workflow.
Step 3: Turn Learning Objectives into Branch Conditions
Traditional lesson plans list objectives like:
- “Students will be able to explain the water cycle.”
- “Students will distinguish between primary and secondary sources.”
In a living simulation, those objectives become branch conditions that shape the story.
Translate objectives into observable actions
Ask yourself: What would a student actually do in the story if they’d mastered this objective?
Examples:
-
Objective: “Explain the water cycle.”
Branch condition: Does the student correctly identify which step (evaporation, condensation, precipitation, collection) is disrupted in a fictional town’s drought scenario? -
Objective: “Distinguish between primary and secondary sources.”
Branch condition: Does the student choose to rely on an eyewitness diary or a textbook summary when reconstructing a historical event?
Then, in Questas:
- Create choices that map to these actions.
- Use branch logic to route students based on what they pick.
- Optionally, track their decisions with hidden variables (e.g., a “source reliability” meter) to unlock later scenes.
For more complex systems—like reputation with different factions in a historical simulation—you can borrow ideas from our guide to building hidden meters and systems without a dev team.
Step 4: Build Adaptive Supports Directly into the Story
Adaptive learning isn’t just about different endings; it’s about different levels of support along the way.
Here are three patterns that work well in classrooms:
1. Optional hints instead of immediate failure
Instead of: “Wrong answer → Game over,” try:
- A hint branch: “Would you like a clue from your mentor?”
- A review loop: “Revisit the lab notes before deciding again.”
- A peer perspective: “Ask your classmate how they’d approach it.”
This keeps students in the simulation while still signaling that something needs attention.
2. Soft gates for readiness checks
Before students enter a tougher section, you can:
- Present a short scenario that tests prerequisite knowledge.
- If they struggle, route them to a support path (recap scene, mini‑tutorial, or simpler challenge).
- If they succeed, unlock the advanced branch.
This feels like the story respecting their readiness, not like a pop quiz.
3. Branches for different learning preferences
Within a scene, you can offer choices that align with different ways of processing information:
- “Watch a short demonstration” (video‑heavy branch)
- “Explore a diagram and labels” (visual branch)
- “Read a brief case study” (text branch)
All three can converge back to the same decision point, but students choose how they want to prepare.
Step 5: Use AI-Generated Visuals to Anchor Abstract Concepts
One of the strengths of Questas is the ability to attach AI‑generated images and videos to each scene. In a classroom context, visuals are more than decoration—they’re cognitive scaffolds.
Where visuals add the most value
- Complex systems – Show the parts of an ecosystem, a supply chain, or a chemical process as students manipulate them.
- Historical or fictional settings – Help students inhabit another time period or perspective with consistent character and location art.
- Invisible concepts – Visualize forces, fields, probabilities, or microscopic processes.
Tips for classroom‑friendly visuals
- Keep a consistent style (e.g., watercolor, comic, realistic) across a unit to reduce cognitive load.
- Use visuals to encode information students must reference later (e.g., a map with trade routes that becomes relevant in a later economic decision).
- Be intentional about representation—show diverse characters and contexts so more students see themselves in the story.
If you’re curious about building cohesive visual worlds, you may enjoy our deep dive on AI-first worldbuilding for interactive quests and our guide to keeping characters and locations visually consistent with AI style chains.
Step 6: Decide How Students Will “Play” in Class
Adaptive Questas scenarios are flexible enough to support many classroom formats. A few common ones:
Whole‑class facilitated run
- Project the scenario on a screen.
- Let the class vote on choices (hands, clickers, polls).
- Pause at key forks to discuss: “What do you predict will happen if we choose this?”
- Optionally, replay with different choices and compare outcomes.
This is great for modeling thinking aloud and surfacing misconceptions.
Small‑group runs
- Put students in groups of 3–4 with one device.
- Ask them to reach consensus before each choice.
- Have groups document their path (screenshots, notes, or a quick path diagram).
- Debrief by comparing different routes and outcomes.
This format emphasizes collaboration and argumentation skills.
Individual runs with reflection
- Assign the Questas as independent work (in class or at home).
- Pair it with a reflection prompt:
- “Describe a decision you’d make differently on a second run.”
- “Where did you feel uncertain, and what information would have helped?”
- “How did your prior knowledge influence your choices?”
Because the story logs choices, you can later review patterns across the class—which misconceptions cluster where, which branches are rarely explored, etc.

Step 7: Use Data from Choices to Improve Teaching
One of the quiet superpowers of adaptive simulations is the data trail they generate. Every choice is a tiny formative assessment.
You can:
- See which branches most students take—and where they diverge.
- Identify common wrong turns that signal a misconception.
- Spot students who consistently choose high‑risk or low‑efficacy options.
Then, you can:
- Adjust future lessons to target those pain points.
- Design follow‑up Questas that build on the most common paths.
- Use anonymized choice patterns as discussion starters: “Half the class chose to ignore the early warning signs in this scenario. Why do you think that happened?”
Over time, your curriculum becomes less like a static sequence and more like an evolving ecosystem of scenarios that reflect how your students actually think and learn.
Practical Design Checklist for Your First Classroom Questas
To make this concrete, here’s a quick checklist you can use when building your first adaptive lesson in Questas:
-
Pick one unit, one concept, one decision.
Don’t try to convert your entire course at once. -
Write the opening scene in plain language.
Who is the learner “playing”? What is the immediate problem? -
Draft 2–3 key decision points.
Each should:- Map to a real‑world choice
- Have at least two plausible options
- Lead to noticeably different consequences
-
Attach at least one learning objective to each decision.
Ask: “What does this choice reveal about what the student understands?” -
Add adaptive supports.
For each decision, consider:- A hint path
- A recap or review loop
- A more challenging follow‑up for strong performers
-
Layer in visuals where they clarify thinking.
Start with 3–5 key scenes that benefit most from images or short clips. -
Pilot with a small group.
Watch where students hesitate, rush, or get confused. Adjust branches accordingly. -
Debrief explicitly.
After the simulation, connect the experience back to your standards and objectives: “When you chose X, you were applying Y concept.”
Bringing It All Together
When you move from linear lesson plans to adaptive Questas simulations, you’re not just adding a gimmick—you’re:
- Giving students agency in how they encounter your content.
- Turning abstract objectives into felt decisions with consequences.
- Building a reusable, improvable asset that can evolve across semesters.
You still bring the craft of teaching: choosing the right moments, framing the stakes, and guiding reflection. The platform simply lets you bottle your best live teaching instincts—the pivots, the alternate explanations, the “what if we tried it this way?”—into a format every student can experience.
Ready to Turn a Lesson into a Living Simulation?
You don’t need to rebuild your entire curriculum to start. Pick one:
- A tricky concept students struggle with every year
- A real‑world scenario you always end up explaining at the board
- A classroom discussion that reliably sparks debate
Then:
- Open Questas.
- Draft a single decision point where that moment comes alive.
- Build just enough branches to show that choices matter.
- Run it with one class, one small group, or even one colleague.
From there, you can iterate—adding visuals, adaptive supports, and richer systems as you go.
Your lesson plans don’t have to be linear scripts. They can be living simulations your students step into, shape, and remember.
Adventure awaits—start designing your first classroom Questas today.